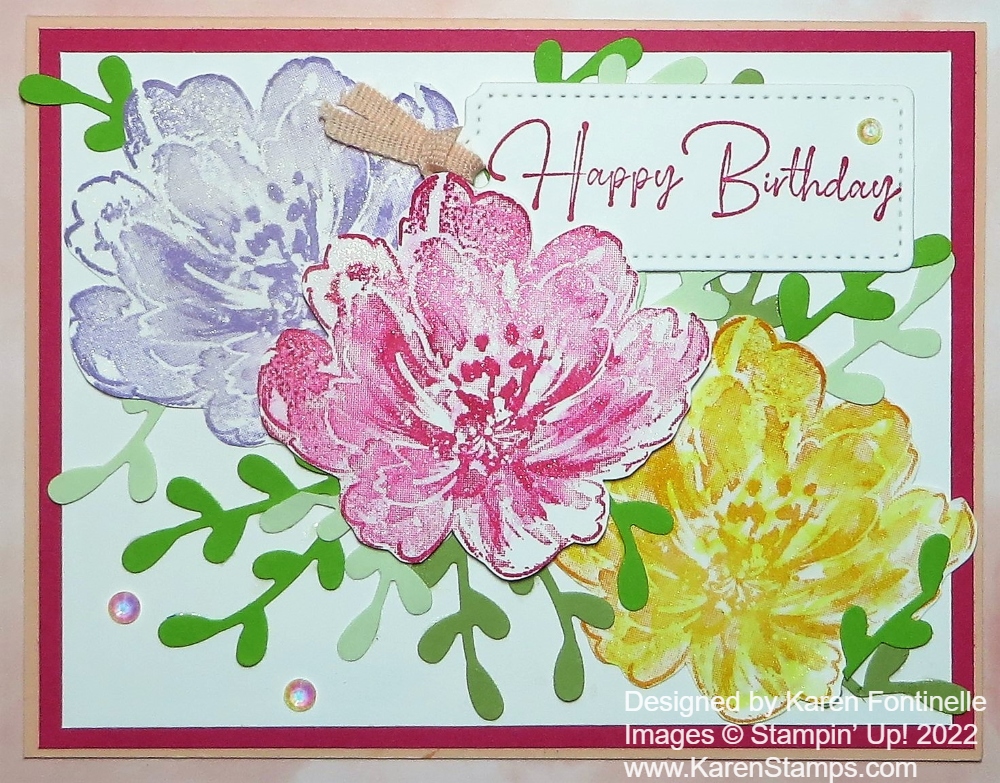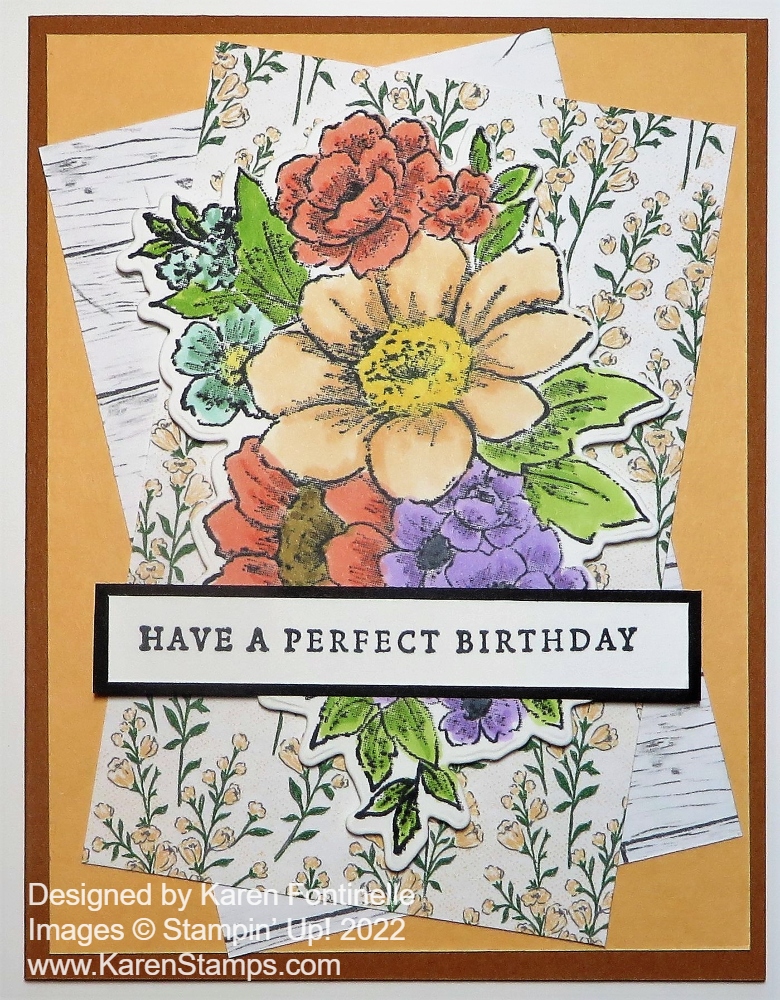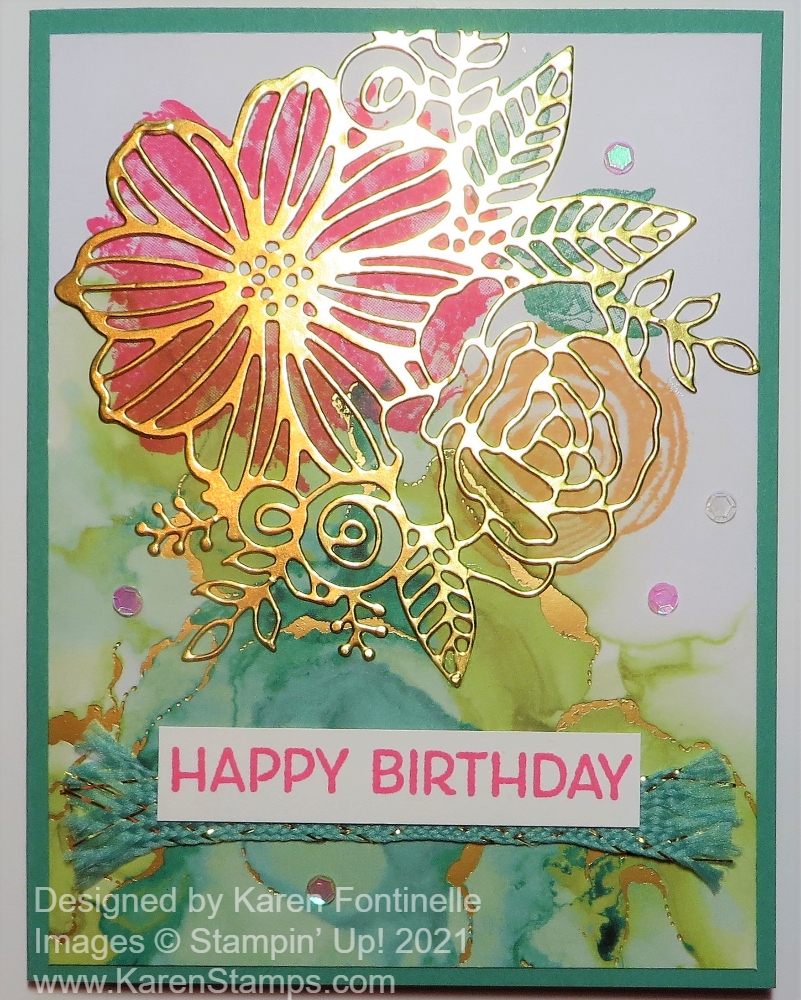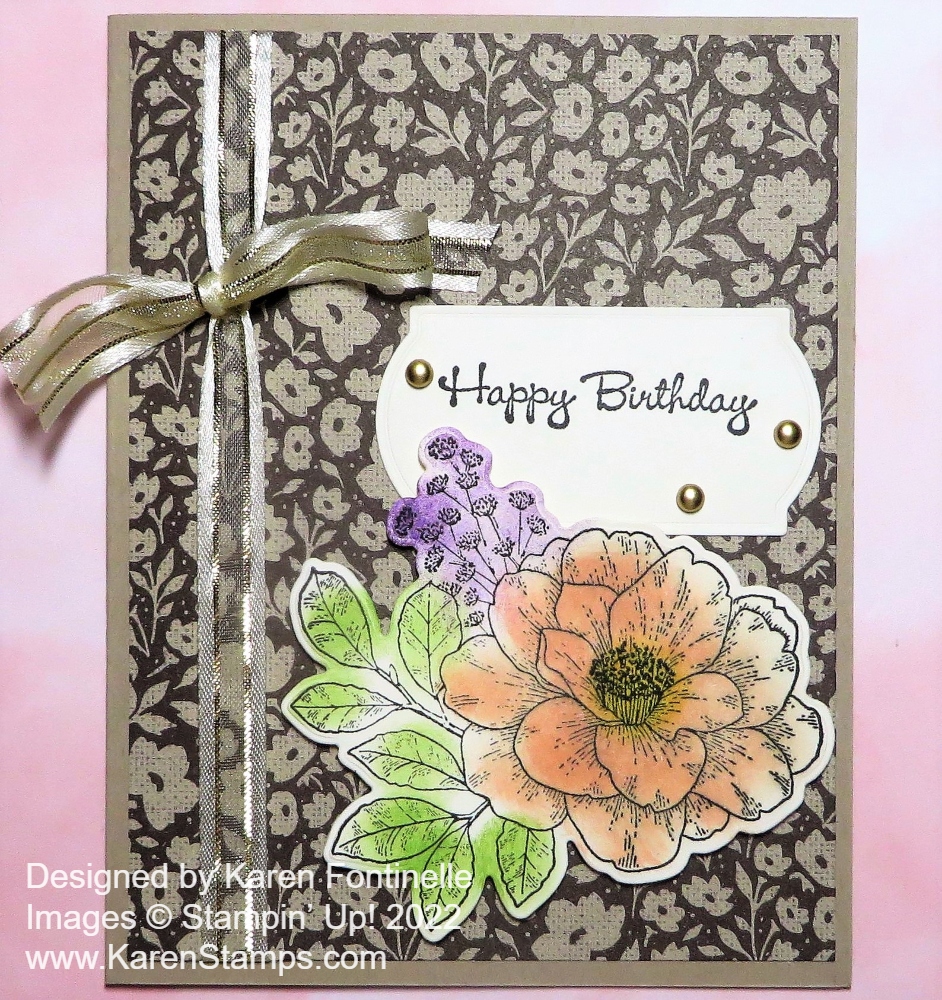
I’m a later comer to the Abigail Rose Suite and Cottage Rose Bundle but it’s a really pretty, different set to use. There are all kinds of flowers to either stamp or color in on the designer paper, or die cut. So many possibilities! This Abigail Rose Colored Flower Birthday Card came together pretty easily!
The card base is Crumb Cake but I almost used Early Espresso. Either would work. Before adhering the Abigail Rose Designer Paper to the card base, I adhered a piece of the Gold & Vanilla 3/8″ Satin Edged Ribbon around the top and bottom on the side, then tied on a bow with another piece of ribbon. This ribbon is so pretty with the gold and I thought it looked good with the brown print paper.
The flower and leaves are stamped in Early Espresso ink on Very Vanilla Cardstock. To easily and not perfectly color in the flower and leaves, I just used Sponge Daubers. I used Petal Pink Ink, a bit of Daffodil Delight for the flower center, some Gorgeous Grape ink for the tiny flowers, and Granny Apple Green for the leaves. Then I used a die to cut it out. Actually, I cut it out first, then colored it. Either way is fine. I popped this flower up on Stampin’ Dimensionals.
The greeting is in the Go-To Greetings Stamp Set. This is a new set I just got recently that has multiple sentiments but in different sizes and styles so you always have something you can use! I stamped it in Early Espresso Ink on Very Vanilla cardstock then die cut with one of the Painted Labels Dies.
For a finishing touch, I added three Brushed Metallic Adhesive Backed Dots. I thought they would go with the gold on the ribbon.
You could also stamp this flower and leaves and color in with Stampin’ Blends, Watercolor Pencils, Blender Pen and ink, and more. Or even leave it plain for a different, monochromatic look!
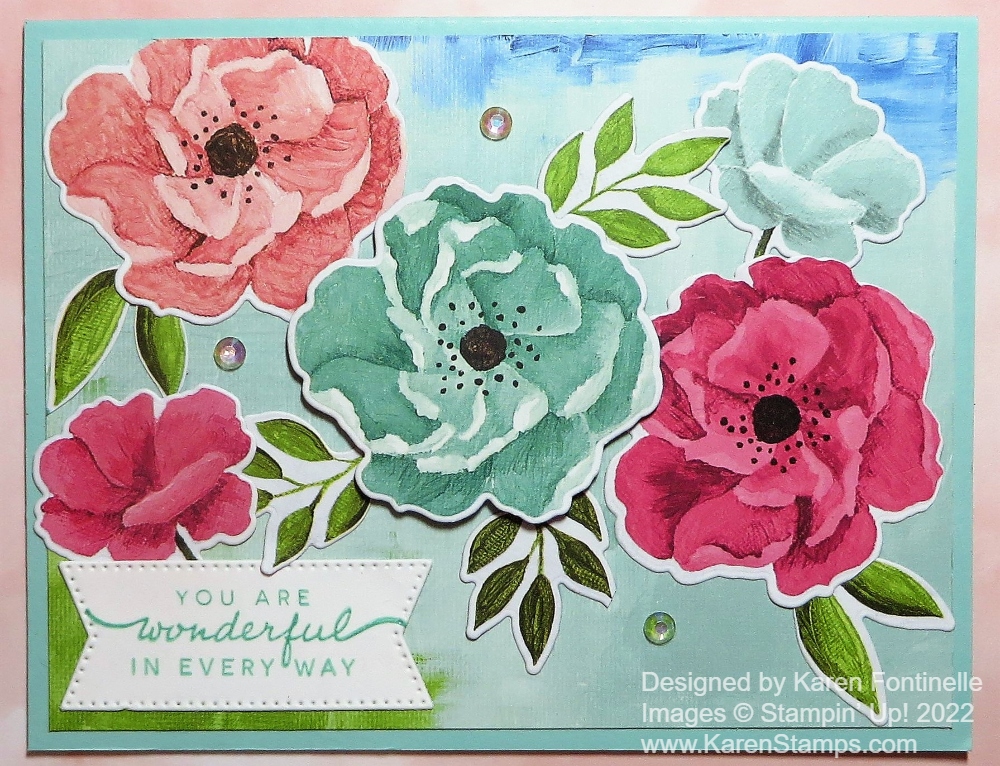
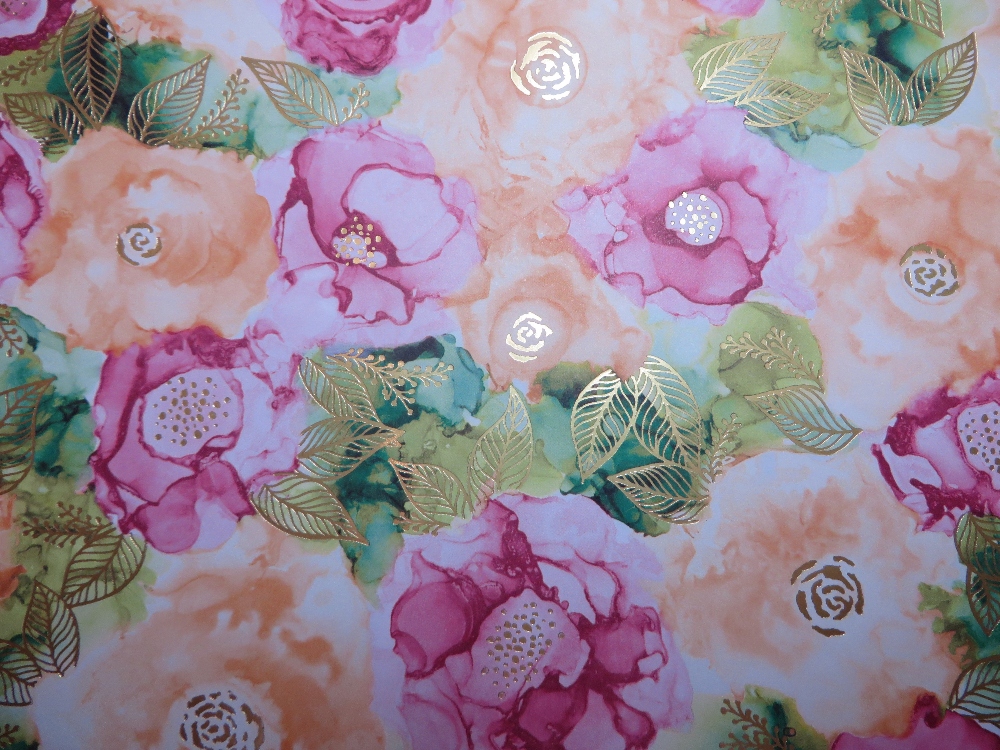
Here is another card I made with the Abigail Rose Designer Paper and Cottage Rose Stamps. If you like the look of this Abigail Rose Colored Flower Birthday Card you may want to check out the Suite or Bundle in the Online Store HERE.