If you happen to run out of wrapping paper as you wrap your Christmas gifts, or gifts any time of year, consider this idea: Wrap Gifts With Designer Paper!
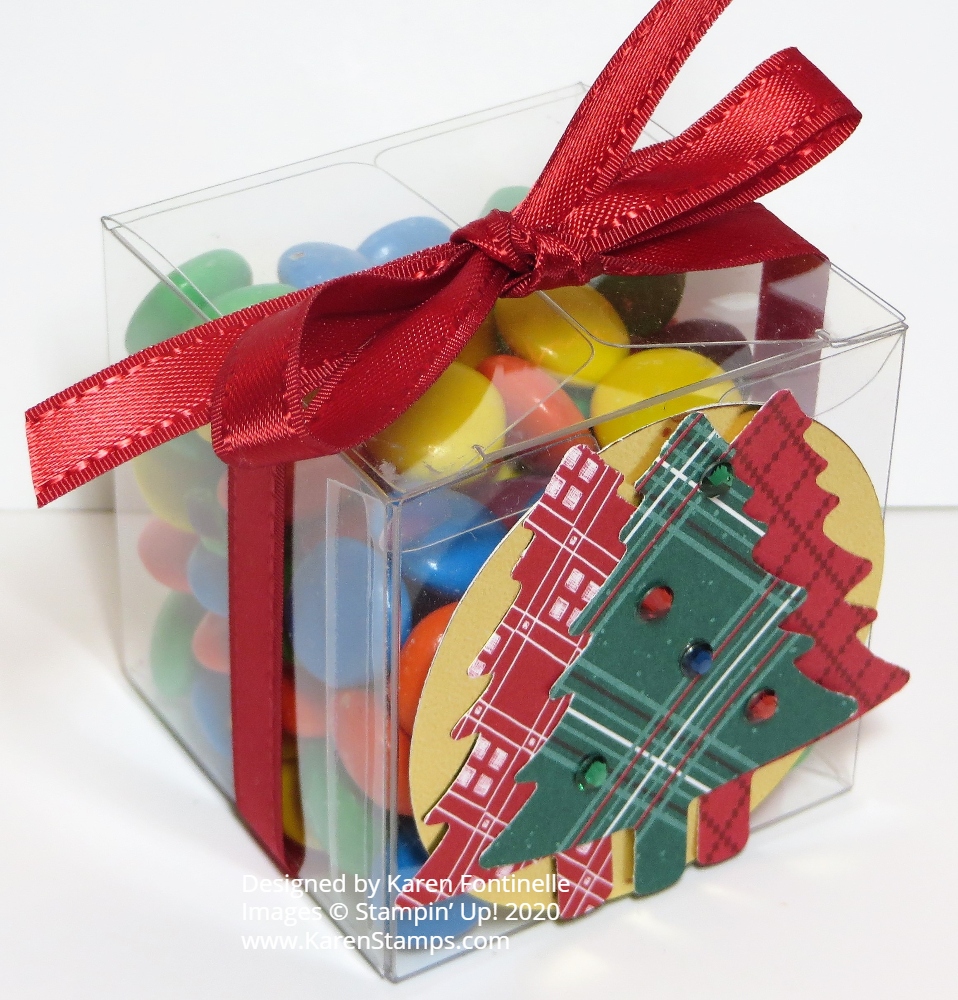
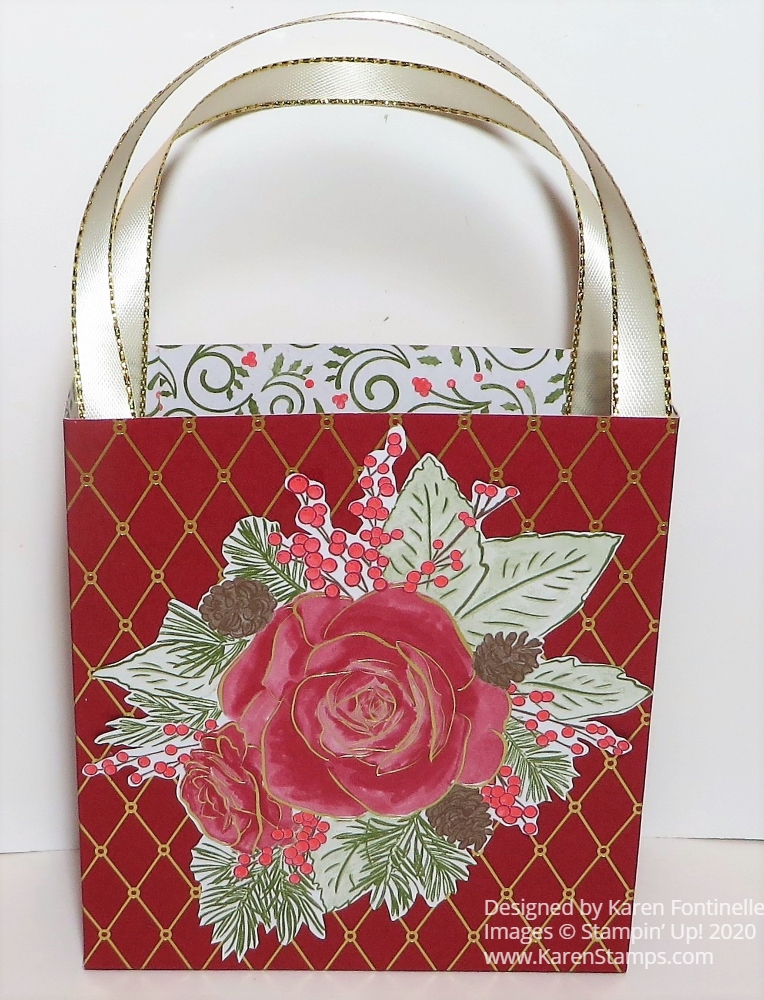
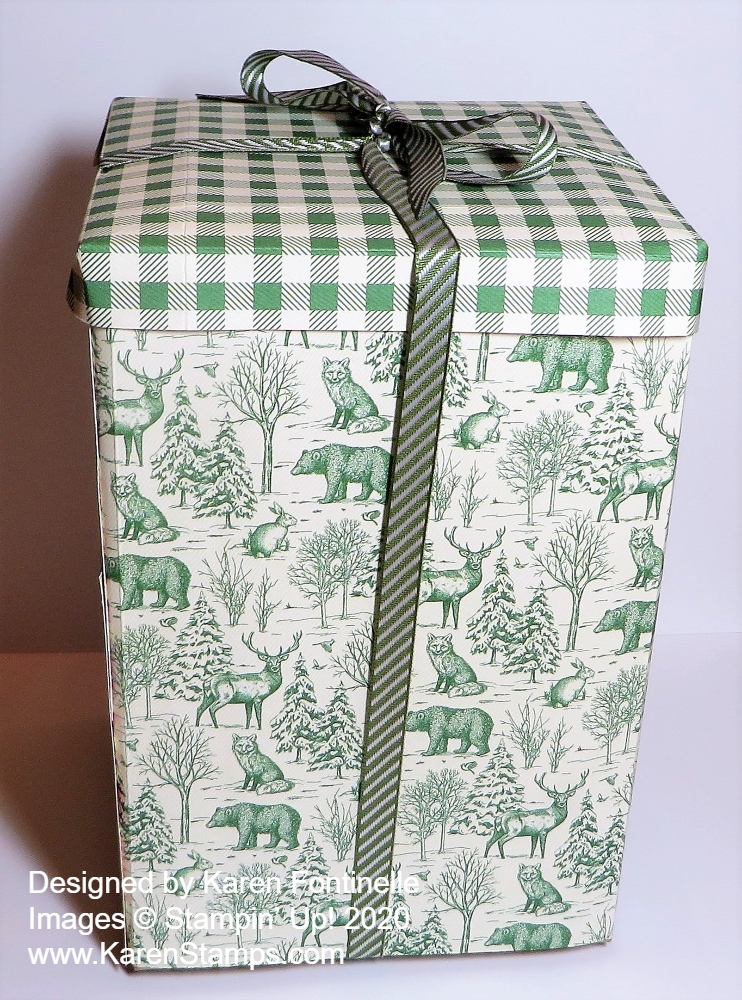
This is a gift for my son and this particular pattern of paper in the Toile Tidings Designer Series Paper I thought would be a fun one for him since he sees some of these animals when he is out hiking where he lives. This paper was in the Holiday Mini Catalog LAST year but surprisingly was carried over to this year. Right now it is discounted on the Year-End Closeout by Stampin’ Up! so it really is a good deal. There is even some “official” Toile Tidings wrapping paper discounted over 50% off on the Clearance Rack right now.
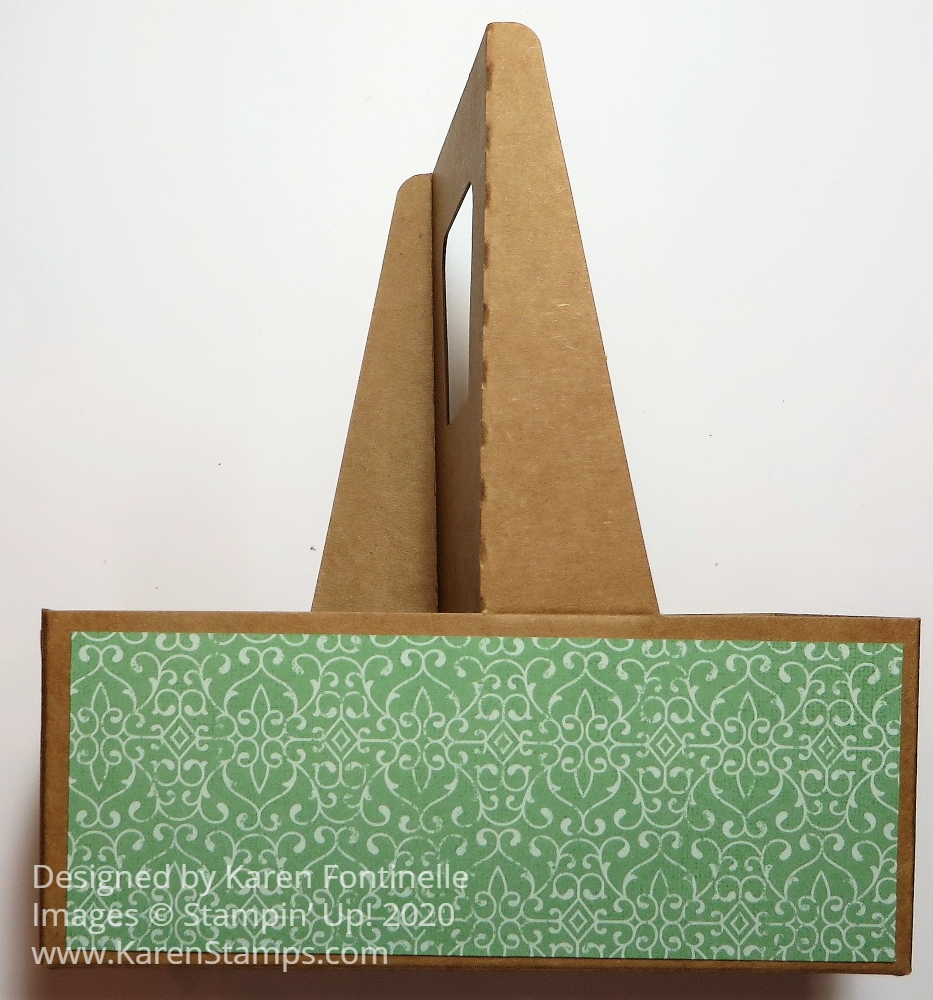
I did not make a box, I just adhered this paper on to the box the gift is packed in. He’s going to have to rip the paper off to get inside the box! I only had one full sheet of this animal paper and another partial sheet so I had to piece it together somewhat. The top is not really a lid, it is another sheet of paper with the checked design folded over the top and that is also just adhered to the box, not really a lift-off lid. I used the Stampin’ Seal+ adhesive for a good strong bond.
The reason I am posting this gift-wrapping idea is to give you a reason to use up your designer paper (maybe especially retired paper that we all hoard!), maybe look for some paper that makes the gift more personalized, and keep you from rushing out to the store for more wrapping paper! You can use some of your old ribbon (or new!) as well.
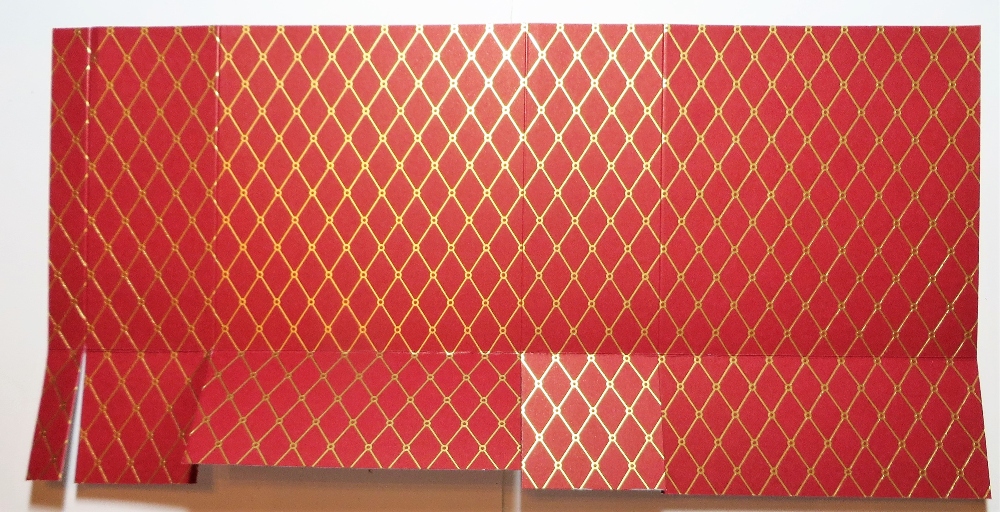
Now yesterday at the same time I was getting ready to wrap this package, Sara Douglass, Stampin’ Up! CEO was going live on Facebook showing an easy way to make designer paper gift boxes with NO CUTTING! I felt like we were both a little bit on the same wavelength! I just sort of tried her method when I made the lid of my box, although, as I said, it’s not a lid that lifts off, it is glued down. But I did the corners as she did!
Here is the link to Sara’s video on Facebook (if it works!). Don’t forget other gift-wrapping ideas you can use rather than spending a lot of money on wrapping paper or rather than running out to the store.
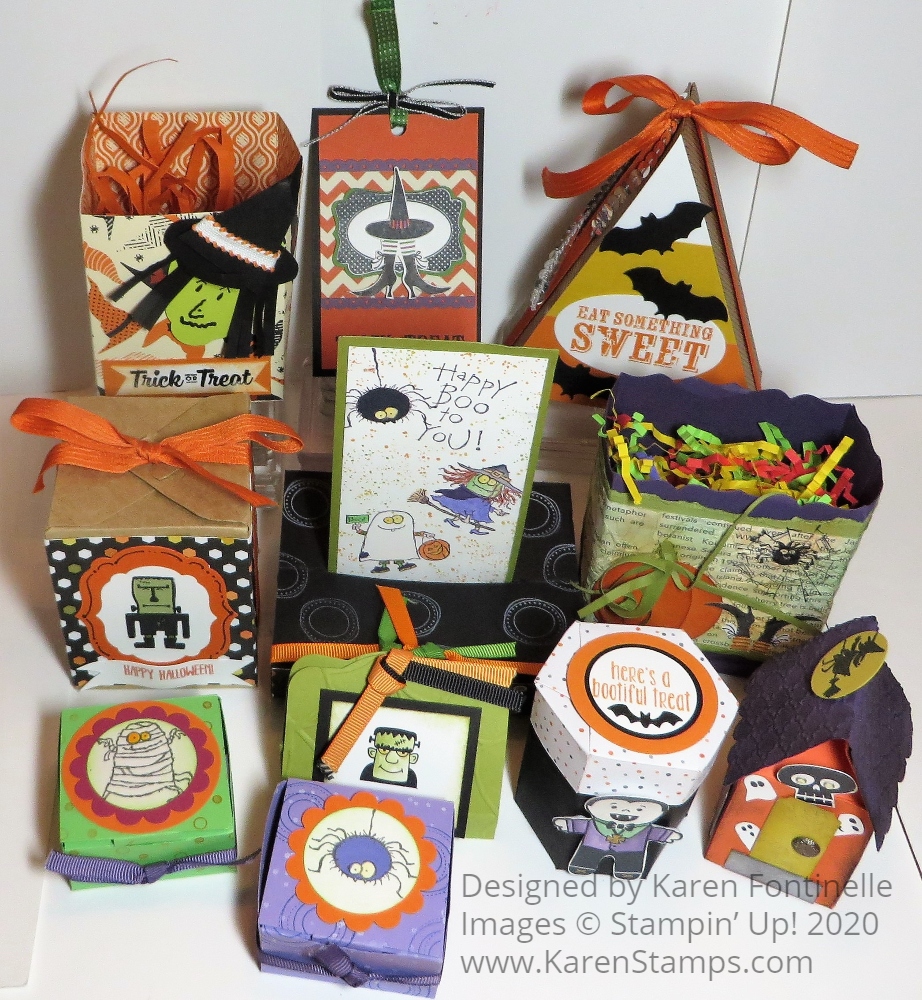
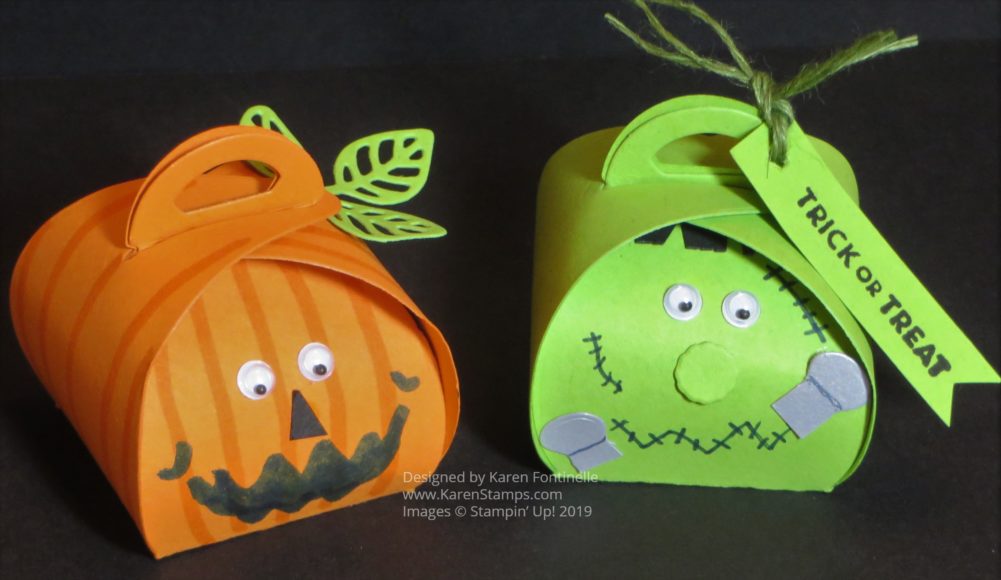
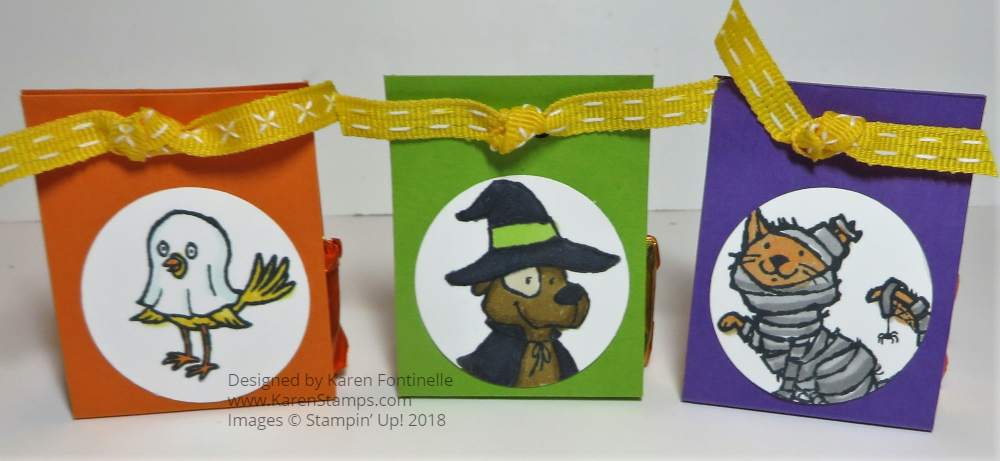
- Use designer paper or cardstock to make small gift bags.
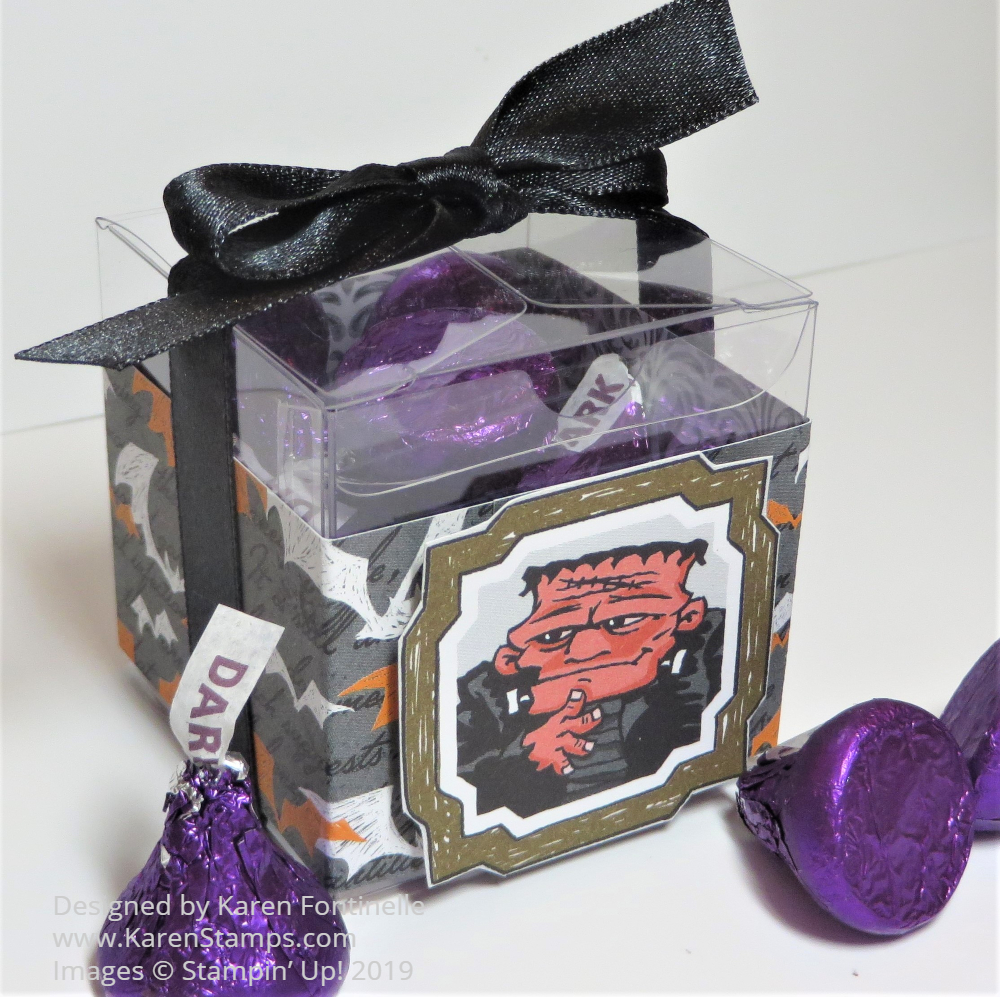
- Use designer paper or cardstock to make small gift boxes.
- Use gift bags you already have from shopping and decorate the front right over the store printing.
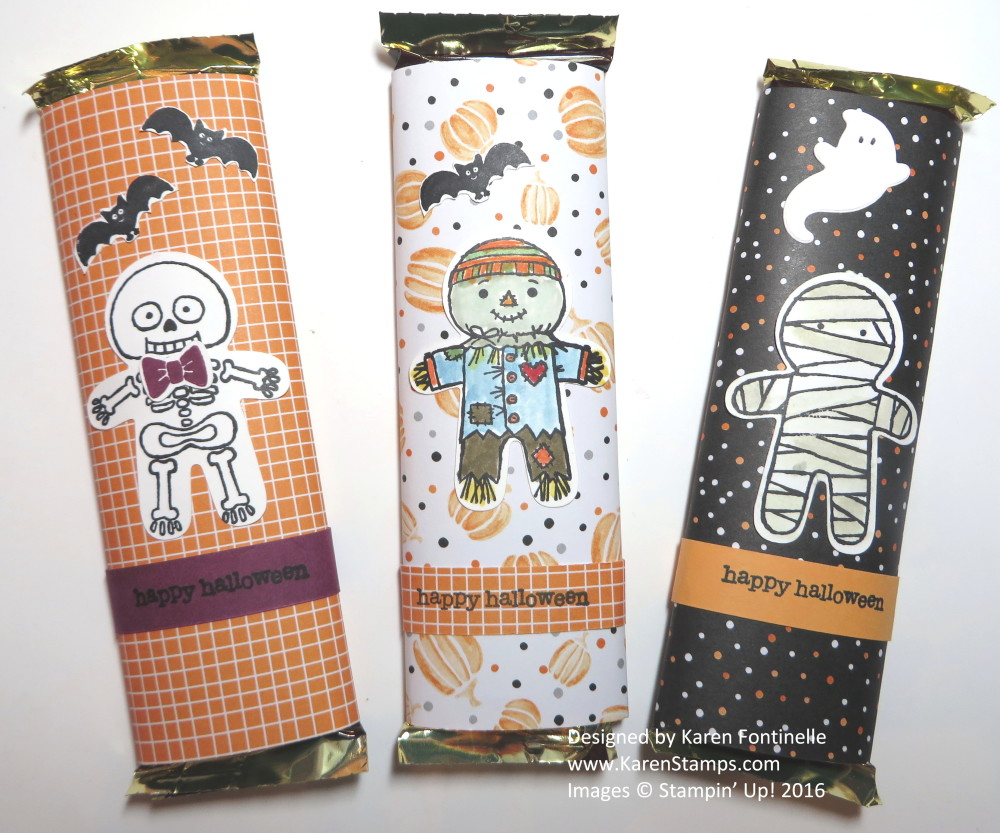
- Stamp on plain white computer paper or cardstock to make your own designer paper to wrap a gift.
- Decorate kraft or white lunch sacks you may have in your pantry to hold a gift.
- Stamp on or use brown packing paper you might receive in shipped gifts and then embellish the package with Stampin’ Up! ribbon and embellishments.
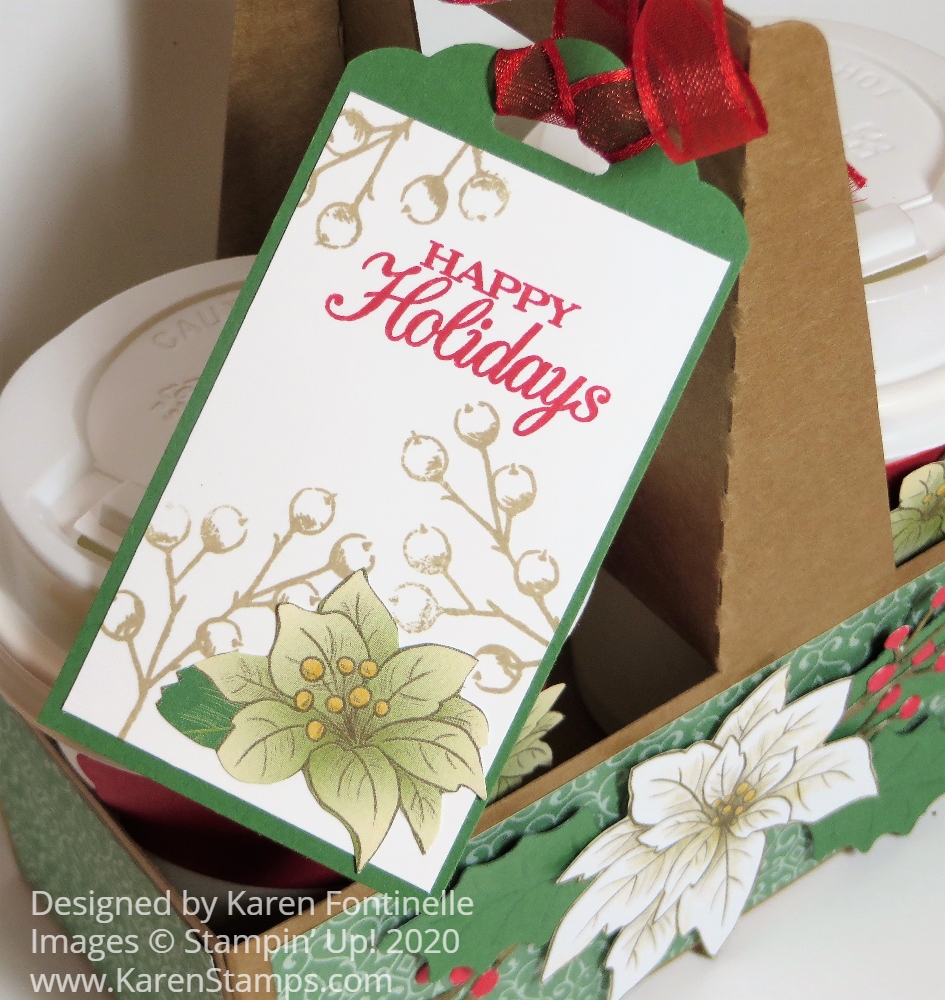
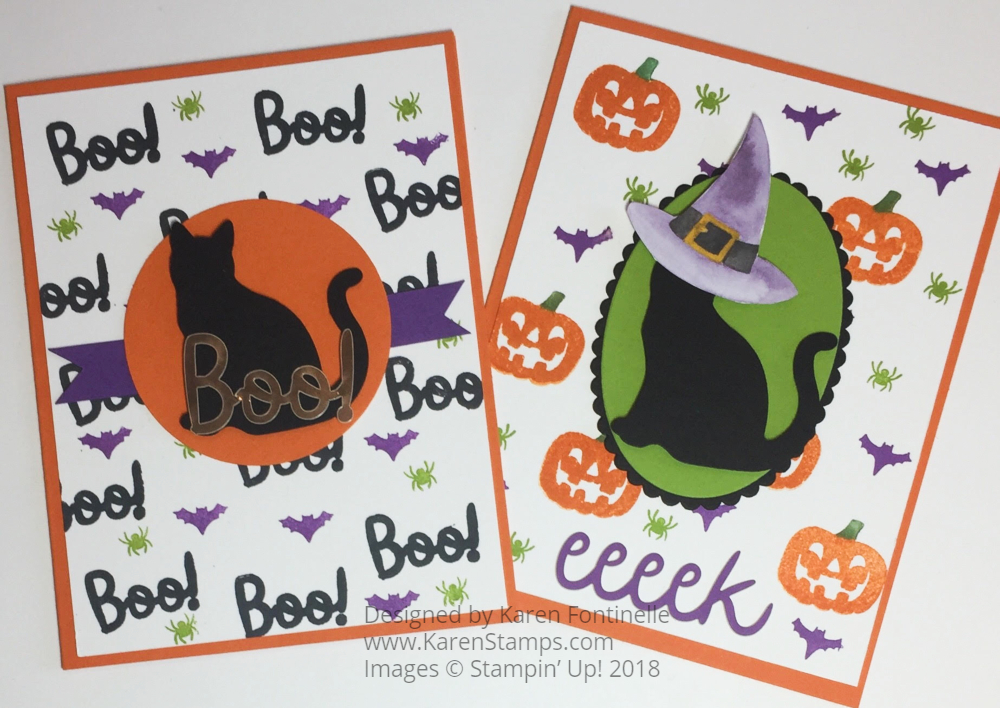
- Make your own gift tags with kits, punches, or die-cut squares, rectangles or circles.
Those are just a few ideas I hope you will find helpful as we all get pressed for time! I think we all have designer paper that we can spare for wrapping gifts that will make a high quality gift presentation! Keep that idea in mind of wrapping gifts with designer paper whether for Christmas now or future occasions!