You may think it is early to subscribe or reactivate your account in order to receive the June 2020 Paper Pumpkin Kit, the Box of Sunshine, but be forewarned this kit is likely to be popular and could sell out! Get yourself signed up TODAY!
What is so special about this Paper Pumpkin Kit?
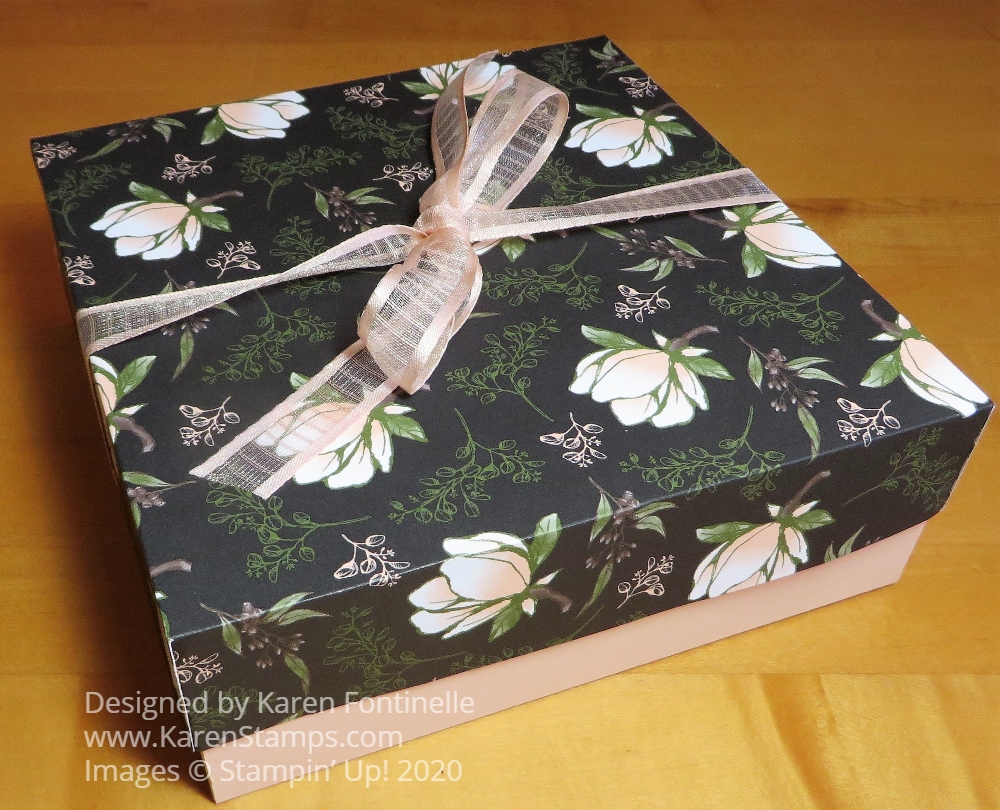
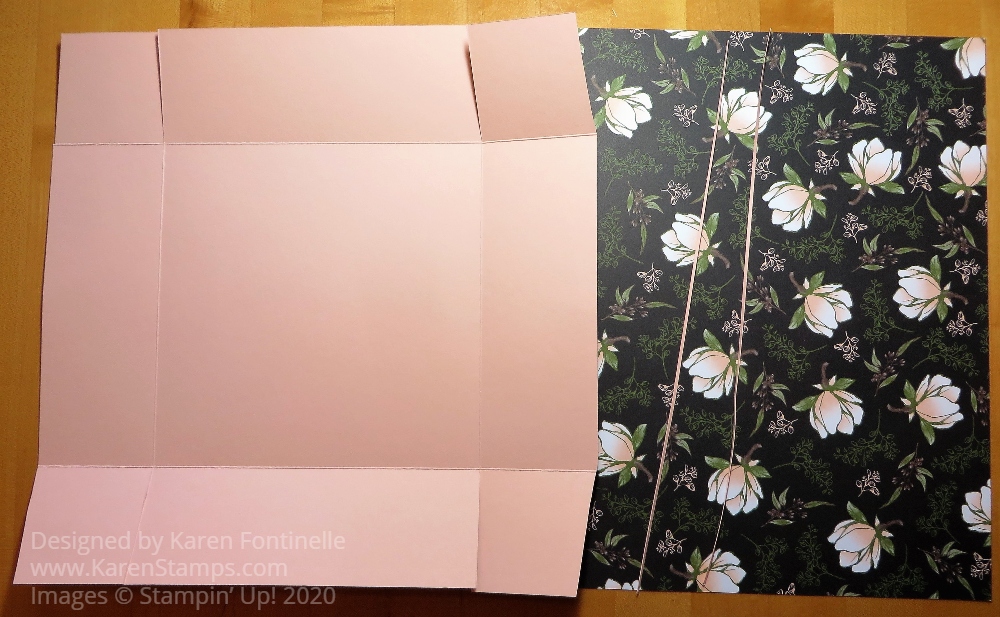
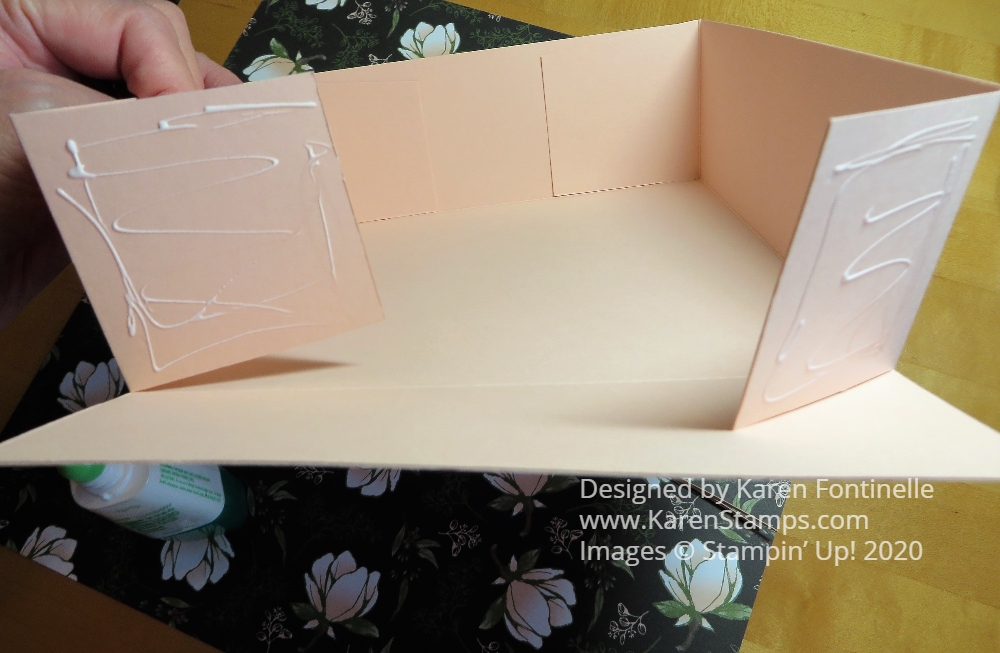
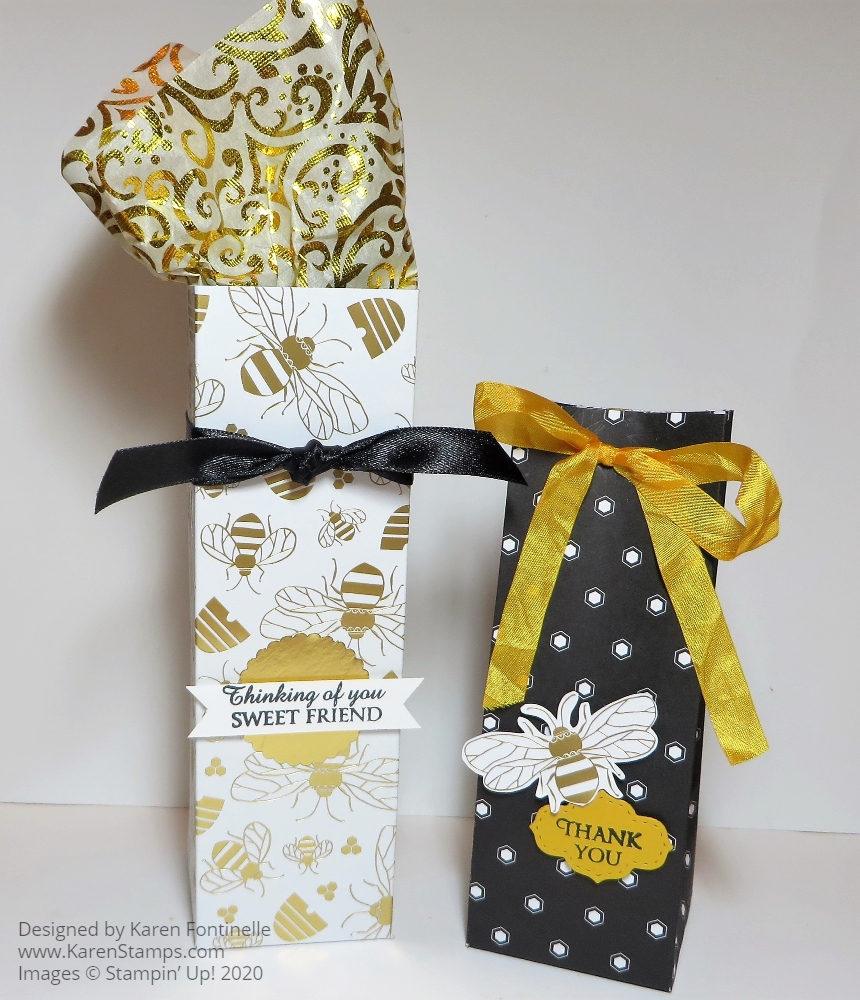
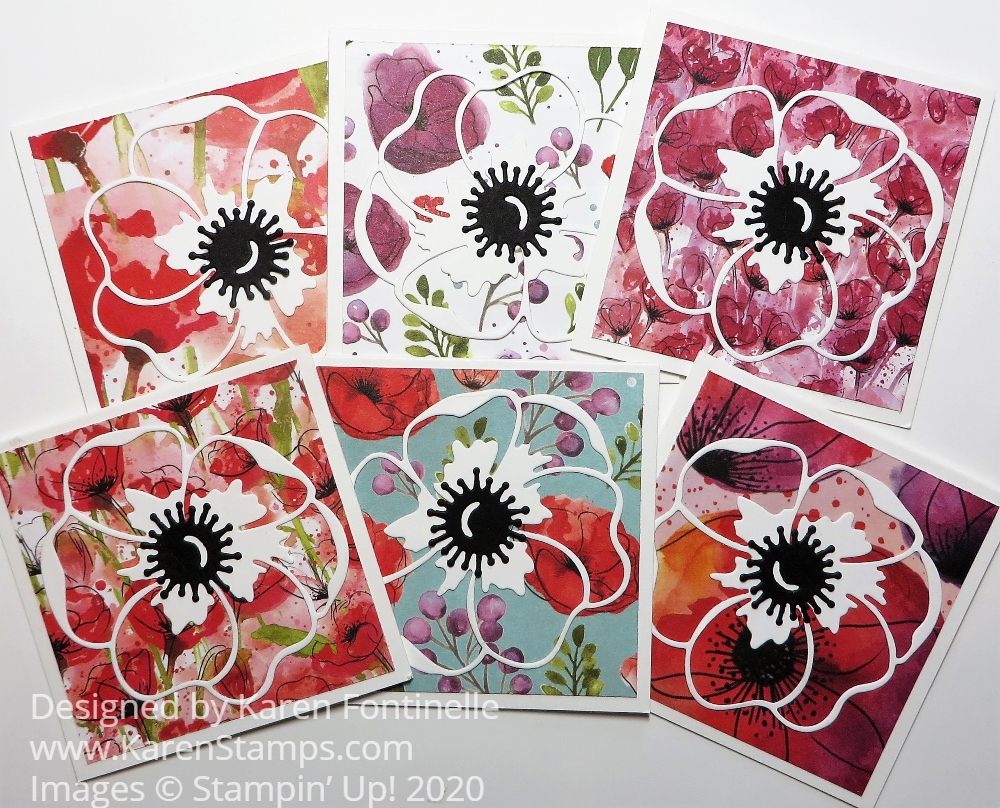
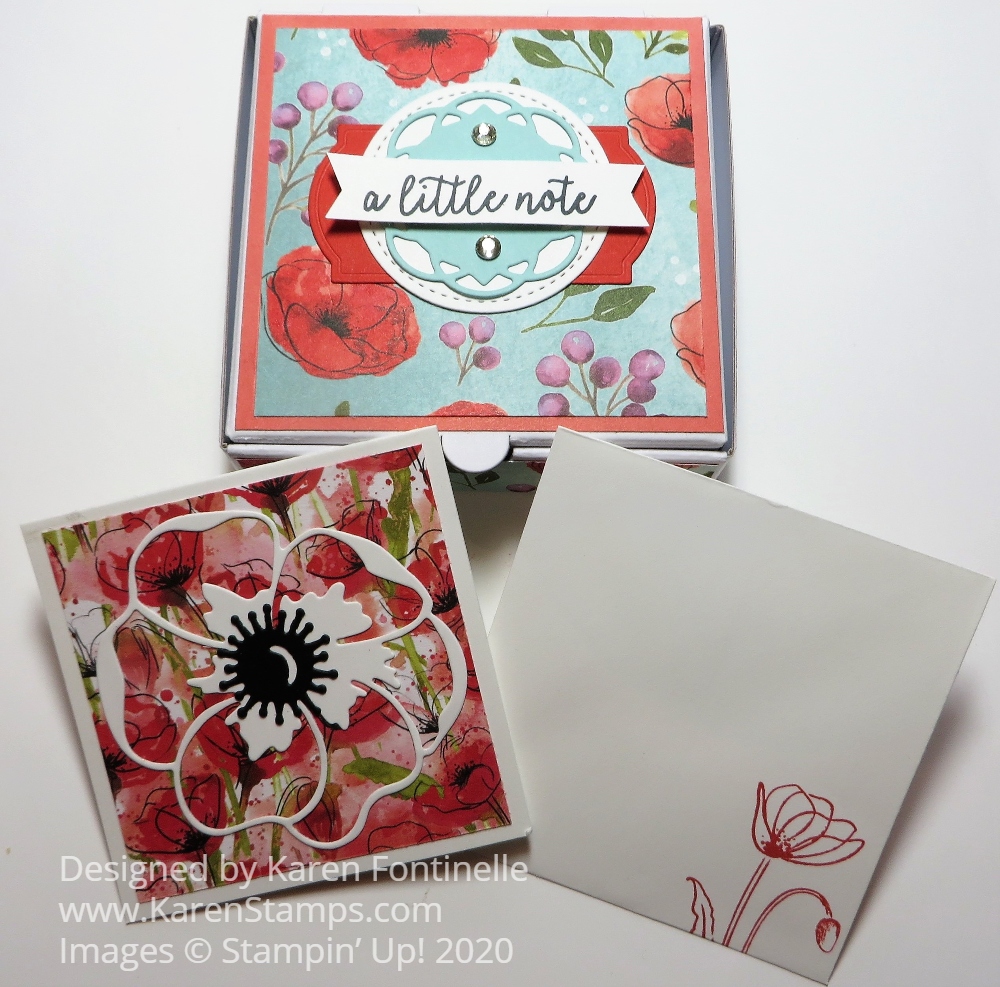
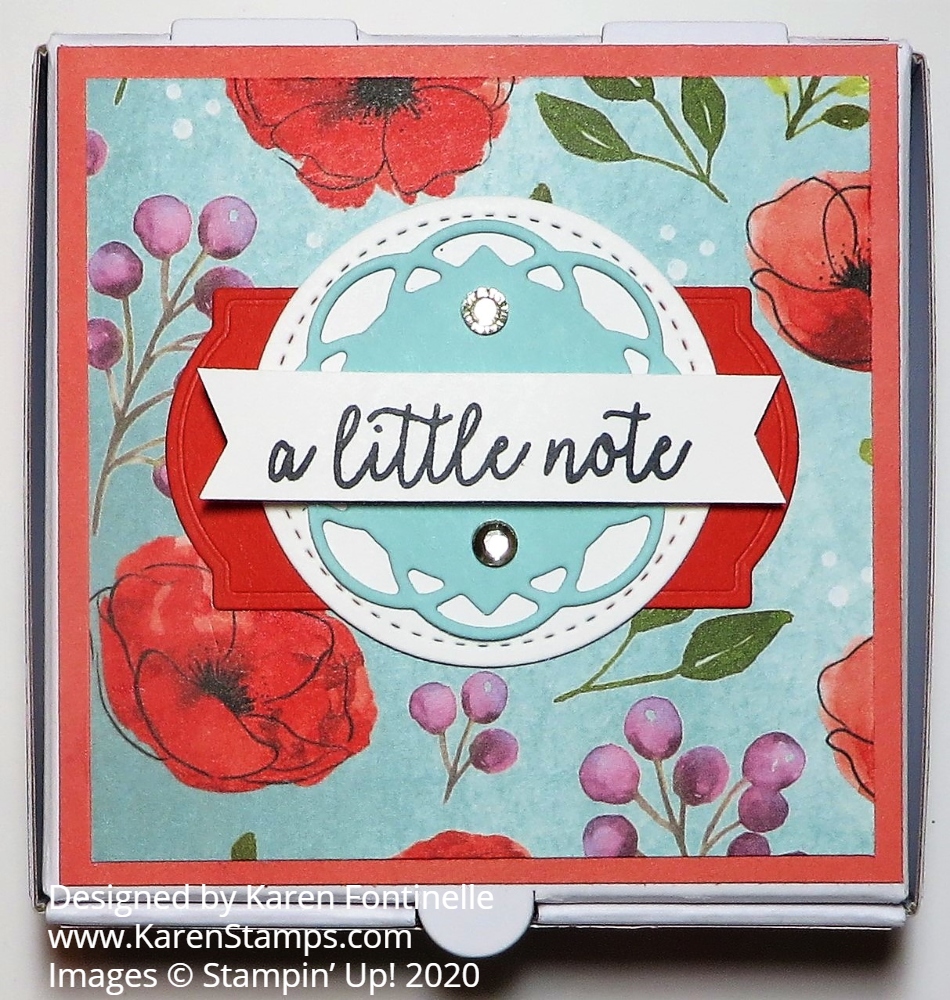
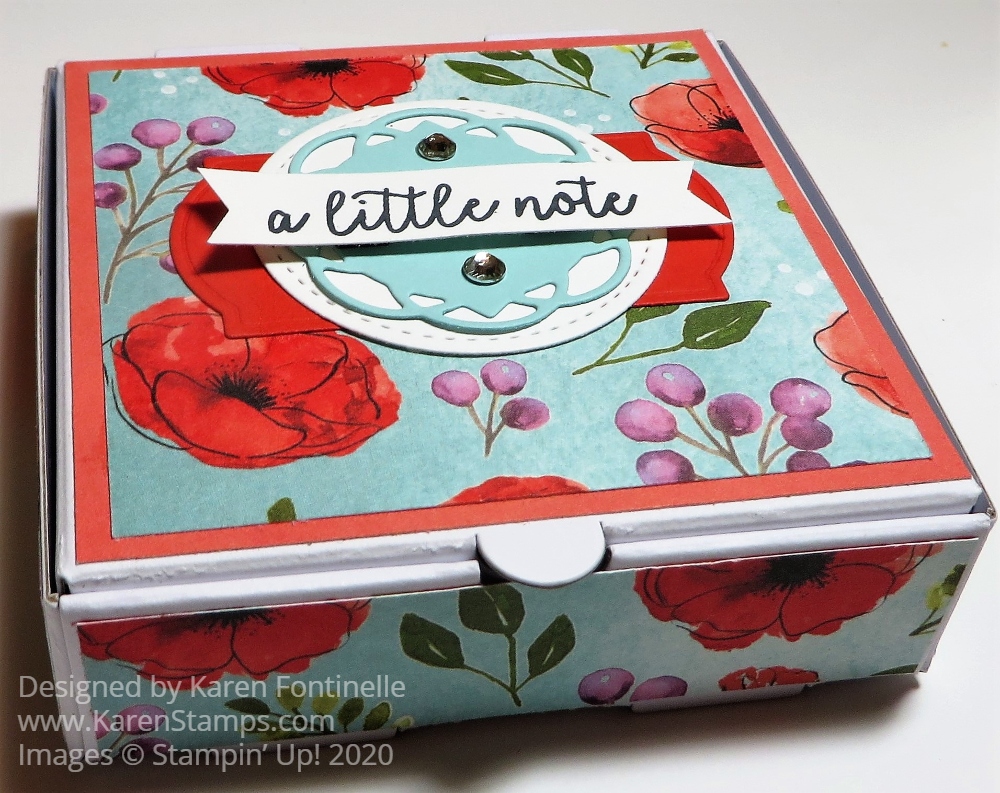
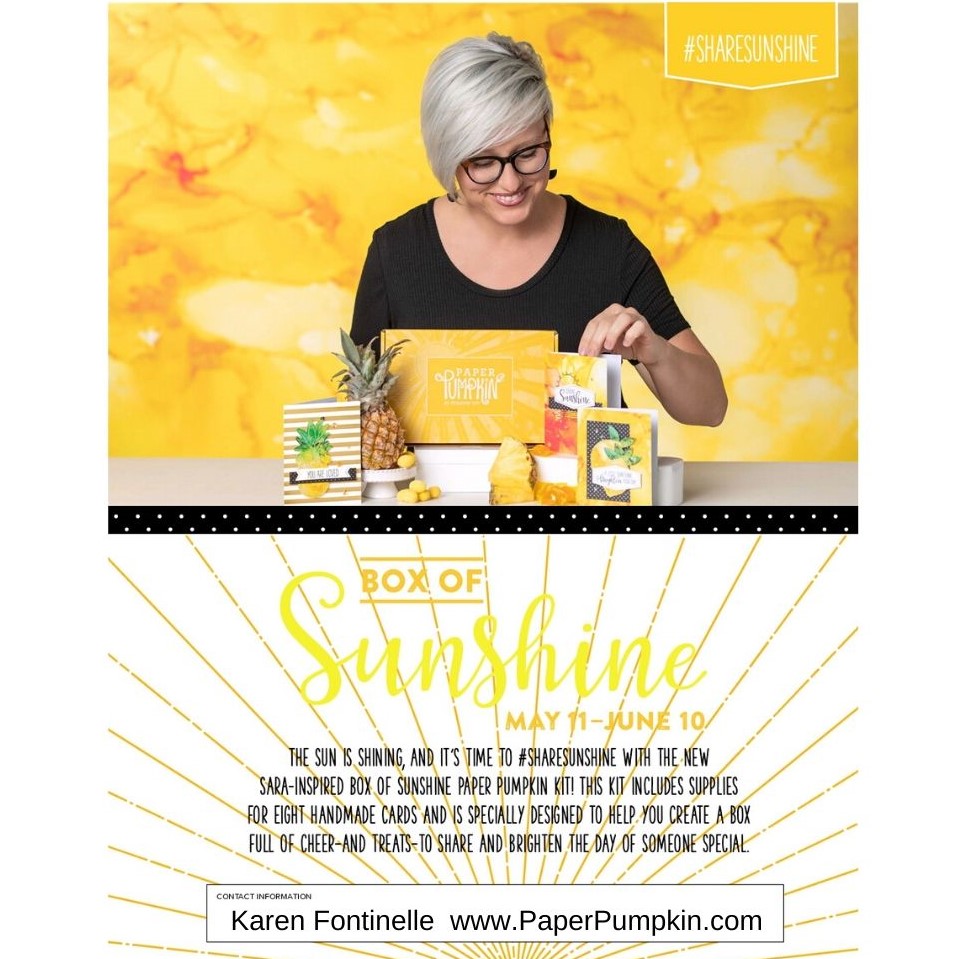
This exclusive Sara-inspired Paper Pumpkin kit is here to help you #sharesunshine. It includes supplies for eight handmade cards and is specially designed to help you create a box full of cheer. Once you’ve made all the cards, use any leftover pieces to decorate the box. Fill it with yellow goodies, add the included adhesive label, address it to someone special, and brighten their life with a little sunshine!
ABOUT THE JUNE KIT
The Box of Sunshine Kit contains supplies for 8 cards and envelopes (2 cards of 4 designs):
Card size: 4-1/4″ x 5-1/2″
Envelope size: 4-1/2″ x 5-3/4″
Coordinating Colors: Basic Black, Bumblebee, Crushed Curry, Poppy Parade, Shaded Spruce, White, and Gold
Box of Sunshine Information
This kit includes extra pieces and stickers (including a sticker label) to help you create cards AND a Box of Sunshine filled with treats and goodies to send to a friend. (Treats not included.)
The May 2020 Paper Pumpkin Kit with the new In Colors inside sold out in a flash, before May 1st! Don’t delay if you want this June Paper Pumpkin Kit because I think people will order multiple kits to give with treats inside and will be popular, especially because anything Sara Douglass helps design will be something special!
The deadline for signing up or reactivating your account is June 10 but I wouldn’t wait that long!
You can also add a Prepaid Subscription to your Stampin’ Up! order of one month or several months or even give this as a gift. If you want to do this, you can combine it with your order from the new Stampin’ Up! catalog and perhaps boost your Stampin’ Rewards if you have a large enough order! You will receive an email with directions for setting up your account and how to input the code showing you have a Prepaid Subscription.