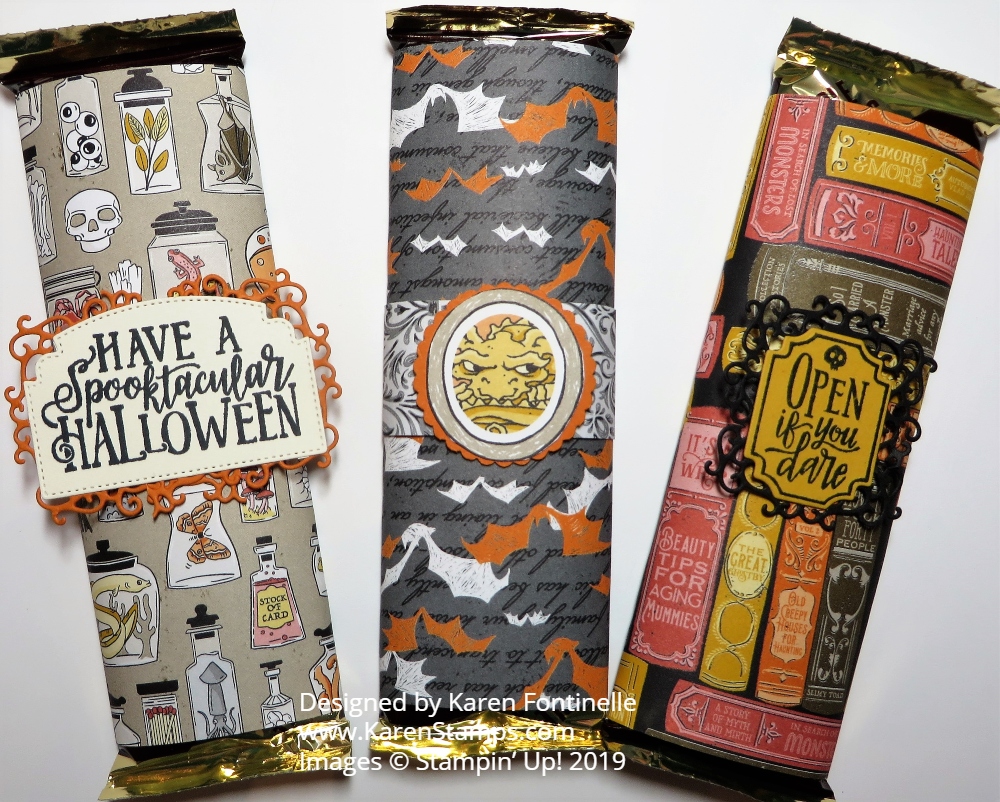
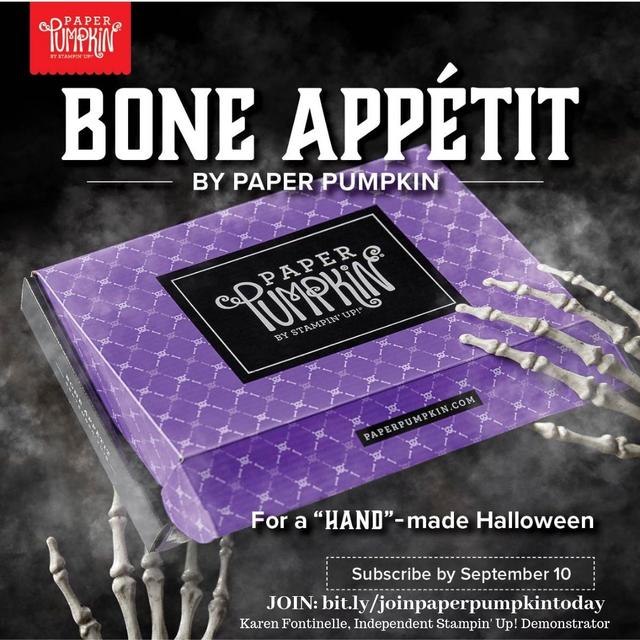
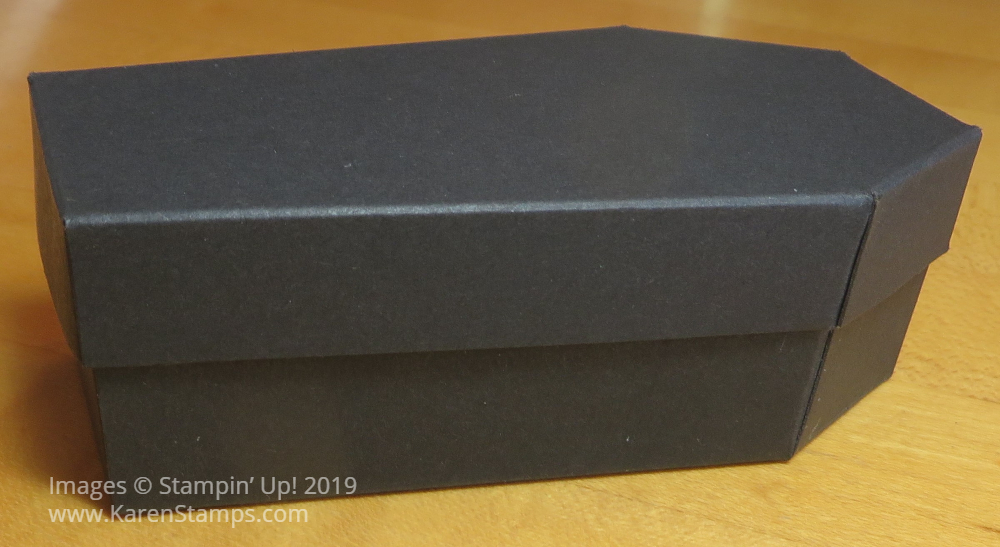
You know how they say little kids have the most fun playing with the box a gift came in? In this case, I had a lot of fun playing with the Paper Pumpkin box to make a Haunted House! I also had a lot of fun making the cute treat boxes in the Paper Pumpkin Kit! The first haunted house idea came from a Stampin’ Up! employee who then did a Facebook Live explaining his tips on making your own haunted house out of the Paper Pumpkin September Kit box. It was a special edition box in Gorgeous Grape instead of the usual red so that really lent itself to making a haunted house!
I followed the same pattern that the Stampin’ Up! employee found online. It needed to be enlarged and then printed and then placed on the opened box. A couple of pieces had to be reversed so that the outside of the box was on the outside of the house. I found a video online of a lady who made the house and showed exactly how she laid out her pieces. However, I wanted the outside of my house to have the pattern going in the correct direction so I laid my main pieces out a little differently. It all worked. You might want to make a practice house out of other cardboard or cardstock to see how it all goes together but I jumped right in!
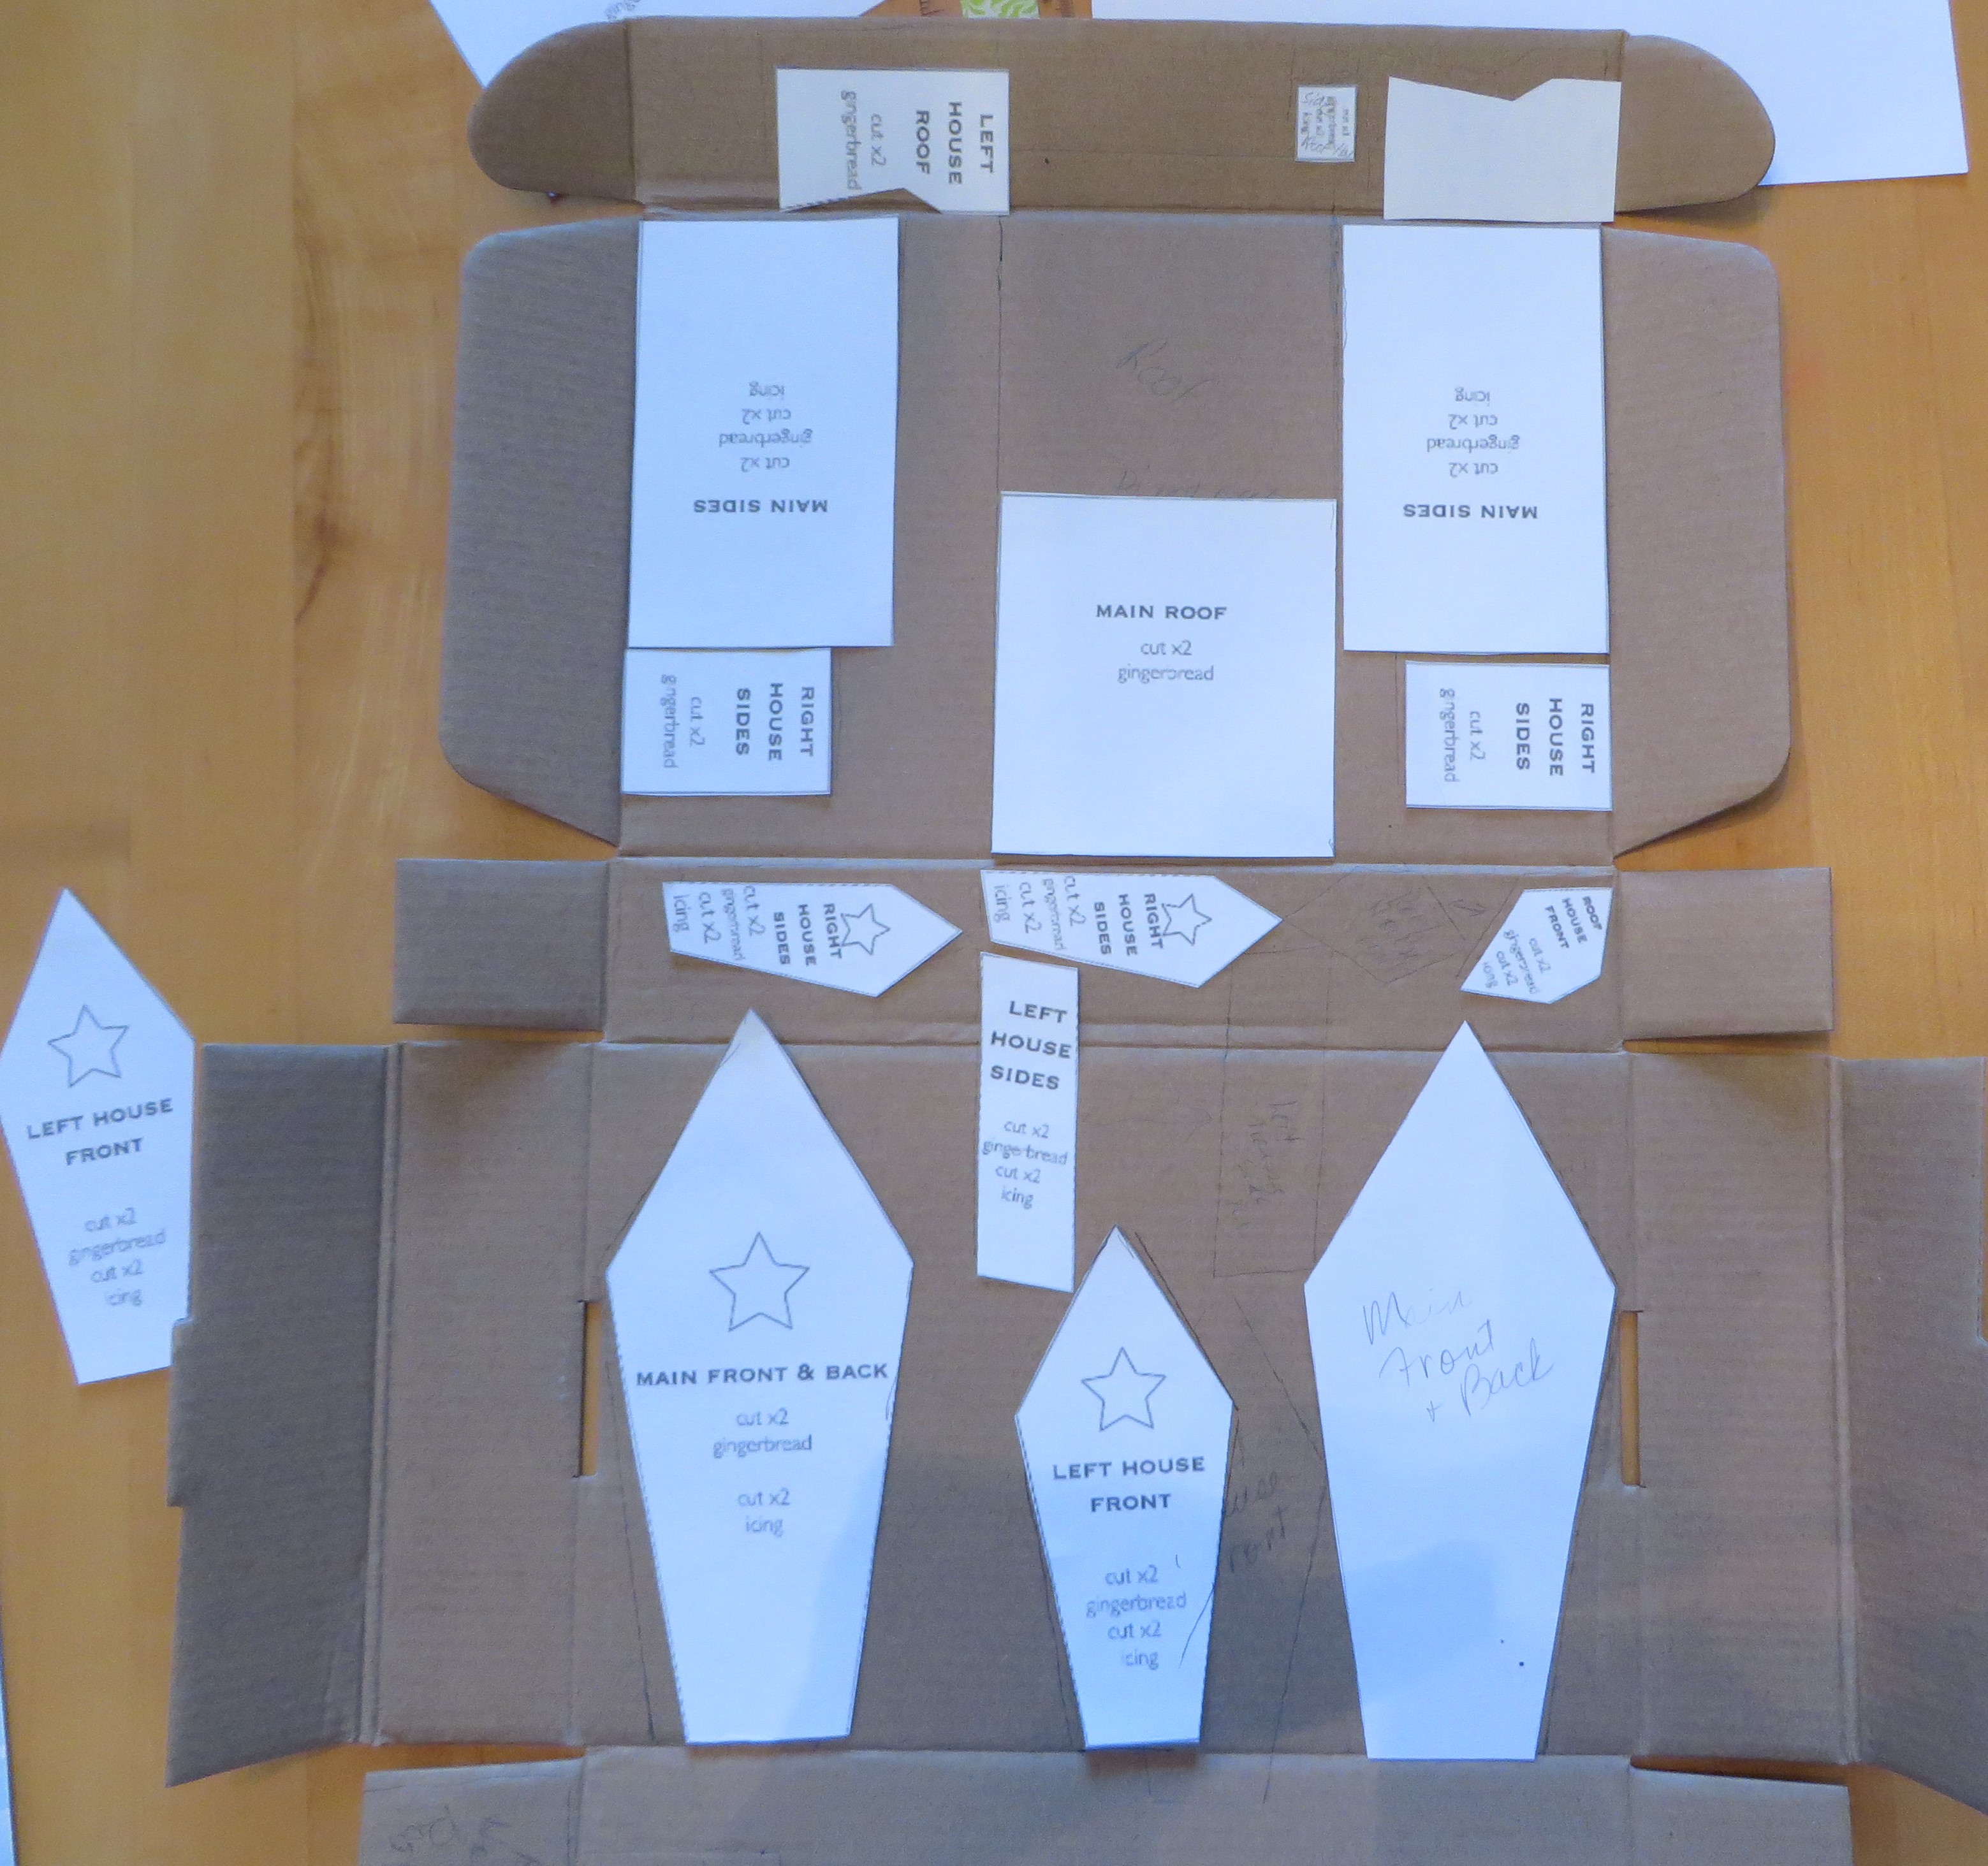
Be sure to label the pieces as you trace them and cut them out. Use a heavy-duty scissors or utility knife of some kind. Hot glue is recommended for assembling the house. The thing is, since it is a “haunted” house, you don’t have to worry about strings of hot glue or glue that shows or house pieces that aren’t perfectly straight because any pieces that are “off” just make the house look even spookier!
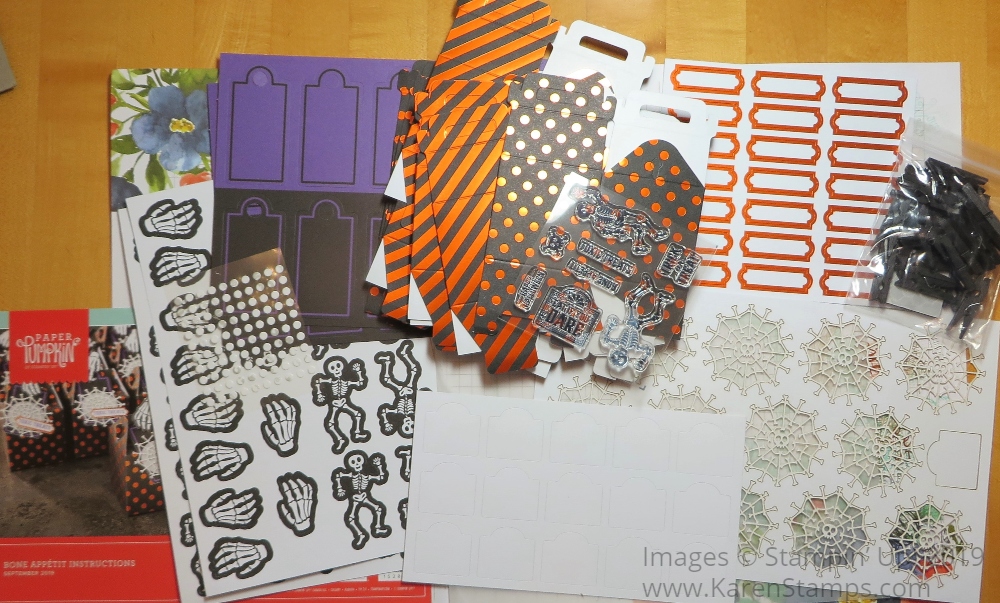
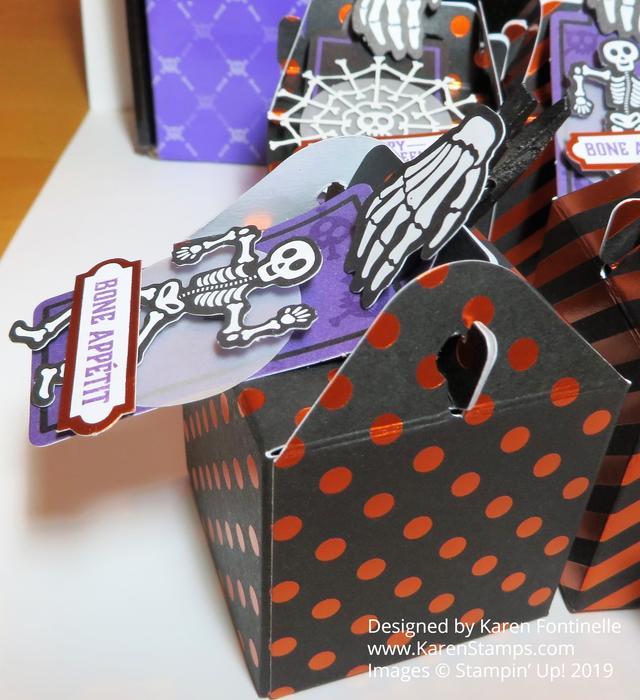
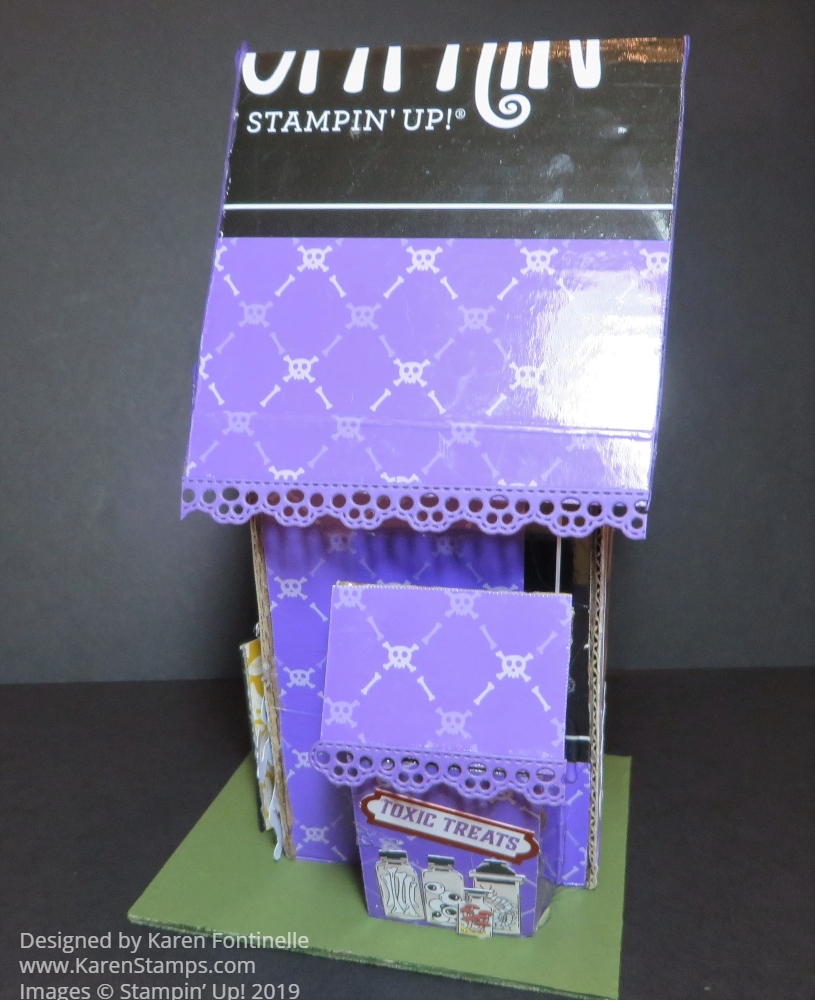
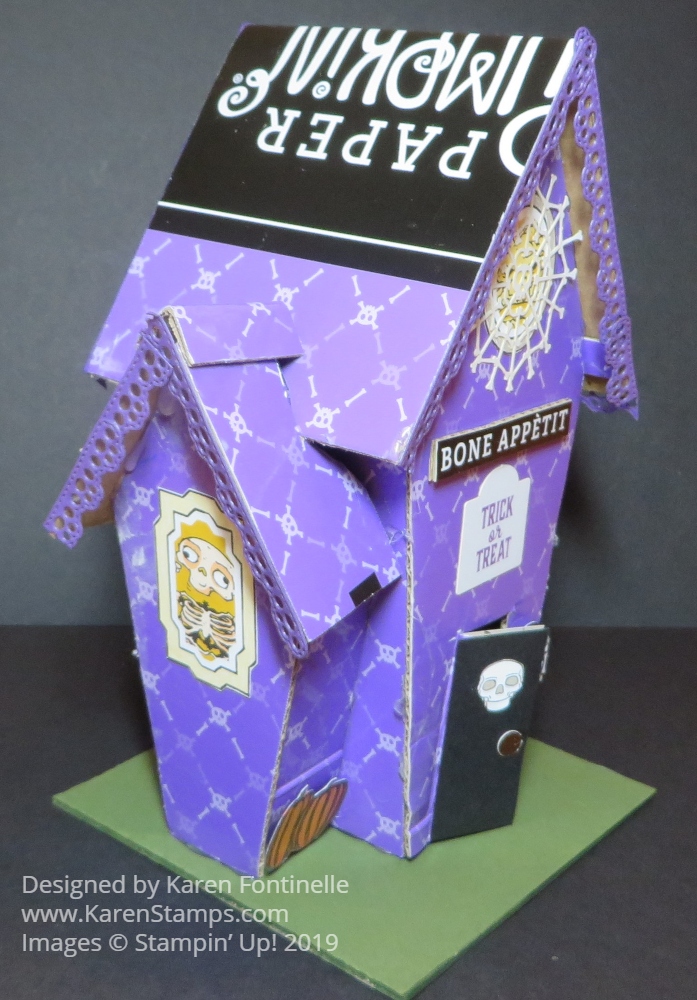
After assembling the house, use whatever embellishments or pieces from the Paper Pumpkin Kit to decorate the outside of the house. I also used images from the Monster Bash Designer Paper. I didn’t decorate the roof of the house because I like the “Paper Pumpkin” showing on the top!
To get the mailing label off the outside of the box, use your heat gun and then peel it off. I don’t think you will get all the adhesive off so just pounce the Embossing Buddy all over it, which will still show the powdery effect but that’s okay because it is a haunted house! And I put that piece on the back of the house anyway!
For the base, just cut a piece of any other cardboard according to the pattern and cover with Mossy Meadow Cardstock if you like. I cut a door in mine but you could also just adhere something to look like a door. I cut out the UPC number from the box, planning to use it as the “address” on the house, but I lost it because it was so small!
This was really fun to make and easier than I thought to assemble. If you don’t have a Paper Pumpkin box, just use other cardboard and decorate. As I write this post, you CAN purchase the same Bone Appetit Kit and refill in the Stampin’ Up! Online Store but you must be a subscriber to access this category. Sign up now for Paper Pumpkin and get the Holiday Kit coming in November and possibly the past October kit for holiday cards!
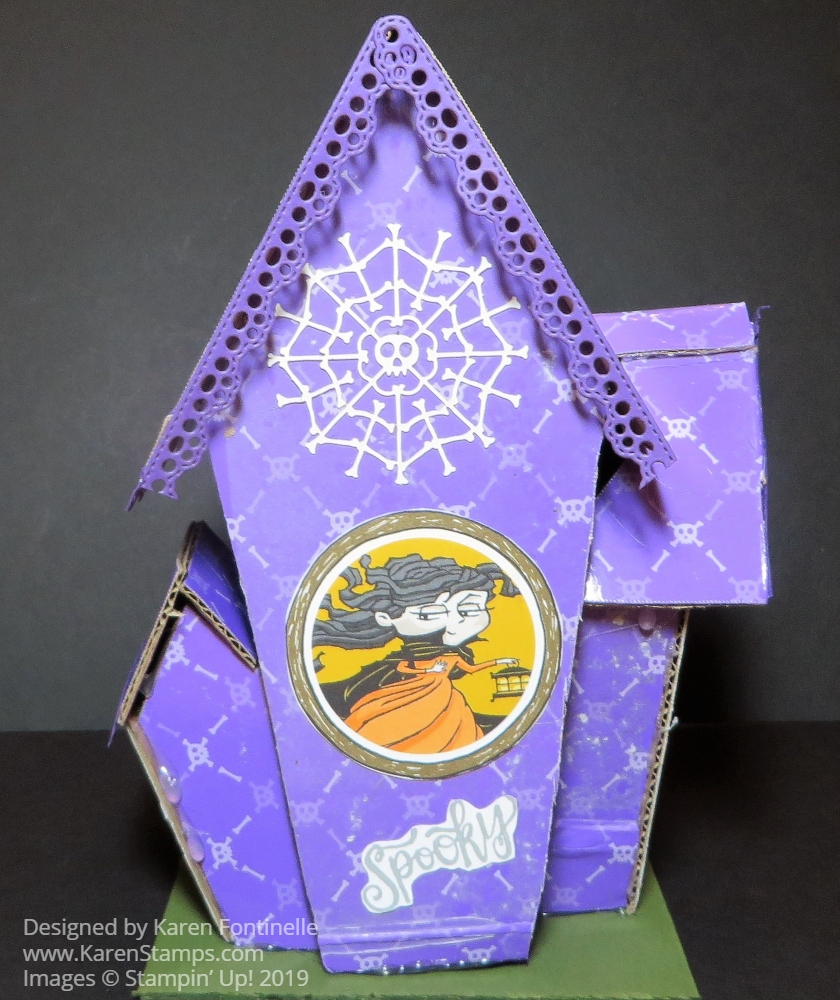
Here are photos of the other sides of the house!
Here is a link to the Stampin’ Up! directions and tips.
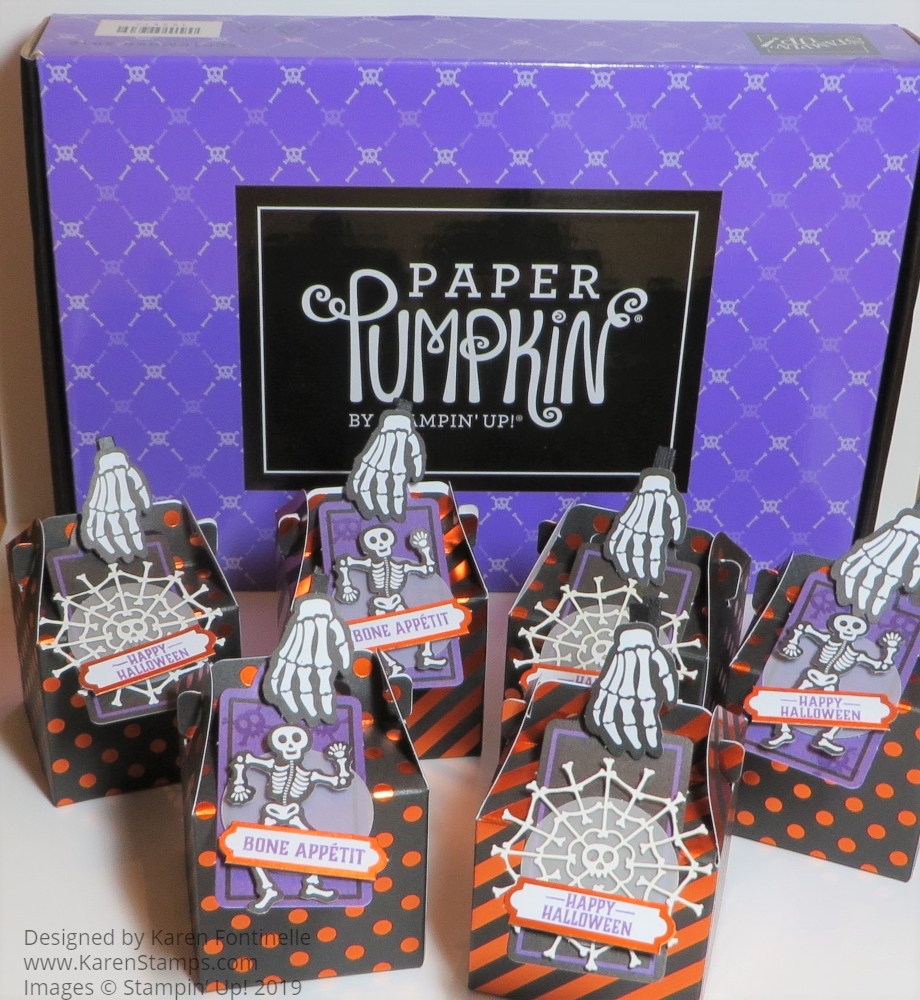
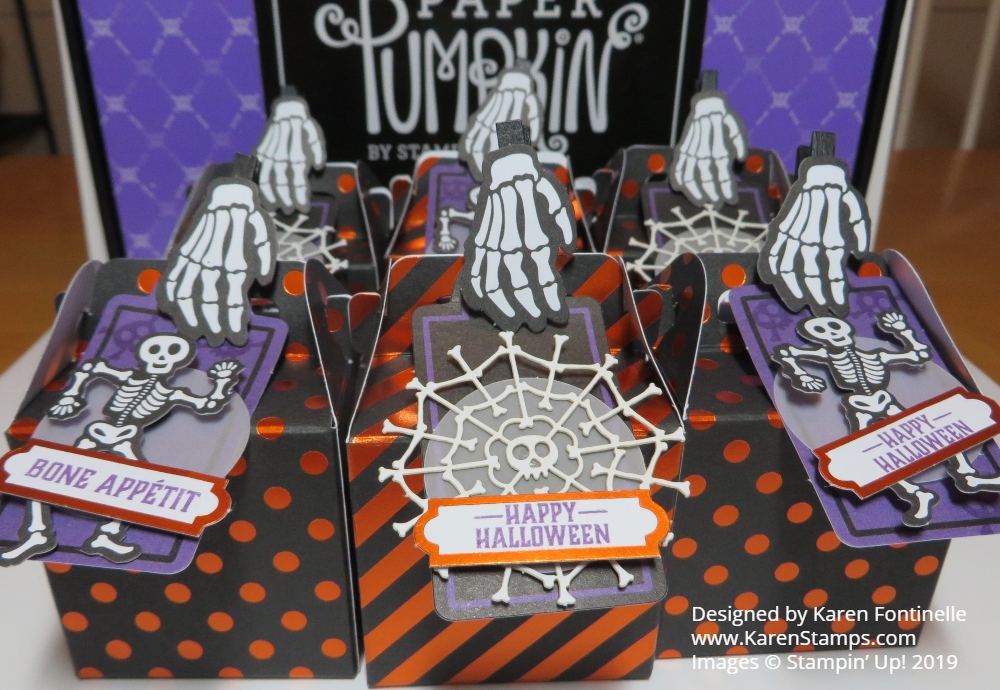
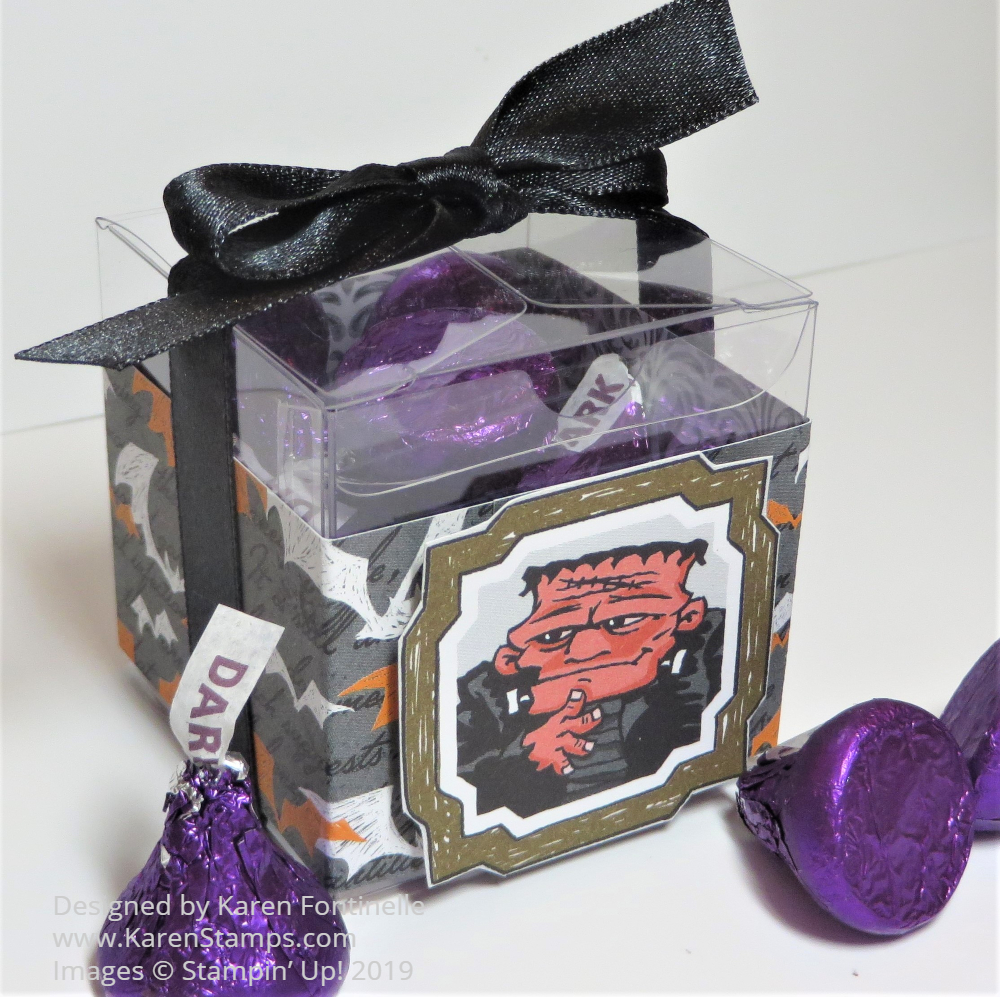
Have fun turning your Paper Pumpkin box into a haunted house after you make the fun treat boxes that are inside!