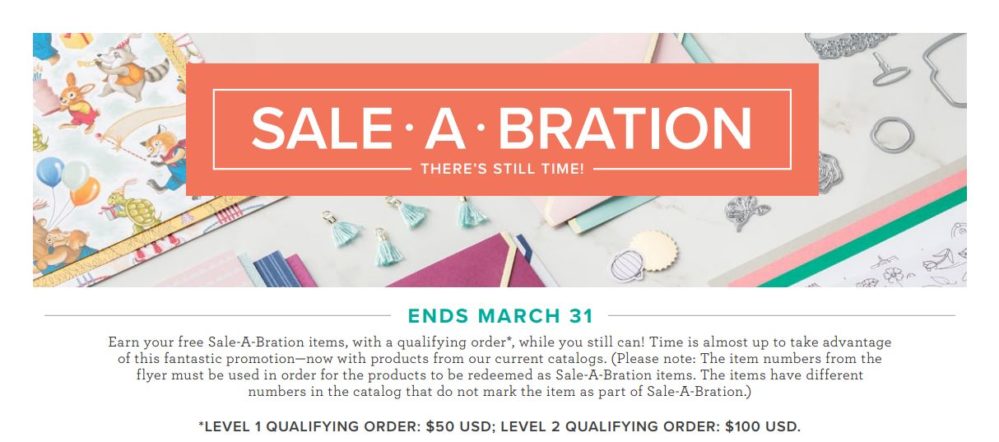
Hard to believe, but this is the last weekend for Stampin’ Up! Sale-A-Bration! Seems like the holidays just ended, the new Occasions Catalog came out and Sale-A-Bration started! Whether you have already placed your order or not, the deadline is tomorrow night for sure! We all like free stuff and what is better than Stampin’ Up! free stuff during Sale-A-Bration!
Here are some of my favorite projects I made with SAB products!
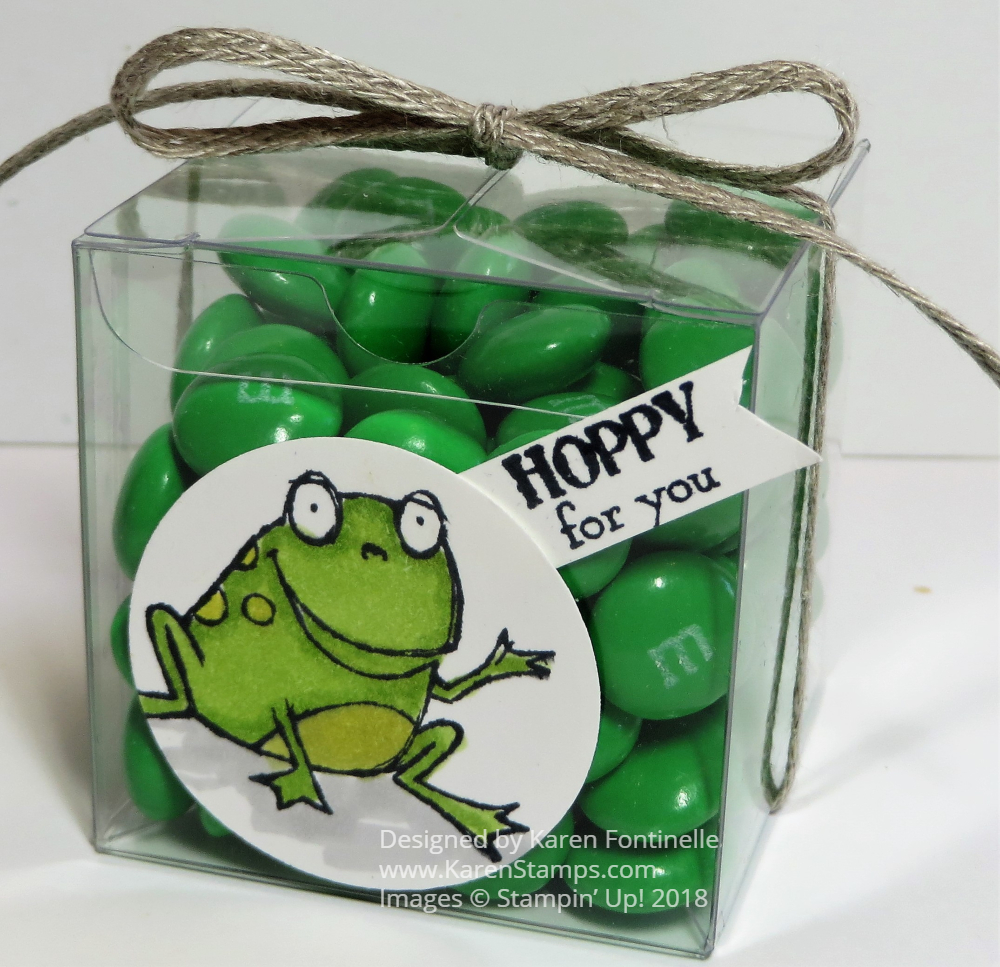
Tiny Treat Box With So Hoppy Together Frog
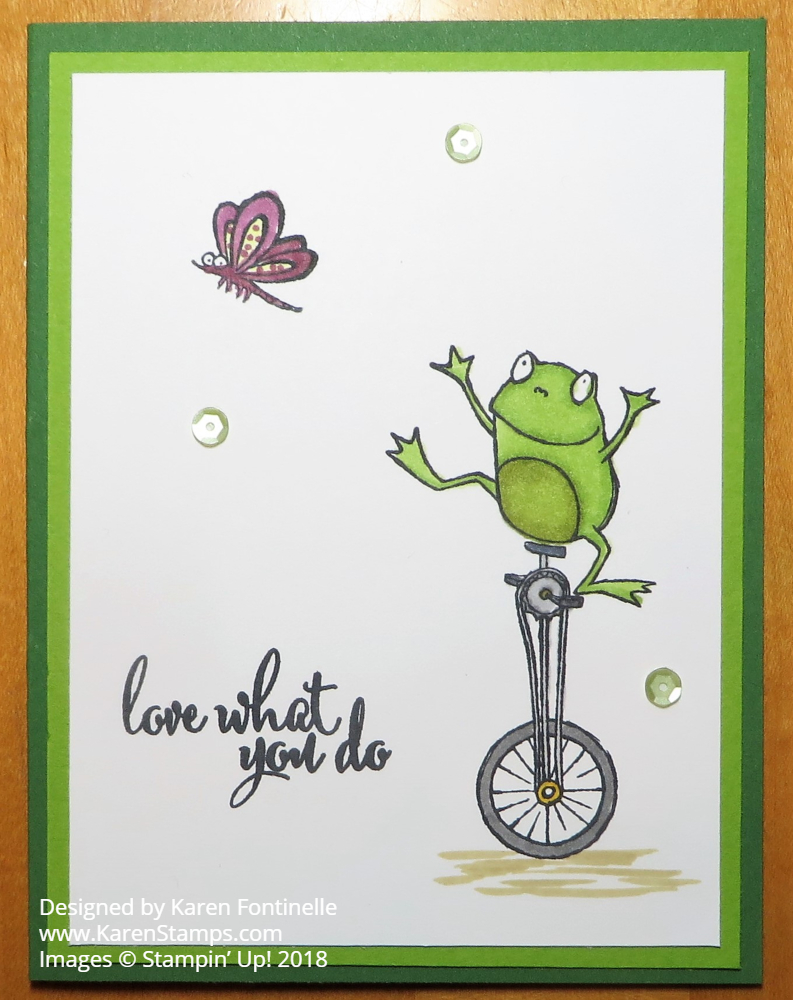
Love What You Do Frog Card
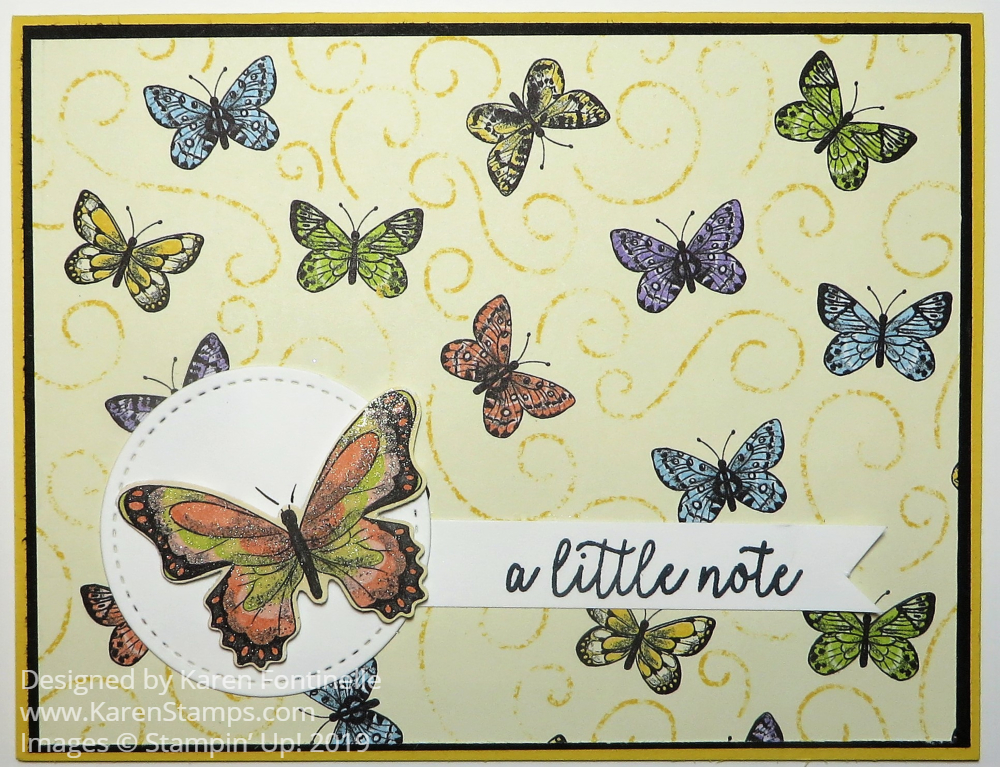
Butterfly Gala Card
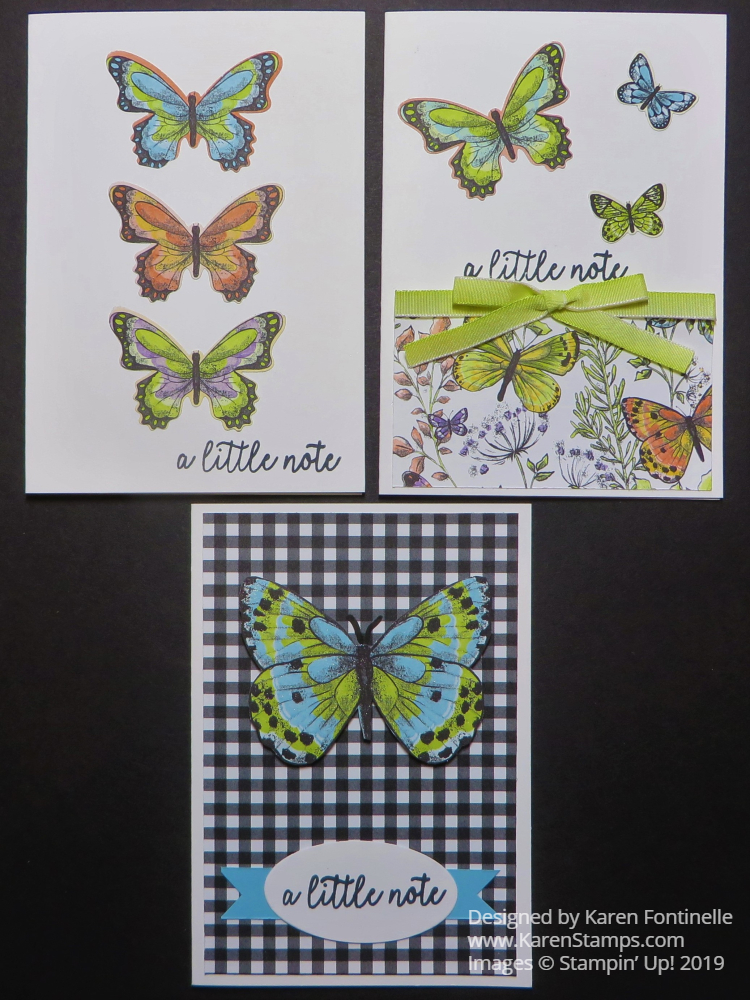
Butterfly Gala Note Cards
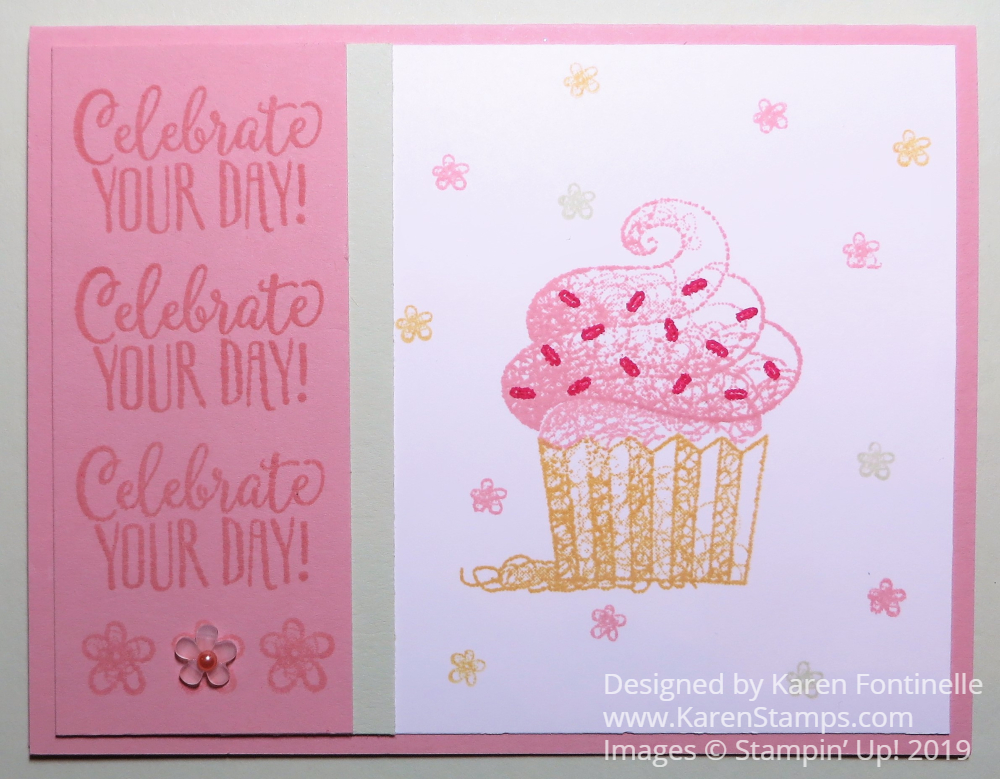
Hello Cupcake Birthday Card
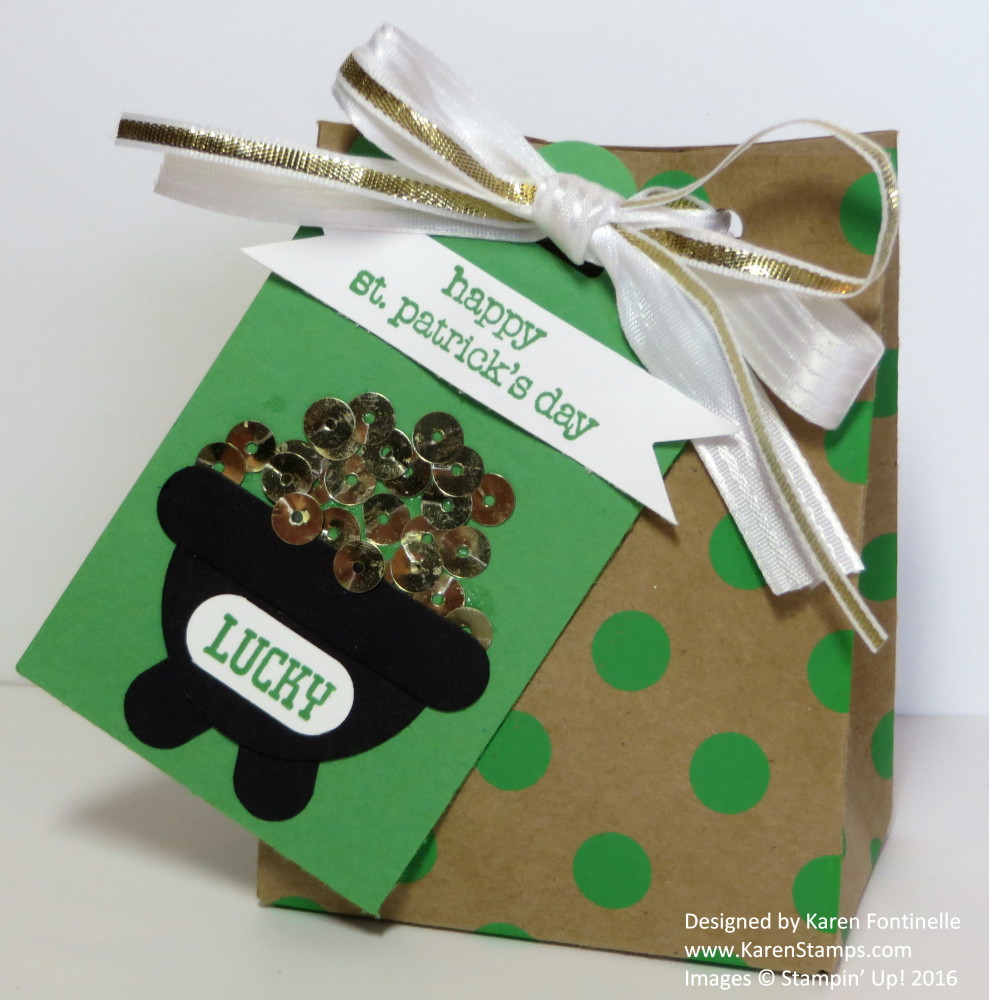
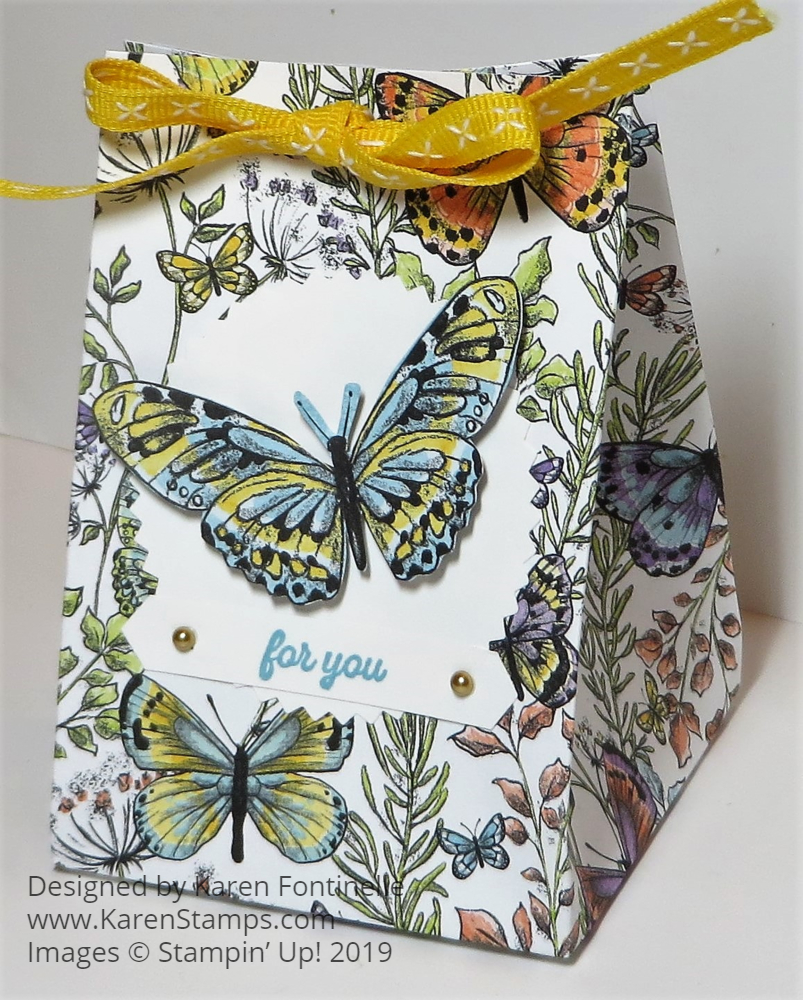
Butterfly Gala Gift Bag
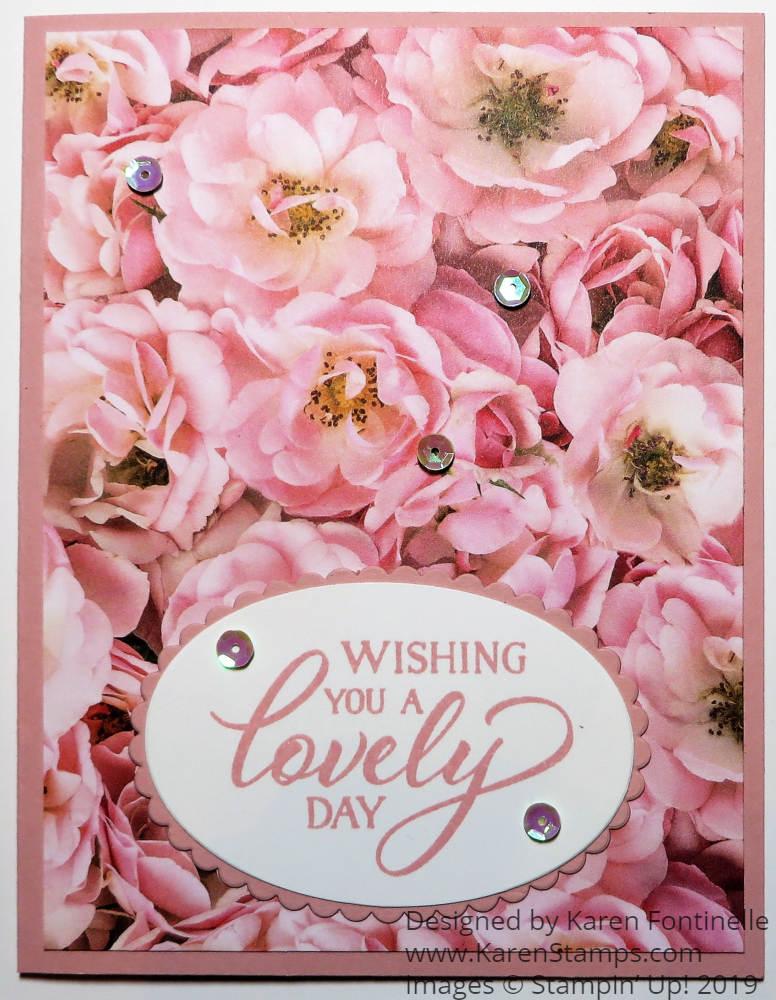
Azaleas and Petal Promenade Designer Paper
Country Floral Embossing Folder
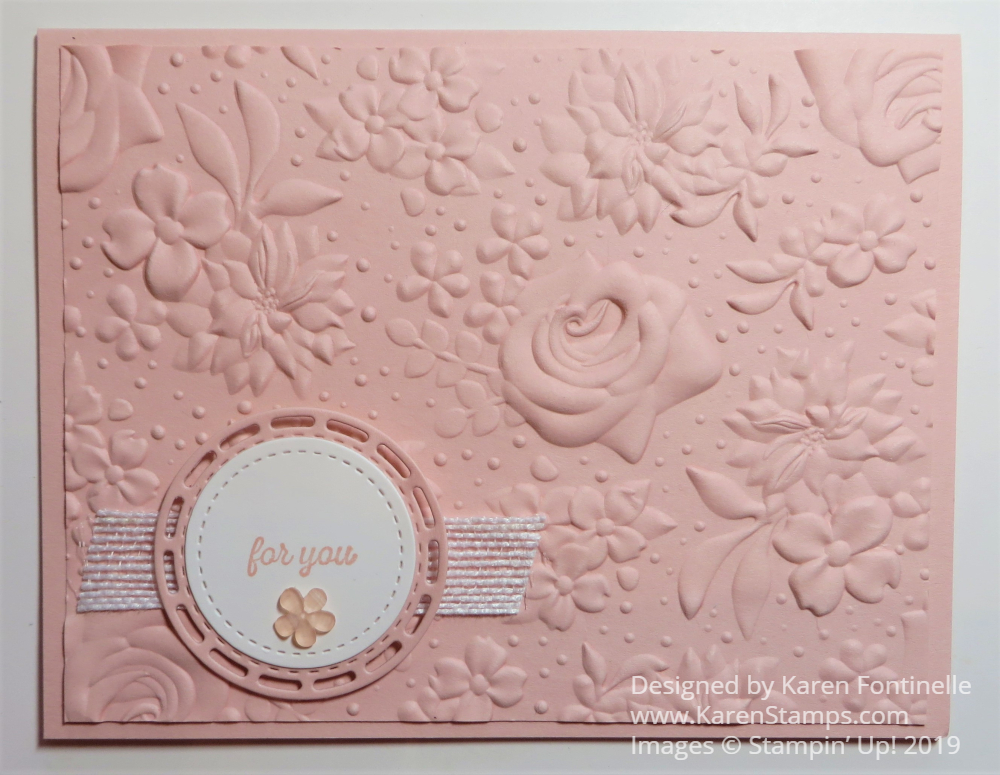
Colored Country Floral Embossed Card

Those are just a few projects I’ve made during these Sale-A-Bration months! I thought this year had really good products to choose from. Obviously, they were great because several sold out! But we knew it was “while supplies last”. And this year, the supplies did not last!
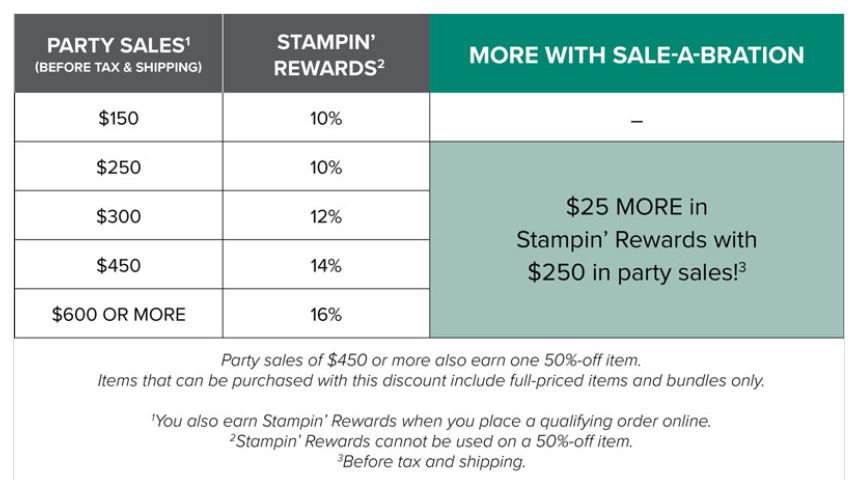
Be sure to check your Wish List and basic supplies. Maybe you just want to stock up on ink refills, adhesives, new ink pads, cardstock, ribbons, whatever! You can get to $50 easily….and more, for sure! Or splurge on something like the Stamparatus!
You can also order a 3-month Prepaid Paper Pumpkin subscription to get SAB credit, even if you already are on a month-to-month subscription. It will work out!
Go ahead and shop and then choose your free Sale-A-Bration items with every $50 you spend!