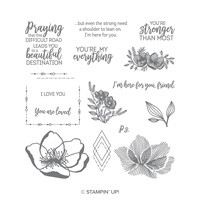
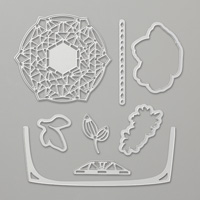
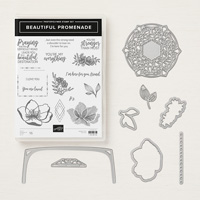
During July and August, you just may be able to save a little bit of money while enjoying stamping! Here are a couple specials you may have heard of and one more new thing just out today.
Yesterday I went into a craft store and was quite surprised to see pumpkins and fall things out on the shelves! I shouldn’t have been surprised, especially in a craft store, because crafters have to get started early for craft shows and things coming up in the fall. Today at the grocery store I noticed it is “Back to School” time already with lunch bags and school supplies on display! So even though I think summer just got rolling, it probably is only about a month until some schools start back again! Something that usually goes along with the start of school nowadays is Sales Tax Holidays, usually for school clothing, shoes, and school supplies.
Today Stampin’ Up! posted information about the Sales Tax Holidays in some states, mostly in August. Amazingly, some of our Stampin’ Up! products do count as school supplies so you might be able to save a few pennies anyway if your state has a tax holiday. You’ll have to click on the photo and probably zoom in to read this. It’s very small print. Your state will have more information when the time comes. Click to read!

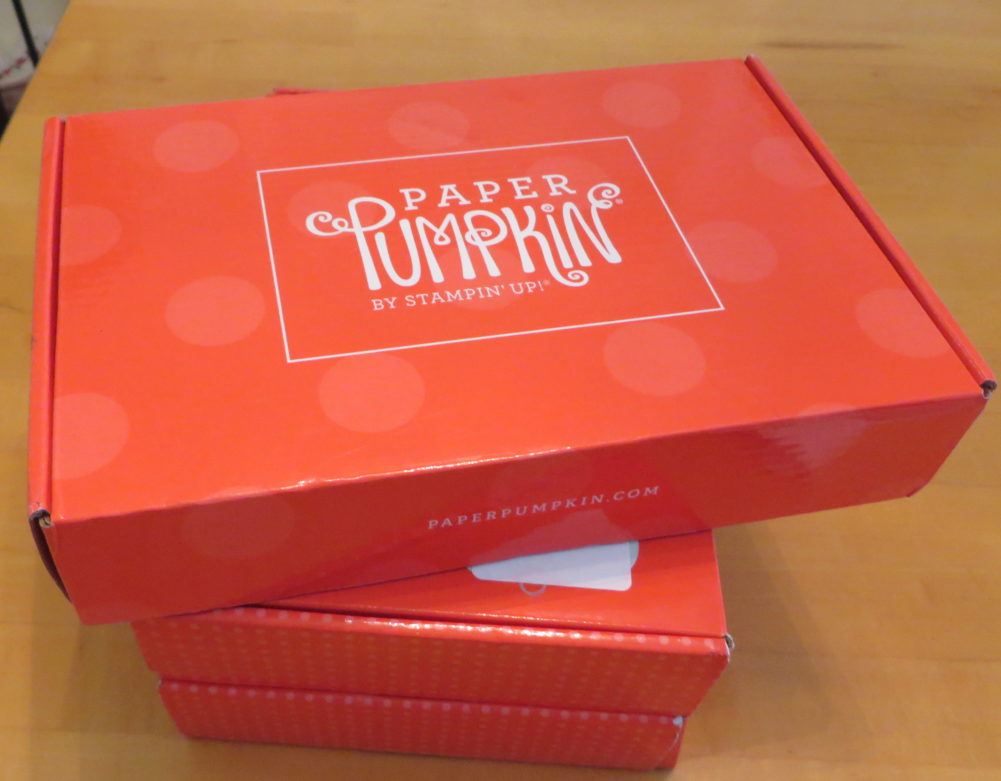
Don’t miss out on this great chance to try Paper Pumpkin! Sign up by August 10th and get the August Paper Pumpkin Kit in the mail mid-August for 50% off! Save $9.97! I have no clues on what the kit will look like or be BUT I would guess that with a promo title of “Blooming Summer Savings” and pictures of flowers on the banner, the kit is probably NOT going to be snowmen or a pizza party and it’s not going to be fruit and baskets because we just had that in July! I could be wrong, though! Ha! Now if you were a past subscriber but are interested in coming back, I have it on pretty good authority that you would count as a new subscriber if you use a different email address.
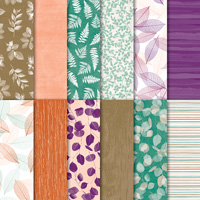
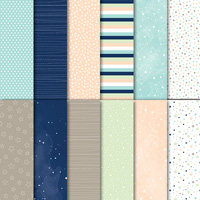
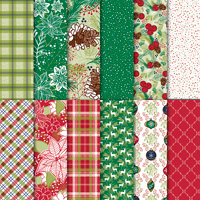
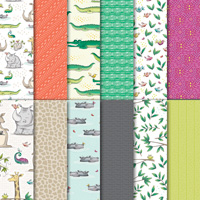
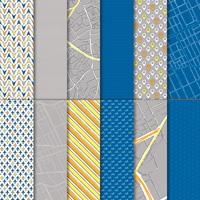
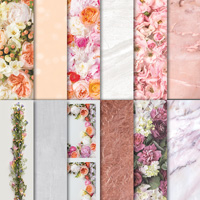
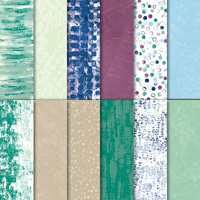
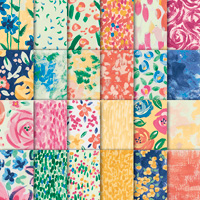
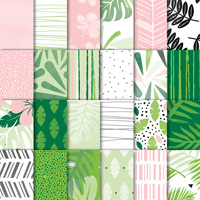
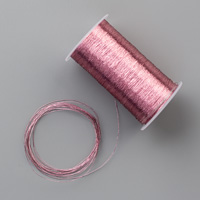
 It’s not every designer paper, but a good selection anyway! After you choose 3 papers, you get the 4th package FREE! I already have several of these, but tonight (another!) of my orders arrived with the Animal Expedition Designer Series Paper. OH my gosh! This paper is so darn cute!! I don’t even have the stamp set and framelits, but I thought it might be fun to have this paper! I think I was right! Stock up on designer paper during July! You’ll save $11.00!
So there you go! Chances to save some money at Stampin’ Up! Don’t miss out!
SHOP STAMPIN’ UP! & PAPER PUMPKIN!