If there was one thing that made me purchase the products in the Botanical Gardens suite in the Occasions Catalog on page 26, it was the gift bag sample using this paper! I guess it was the black background that really stood out to me. Actually, all the samples at the top of page 26 are so darn cute! Did you realize the “plant” in the flowerpot is really stamped paper leaves??
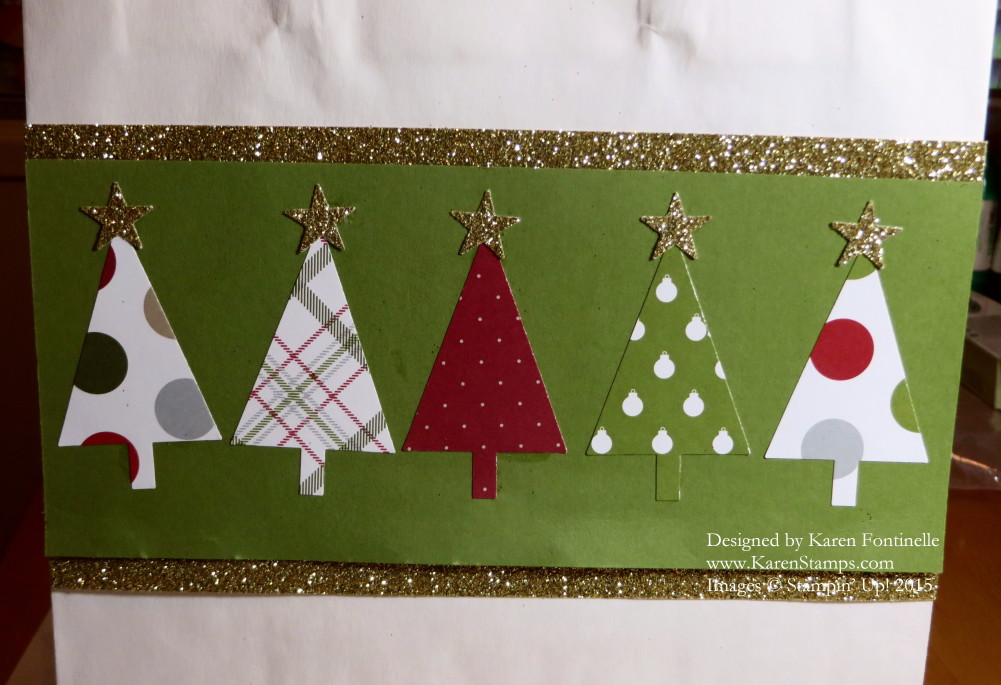
Although this gift bag is not exactly the same as the one in the catalog, I used my Gift Bag Punch Board to make it with the paper from the Botanical Gardens Designer Series Paper. The Gift Bag Punch Board makes it easy to make a small gift bag, especially if you want one with the creases in the side. The instructions are written right on the Punch Board and a diagram, but rest assured there is also a Stampin’ Up! video if you need a more visual reminder of how to make your gift bag! I’ve posted it below.
To make the tag, I just cut a 2″ wide piece of Whisper White cardstock and stamped the greeting from the set Enjoy the Little Things. This is the stamp set that coordinates with the Enjoy the Little Things Project Kit, but it’s also a good stamp set to have on its own! Then I punched the corners with the Curvy Corner Trio Punch. I sponged the edges of the tag with Pool Party Ink just for fun. The greeting is stamped with Mossy Meadow Ink. Since I had some spare die cut flowers, it was easy to add a little flower to my tag. The leaves to embellish the tag were stamped with the veins in the Botanical Blooms Stamp Set and die cut with the Big Shot and the Botanical Builder Framelits Dies. The ribbon is the soft and pretty Pool Party Glitter Ribbon.
The Stampin’ Up! Annual Catalog and the Occasions Catalog are certainly good places to start when you are looking for inspiration or need ideas for a project you want to make. If you don’t want to copy it exactly, just change out the paper, or the colors, or the stamp set to make it your own.
It’s always handy to have some gift bags made up and ready to go, such as this Botanical Gardens Gift Bag which is perfect for spring and summer coming up!
Get your favorite stamping and papercrafting supplies at my
Stampin’ Up! Online Store!
(Spend $50 or more and choose a FREE Sale-A-Bration product now through March 31, 2016!)