Category Archives: 3-D, Gifts & Things

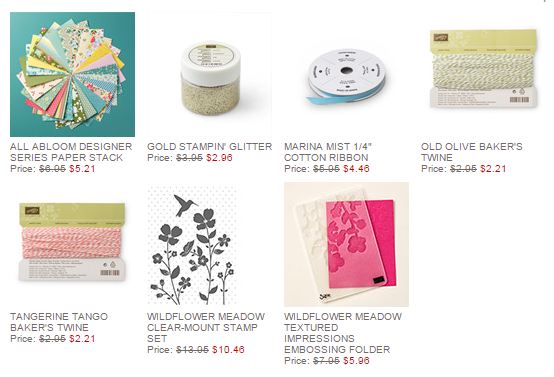
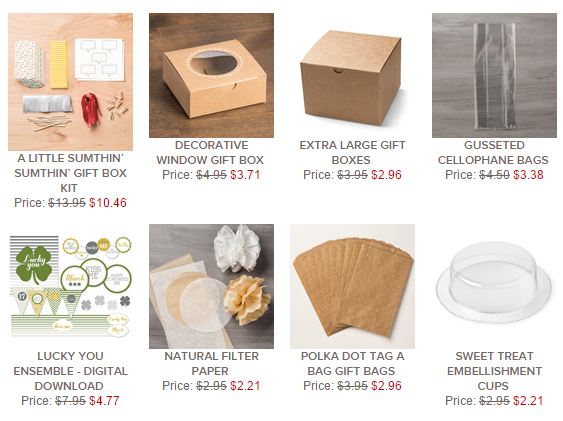
Stampin’ Up! Weekly Deals February 3 2015

Stampin' Up! Weekly Deal Feb 3 2015

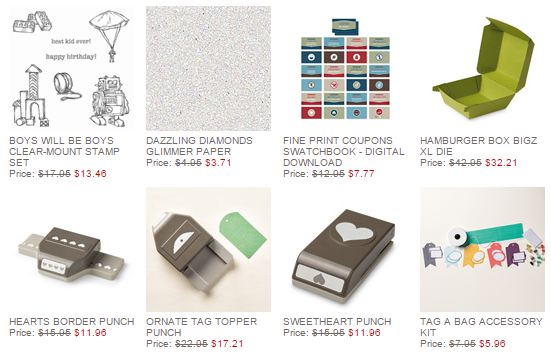
New Stampin’ Up! Weekly Deals out today until next Monday, February 9. The items that jump out at me of course are the three punches! The Ornate Tag Topper Punch is in the Occasions Catalog right now! And what’s more timely right now than the Hearts Border Punch and the Sweetheart Punch for Valentine’s Day, but really hearts are good year round.

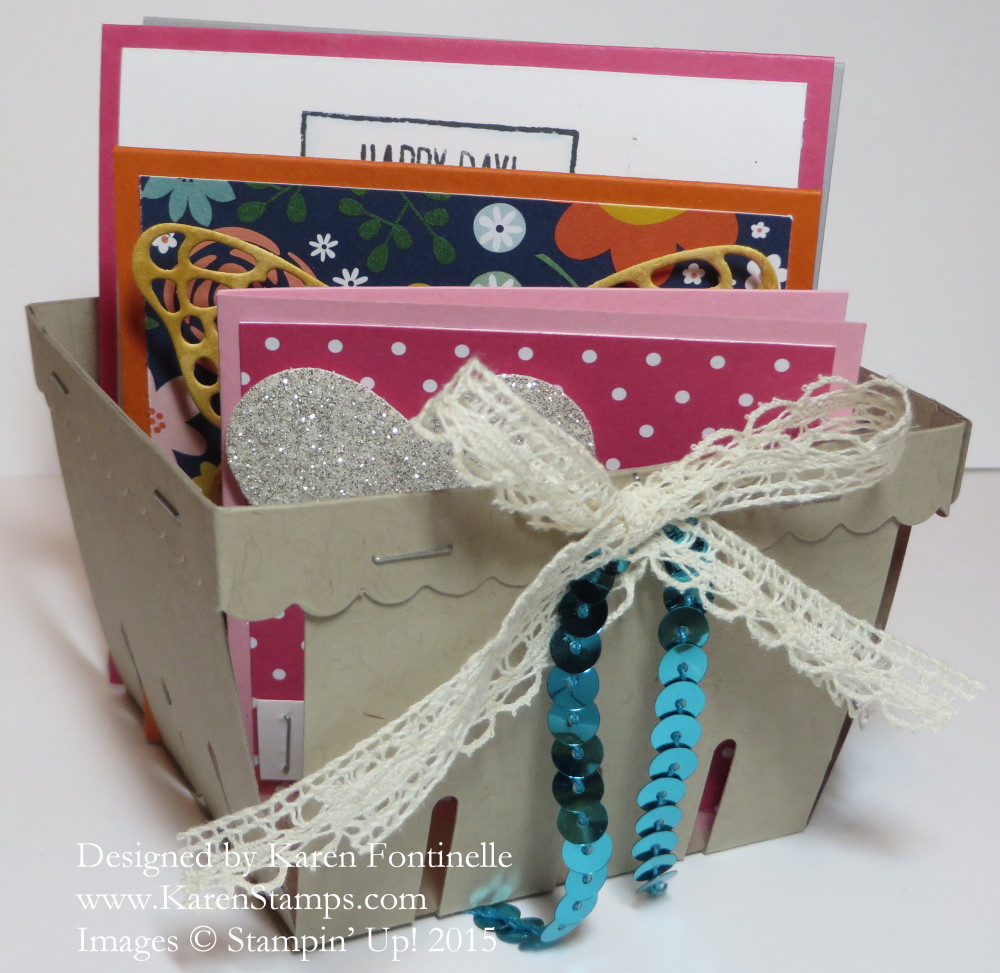
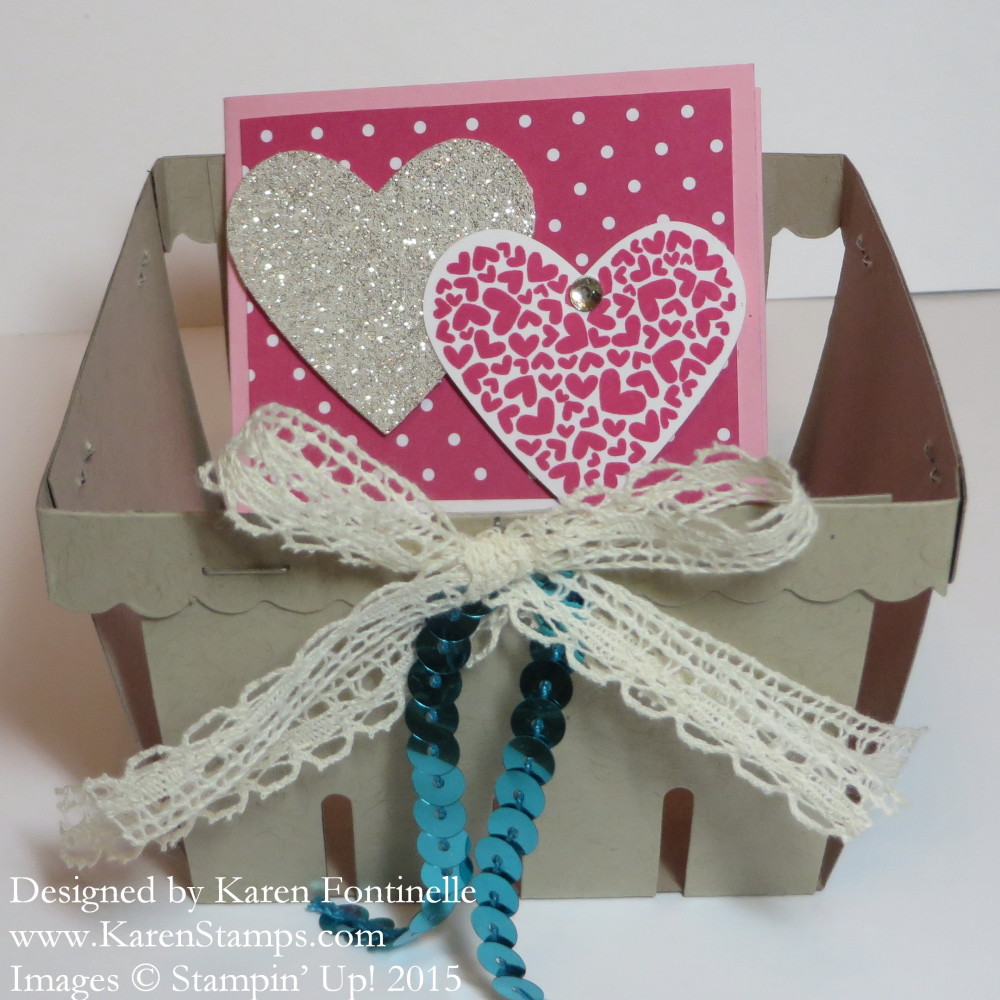
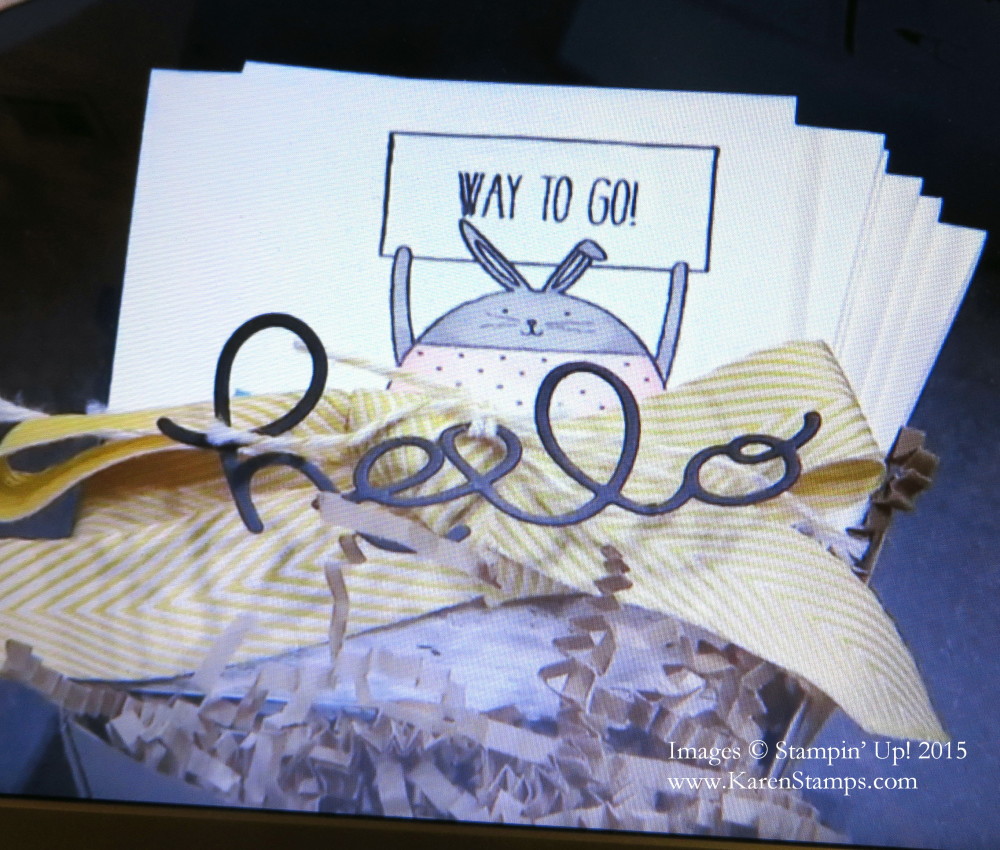
At Leadership last week, Carrie Cudney of the Stampin’ Up! Home Office made a cute project using just the bottom of the Hamburger Box Die to hold cute little Cheerful Critters Notecards. Here is a photo from my laptop screen as I was watching from home!

Hamburger Box Die Note Card Holder
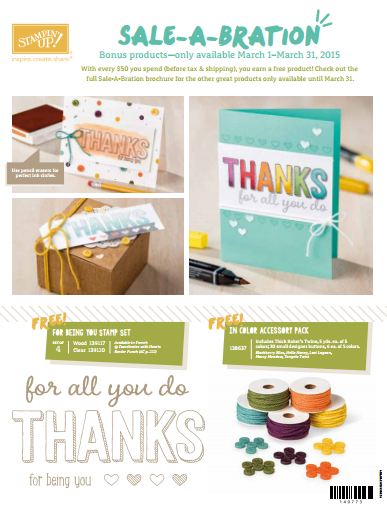
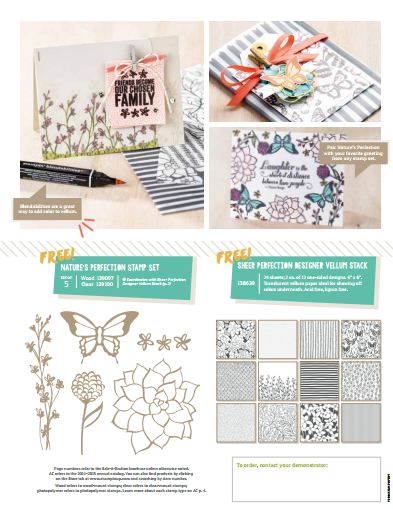
Check out all the Stampin’ Up! products by going through your Annual Catalog and the Occasions Catalog, as well as the categories in the left sidebar in my Online Store. When you place your order, remember you get to choose a free Sale-A-Bration item with every $50 you spend!

It Doesn’t Have to Be a Card

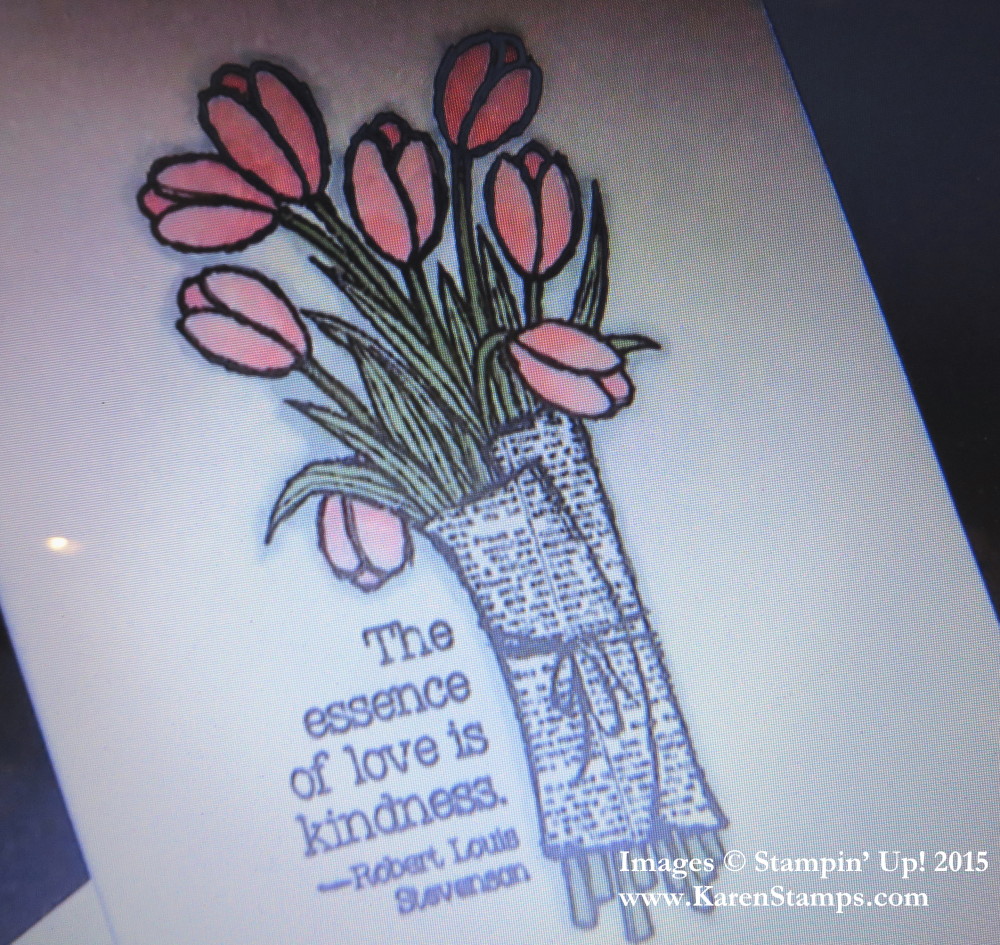
Love Is Kindness Stamp

I’ve been watching the live streaming Stampin’ Up! provided for us demonstrators at home and not in Orlando during the Stampin’ Up! Leadership Conference 2015. I have to say, it’s been ALMOST as good as being there, and I really appreciate that they did that.  There really aren’t too many things more fun than attending any Stampin’ Up! event! And getting to watch the General Sessions on my home computer has been great!!

Last night they had several different people on stage doing numerous stamping projects!  So many ideas and so many good tips! It’s always amazing! Here is the Love Is Kindness stamp from the Occasions Catalog, a single stamp. The presenter, Alisa, talking about ink, stamped this with Memento Ink and colored in with Blendabilities. She used lighter and darker shades of (perhaps) the new Pink Pirouette on the flowers, Wild Wasabi on the leaves and a little bit of Soft Sky as shading around the outside of the image. If those aren’t the correct colors she used, they certainly could be!

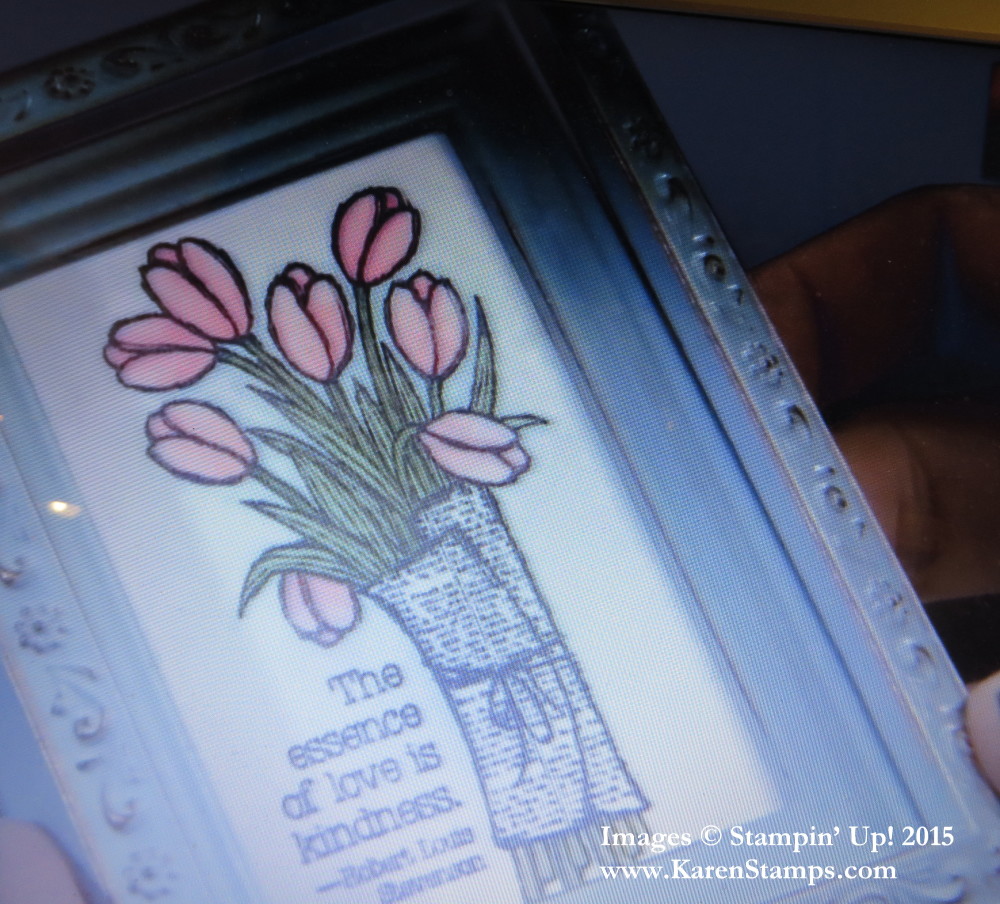
The photo isn’t great because I took it of my laptop screen, but you get the idea! But she didn’t make this into a card – she framed it! Isn’t that just beautiful and so simple! So we don’t always have to make a card with our stamping.  Try framing a few things as gifts or home decor for yourself!

Love Is Kindness Framed

Look through your Occasions Catalog again and see what you missed the first or second time around!  And if you need an Occasions Catalog, just send me an email at Karen@KarenStamps.com.

To order any supplies you need, either contact me or just shop at your convenience at my Stampin’ Up! Online Store!

Want To Make a Valentine Treat Bag?

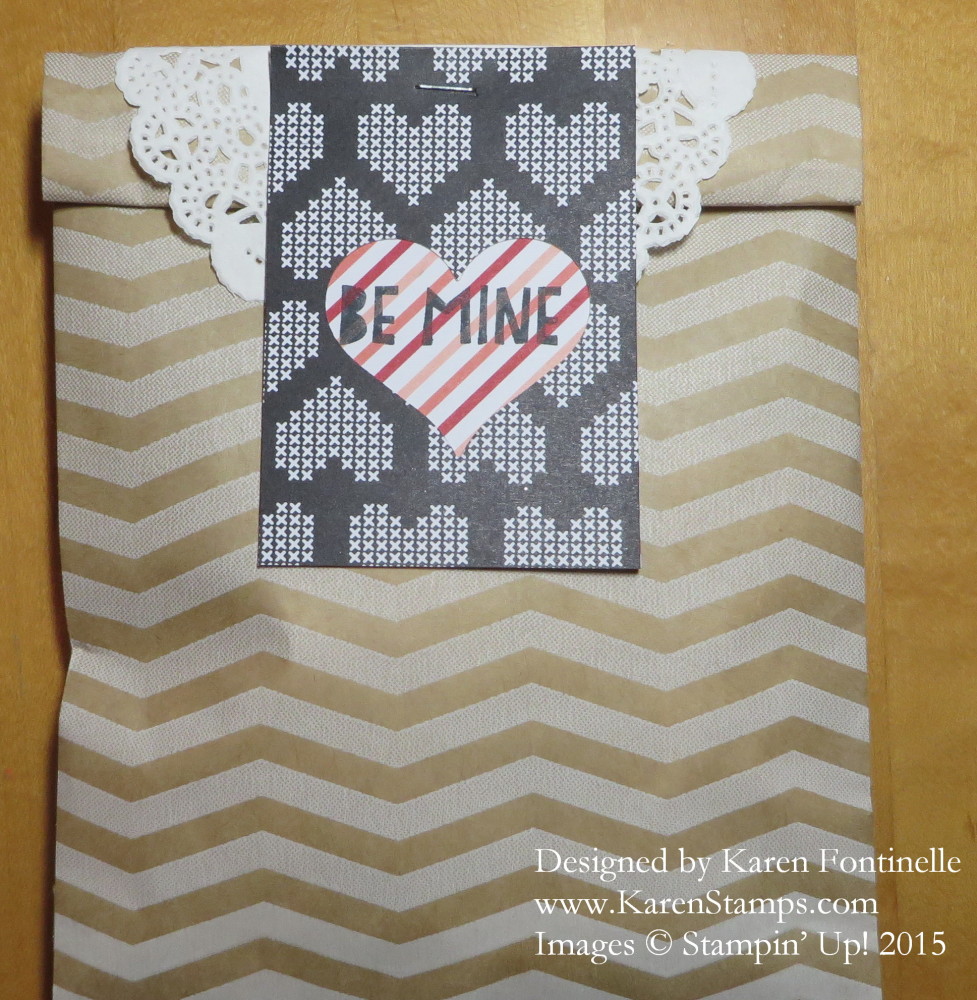
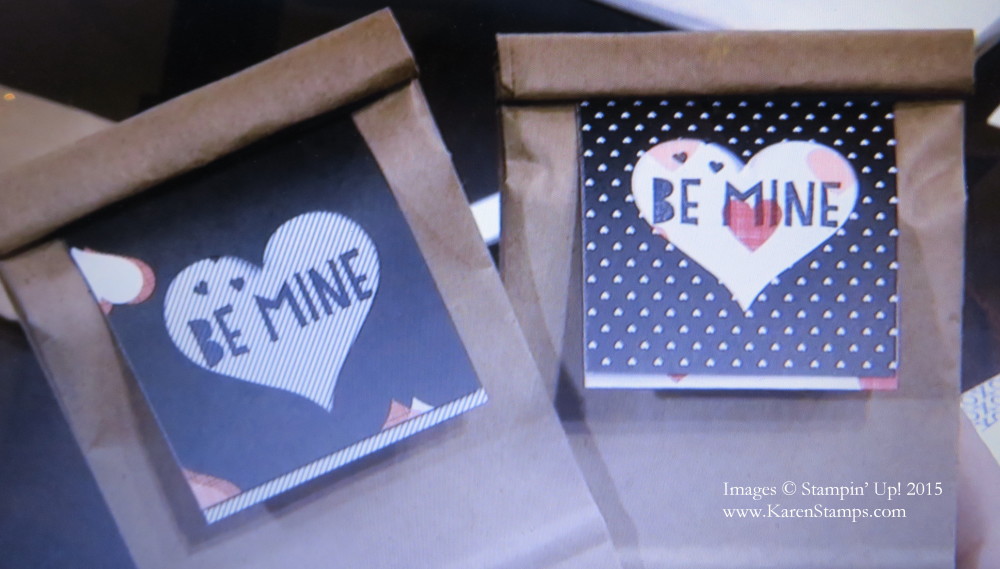
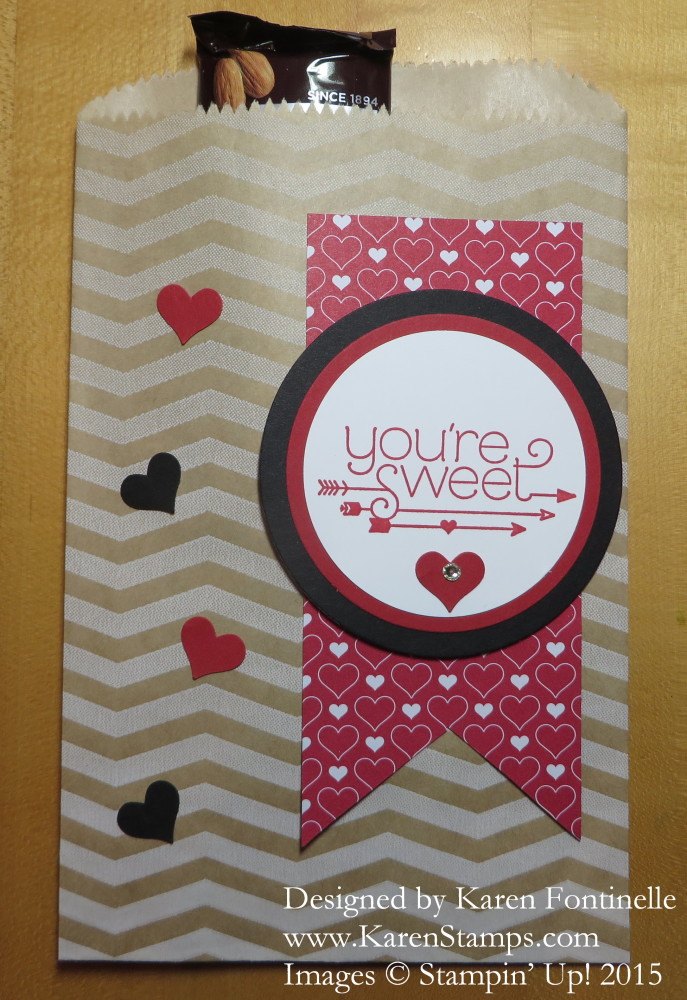
Valentine Treat Bag

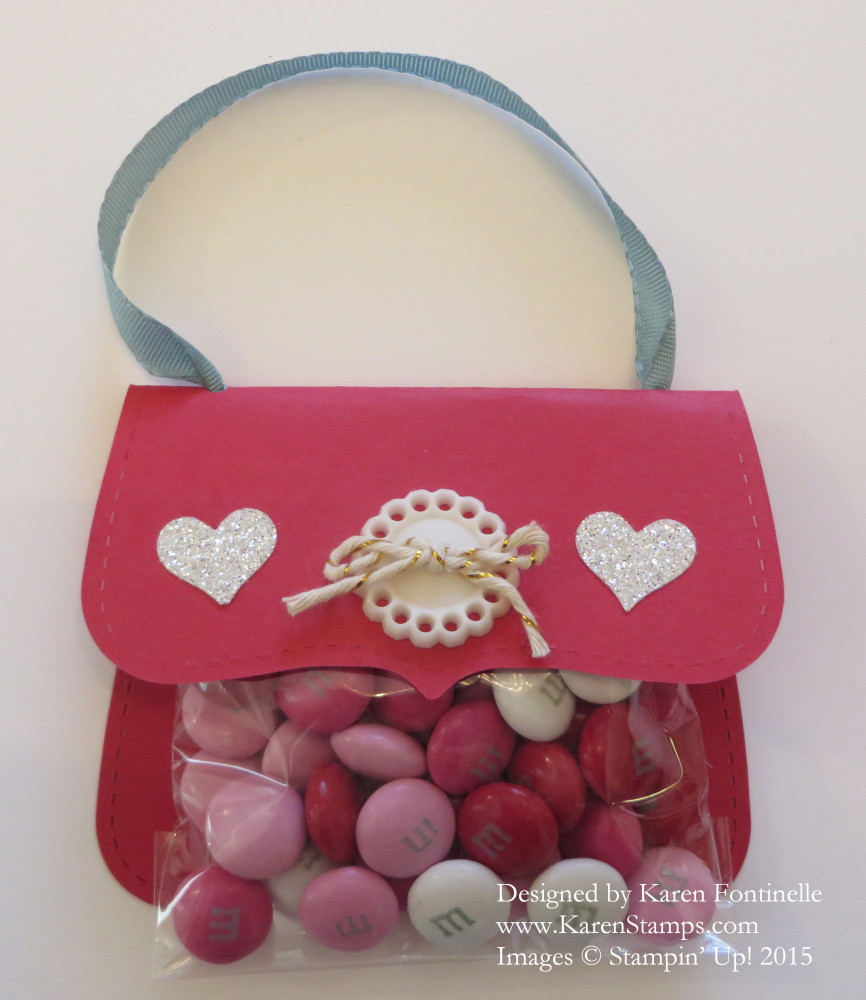
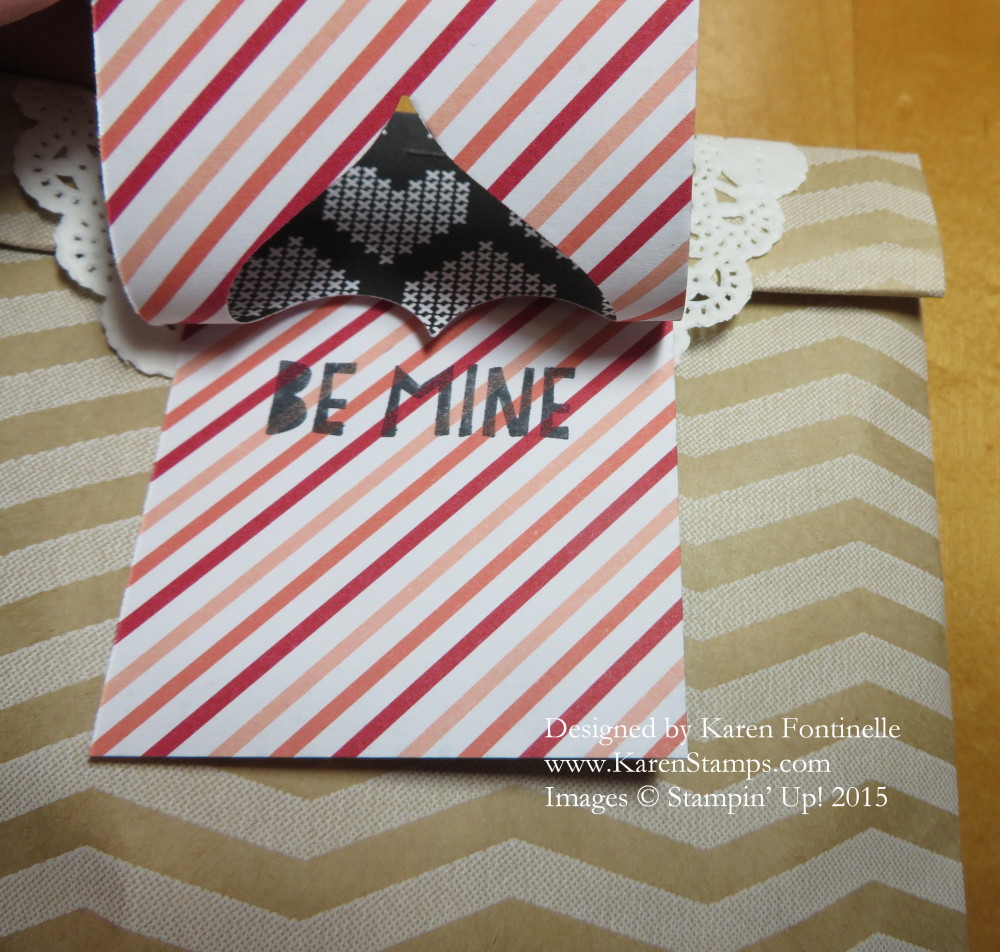
Want to make a quick and easy Valentine treat bag? Just grab a Chevron Tag a Bag Gift Bag and decorate for Valentine’s Day! These bags are a nice size for plenty of treats or perhaps even big enough to enclose a small gift.

To embellish this gift bag, I found a pattern in the Stacked With Love Designer Series Paper Stack that I liked and cut the little tail at the end like a banner. I also used the You Plus Me Stamp Set.  You can purchase the paper stack and the stamp set together in a Bundle and save 15%! I stamped the greeting from the You Plus Me Stamp Set and punched with the 2 1/2″ Circle Punch. That is layered on circles cut from the Circles Collection Framelits Dies. Extra little hearts were punched with the heart punch in the Itty Bitty Accents Punch Pack.

So easy! You could even fold down the top for a flap and tie with a piece of ribbon or staple the top. The bag is large enough you could even enclose a valentine card inside!

If you need any of these supplies (the Chevron Gift Bags are really good to have on hand!) please visit my Stampin’ Up! Online Store!  I’m always happy to put your order in for you with a credit card or other payment. Shipping usually does not take very long so you do have plenty of time to receive your order and start making valentines and valentine treat bags before Valentine’s Day!

Make a Heart Garland for Valentine’s Day

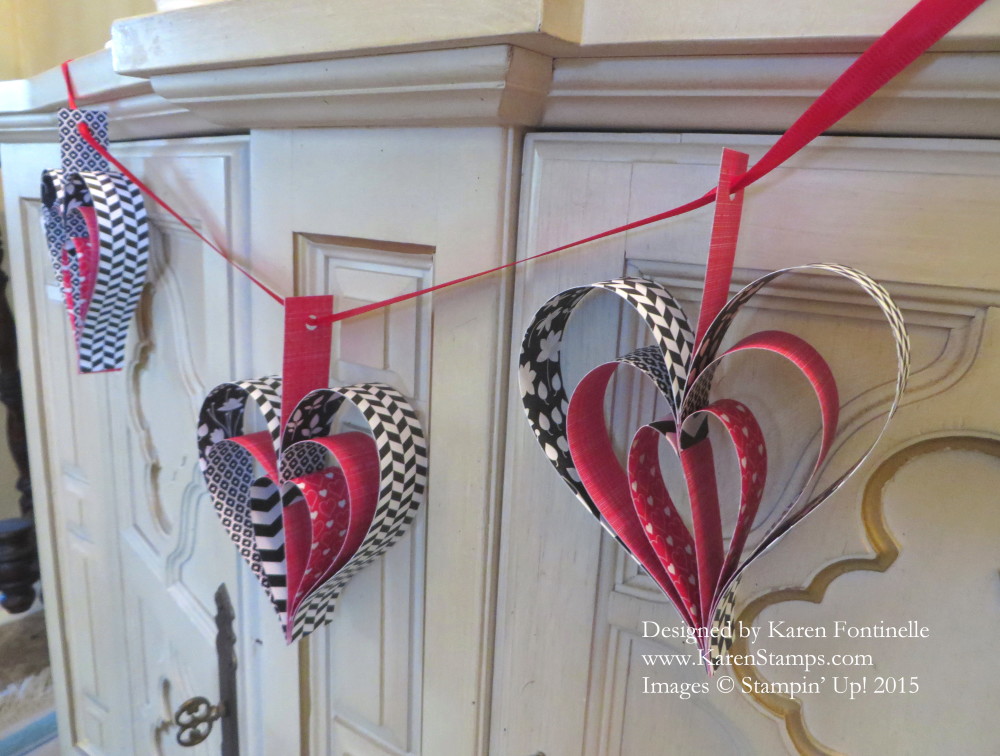
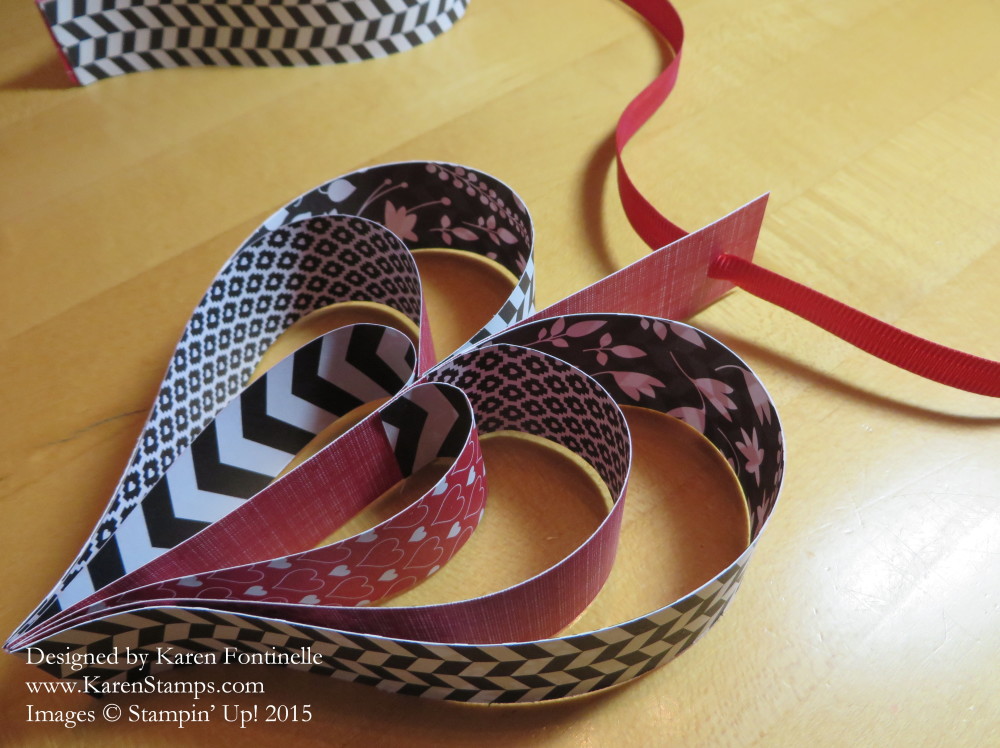
Heart Garland Hanging

These heart garlands made with strips of paper are quite popular on the internet. Once I found one of these hearts, I found them everywhere! I wanted to use the Stacked with Love Designer Series Paper Stack but I also needed 8″ long strips. Luckily Stampin’ Up! has the Back To Black Designer Series Paper that I could use with the Stacked with Love papers.

There are some other methods of assembling them, but they are all easy to do. While we think of hearts for Valentine’s Day, this garland could be made for weddings or party decorations. Change the paper color and design for other occasions. Think how cute this would be for a baby shower or bridal shower!

Heart Garland One Heart

These are the instructions I followed to make these paper hearts. You can also find slightly different

directions using staples instead of glue and assembling the strips in a different way.

Cut 1″ wide strips of paper in these sizes:

2 – 8″ strips

3 – 6″ strips

2 – 4″ strips

Lay these strips out on the table in this order:

8″, 6″, 4″, 6″, 4″, 6″, 8″

The 6″ strip in the center is the center strip that will remain straight and become the hanger. Checking the way you want your paper patterns to go, adhere the bottom edges of the three strips on one side of the center 6″ strip. One time I used Glue Dots and the other hearts I used Liquid Multipurpose Glue (the green glue!). You just have to hold for a few seconds when you use the glue until it sticks. Glue this stack of strips to the center 6″ strip also at the bottom.

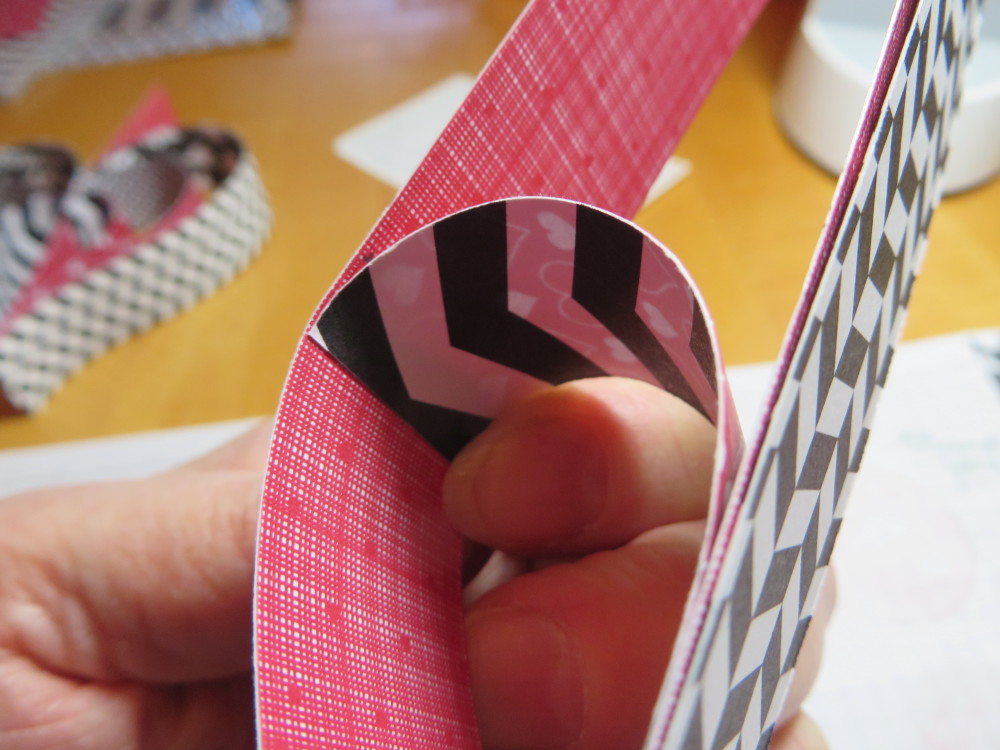
Then take the 4″ strip in the glued together stack, bend the top, put some glue on the end that will attach to the middle area of the center 6″ strip.

Heart Garland Strips Glueing

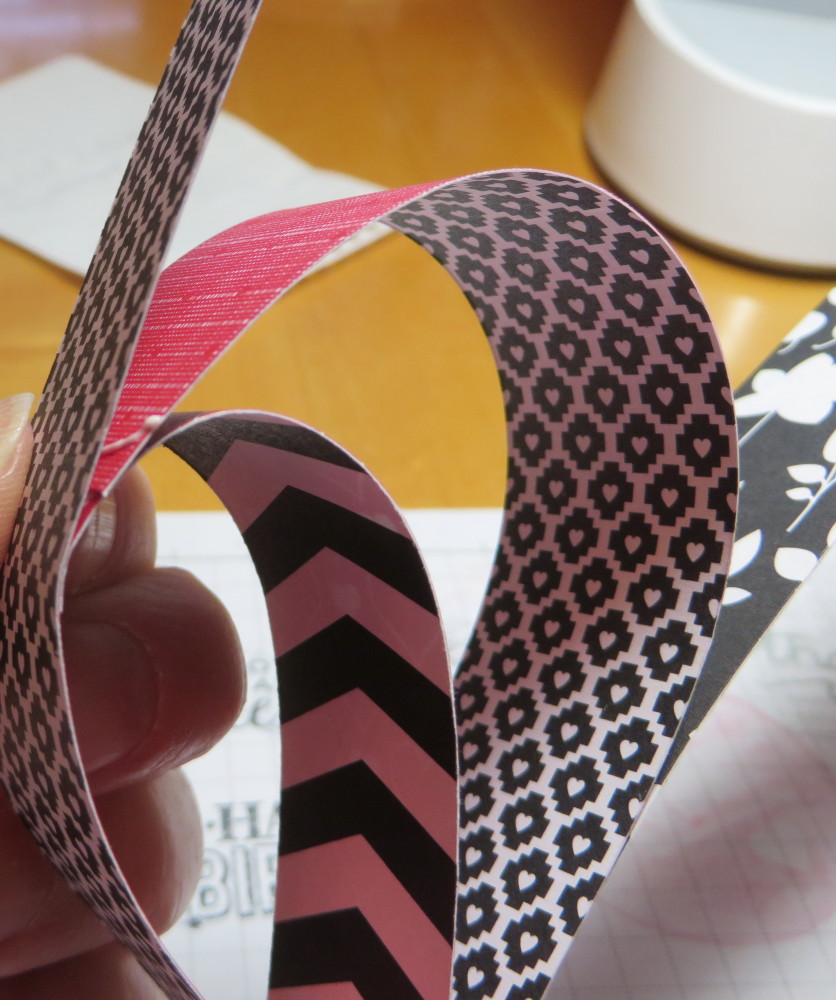
Next do the same with the 6″ strip.

Heart Garland Strips Glueing2

And finally the last 8″ strip.  Then you have half of your heart.  Do the same with the strips for the other side.

Punch a hole in the top of that center 6″ strip for each heart to thread ribbon through to hand. I used the Real Red 3/8″ Satin Woven Ribbon that was in the Holiday Catalog. I wish they had carried that over because it is SO pretty! But you can also use the Real Red 1/4″ Cotton Ribbon or any ribbon of your choice. You might even want to tie extra ribbons on between the hearts or add other decorations of some kind.

This is an easy papercraft to make and certainly is versatile for many occasions! All you need are paper strips and adhesive!

For any papercrafting supplies or stamping supplies you need, please visit my Stampin’ Up! Online Store. I can always put your order in for you if you like. During Sale-A-Bration, choose a FREE product from the Sale-A-Bration Brochure with every $50 purchase (before shipping and tax).

Alter a Shopping Gift Bag for a Birthday Bag

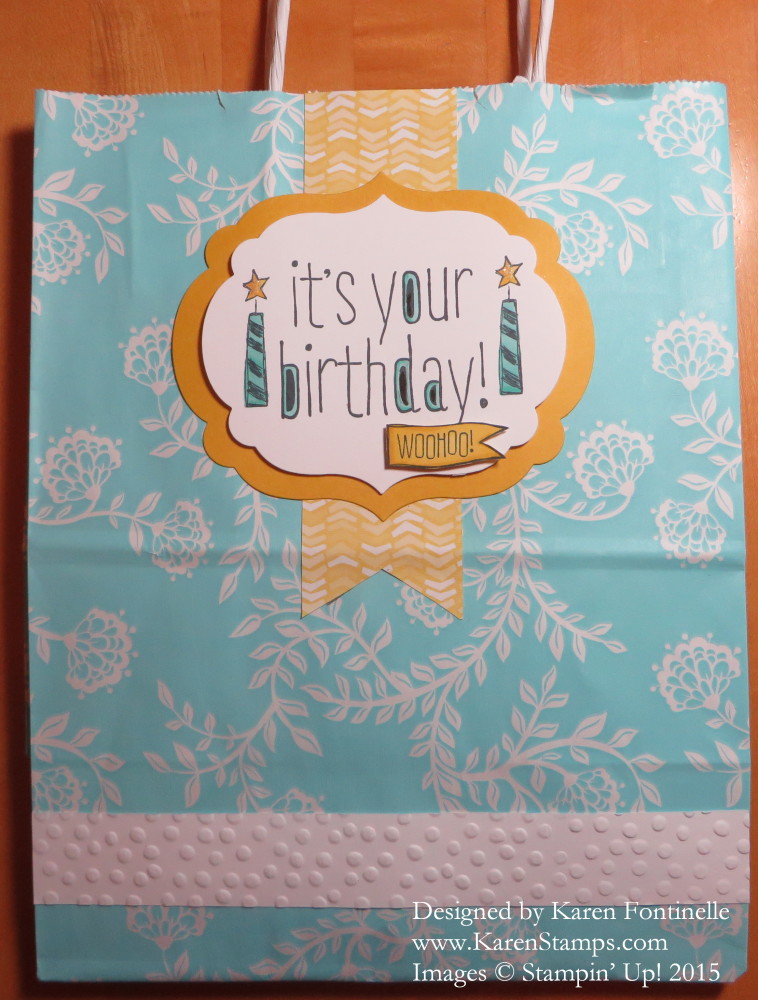
Altered Birthday Gift Bag

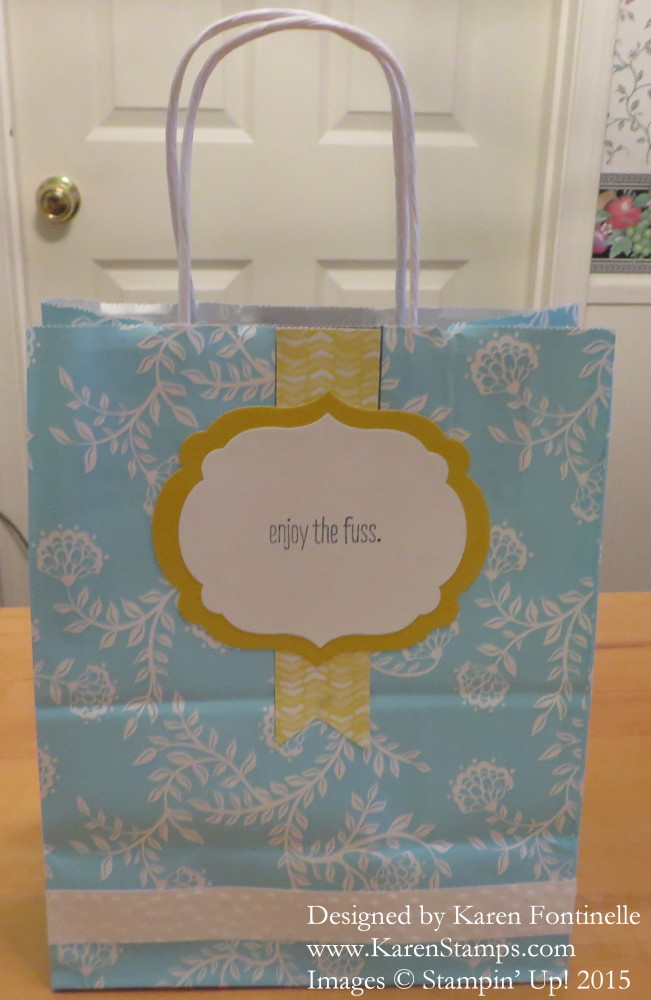
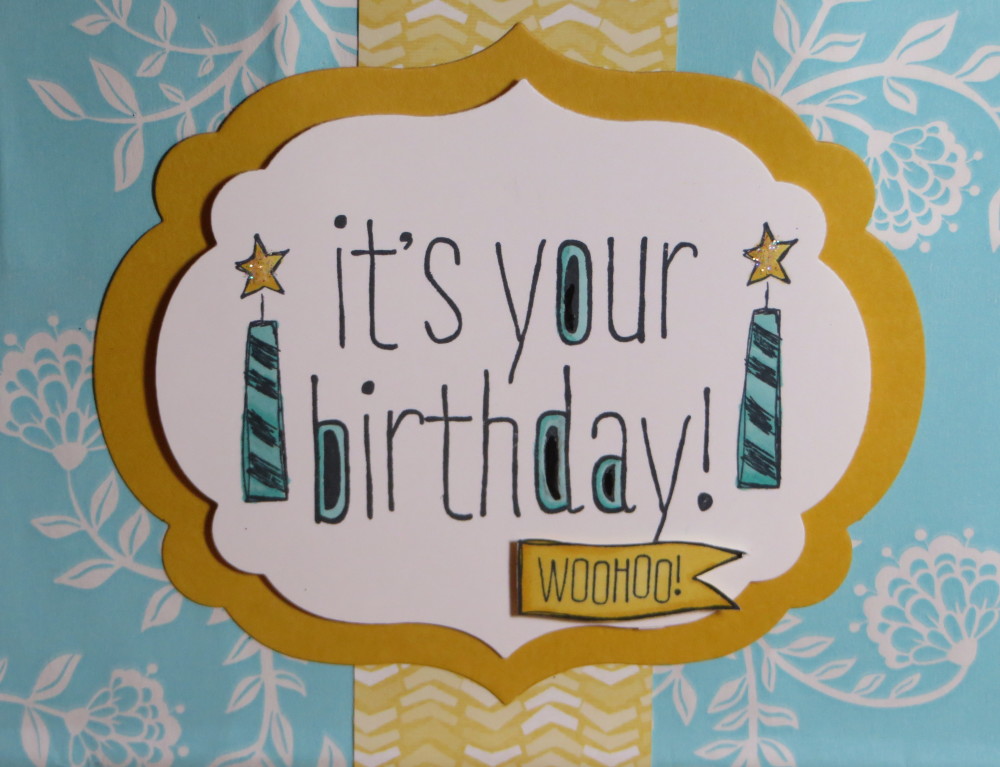
The other day I bought a birthday gift for a friend in a nice gift shop and got this pretty shopping bag. I wanted to create a large design to cover the store label on the front and back of the bag so I altered the shopping bag and turned it into a birthday gift bag! Since I needed a large design, I chose the Labels Collection Framelits Dies for the background. I also added a banner underneath from the Best Year Ever Designer Series Paper. You can choose a pack of this paper FREE during Stampin’ Up! Sale-A-Bration with a $50 purchase.

Next I needed a large stamp set for the design so I pulled out the Big News Stamp Set.  I stamped the greeting and put a birthday candle on each side of it.  I also stamped the “Woohoo” and cut it out by hand to add to the label. Everything was colored in with Blendabilities Markers, not so much for the blending opportunity but just because I love the feel of coloring with those markers!

There was some printing along a band at the bottom of the bag so I simply embossed a strip of Whisper White with the Decorative Dots Embossing Folder to adhere over the printing.

Since there was also some store printing on the back of the bag, I also covered the back to match.  I liked the saying in the stamp set “Enjoy the fuss.”  Great saying for enjoying one’s birthday!

Altered Birthday Gift Bag back label

Don’t forget Sale-A-Bration is underway so with any $50 purchase (before shipping and tax) you can choose a free product in the brochure.  Click on the link above. Look for the “FREE” label in the brochure to choose your product.  No limits, so with a $100 purchase you choose two products, with $150 choose three products and so on! Get together with some friends and submit the orders together and you, as a Hostess, with a $250 merchandise total will not only get the normal $40 in Hostess Dollars to spend, but during Sale-A-Bration you will also get an extra $25 in Hostess Dollars!

Shop at my Stampin’ Up! Online Store for everything stamping!

Find a shopping bag in your collection and see how you can alter it and turn it into a birthday gift bag instead! Recycling at its best! And most fun!

Altered Birthday Gift Bag Label Die

Show People You Stamped It!

Better Than Email Stamp Set

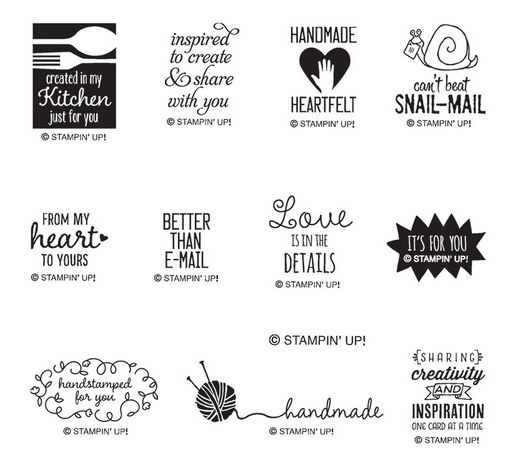
Stampin’ Up!’s newest photopolymer stamp offering is this set, Better Than Email, which you might think is only for Demonstrators, but it is not. The main purpose of the stamp set is to provide new images for ANYONE selling items with a Stampin’ Up! copyrighted image on them. Each item must be stamped with the Stampin’ Up! copyright.  This is known as the Angel Policy. From Stampin’ Up! “Stampin’ Up!’s images are copyrighted, which means that they cannot be copied without permission. To help protect that copyright, all items for sale using our images must be marked with an official Stampin’ Up! Limited License stamp set.”  If you need more information about this policy, please let me know.

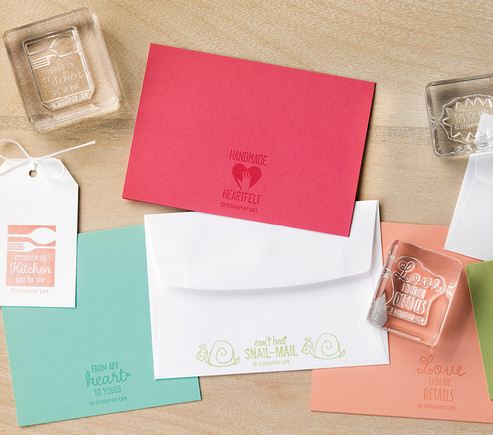
Even if you are not SELLING items you have stamped, wouldn’t any of these stamps be fun to stamp on the back of your card (like the BIG cardmaker?) or your project to let people know YOU made it yourself?! I’m still mostly using my original stamps for the Angel Policy or just for my own personal use (when I remember) to stamp on the back of cards and maybe put my initials or name and date. But this stamp set has great creative images so I think it will be very fun to use! If you want these just for personal use and really don’t want or need the brand name and copyright on it, you can cut those words off. (If you can stand to alter a stamp!) Or use a marker and only ink up the portions you want. I think stamping something like these images on the back of your cards really adds a professional and personal touch!

This stamp set is a direct result of feedback from demonstrators and customers wanting more images for the copyright and Stampin’ Up! listening and challenging department members to come up with fun and versatile ideas that would appeal to demonstrators and customers. I know it is going on my next order!

Here are some ways to use these stamps!

Better Than Email Samples

You can purchase this stamp set Better Than Email #140463 at my Stampin’ Up! Online Store! You’ll find it under “New Arrivals”.

Many Merry Stars Simply Created Kit Boxes

Many Merry Stars Simply Created Kit BoxesYes, I know star boxes from the Many Merry Stars Simply Created Kit were supposed to be made before Christmas, but much as I wanted to, it just didn’t happen!  I frequently do Christmas things AFTER Christmas – like bake cookies, make decorations! I could have saved the whole kit for next year, but for one thing, I’m in the mood now to make these, I’ve been looking forward to making them since I first heard of them, and by next Christmas there will be something new and shiny I am interested in!  So better to just make them now and have them ready next Christmas! What a joy that will be!

There are tons of supplies in the kit and the star boxes really were quite easy to make. They suggest starting with a medium size star box to get the hang of it on an easier size. I also followed someone else’s directions to make two of the boxes into boxes with a lid and bottom so that next year perhaps I can use them to put something inside.  Otherwise you are just adhering the back on to the bottom of the sides of the box and the whole thing is closed up.  Still cute and you can string a ribbon through at the top in the beginning of assembly to make an ornament. I haven’t tried all the variations yet!

Really, you could made some of these stars for just any occasion or for a birthday, not everything is Christmas-themed in the kit!

Just want to let you know it is okay to make Christmas things AFTER Christmas, in case you want to!

And at this moment you can still purchase the Many Merry Stars Simply Created Kit on the Year-End Closeouts Clearance Rack HERE. Only available while supplies last.

Hope you had a happy New Year’s Day yesterday! It seems like the holiday goes on and on with this weekend after! Time for a little more holiday stamping and then on to spring and the new Occasions Catalog and the start of Sale-A-Bration on January 6th! If you do not have a Stampin’ Up! Demonstrator and would like the new catalogs, I have some extras I can mail to you.  They will also be available online January 6th when the catalogs and promotion go live! If you are a customer who regularly receives catalogs from me, I think you should have received them already, so hunt through that Christmas mail you might have put aside and find them!

Many Merry Stars Green Boxes

Many Merry Stars Red and Green Boxes


Finishing a Houston Marathon Squash Book Photo Album

Houston Marathon Squash Book Cover

Back in January 2004 (uh, yes, that would be almost 11 years ago! ) my son Eric ran in the Houston Marathon. I immediately made this “squash book” photo album as it was called, very popular back in my earlier days of Stampin’ Up! I made the album, put the photos in it, and I see now never did any journaling in it!  There’s not one date in it! Very bad! I also never got a cover made. But for 11 years, “any minute now” I was going to finish that album by making a cover (and presumably doing some journaling inside!). So it laid around here all these years, probably got dusted a few times, and finally landed who knows where. But this Christmas it resurfaced and by golly, I was going to decorate the cover! I didn’t know exactly what I would use, but immediately I spied a new Sale-A-Bration stamp set, coming January 6, called, appropriately, Best Day Ever. I thought that saying was so right for this project and stamped that on the top layer. As I’ve always said, stars are great for so many occasions, so I used the Many Merry Stars Stamp Setwhich is still available in the Stampin’ Up! Holiday Supplement on page 8 and is discounted on the Year-End Closeouts Clearance Rack (while supplies last!).  (If you missed out on the Many Merry Stars Simply Created Kit that was so popular, at this moment it is available too at a discount!  You can still make the kit and save the stars for next Christmas – or use them for another occasion with different greetings.)  I also used Glimmer Paper and the Star Framelits Dies to decorate the cover of the squash book.

I don’t have any directions at my fingertips for making the squash book, but I did use 12 x 12 card stock. You can make it as long as you want.  I put photos on both sides. The trick is getting it to fold correctly, but once you do that, you’ve got it made.  I’m sure you can google “Squash book” and find some details if you need them. Here are some photos of the inside so you can get an idea of how it is assembled and folded. I see I should add some dates and journaling before I let him take it home!

Here are some photos of the inside so you can get an idea of how the squash book folds and looks.
Houston Marathon Squash Book Inside

Houston Marathon Squash Book Folding

Usually I finish all my stamping projects I start, which I consider one of the advantages of the rubber stamping craft, but this project just didn’t quite make it!  I’m glad I finally was able to finish this Houston Marathon Squash Book Photo Album for a Christmas gift, even if it was about eleven years overdue! Try your hand at making a small album for a special occasion!

Don’t forget, the Stampin’ Up! Holiday Catalog is coming to an end January 5th! Even though we are excited about the new Occasions Catalog and Sale-A-Bration event  coming up, don’t miss out on anything you wanted from the Holiday Catalog or Holiday Supplement before they end! Lots of items are on the Year-End Closeouts as well, so you might get a bargain!

Top Note Package Chalkboard Tag

Top Note Package Tag

I got this idea from one of the many store ads I have gotten in the mail recently, and I thought it was so cute! The chalkboard style is still “in”, which I love, so I made a package tag with the Top Note Die to look like a chalkboard! Hasn’t the Top Note Die been just about the most versatile die to ever use?! I wrapped the package in the Stampin’ Up! Festive Designer Kraft Paper Roll (on the Clearance Rack!) and tied the Cherry Cobbler 1″ Sheer Linen Ribbon around. Then I die cut the Top Note tag and wrote on it with my White Stampin’ Chalk MarkerEasy, fun, and works for anybody.  If you don’t own the Top Note Die, just use a piece of Basic Black Card Stock that’s not die cut! The kraft wrapping paper you can use any time.

This morning Stampin’ Up! added new items to the Year-End Closeout Clearance Rack so be sure to check those out!

Stampin' Up! Clearance Rack Year End Closeouts

And here are the new Stampin’ Up Weekly Deals for this week Dec. 23 – 29, 2014.

Stampin' Up! Weekly Deal Dec 23 2014

 GIFT CERTIFICATES

If you need last-minute help with your Christmas shopping (or better yet, your husband or family does for you!) I offer gift certificates that I can email and they can print out, wrap up beautifully for you, and you’ll be all set to order from the new Occasions Catalog coming January 6th!

Christmas Fudge! It’s a Joke!

Christmas-Fudge Poem

This is actually from a post from last year, but I thought “Christmas Fudge”  was appropriate at this point in time, so close to Christmas!  If you need a little funny something for somebody, this idea has been around for many years but is still good….and handy!  Just print it out and wrap some card stock or designer paper around one of those very large candy bars and you’ve got a gift! Of course once you read the words you will recognize it as a take-off of “Jingle Bells”!

You can read my previous post HERE.

Quick and Easy Tiny Christmas Tags

Tiny Christmas Tags

We’re all rushed for time, but if you find yourself short on tags for wrapping presents, just make some quick and easy tiny Christmas tags like these! The Soft Sky card base is cut at 2″ x 4″ and scored at 2″. The Whisper White layer is cut at 1 3/4″ x 1 3/4″. Just find some small images to stamp easily. The first one is from the stamp set Many Merry Stars and the other two are from the Project Life stamp set December Wonder. The monochromatic look is easy and you don’t even have to think about colors!  Add a tiny rhinestone or pearl for a little something on your tag or gift card! Super simple to make!  At most it took five minutes!  And it was fun!  You won’t be able to buy such cute gift tags at the store!

How close are you to finishing your Christmas shopping and preparations?!

In all the holiday hubbub, don’t forget the Year-End Closeout on the Stampin’ Up! Clearance Rack! Everything is available while supplies last so products can change at any time. There are several Christmas products you could use now or put away for next year!


Scalloped Tag Topper Punch Candy Treat Holder

Scalloped Tag Topper Punch Candy Treat Holder

If you need a little candy treat holder for Christmas, try this Scalloped Tag Topper Punch Candy Treat Holder. It’s made with the Scalloped Tag Topper Punchbut if you didn’t have that punch, you could also just make the card stock strip plain and punch holes in the top. The Tag Topper Punches make it easy!

I wanted to be able to enclose two Ghirardelli chocolates inside so I made the spacing for the bottom a little wider and the strip a little longer. I cut my cardstock for the candy holder 7″ x 2″.  It does need to be exactly 2″ or a tad narrower for the strip to fit inside the punch. Score at 3 1/8″ and 3 7/8″. Punch each end with the Tag Topper Punch. Fold on the score lines and decorate the treat holder! I put a little bit of SNAIL Adhesive inside just to help hold the candy. Tie with some ribbon at the top.

To decorate the candy treat holder, I cut a piece of Whisper White for a background layer and stamped with Soft Sky ink the very little snowflakes in Holiday Home. The tree is from Festival of Trees and punched with the Tree Punch. Of course I had to punch out a little star from the Glimmer Paper and I even had to add a little bit of bling with some Pearls and Rhinestones.

This is an easy and fun project to make!  Make it a little smaller if you want to just add one chocolate inside!

Shop Stampin’ Up! HERE.

Make a Gift Card Holder

Gift Card HolderShopping time is about over before Christmas (not that I have barely started mine!) so gift cards might be an easy solution for your gift-giving at this point in time! Make a pretty gift card holder with some card stock and designer paper and maybe a stamp or punch or two! My friend and I made a bunch of gift card holders yesterday for her husband’s office, but that version was a little more complicated, although they turned out beautiful. This gift card holder is very easy to make and so versatile.

Cut a piece of card stock 10″ x 4 1/2″.  Score at 3″, 4″, 5″ and 8″. Fold and decorate.

That’s pretty much it!!

Here are the steps since you probably want the details!

Gift Card Holder Folds

Fold on all the score lines using a Bone Folder to crease them well. Make sure your folds are going like this.

Gift Card Holder Adhesive

Apply adhesive as seen in the photo above.  I used Sticky Strip (and took off the red liner before I took the picture! I like using adhesive on both sides that meet up so it holds well, just in case. In this case, put the adhesive very close to those fold lines because the gift card is going to be inserted in the top part, where the fold is now.

Gift Card Holder GluedPinch that fold together where you have put the Sticky Strip (or Mono Multipurpose Glue). You are eventually going to slice off the top fold to make an opening for the gift card, so don’t worry!

Gift Card Holder Greeting Inside

You can add a greeting to the inside and adhere some designer paper where you like. Using the Paper Trimmer, trim off just a slight bit of the top of that fold line where you will insert the gift card. You could use a framelit or punch that opens up that fold to fit the gift card. In the photo, you can barely see the opening I have after trimming off just about 1/8″ or whatever slight amount of the fold.

Gift Card Holder with Card

Insert the gift card (not a plug for Office Depot, I just grabbed a card that would fit in the slot!). Make a belly band (mine is 1 1/4″ wide) to fit around or tie a ribbon or whatever you like!

Easy gift card holder!  Unless you choose to make it more complicated!

Today may be the last day to order Stampin’ Up! products and have them arrive before Christmas. Of course it all depends on where you live and weather conditions and road conditions and all that! Did you know Stampin’ Up! offers Expedited Shipping?? Warning:  You can become addicted!  It does cost extra, on top of regular shipping, and you can get 1- or 2-day shipping.  There is a time deadline for it to ship out the same day.  But if you are in a hurry, it’s great! Like my Occasions Catalog pre-order that is arriving today!!!

Shop Stampin’ Up! HERE!

Festival of Trees Christmas Tags

Festival of Trees Christmas Tags

It is crunch time for sure so I plan to show you quick and easy Christmas projects you can make at the last minute this week! Here are some Festival of Trees Christmas Tags you can make with scraps and just a little bit of stamping and embellishing. I cut the tag 2 1/4″ x 4 1/4″ with the Whisper White layer 2″ x 4″. You can use any colors you like. I stamped the trees with the Festival of Trees Stamp Set and punched out with the Tree Punch. That punch is so handy! If you want, you can save 15% by buying the bundle with the stamp set and punch together. You don’t even need to stamp, you can punch out a tree from designer paper or Glimmer Paper! Super Simple!  And then if you like, but not necessary, you can embellish the trees with some bling, like rhinestones or pearls or Candy Dots!

Have fun making some easy Christmas tags!

Last day for Stampin’ Up! Weekly Deals!  Order before midnight tonight!

Weekly Deal Dec 9 2014


Christmas Tree Triangle Box

Christmas Tree Triangle Box

One of the easiest projects to make for any occasion is the triangle box. This Christmas Tree Triangle Box is one I made for Christmas, to look like a Christmas tree. After cutting and scoring the card stock, I embossed the front half with the Beautifully Baroque Embossing Folder to make it look something like a tree. I tied the top of the box together with the 1/8″ Gold RibbonThen I was ready to decorate!  I thought the ornaments on the Nordic Noel Designer Series Paper were cute so I just cut them out by hand with my Paper Snips. They are adhered to the tree with Stampin’ DimensionalsThe Gold Glimmer stars are punched with the star punch in the Itty Bitty Accents Punch Pack and adhered with Glue Dots.

Here’s how the Triangle Box is made:

Triangle Box diagram

  • Cut card stock in half lengthwise:  4 1/4″ x 11″
  • Score at 5 1/2″.
  • Mark the center of the strip on both ends at 2 1/8″ with a pencil mark.
  • Score with Stampin’ Trimmer at an angle, putting that center pencil mark on the track on the Paper Trimmer while also lining up the middle score line on that track.
  • Score both sides of paper and both ends of paper. That will make two triangles, one on each half of the paper.
  • Fold all the score lines and put the box together.
  • At the top point of the box punch holes for ribbon to go through.

You can make these triangle boxes any size you like. Just follow the basic idea. Put a candy treat or small gift inside.

For any stamping and papercrafting supplies, please visit my Stampin’ Up! Online Store!