Yes, I know star boxes from the Many Merry Stars Simply Created Kit were supposed to be made before Christmas, but much as I wanted to, it just didn’t happen! I frequently do Christmas things AFTER Christmas – like bake cookies, make decorations! I could have saved the whole kit for next year, but for one thing, I’m in the mood now to make these, I’ve been looking forward to making them since I first heard of them, and by next Christmas there will be something new and shiny I am interested in! So better to just make them now and have them ready next Christmas! What a joy that will be!
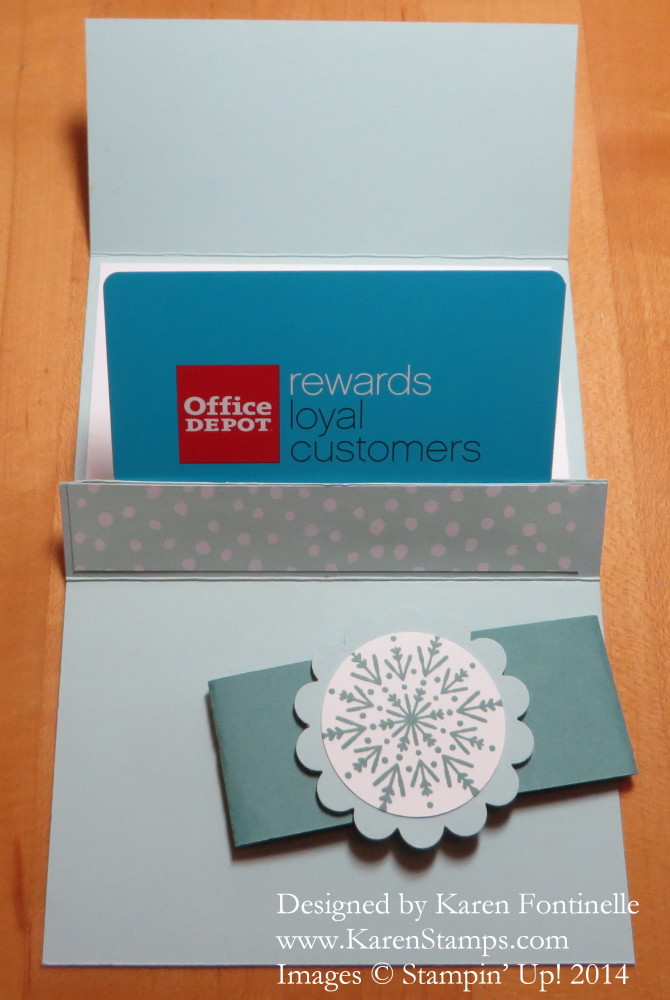
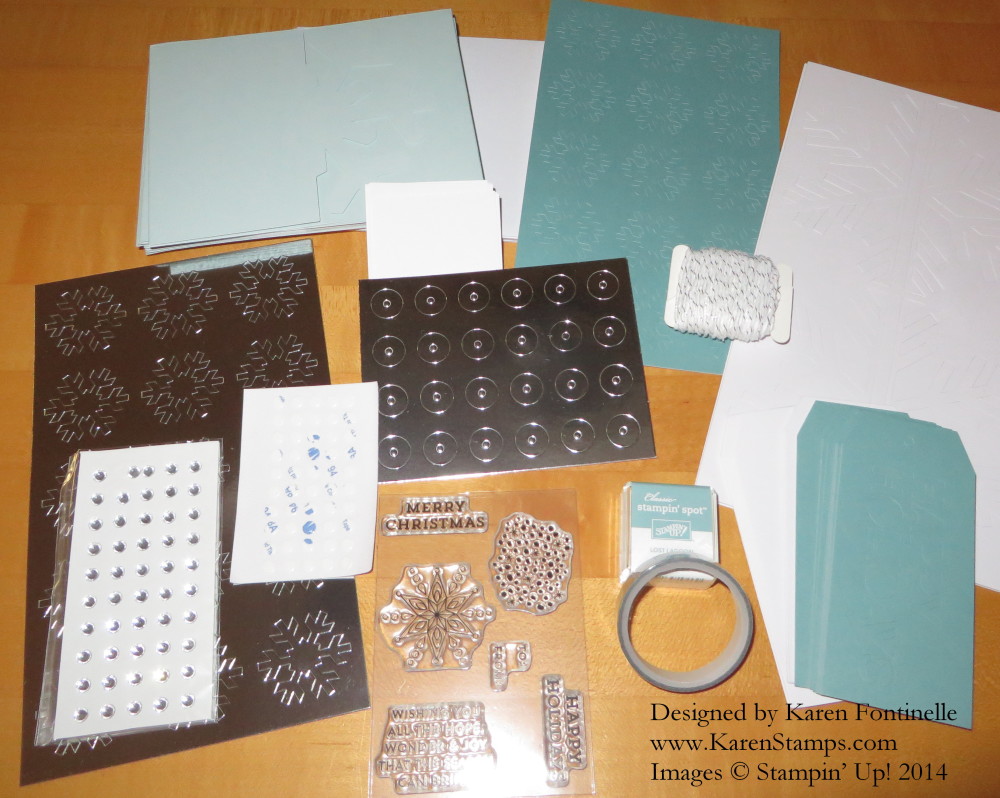
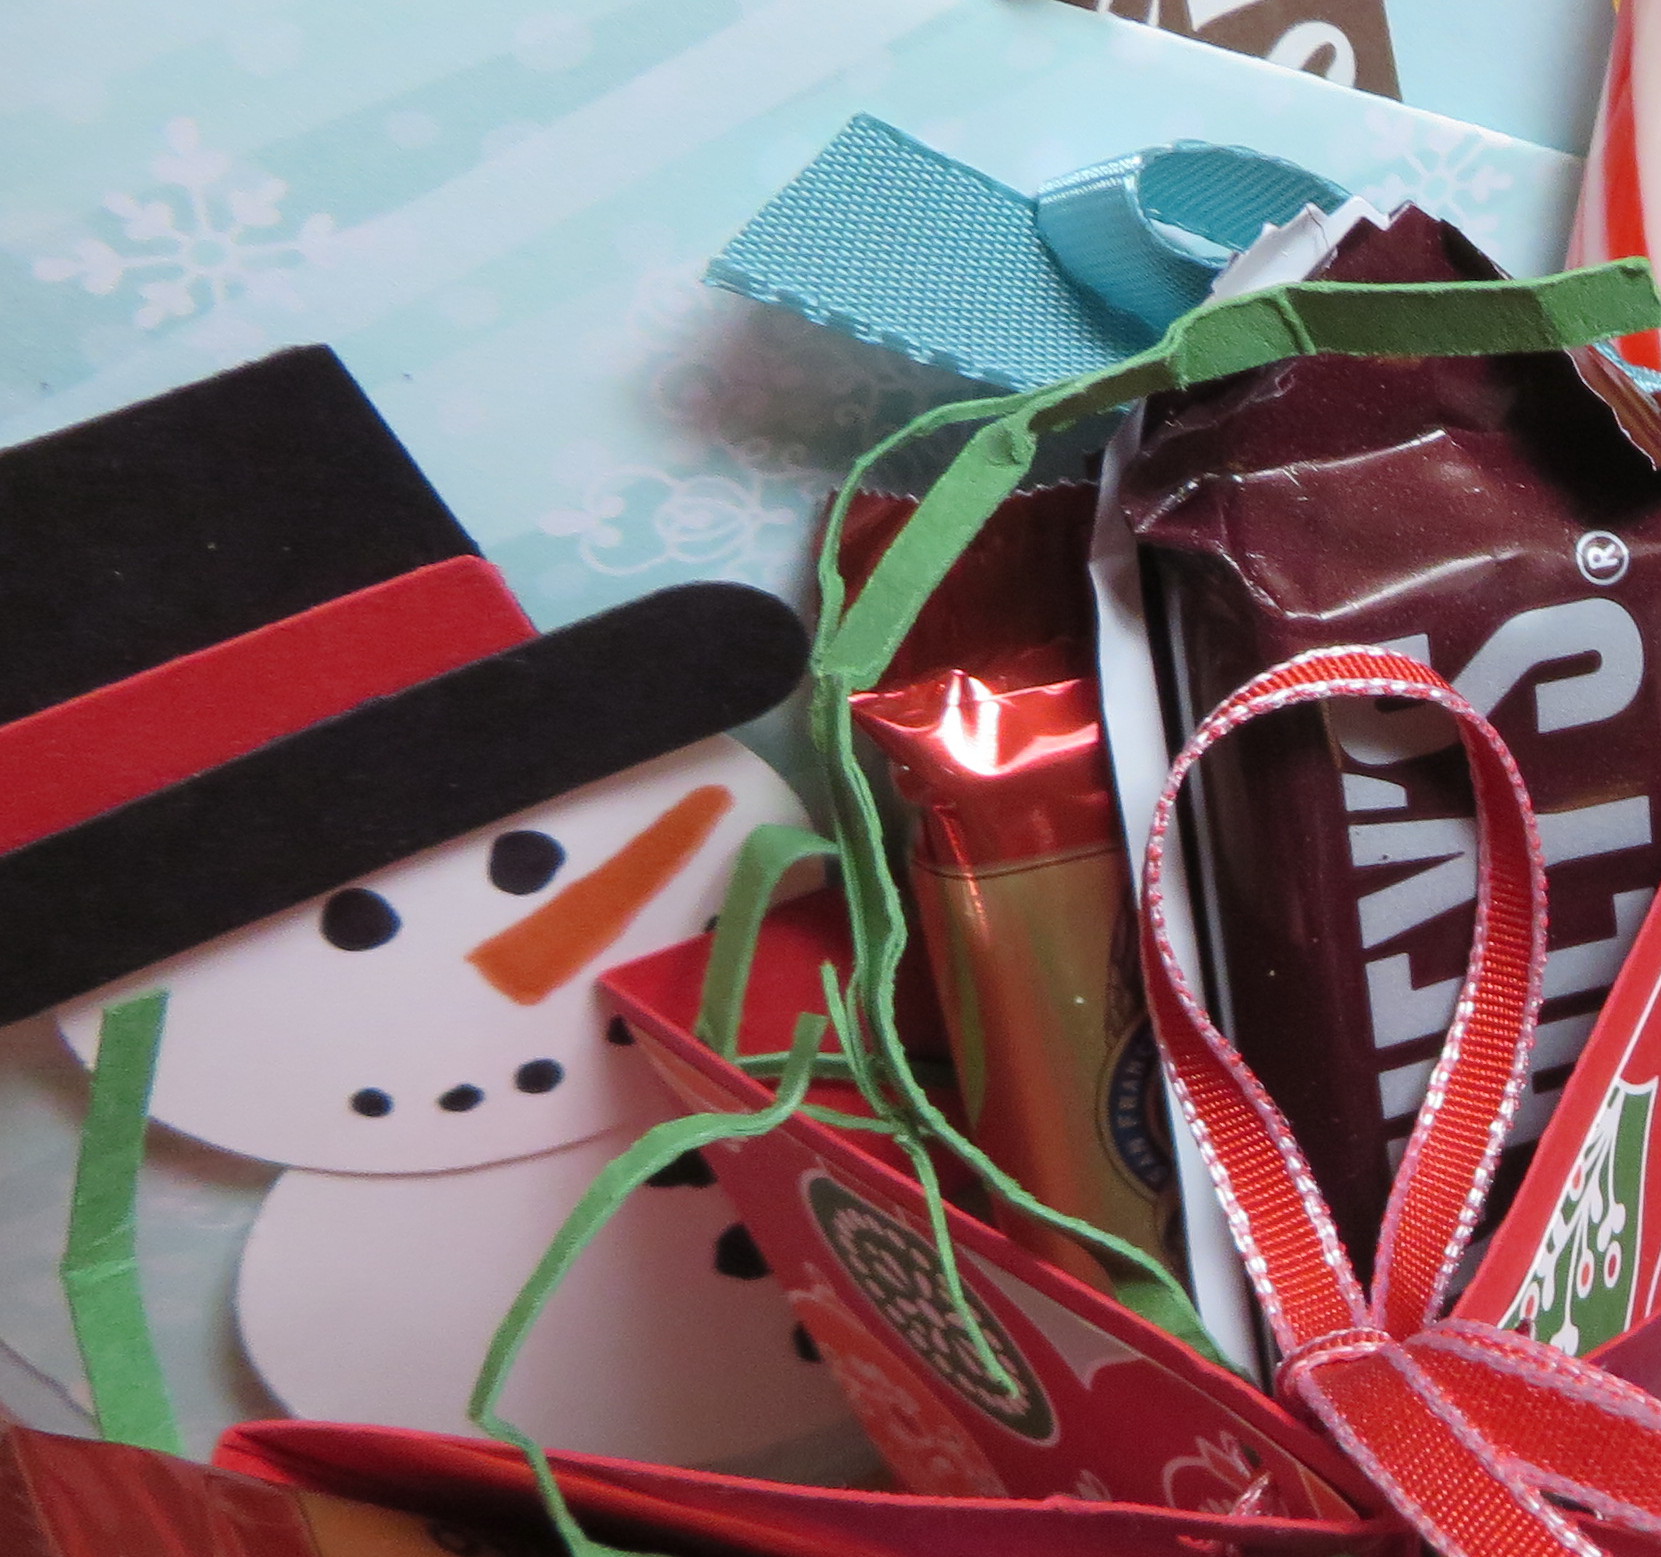
There are tons of supplies in the kit and the star boxes really were quite easy to make. They suggest starting with a medium size star box to get the hang of it on an easier size. I also followed someone else’s directions to make two of the boxes into boxes with a lid and bottom so that next year perhaps I can use them to put something inside. Otherwise you are just adhering the back on to the bottom of the sides of the box and the whole thing is closed up. Still cute and you can string a ribbon through at the top in the beginning of assembly to make an ornament. I haven’t tried all the variations yet!
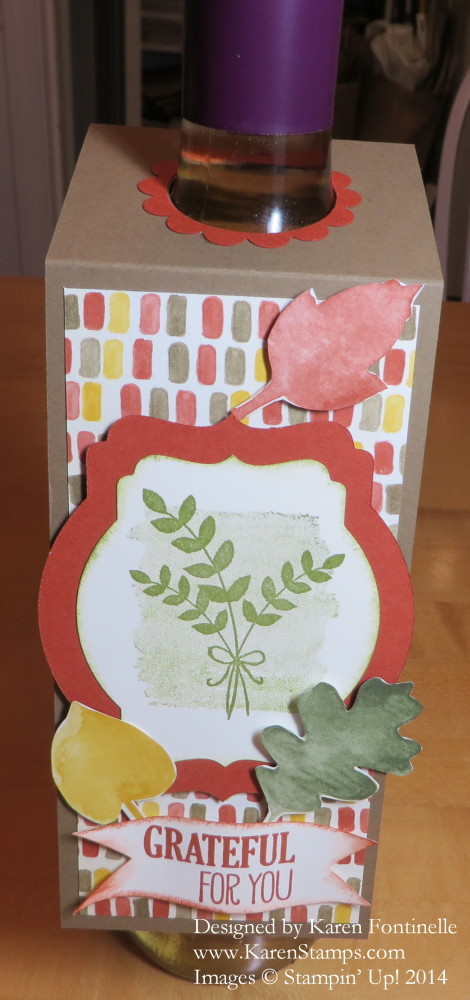
Really, you could made some of these stars for just any occasion or for a birthday, not everything is Christmas-themed in the kit!
Just want to let you know it is okay to make Christmas things AFTER Christmas, in case you want to!
And at this moment you can still purchase the Many Merry Stars Simply Created Kit on the Year-End Closeouts Clearance Rack HERE. Only available while supplies last.
Hope you had a happy New Year’s Day yesterday! It seems like the holiday goes on and on with this weekend after! Time for a little more holiday stamping and then on to spring and the new Occasions Catalog and the start of Sale-A-Bration on January 6th! If you do not have a Stampin’ Up! Demonstrator and would like the new catalogs, I have some extras I can mail to you. They will also be available online January 6th when the catalogs and promotion go live! If you are a customer who regularly receives catalogs from me, I think you should have received them already, so hunt through that Christmas mail you might have put aside and find them!