These Pop’ N Cut Dies were introduced in the Stampin’ Up! Spring Catalog and honestly, I didn’t pay much attention to them. I think I had already added so many things to my order that by the time I got to their page in the catalog I wasn’t interested. I didn’t take any time to see what they were about, although I did order the Dress Up Framelits Dies. Those seemed easy enough.
But then as so often happens, I started to see really cute things other people made and also watched some videos made by the designer of the dies, Karen Burniston. That’s when I put them on my next order! The shape of the Card Base Pop’ N Cuts Die is a Stampin’ Up! exclusive, made with the decorative edge and made so you can tuck it into the slits to close. You can use just this without the pop up portion.

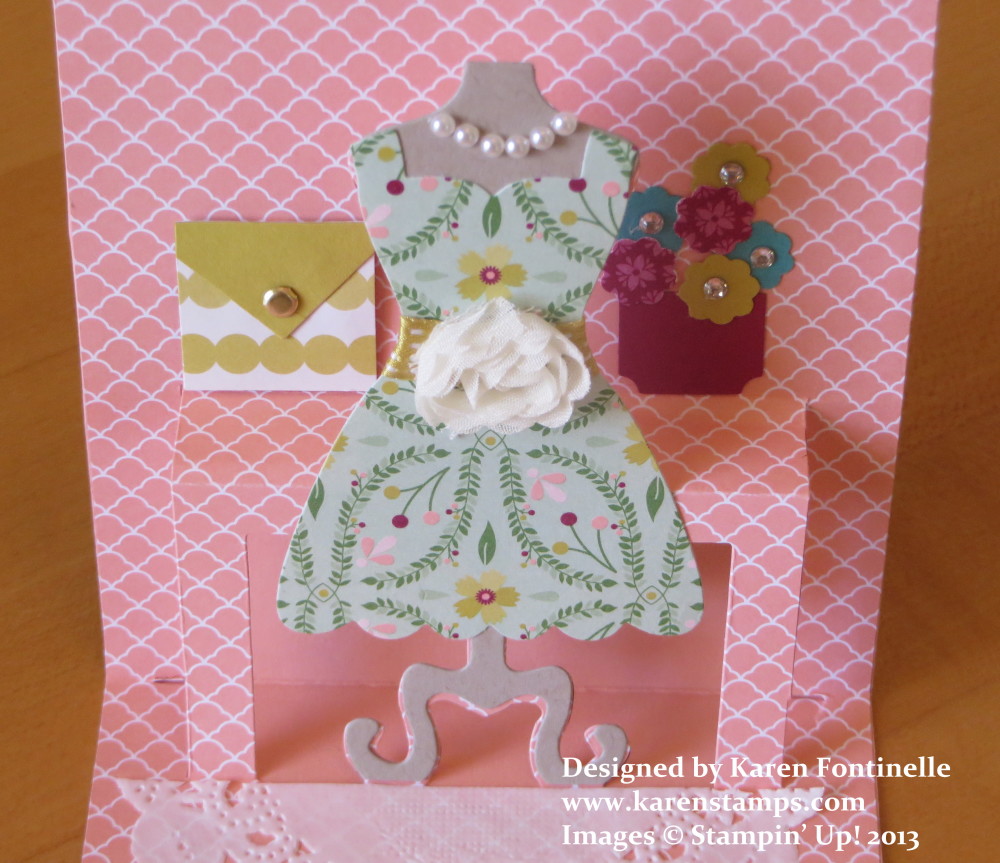
The pop up portion is easy to do once you get the hang of it. You want to be careful not to fold things that shouldn’t be folded. In order to get the pop up going, it works best if you get your fingers behind that table part and then you will see and feel where the score lines are and how to get the pop up to pop up!

Once you get the pop up popped up, you can adhere it to the card base. Just be careful to see where the adhesive should go and shouldn’t go. I haven’t gotten the hang of that yet! Even though I think I’m being careful, I always get adhesive where it shouldn’t be! But as long as you pay a little bit of attention, you’ll be okay! Then you can embellish and decorate your card however you like on the inside and on the front!
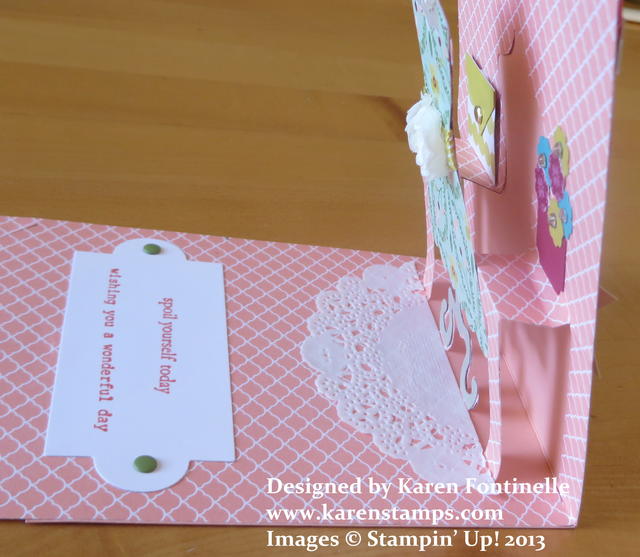
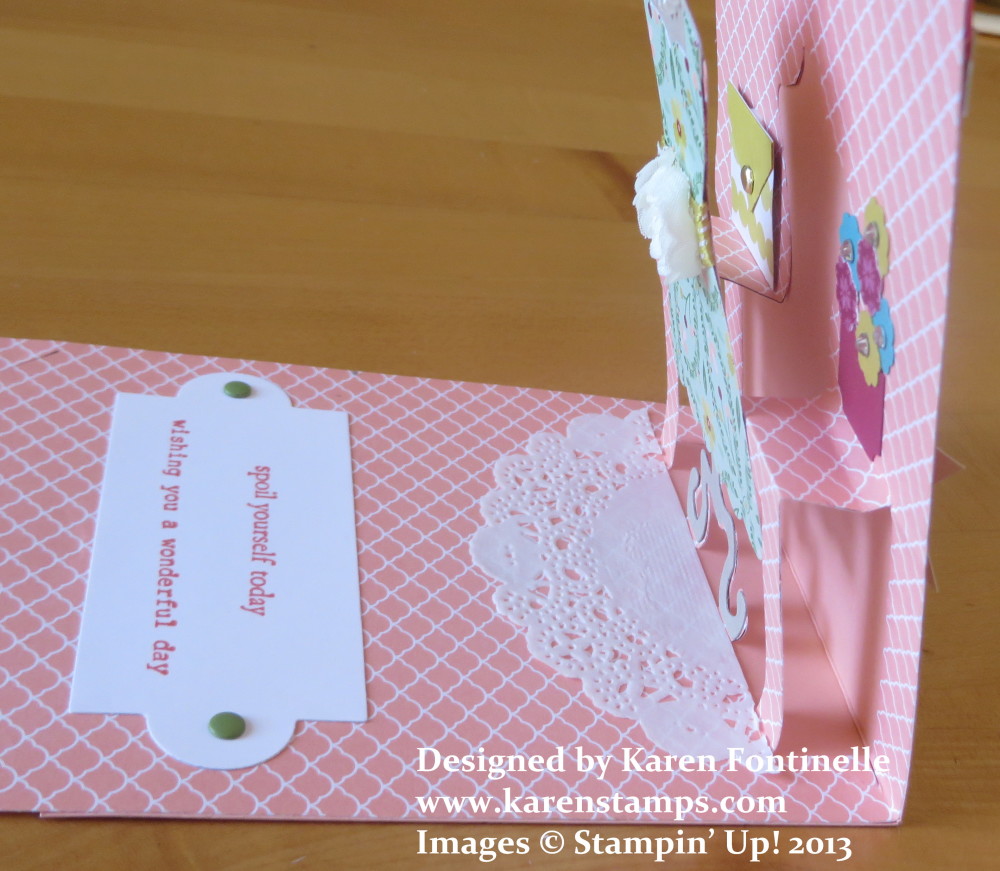
This is what the pop up looks like from the side. You want to get that rectangle shape from the side. That’s how you know you have it right! Once you get that shape, then the rest will take care of itself.
These Pop’ N Cut dies are easy enough to use and fun besides! You can also trim that dress shape off the pop up and add another piece of card stock for a gift card holder or for a message or other design.
Here are the Pop’ N Cuts dies I used plus the framelits:
Just go to my Stampin’ Up! Online Store any time! Just think what magical cards you can make with the Pop’ N Cuts Dies!