
Here are some more random photos from Convention! I think you can click on the photos to get a larger version.
A magnetic board made with the Build-A-Bear die cuts. Just use magnetic sheets and make your own paper dolls!

A display board with red, white, and blue!

A class about using Decor Elements:

Ways to use Decor Elements besides on the wall:

So cute for a child's room! But I think all of us stampers could use this saying in our craft rooms!

A beautiful sample on display!!

Some Build-A-Bear samples:

An album made with "My Digital Studio", one of the new pieces of jewelry, "Simply Adorned Charms" in the Holiday Mini (wait until you see these in person!), and the calendar in the Holiday Mini:

Another gorgeous project on display. Love those display boards!!

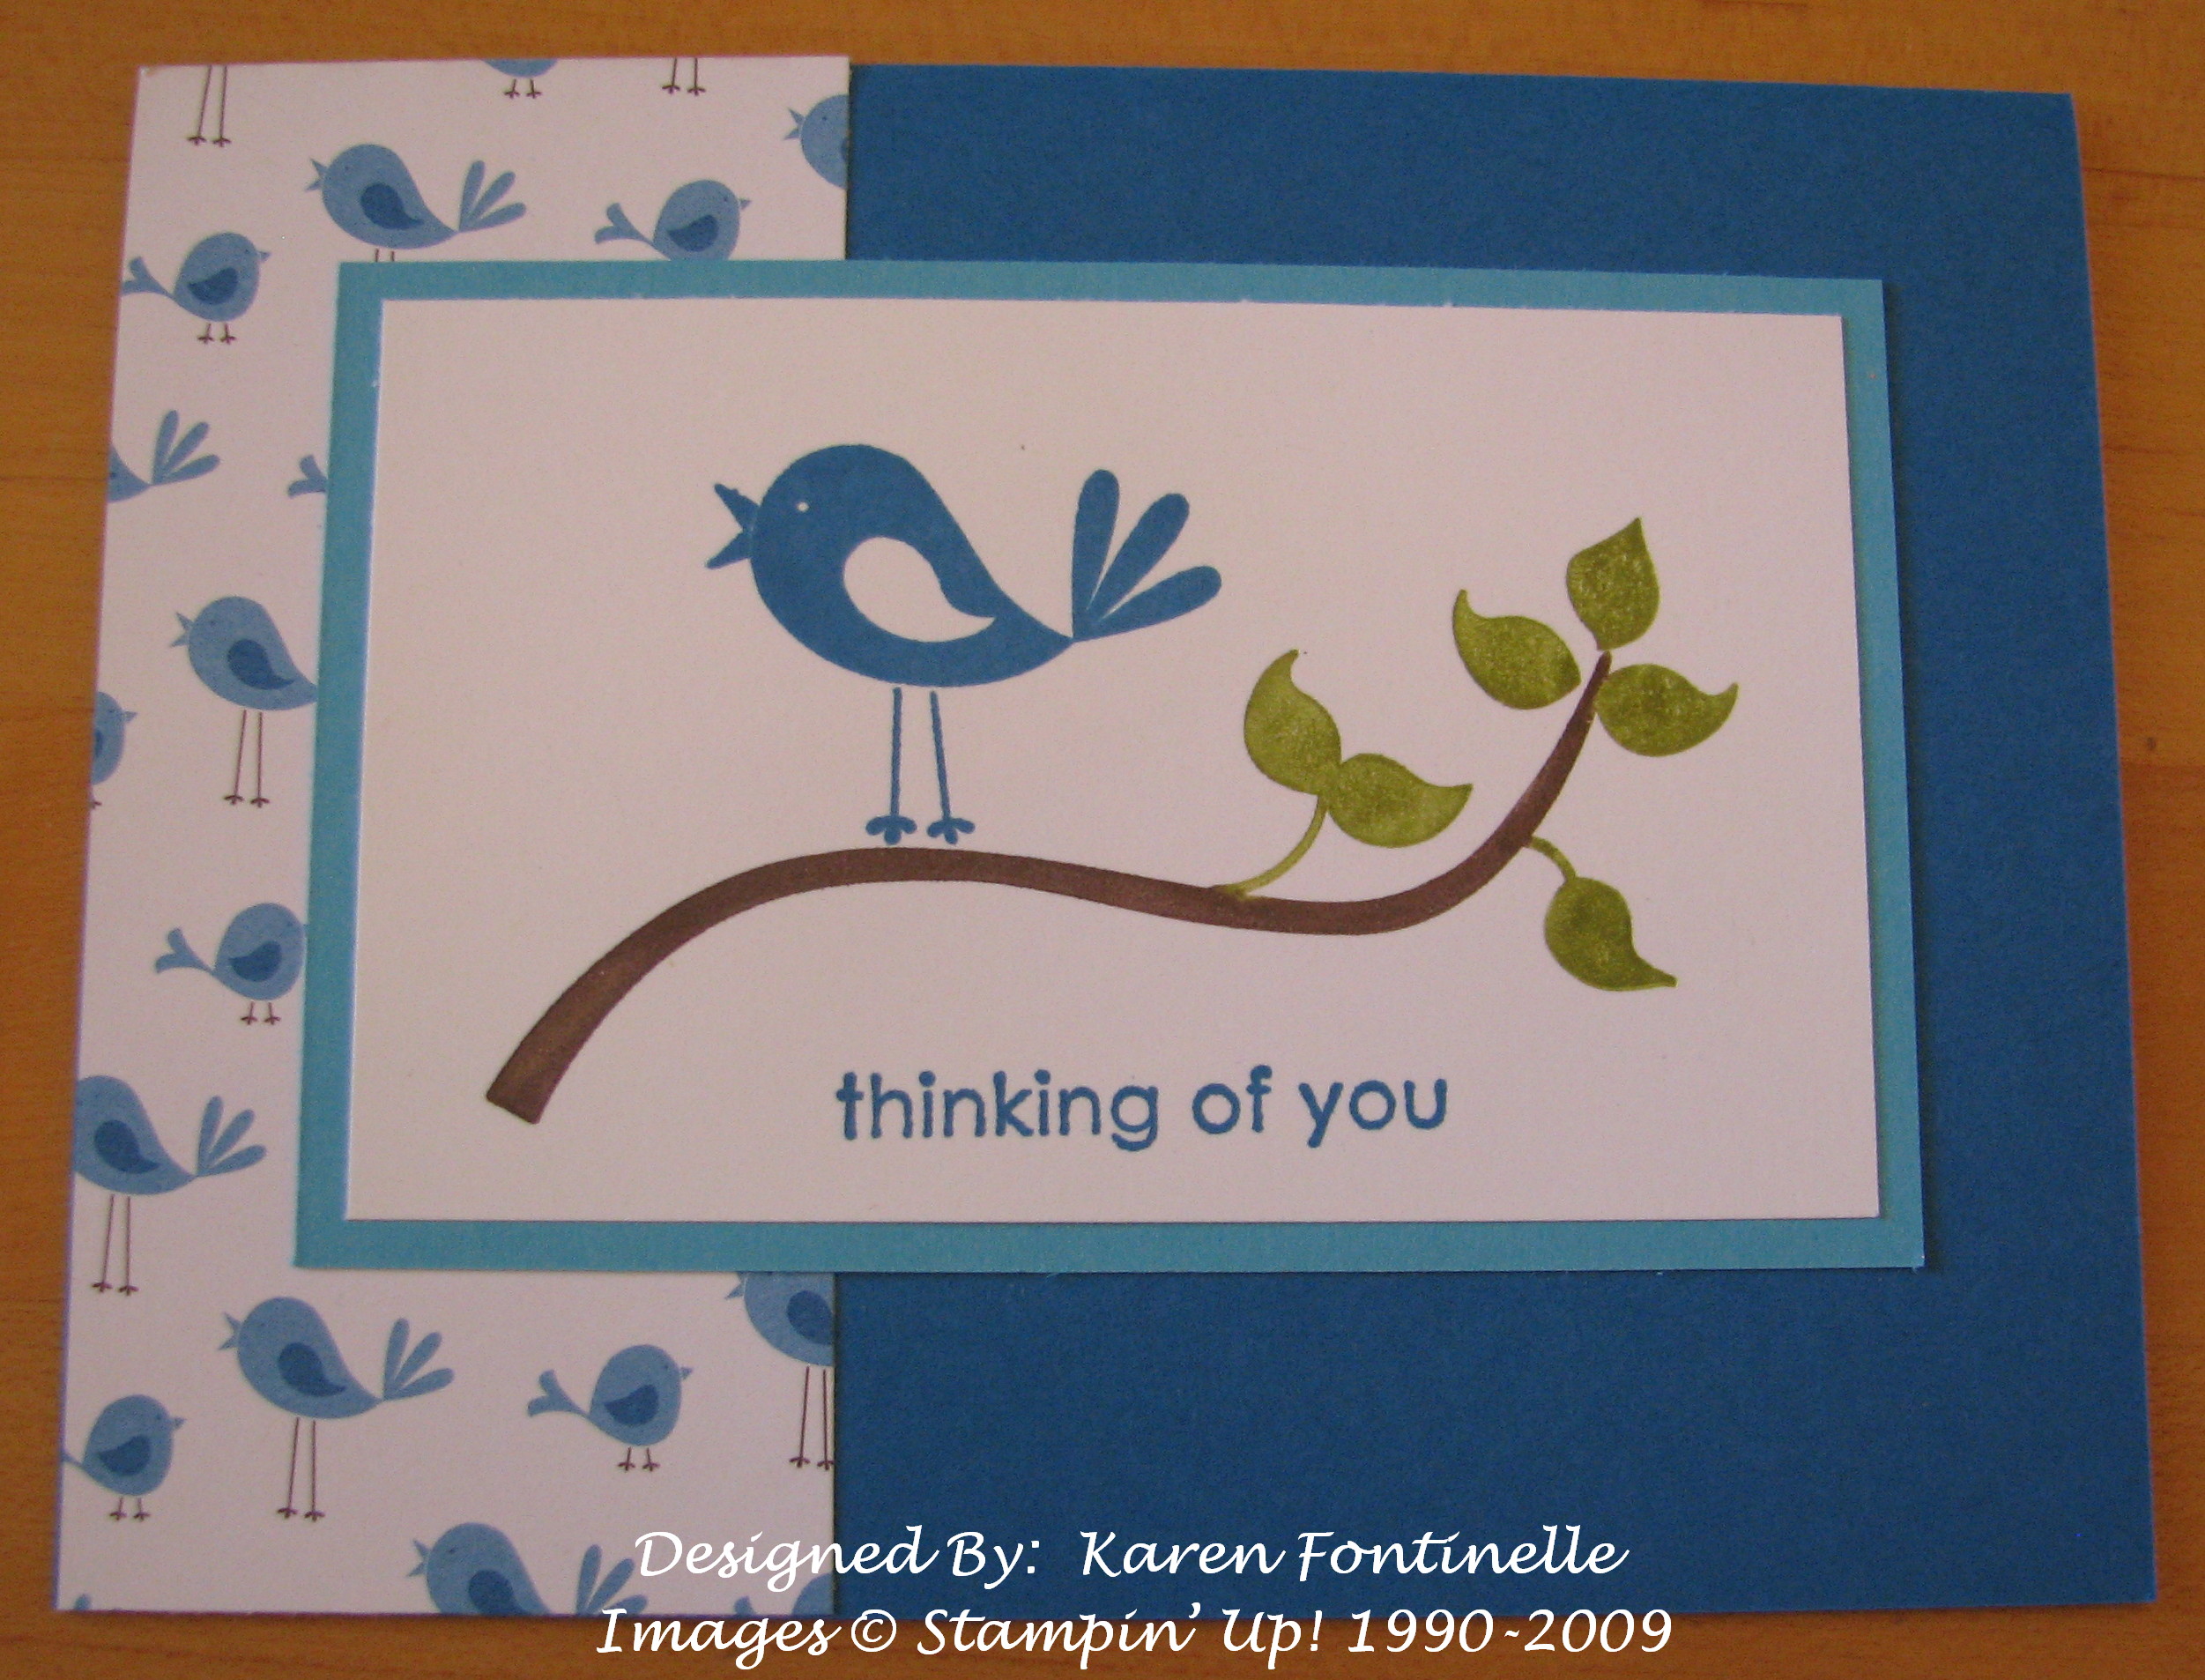
What a cute card!!

All Images © Stampin’ Up! 1990-2009
That's all for today but I have more!!!


