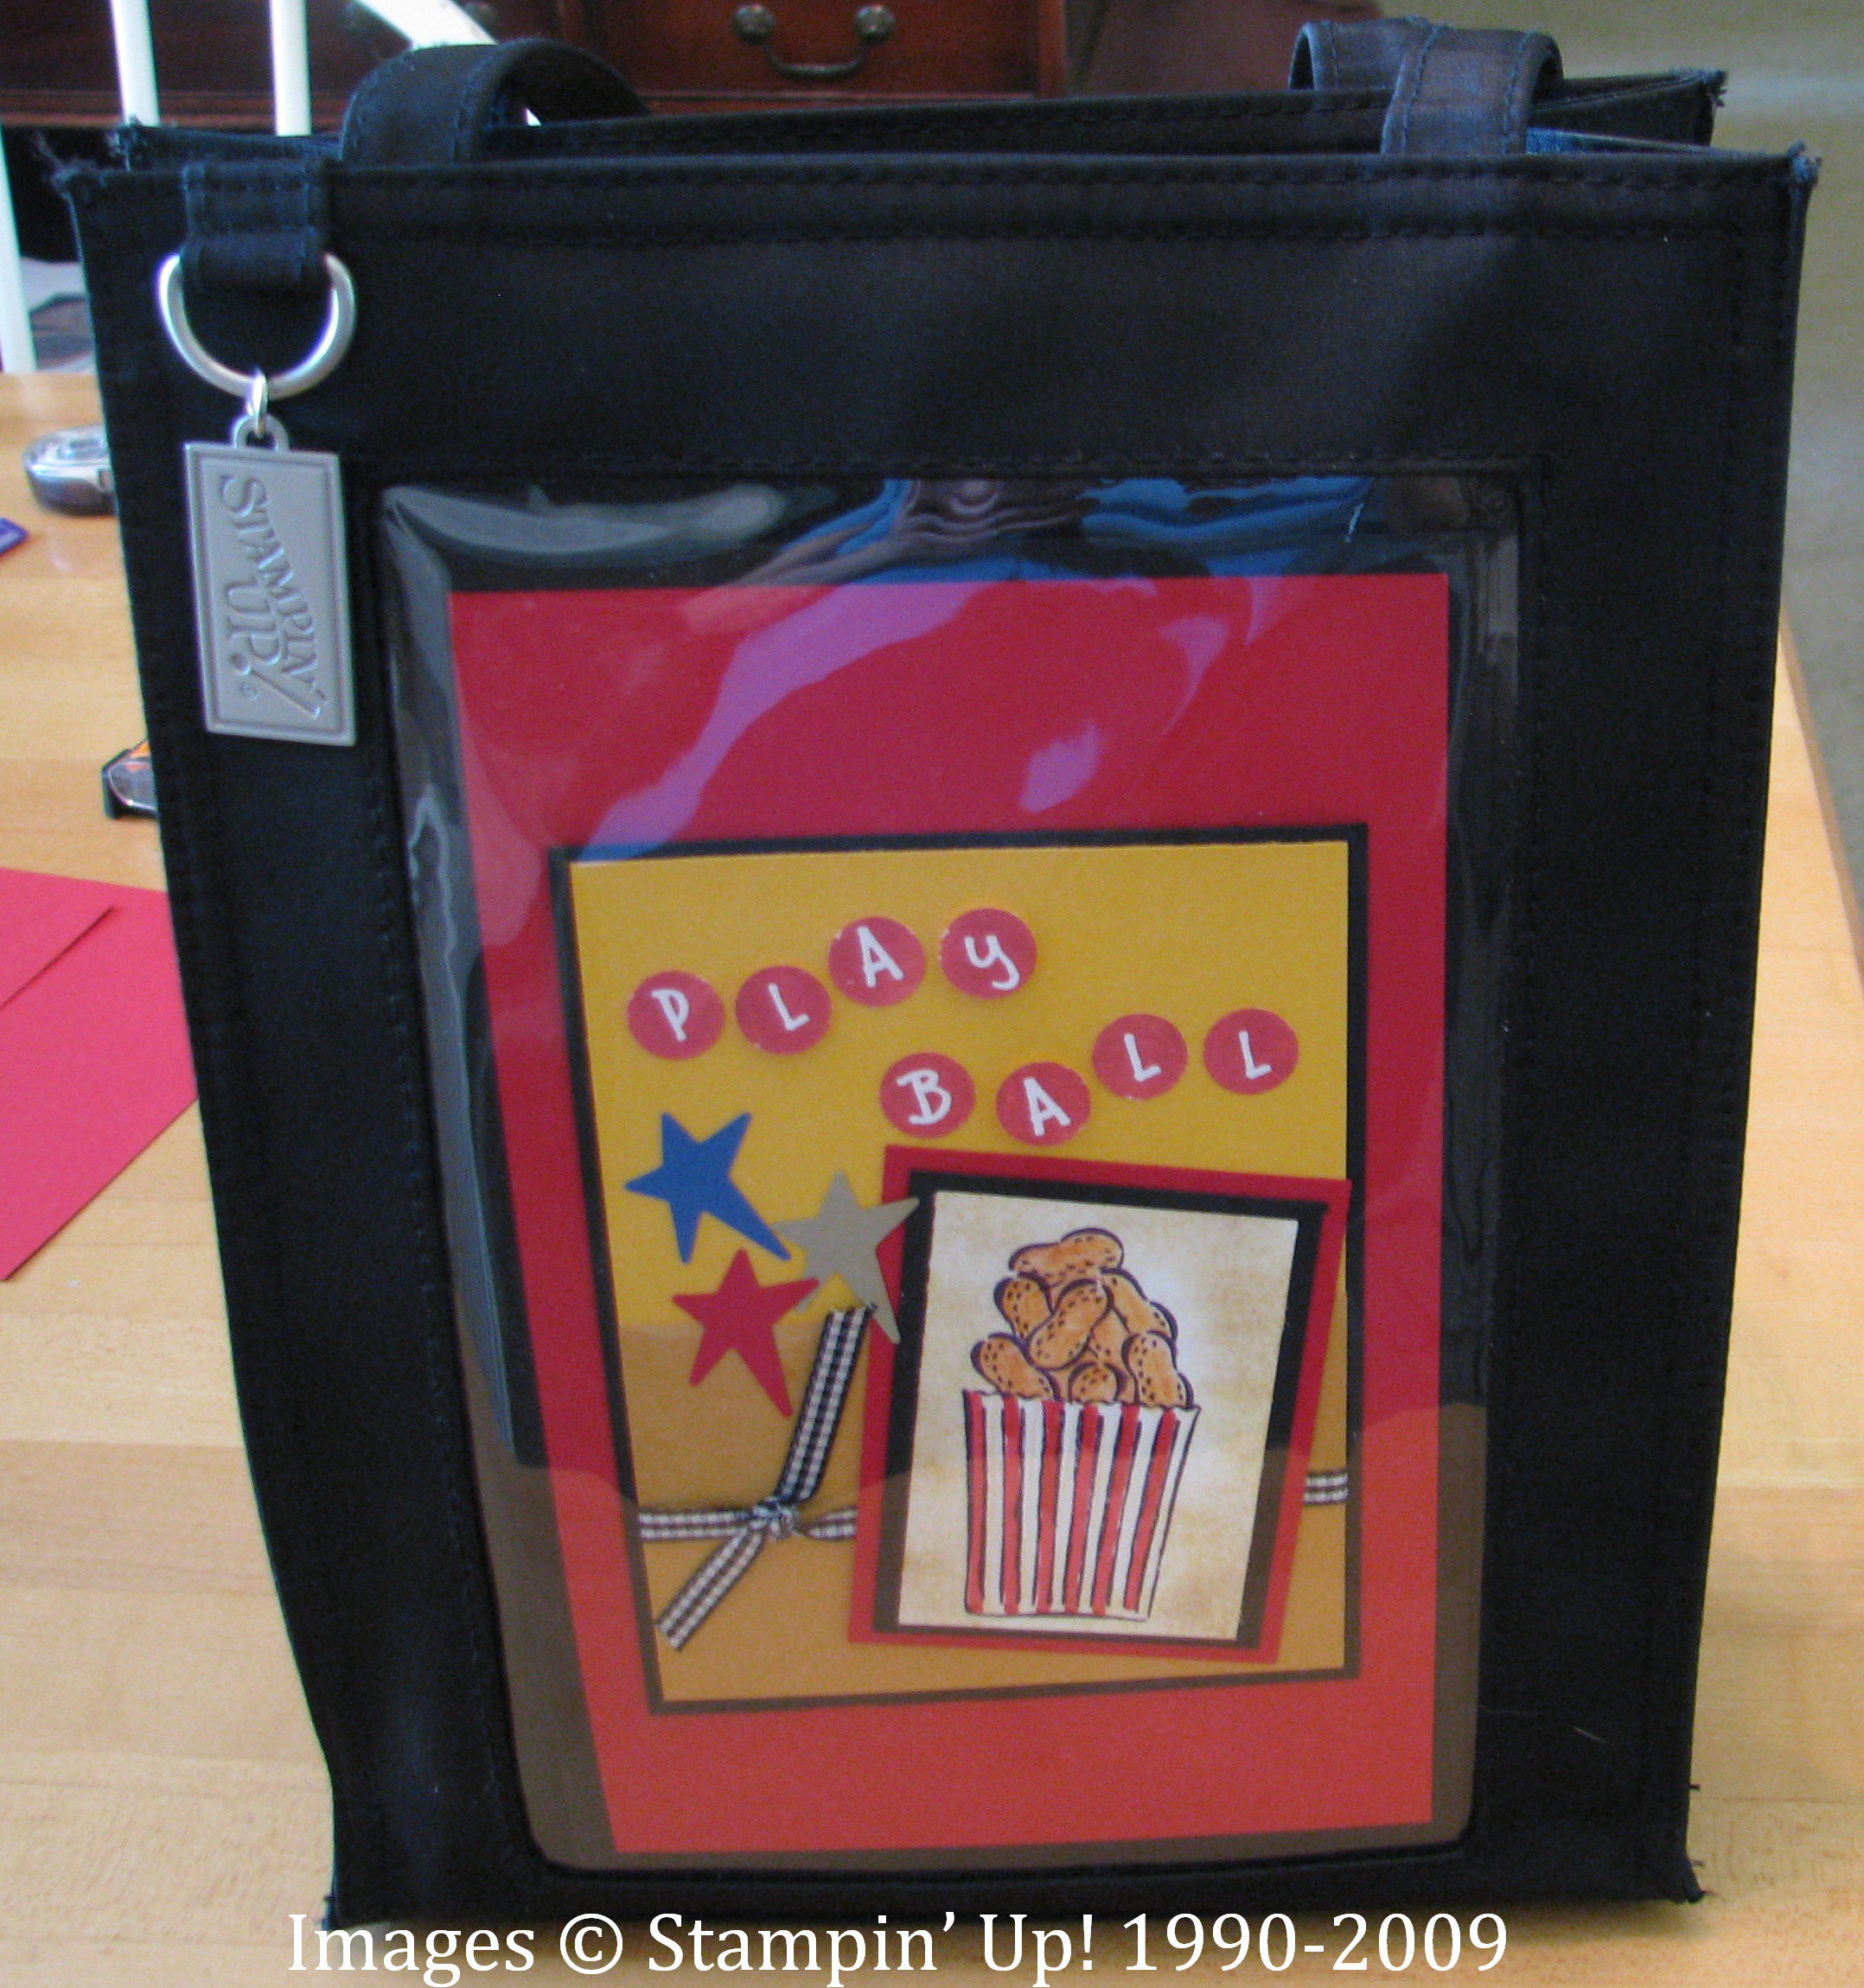
Category Archives: 3-D, Gifts & Things

Happy Easter Bunny Pail

Recently I helped one of my customers with a luncheon and stamp camp at her church.  This was one of the projects.  She purchased the pails at Oriental Trading.  They are a little less than 3 inches tall and a little over 3 inches in diameter.  Then we used oval punches to make the bunny face and the Trio Flower punch to make the little flowers out of the SAB Designer Paper at the bottom.  Just attach everything to the pail with some glue dots or dimensionals!  We added a little tag from "A Good Egg", punched with the Word Window Punch and tied on with Linen Thread.  Very cute and easy project and the little pail is ready to fill with some grass and  candy treats from the Easter Bunny!  Contact me if you need any more details!

BunnyPail

It’s No April Fool’s….

It's no April foolishness……the beautiful new Stampin' Up! Occasions Mini begins today!  While everyone has had a sneak peek recently in order to get those cute Easter sets in time, today is when the new Occasions Mini REALLY starts!  Mini catalogs have really come a long way since I started with Stampin' Up!  Not only does this mini have wonderful new stamp sets, but it also has new Designer Paper (Walk in the Park), new ribbon (Whisper White Satin), new Corduroy Buttons (Baja Breeze and Basic Gray…and yes, they really are covered in corduroy!), new Rub-Ons (Summer Love), a NEW PUNCH (Scallop Oval…you'll want to add this to your collection!!), Window Sheets (printed and plain), new Designer Hardware (Grommets!), new wheels, and….. (drumroll, please!)…..the new Matchbox Bigz XL Die!!!  This die that of course works with the Big Shot cuts a very cute little box and lid plus three tags!  There is also a matching stamp set, Matchbox Messages, that you can use with this die.  And with the new Window Sheets, you can make clear lids or matchboxes.  Lots of creative possibilities with this die! 

Look at my project below and then click on the Occasions Mini picture above right to view the catalog.  If you didn't receive your mini in the mail, contact me with your mailing address and I will send you one.

Here is a little box I made!  Four Hershey Nuggets fit perfectly inside.  You can cover them with Designer Paper to decorate.  I used my Scallop Circle Punch to punch the lid and put a clear Window Sheet piece under it.

Matchboxdie2 

I stamped the box with the flowers from "A Good Egg".

MstchboxDiebox1 

And just a little tag from the new "Matchbox Messages" to tie on to finish the box!  Cute little gift!

Matchboxdiethanks

February Swaps

Here are the swaps I received from my friends in our little demo group.  We all made the cute box with the scalloped flower on top, but that warrants its own post!  I just have to understand better how to put the pieces together.

Febdemoswaps 

The card with the 3-D flowers was made with "Doodle This".  The flowers are cut out and then the petals are turned under and adhered to the card.  Very cute!  Also, the card closes by tucking underneath the word "Joy".  The very cute Valentine truck is stamped with "Loads of Love", a set I don't own but see the cutest things made with it.  Of course the card itself is made with the Top Note die for the Big Shot (both, a must have!) with a Jumbo eyelet in the corner.  The pink box is made from two Scalloped Envelopes made with the Big Shot.  I love in the photo below how she attached a tab to the bag of candy inside!  And the other little box was a tutorial on Splitcoaststampers recently….so cute!  You can fit 4 Hershey Nuggets or even Ghirardelli Chocolates in it and the tab of the lid fits behind the scallop on the front rather than going inside the box.  Thanks, ladies…..another fun get-together!

JoanBox 

ScallopEnvMMs


Valentine Ghirardelli Candy Holder

Ghiradelliholderpink 

This is a little Valentine candy holder that I found somewhere.  I stamped the Pink Pirouette card stock with Versamark for that watermark look, but my pad was rather dry and it barely showed up.  I decided to try embossing and that's how I ended up embossing with Iridescent Ice and it gave my candy holder a very sparkly, glittery look!  I used the Love You Much hearts, and stamped them again on Whisper White and punched out with the Heart to Heart punch.  The pink taffeta ribbon is very pretty or the pink grosgrain.

Base is 2 3/4" x 9 5/8".

Score at 2 3/4and 3;   6 1/4 and 6 1/2.

 Fold up and then open back up.  Use your Word Window Punch on the bottom flap, inserting as far as you can, a little to the right and then punch again the same hole but a little to the left.  That gives you an opening big enough for the Ghirardelli Chocolate Square.  Then flip the flap up and adhere, preferably with Sticky Strip, just at the top.  Insert chocolate and tie the ribbon around to close!  Very easy, very adaptable, and very cute!

Ghiradelliholderpinkinside

Valentine Candy Card

Valentine's Day is right around the corner!  Here are some very quick and easy treat holders to make.  I made six of them easily yesterday for my nieces and nephews.  I found the idea on Angie Juda's website.  This one I made for the boys using Sahara Sand card stock for the base, "A Happy Heart" stamp set, Riding Hood Red 5/8" striped grosgrain ribbon, the Heart to Heart Punch and "Holidays and Wishes" for the Valentine greeting on the front. 

ValCandyTreatHeart 

Just start with a strip of card stock 8 1/2" x 4 1/4".  Score at 3" and 6 1/4".

Use your Slit Punch to punch a slit on each side of the middle part to hold a bag of candy.

Your layer or decoration on the front can be anything you want it to be, any size.  The ribbon keeps the candy holder closed.  You could even just stamp the front of it and not put an additional layer on the front.  This could also be used as a gift card holder.  So there you go, use it for more than one season or occasion.

Treatinside 

Treatfront 

And here is another version for the girls.

ValCandyTreatBirds2 

What would I have done with the "Love You Much" stamp set?  I loved it from the first moment I saw it at the Stampin' Up! San Antonio Regional.

Hope you will have fun making some easy candy holders for your Valentine!

Valentine Candy Holder

Scallopconecandy 

Here's an idea I have seen many other stampers make.  I love using my Big Shot, and this paper cone is made with the Scallop Circle die cut.  I used Pink Pirouette card stock and stamped with Red Riding Hood ink with the hearts from the set "Love You Much".  I gently rolled the paper into a cone shape, punched two holes and put the ribbon through.  You can also add a little glue to hold the bottom edge.  Tombow Multi Purpose Glue (in the green bottle!) works great for this.  Just hold it for a second until it adheres.  These candies are Hershey Nuggets wrapped in Candy Lane Designer Paper.  Love doing those!  Wouldn't your valentine love getting this little gift?!  You can shop for any of these Stampin' Up! products by contacting me or by going to the online store!  And don't forget about Sale-A-Bration!

Also, when you go to my Demo Website you can watch a great video about the Big Shot!  Jaron Winder, a multi-talented Stampin' Up! employee, will show you several projects using the new Big Shot dies.  Jaron isn't "just" an employee, he really is a stamper and makes fabulous projects.  He put on a fantastic demonstration at the San Antonio Regional that I was able to attend.  And the man can sing!

Here are some other Valentine items.

CandyscallopMM 


CardandCandy  

Who Would Have Thought Target Mailboxes Would Be So Much Fun?!

When this Target mailbox craze started, I would have thought we would all make our Valentine mailbox that one year and then we'd be on to something else.  But it seems like we still haven't gotten our fill of them!  They make such great gifts, for any occasion, as well as great projects in stamp camps and classes.  I found one more mailbox in my stash and wanted to decorate it for Valentine's Day.  Hope you have found your Target mailboxes!  Put some little cards or candy inside and you have yourself a great Valentine gift!

Mailbox 

Mailbox2 

Mailbox4 

Here's what I used:

Bella Rose Designer Paper (love it!)

Love You Much Stamp set

Best Wishes and More Stamp set (heart on the front)

White Gel Pen

Ribbon:  5/8" Riding Hood Red Striped Grosgrain, Pretty in Pink Taffeta, Whisper White 1/4" Grosgrain

Eyelet Border Punch, Trio Flower Punch, Heart to Heart Punch, Circle punches, Scallop Punch

Naturally Serif Alphabet Decorative Strip for the Big Shot ("Be Mine")

Rhinestone Brad


Everything is available online at www.karenfontinelle.stampinup.net.  Click on the "Shop Now" button to go to the online catalog.  Don't forget to add your Sale-A-Bration products for every $50.


Have fun making a Valentine or gift for someone you care about!


Valentine Stamp Camp

These are the projects we made at my Valentine Stamp Camp last weekend!

ValStampCampprojects 

If you missed this one, I hope you can make the next one!

Love, love, love making these nugget tins!  They are SO easy and SO cute when you get finished, no matter how you decorate your tin.  Just take a strip of Designer Series Paper approximately 1" x 3" and wrap around a Hershey's Nugget.  You can use Sticky Strip.  I used a dab of SNAIL to hold the paper on the top of the nugget, then used the Tombow Multi Purpose Adhesive (in the green bottle) to hold the ends of the paper (just a small dab).  The scallop on the belly band is stamped with the Love You Much stamp set.  You could also just tie a pretty ribbon around and attach a tag or even use a rub on on the clear top.  So cute!

ValNuggetTin 

This is the same card I made for swapping at the SU San Antonio Regional with the stamp set "A Happy Heart".  I used the Spiral Punch and the Bella Rose DSP.

ValHappyHeart 

This Valentine I copied from one made by Wendy Janson.

ValLoveYouMuch 

Here are some pillow boxes made with the Big Shot and Pillow Box die.  The one we made at the stamp camp I punched out with the Heart to Heart Punch, then adhered a piece of transparency inside the pillow box.  We stamped more hearts with the Love You Much stamp set, punched out with the Heart to Heart Punch and then decorated the pillow box.  These were fun to make.  I love my Big Shot!

ValentinePillowBoxes 

And if you think I am crazy, or that your eyes are playing tricks with you, yes, that IS a Christmas card you see!  This is in keeping with my challenge to myself to start on Christmas EARLY!!  We used the Snow Swirled stamp set to make this card and put the tiniest bit of Dazzling Diamond Glitter on the snowflakes on the tree.  The Christmas card design was one I found by Caroline LeBel and just loved.  So simple yet so elegant.  I used Real Red on that card as I was afraid I was running out of the Riding Hood Red Ribbon and wanted to use the Real Red Grosgrain. 

JanChristmasCard 

This month if you place an online order through my website www.karenfontinelle.stampinup.net you will receive a FREE Spring-Summer 2009 Idea Book & Catalog.  Also, keep in mind that Stampin' Up!'s famous "Sale-a-Bration" promotion has begun!  With every $50 purchase (before shipping and tax) you may choose one Sale-A-Bration item FREE in the Sale-A-Bration Mini Catalog.  There are four stamp sets, one set of ribbon, and one set of Designer Series Paper to choose from!  Contact me anytime if you have questions or would like to place an order or schedule a workshop to earn your free Hostess Benefits!

Making a Picture Mug

 I had fun yesterday working on these Picture Mugs I picked up at Aaron Brothers Art and Framing.  I'm sure you can buy them other places as well.  They are designed to stick photos inside, which is great, too, but I thought of stamping something.  I decided to work with the new stamp set "Petal Pizzazz" on page 90 of the new Idea Book & Catalog.

PictureMug11 

To begin, just unscrew the bottom of the mug and pull out the insert that is in between the outside of the mug and the inner container.  There is a piece of clear plastic over the paper insert.  You can use this piece of plastic as your template to make your cardstock base. 

PictureMug5  PictureMug6 


I used Whisper White card stock, sponged with some Baja Breeze ink for sky.  Then I stamped a few stems and flowers on this cardstock.

PictureMug 

I wanted to use some green designer paper for the grass so I chose this pattern from Bella Rose, and since I wanted to play with my new Eyelet Border Punch I used that across the top of the grass!  A little odd but fun!

PictureMug2 

PictureMug3 

Next I stamped assorted flowers in different colors, thinking I would use of course the whole flowers but also thinking I could punch the centers to use on other flowers.

PictureMug4 

PictureMug7 

I just laid out the flowers on my stamped piece, playing around with placement and colors and what centers would go on which flowers.  When I was happy with the design, I glued everything down with Tombow Multi Purpose Adhesive.  If you get any of that where you don't want it, let it dry and then use the fantastic Adhesive Remover.

PictureMug8 

Yes, I had to cut out most of the flowers and leaves by hand, but as long as you have the Paper Snips, it is not too bad of a job!  You can use the Scallop Punch on the one flower design, which leaves a little white margin on the edges but that is fine.

Here is a second one I did, instead using the Kiwi Kiss textured cardstock for the grass and a few different flowers and colors.

PictureMug10 

You can see on this one, as I was using the Scallop Punch to do the yellow flower center on the gigantic red flower in the lower left corner, I turned the punch a bit, instead of trying to line up the scallops and it made like a little ruffle around the edge of the flower that I really liked!  You should be able to click on any of these pictures and make them larger.

Place the plastic template over your work and roll it up so you can reinsert it into the mug.  It was a little tricky to keep the plastic lined up with the paper on the edges, but I finally did it!

PictureMug13


A Valentine Mailbox

Whenever I see these mailboxes, I think about the excitement they caused a couple years ago when they appeared in the Target dollar spots!  As soon as they were found and stampers began altering them and posting pictures online, other stampers just went wild all over the country for these little mailboxes!  Target probably wondered what in the world was going on as their dollar spots were stalked, phone calls made to the stores checking on inventory and deliveries, and shopping carts filled up with how ever many mailboxes could be found!  It was Target Mailbox-Mania…..and I'm not sure it is over yet!  Apparently this year's mailboxes are starting to show up in Target dollar spots and are silver!  However, I still have plenty of white and red ones in my closet so I don't need silver ones (unless, of course, someone posts something with a silver one that is so darn cute I can't resist!).  They ARE nice for gifts…..you can stamp notecards to put inside or fill with candy or a little gift.  Actually, years ago my friend Chris sent me a red Christmas mailbox, personalized, that I always put out on my table with the lid open and candy canes laying inside.

Here is my most recent Valentine mailbox using the oh-so-cute Love You Much stamp set!

TargetMailbox09 

TargetMailbox09front 

TargetMailbox09side 

I used the Bella Rose Designer Paper on this mailbox.

Christmas Stamping

Giftcardholder 

I haven't really disappeared but just trying to get everything done for the holidays like everyone!  I have been stamping even though I haven't posted.  Here are some things I have stamped recently, most likely copied from another talented demonstrator.  I usually like to give credit but I don't have those names in front of me right now and this is a rush!

ScallopChristmasgiftcard2 

Binderclipphotoholder 

IMG_2417 

Topnotepursecard2 

Noelalbum 

Noelalbuminside 

Giftcardholder2 

IMG_2507 

Christmaspails 

Nuggettin

A Happy Birthday Pyramid Card

Halloween has always been extra special at our house because our youngest son was born the night before Halloween, just missing being a pumpkin or goblin by about 45 minutes.  I remember when I was pregnant with him seeing the cutest little Halloween t-shirt in one of the store windows at the Galleria and thinking if he had actually been born on Halloween I should really have that shirt for my Halloween baby.  Didn't happen, which probably was a good thing for him, because he doesn't have to exactly share his birthday with a holiday.  But of course his birthday parties were always Halloween-themed, which made them extra fun.  I just wish I was into Stampin' Up! back when my kids were little because of SO many opportunities for gifts, party favors, invitations, note cards, etc.  If you have little ones, you really should get into stamping because you will have many opportunities to be creative!

I love this Pun Fun stamp set, but especially loved this rocket for my son.  When I started looking for ideas for this card, I came across this Pyramid card made by Trina on Splitcoast.  You can find different pyramid template lots of places on the internet, but I loved the colors Trina used on her card.  I added a Jumbo Eyelet for the window on the rocket and some stars, punched with the large and small star punches…..all found in the Stampin' Up! catalog, of course…. and also added a velcro dot just under that front flap to hold it closed.  The pattern I used showed a slit but I couldn't figure that out.  The card had to be mailed so it had to be flat.  I hope he can figure out how to assemble when he receives it!

PunFunRocketPyramidCard 

PunFunRocketside 

PunFunRocketback

Trick-or-Treat! Happy Halloween!! Last Minute Halloween Cards!

Wow!  This morning a black cat ran right across the street in front of my car as I was driving back into my neighborhood!  Is that real Halloween or what?!  I know it is bad luck to have a black cat cross your path, so that freaked me out a little bit!  Hopefully today will be nothing but good luck because I love Halloween (it would help if we had some fall leaves here in Houston!) and I get to see my boys.  One was nearly born a Halloween goblin because he arrived just 45 minutes before Halloween!  But that was twenty years ago!  More about his birthday card later.

I usually have a lot of trick-or-treaters at my house, but it is often about 80 degrees, at least when the kids start out after dinner, sweating in their costumes.  When I was growing up in St. Louis it was often a problem on Halloween with the weather being very cold, and we had to wear a winter coat…..either over our costume, which meant no one could see the costume, or under the costume, which of course looked ridiculous!  "Back in the olden days" we always had to have a joke ready to tell people before they would give us candy.  I don't think they do that anymore.

Here are some Halloween cards I've made (okay, mostly copied from somebody else!) to help celebrate the day!

Halloween Boo Eye card 

Halloween Haunting wheel 

Halloween Owl candy bag 

Halloween test tube 

Origami Bat 

Halloween Haunting Moonlight 

HalloweenCandyWrapper

Shelli Makes Holiday Table Settings

Look what I just found!!  I was reading Shelli's blog (founder and CEO of Stampin' Up! of course) and saw that she had an appearance on an NBC station in Utah.  She shows how to make easy holiday place settings using the Curly Label Punch Bundle (item #112966, page 189…only $33.95 for the punch itself and four stamps!).  Such simple and fun ways to make your holiday table so pretty for Thanksgiving, Christmas and New Year's!  She also has a VERY cute pillow box favor made with the Big Shot!  You won't want to miss this!


And here is a link to the Utah TV station where you will find a list of supplies and directions on how to make the projects shown:

http://studio5.ksl.com/?nid=61&sid=4573672


Enjoy!!