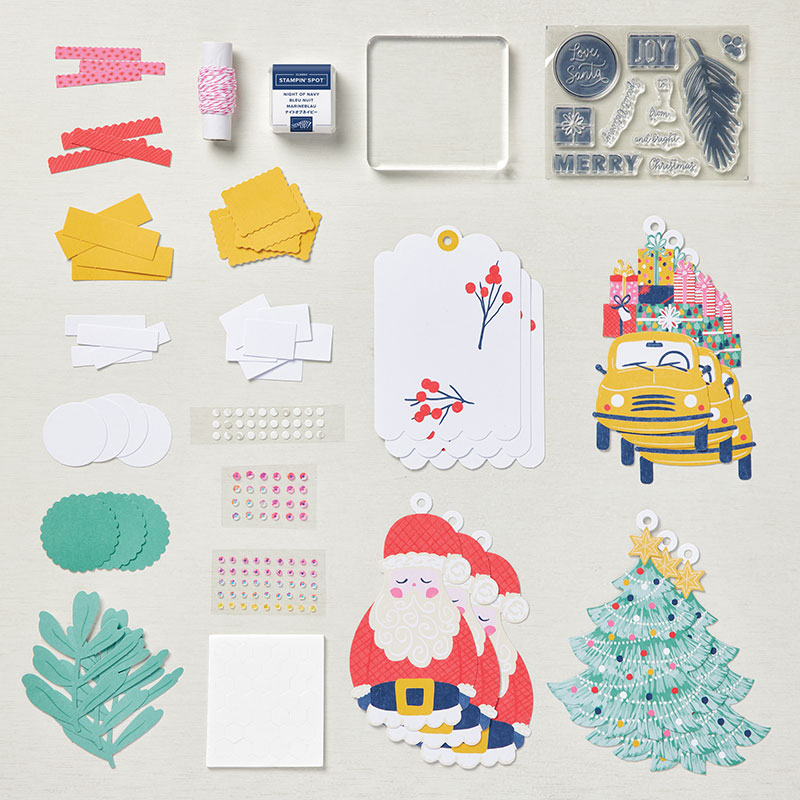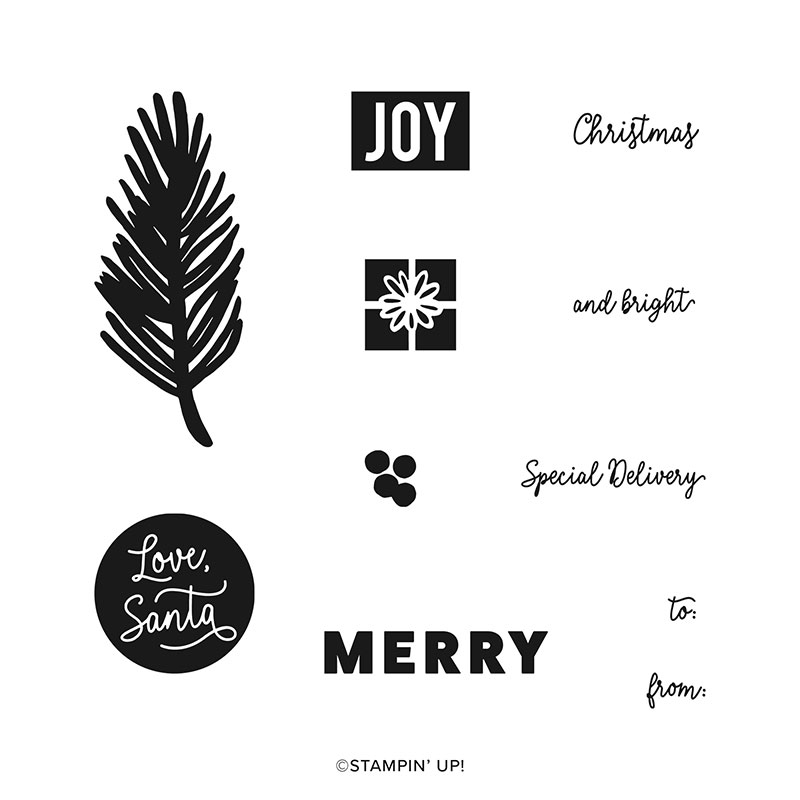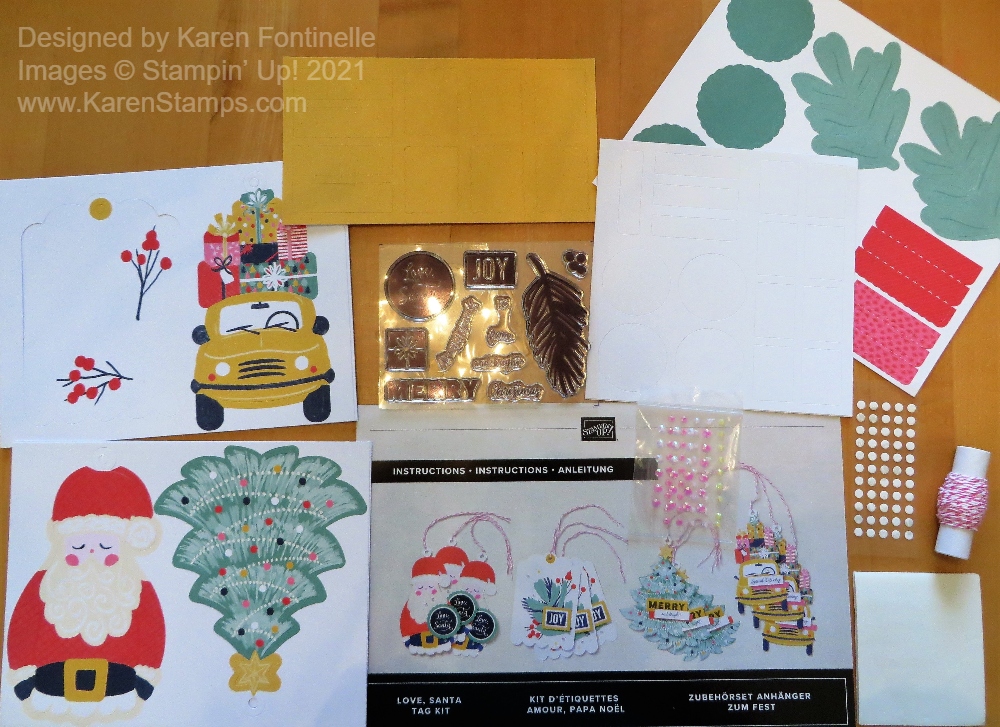
I got my new Love, Santa Tag Kit the other day and got busy making all the tags yesterday afternoon! It only took about an hour to make them all and that was while simultaneously watching the Astros – Red Sox playoff game! (The Astros won 9 – 1 !!!!!) You can see the contents in the photo above….. an exclusive stamp set, a stamping block, ink spot, tags and pieces to stamp, adhesives, and even some gems! Plus the string to tie on to packages! It’s really a cute kit!
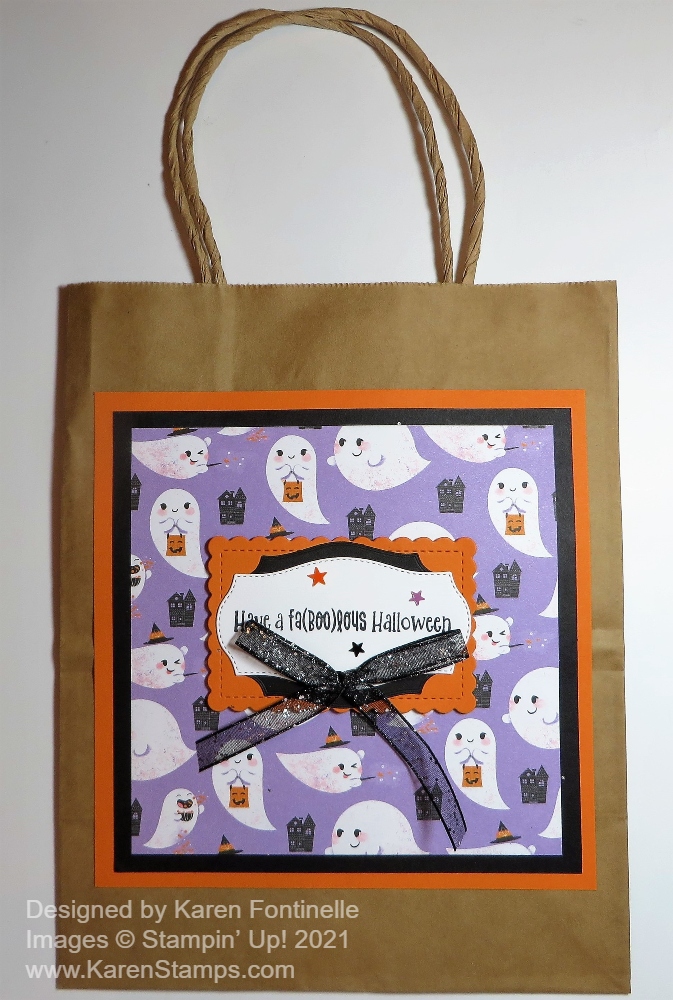
Each tag has a stamped greeting layered with other pieces for interest. There are even extra blank pieces to stamp in case you mess up! Just adhere the stamped greeting to each tag. The directions show you which kind of adhesive to put on the back of each piece.

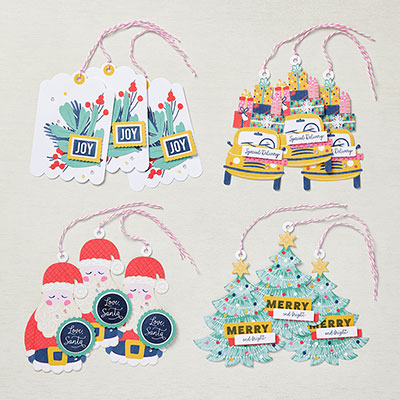
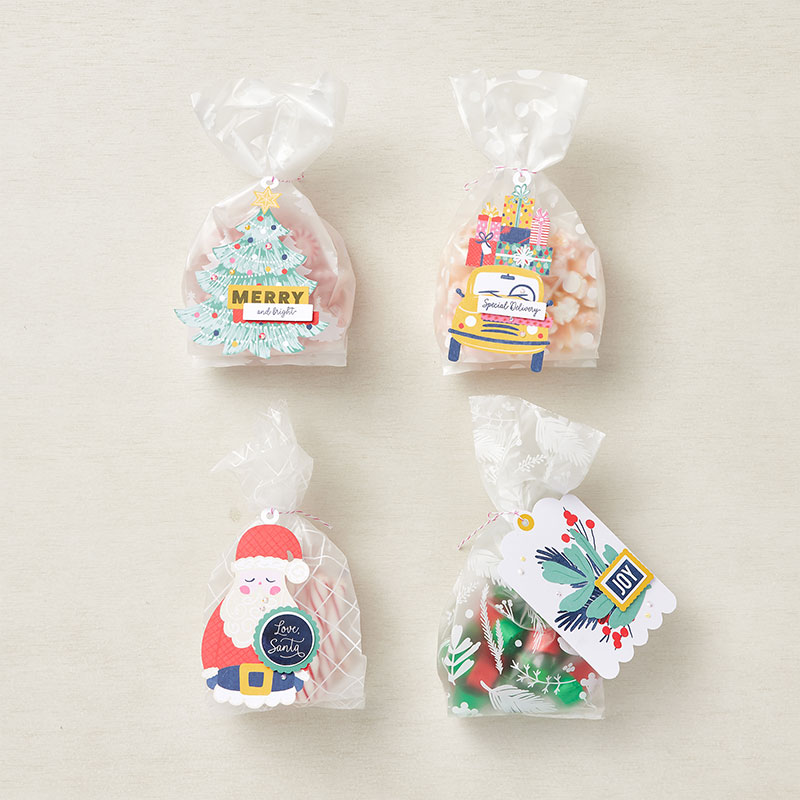
And when you get all twelve tags finished, three each of four designs, just tie on the string to be ready to go on packages! Or purchase the coordinating treat bags and use the tags on special treats or gifts you are giving.
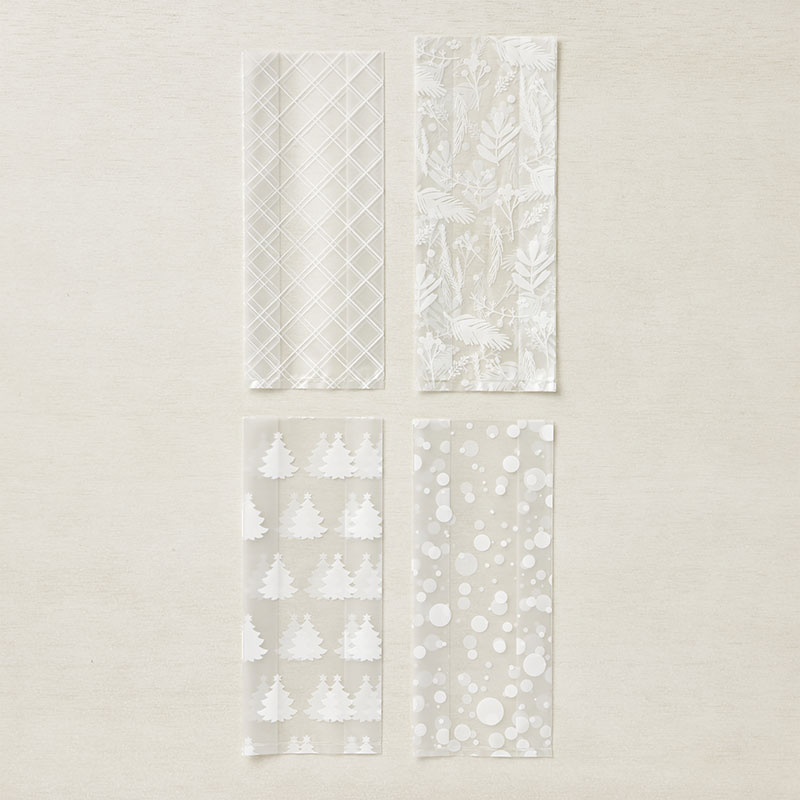
The Love, Santa Treat Bags are beautiful, food-safe cellophane bags that are perfect to fill with scrumptious treats and goodies. The white-printed designs are festive like frosted windowpanes and directly coordinate with the Love, Santa Tags! You get 12 treat bags, 3 each of 4 designs.
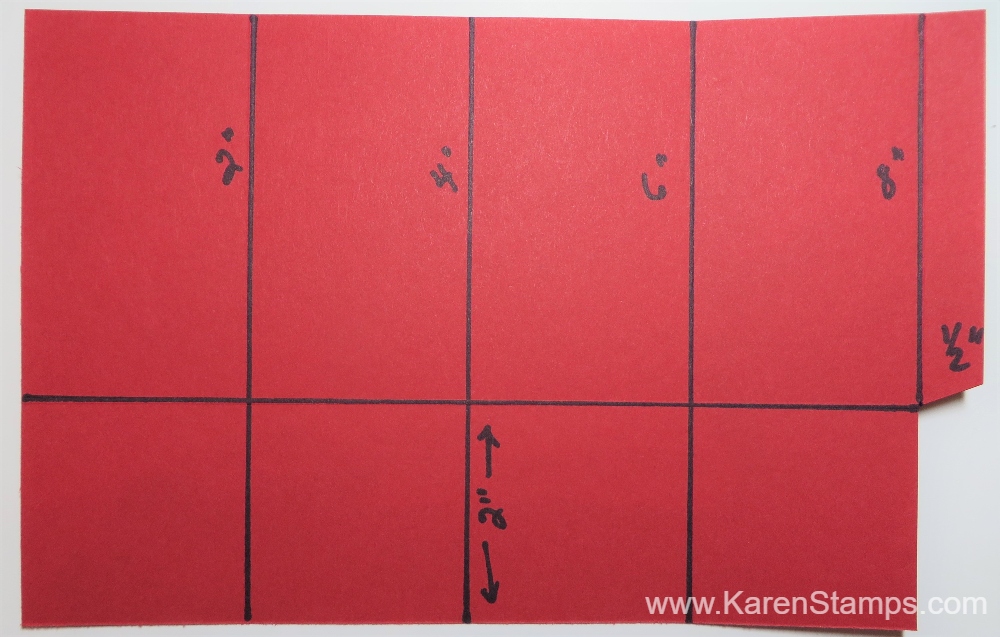
4″ x 9-1/2″ (10.2 x 24.1 cm)
*Food safe
Available while supplies last
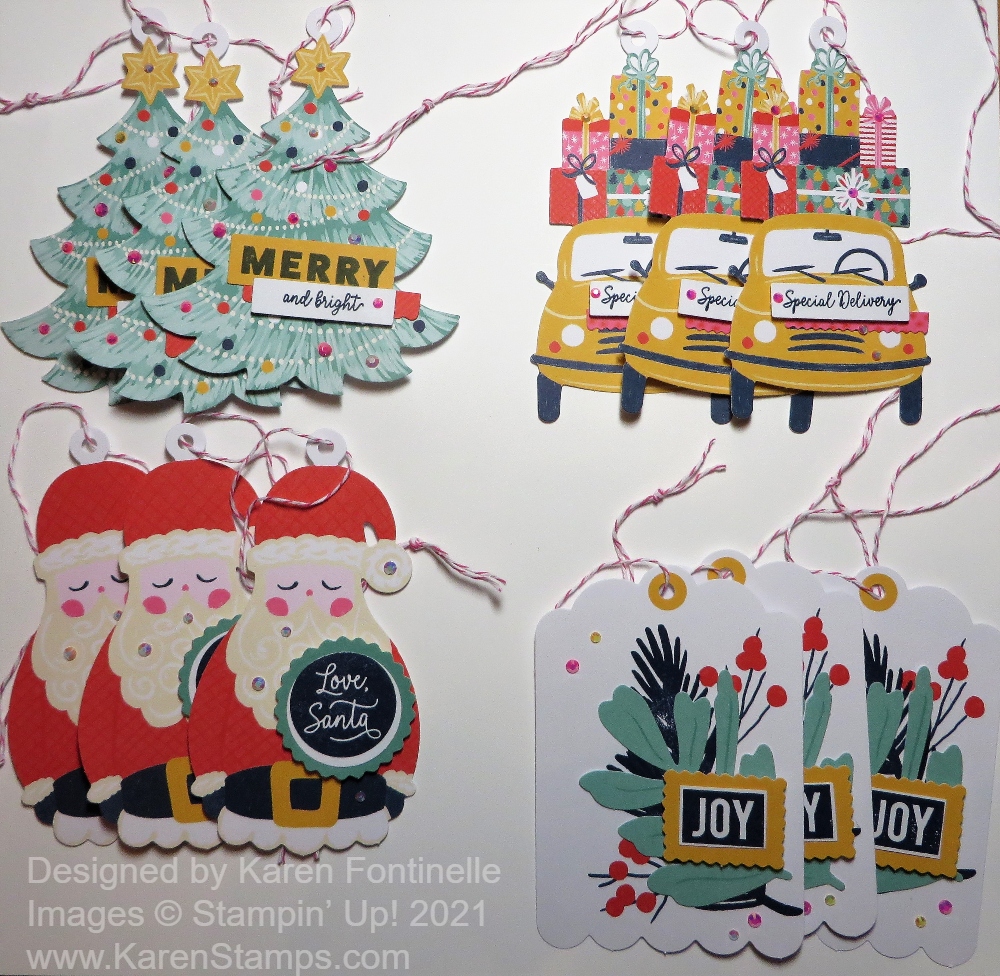
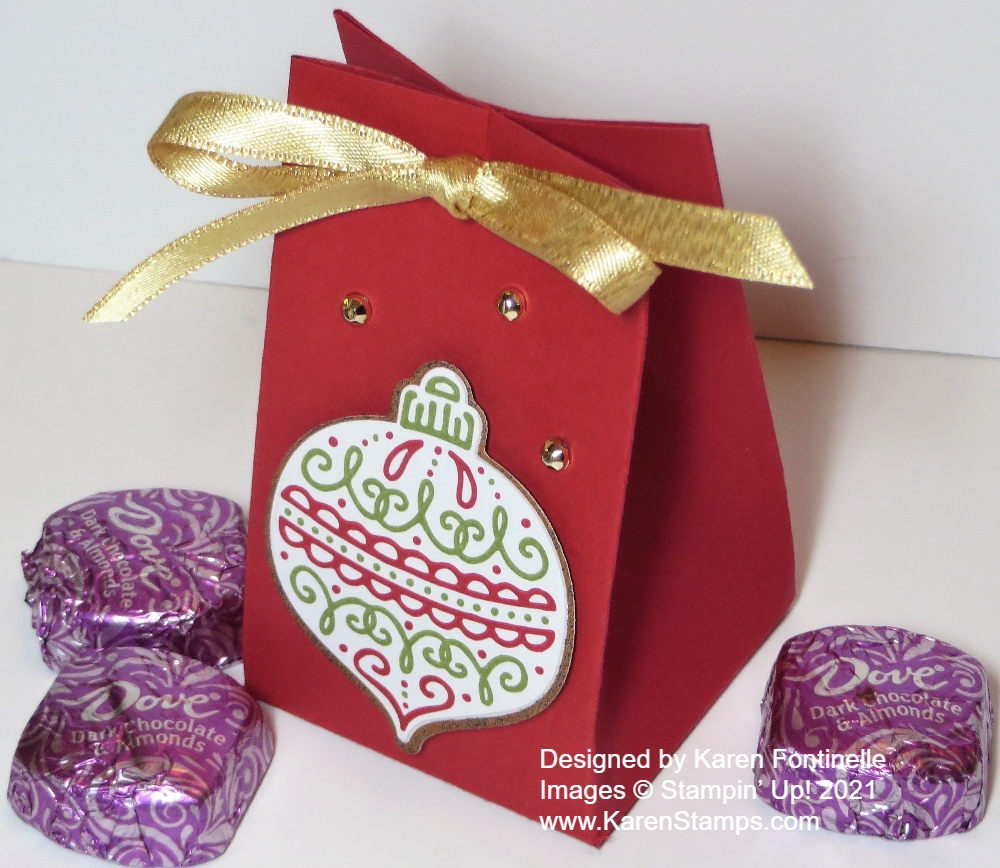
And when the tags were all put together, I got out the gems in the kit. At first, I thought they only went on the “Joy” tag, but then I saw they actually went on all the tags! And I just used up ALL the gems, putting them on all the tags! But you could use only the 2-3 on each tag and save the extras for other projects, but I just wanted to use them all! Why not?!
You can even watch a video of putting the kit together with Sara Douglass!
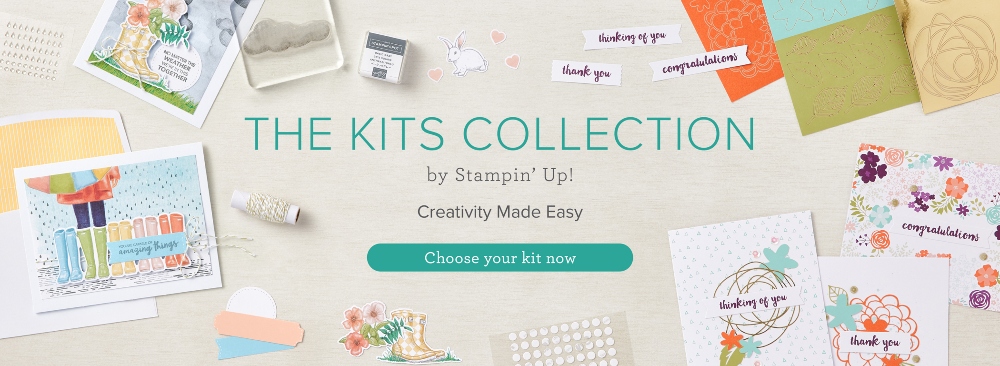
If you are interested in this Love, Santa Tag Kit, or any of the other kits in the Stampin’ Up! Kit Collection just click HERE for the selection. These kits are great for beginners or even experienced stampers and crafters! Feel a sense of satisfaction, getting a dozen cute tags finished and ready for holiday gifts!