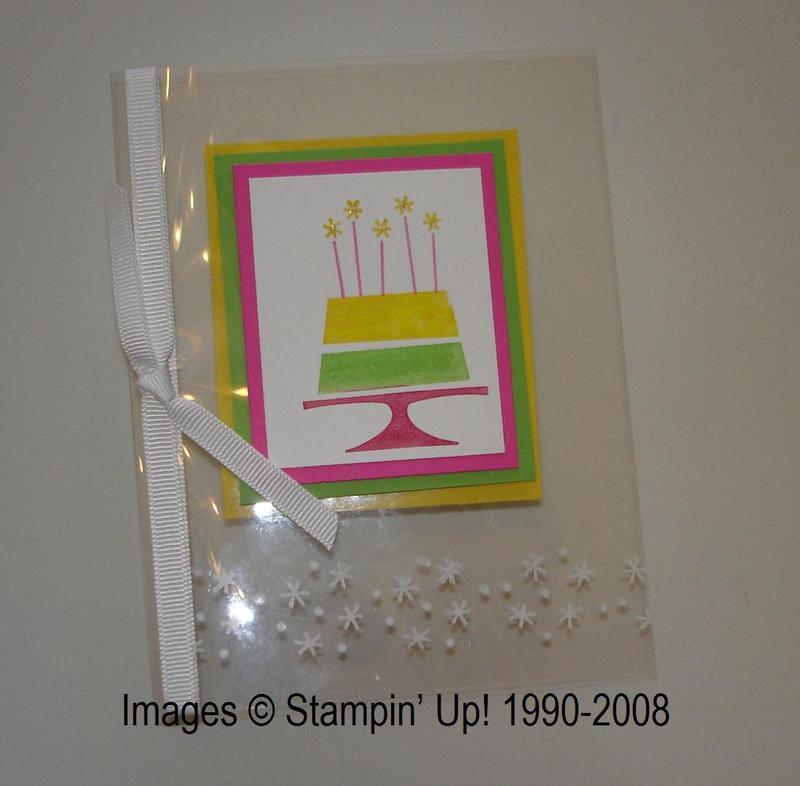
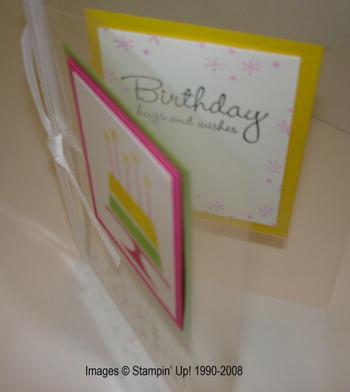
I’ve been seeing many "clear cards" made by other Stampin’ Up! demos but hadn’t tried it until the other day. I had already bought the transparencies to make the acetate boxes so it was finally time to try making an acetate card. The trick of the card is to attach the layers without any sign of how they are adhered! There may be other versions out there, but for this one I mostly followed a tuturial on Splitcoaststampers. On my card, the birthday cake is layered on the Pink Passion card stock…..and from the front looks like it has two additional layers….Green Galore and Yoyo Yellow (it was time to break out the Bold Brights for a change!!). But only the Whisper White stamped with the cake and the Pink Passion are on the front of the card. The larger green layer is underneath, adhered to the inside front cover of the card. On the back of the card the yellow is adhered….and on the inside of the card, the greeting is stamped on Whisper White and placed layered over the yellow (which is on the backside) and it’s all lined up to be under the front layers. Clear as mud?? Try it, or email me with any questions! I used Mini Glue Dots on almost everything and made sure they were hidden underneath the layer on top. I also stamped a few stars with White Stazon ink across the bottom front of the card. It is on page 183 of the catalog, along with Stazon Cleaner, which works great. The stamp set I used is called "Eat Cake" on page 41.
 I found it easiest, on my second try, to adhere the layers starting from the back. I attached the yellow with just one glue dot in the center to the back of the card, then turned to the inside to make sure it was straight. The SU Grid Paper worked great for that! Then I adhered the greeting layer, on the inside of the card, so that it was lined up with the yellow layer underneath. After that was attached, I went back to the yellow layer and attached more glue dots at the corners to hold it, making sure they would be beneath the white layer of the greeting.
Next I closed the card but slid in the green layer to make sure it aligned properly with the yellow layer beneath it, using one glue dot in the center again. Then I could adhere the pink layer and cake on the front, placed properly over the green…and then go back inside to the green to add more glue dots, hidden under the pink layer so they wouldn’t be seen.
The stamping on the acetate can be a little slippery, so be careful!
 Make sure on your greeting layer to leave room to sign it or write a little note. You won’t have any other place to write it on this type of card!
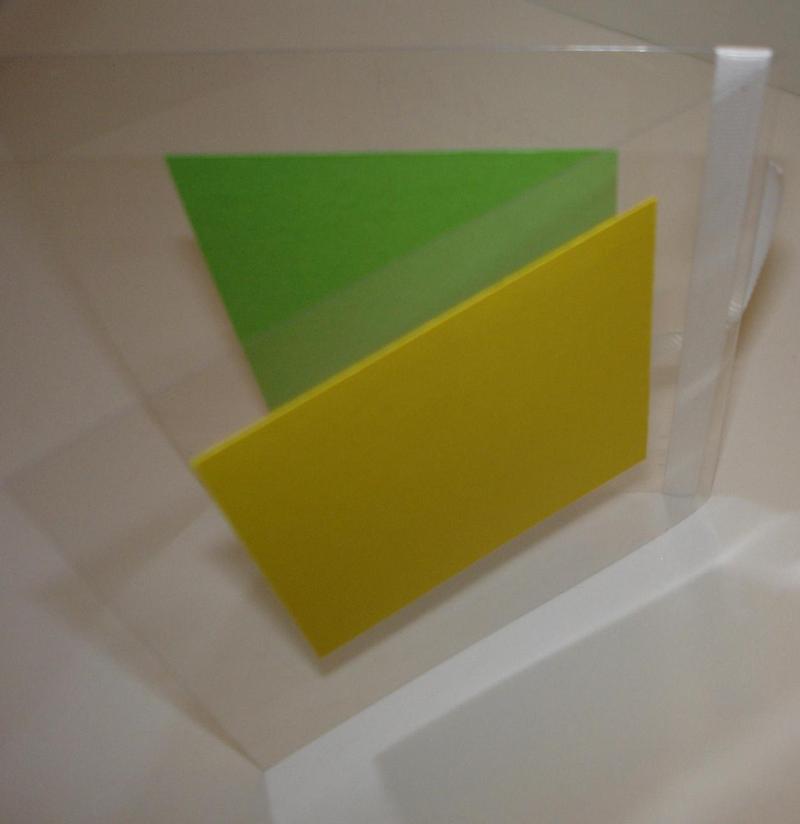
Back of card.
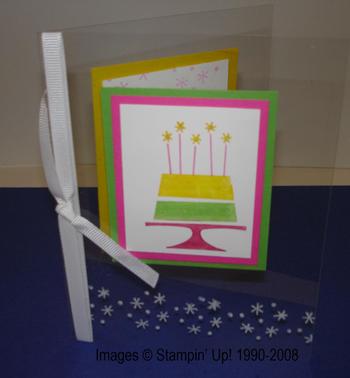
Here it is on a blue background in case it is any easier to see!
Try one and let me know how you do! I want to make some more!


