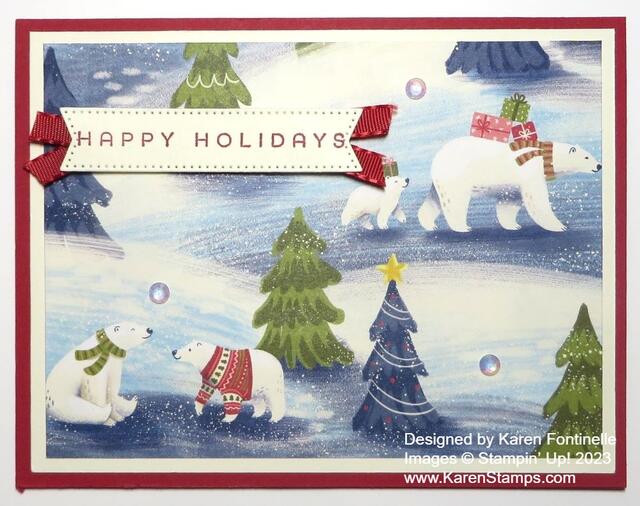
This Beary Christmas Happy Holidays Christmas Card is an easy card to make although you will have to work with the paper a little bit. I grew to LOVE this paper after I got it because there are so many pretty patterns to use and such adorable bears for holiday cards! It’s the Beary Christmas Designer Series Paper in the Holiday Mini Catalog and will retire at the end of the Holiday Mini sales period (while supplies last).
The main thing about this card is choosing the scene in the designer series paper you want on the card front. You must look over the sheet of designer paper that has the bear scenes and see how you can cut it out in a way that pleases you. You want to capture as many bears as you can without cutting them off the edge of the paper or something! So that takes a little planning to figure out how to cut out the scene you want. In some cases, maybe you will want to cut out a bear from a part of the paper you are not using and add that to the scene you cut out. I just used my Paper Trimmer to cut out this scene.
This card base is Real Red with a layer of Very Vanilla cardstock underneath the designer paper. Sometimes I like to add a Basic White or Very Vanilla layer under designer paper because I think it helps the paper to stand out. I don’t do it very often, just sometimes.
Once you have your scene cut out, all you have to do is layer it on your card base. I stamped a greeting from the Brightest Glow Stamp Set in Real Red ink and cut it out with a banner die in the Stylish Shapes Dies. The greeting is popped up on Stampin’ Dimensionals. Then I took just two little snippets of Real Red ribbon and folded them under each end of the banner. I also added three Iridescent Rhinestone Jewels to the front of the card for a little sparkle in the snow!
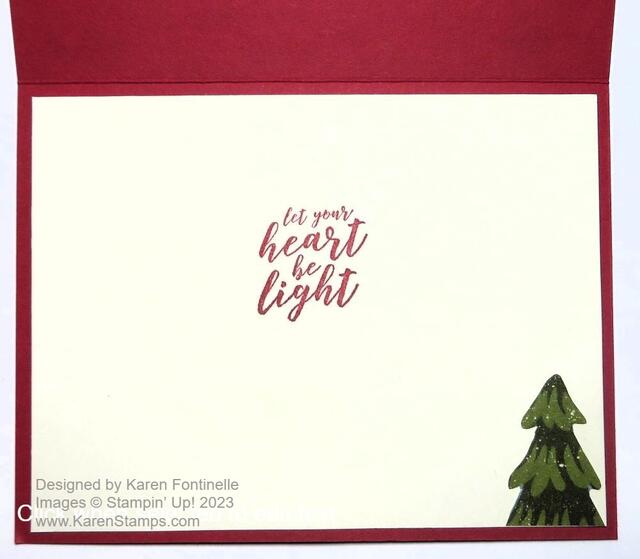
Here is the inside of the card.
If you would like to see another Christmas card I made with this Beary Christmas Designer Paper, click HERE. That card is a vertical one so it’s a little different look but the same idea.
Have fun trying out a card like this one!


