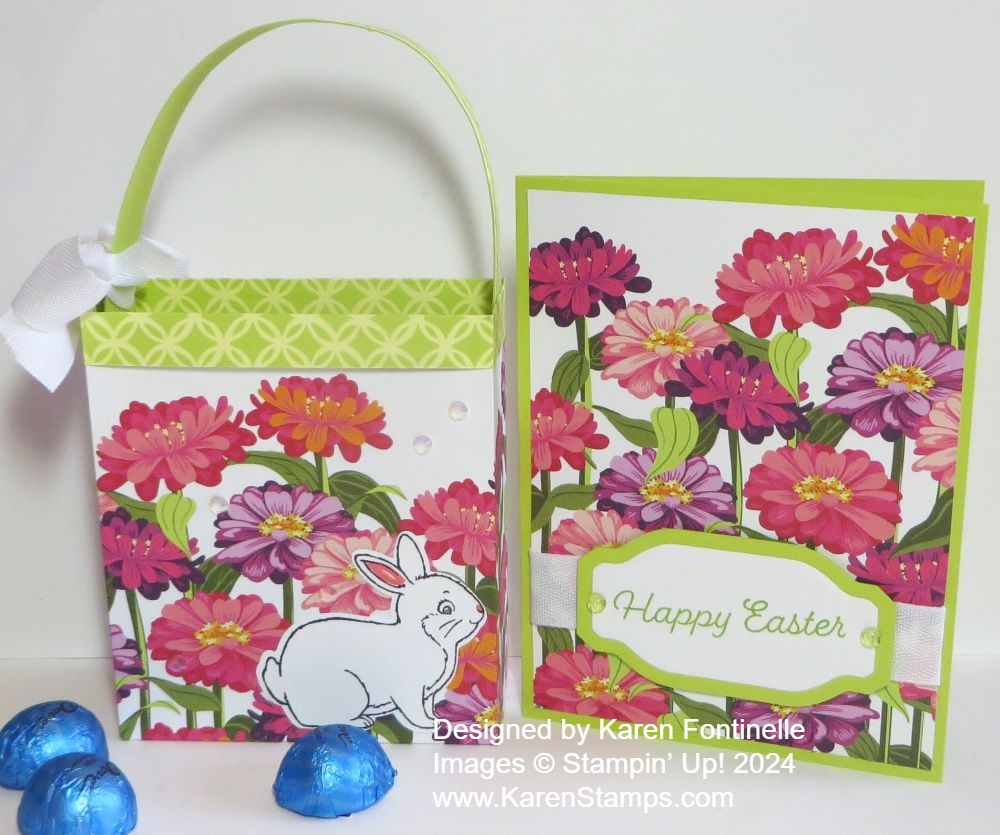
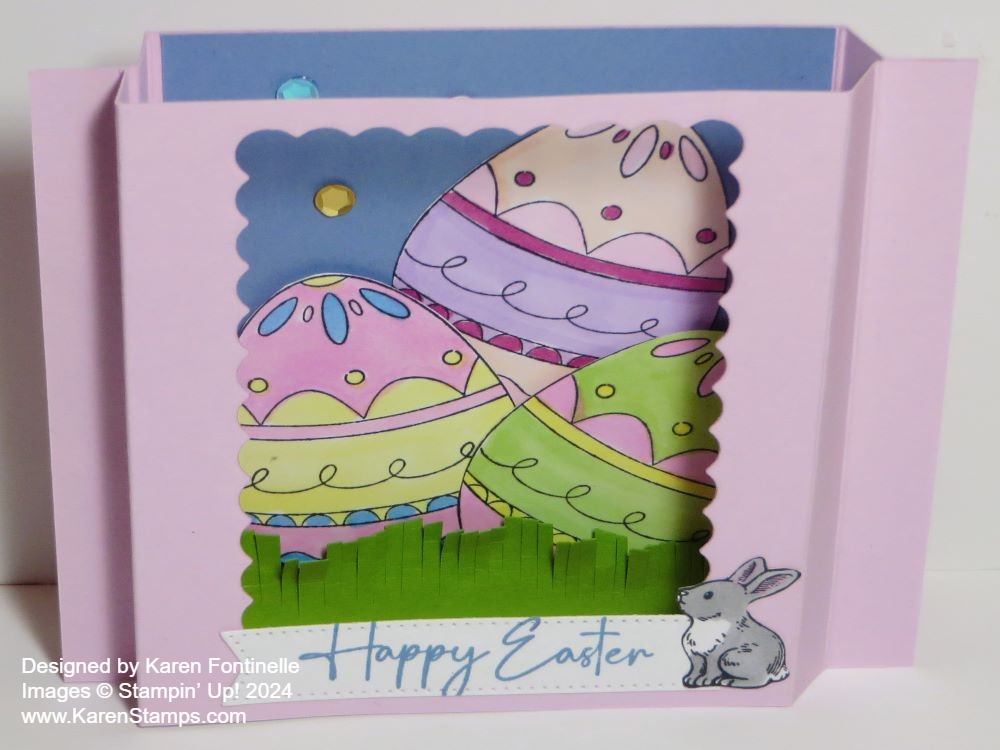
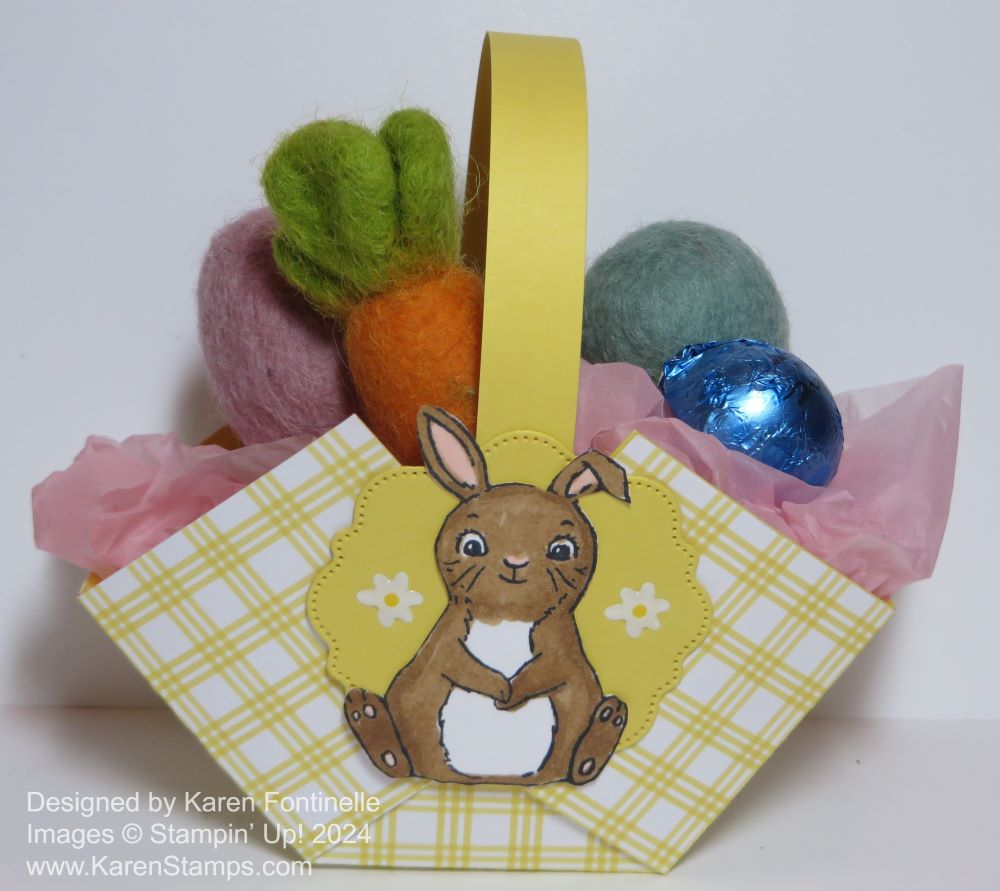
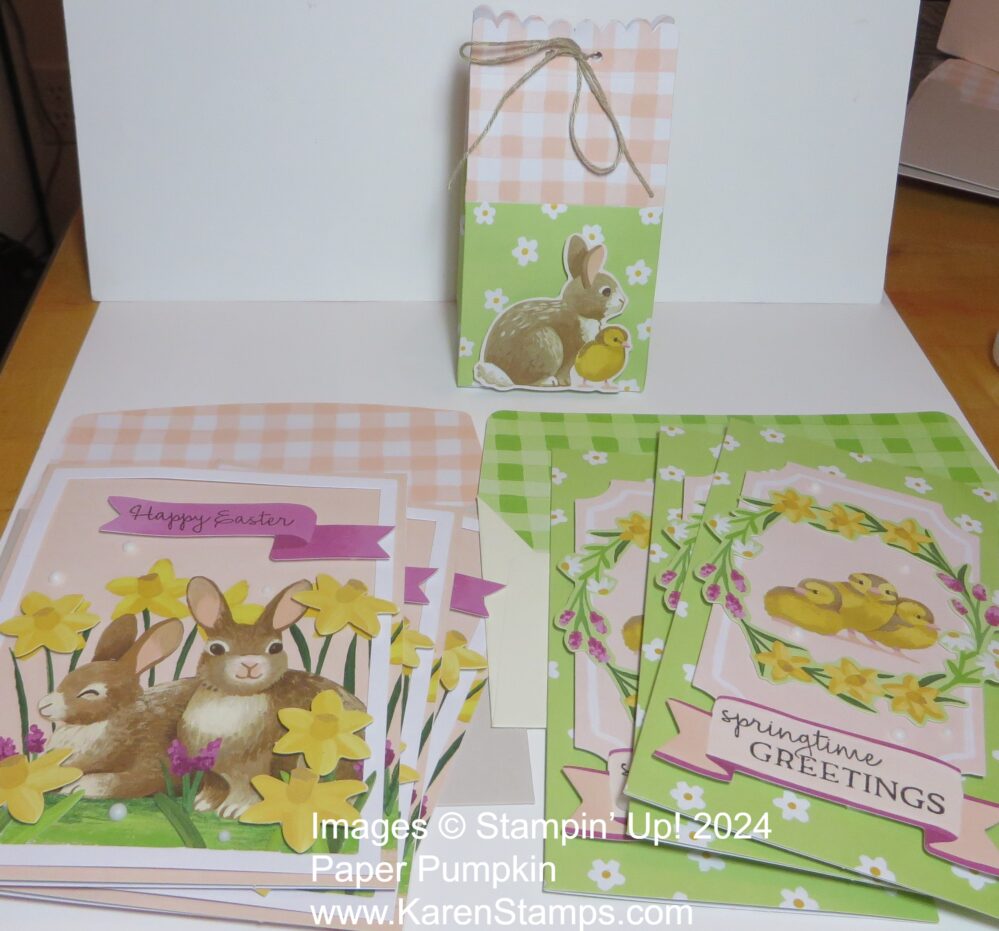
Easter is less than two weeks away now! This Storybook Moments Diorama Easter Card is one you can give or send to someone, but you could also keep it for yourself for some Easter decor in your home! I have one from a previous year on display as part of my Easter decorations and I enjoy it every year! These diorama cards are relatively easy to make and still fold flat for mailing.
This card begins with two pieces of Boho Blue cardstock. The front piece has an opening cut out and the back piece has a scene adhered to it to view through the front opening. All you really have to do is score the two front and back pieces, cut out an opening in whatever shape you want, and adhere a scene to the inside of the back piece, either right on that back piece or on a separate piece of cardstock so that maybe you can pop it up on Dimensionals. It all turns out to be a pretty cute showcase!
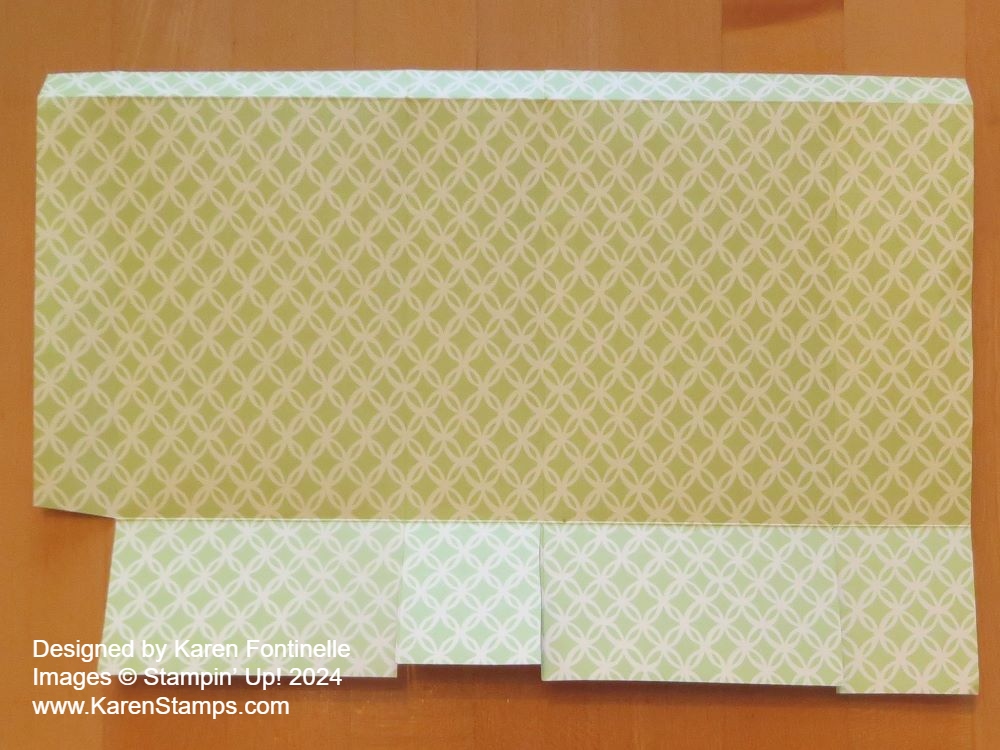
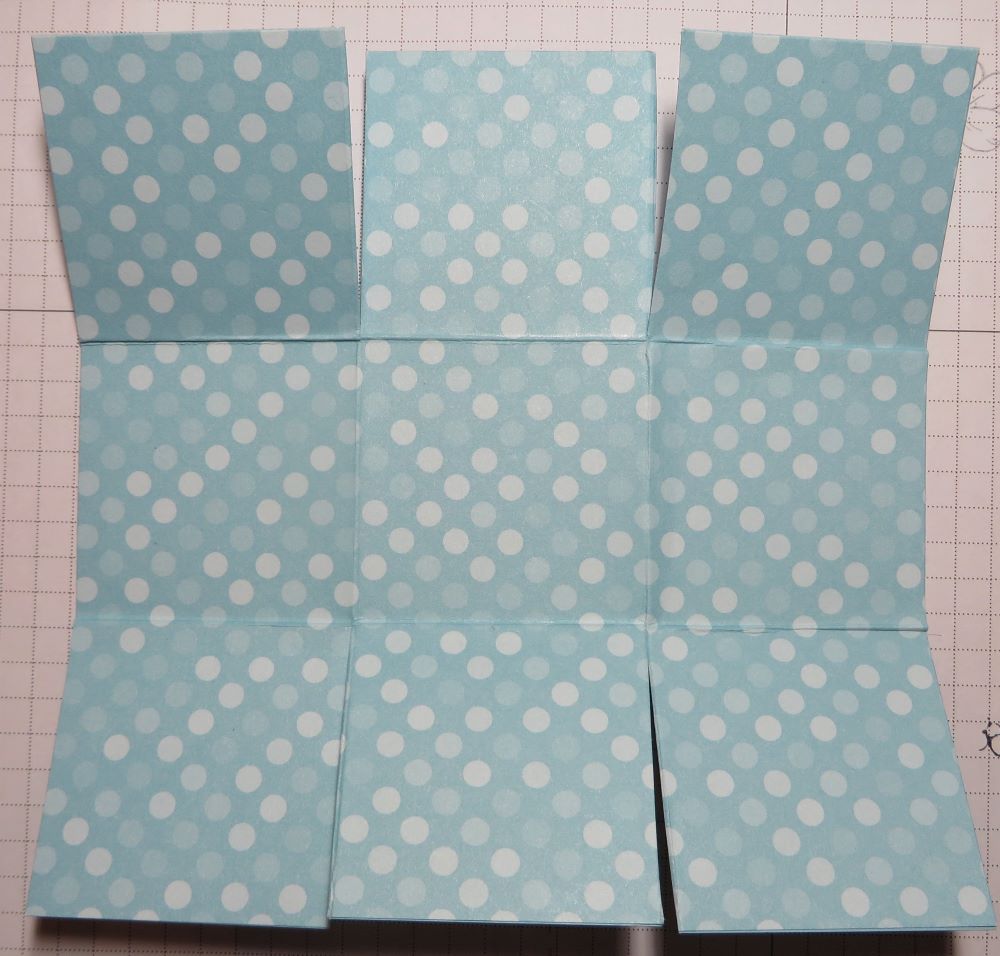
It is easy to make a diorama card! Cut two pieces of cardstock at 5 1/2″ x 4 1/4″. You can vary your measurements if you want a similar card in a larger or smaller size. Score each end of each piece of cardstock at 1/2″ and 1″. See the photo below for the side score lines and then whatever type of opening you want in the center.
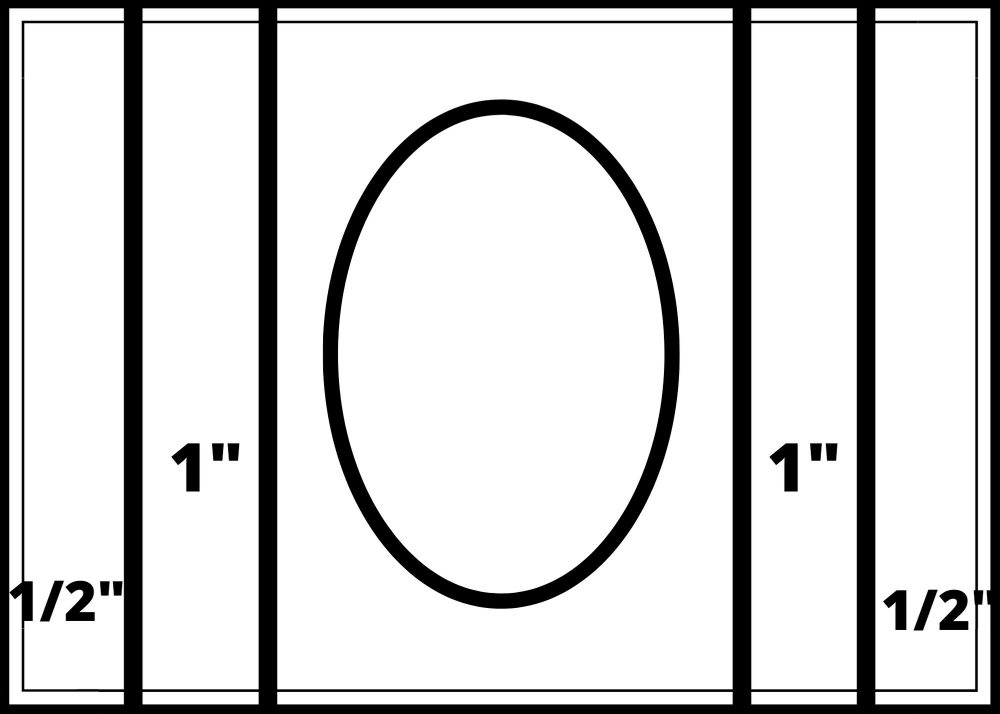
Score those ends first and then you can more easily place the opening on just the top piece of cardstock so that it is centered. Crease and fold those score lines back and forth so that when you hold them together they will make the card into the diorama shape. You can see from the top view on this photo below. Don’t glue them together yet so you can more easily make the scene in the center of the back piece. Only those 1/2″ ends are going to be glued together. The next score line is what makes the card pop out in the front and the back to pop out in the back. You will see one you score and crease. Just fold it together until you see how it goes together.
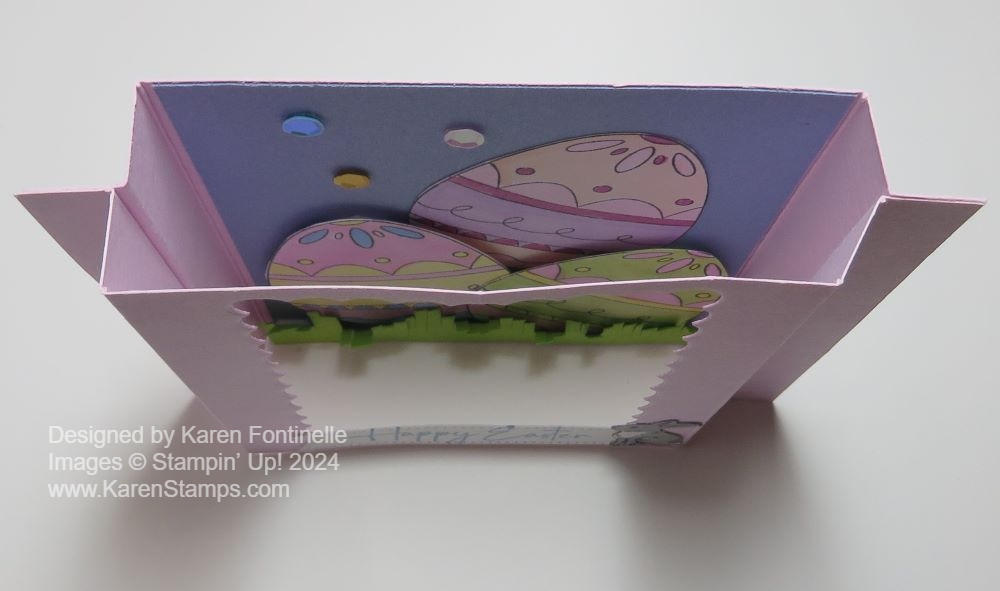
Here is a photo from the top view. You can see that I popped up the scene on the back so it would be a little closer to the window on the front. I happened to use an Adhesive Sheet covering most of the back of the scene but usually I would use Stampin’ Dimensionals.

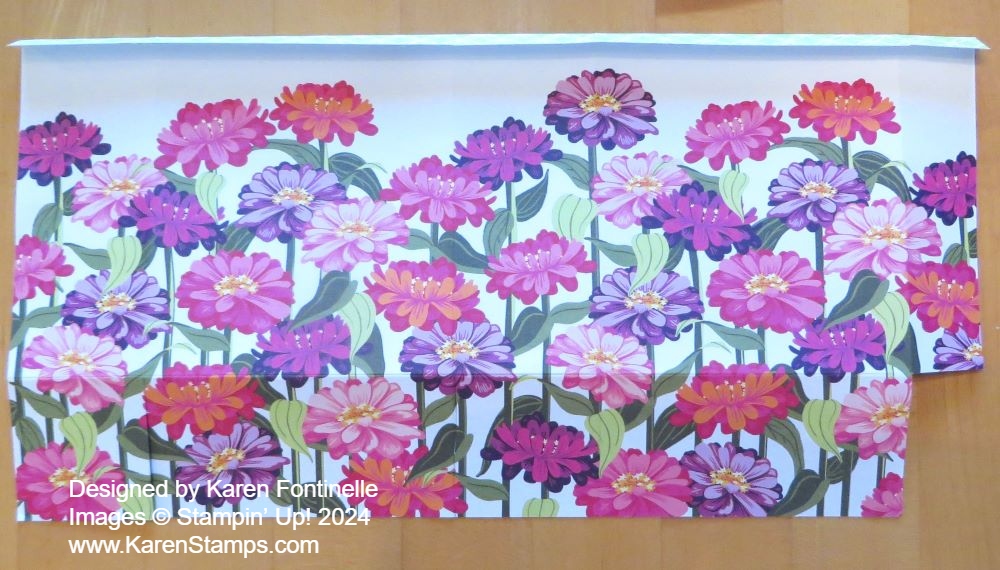
Create your little scene or whatever you want to show through the opening in the front of the card. I used diecuts in the Storybook Moments Specialty Designer Series Paper. Just play around with all the pieces until you are happy with your scene. I took a photo with my phone of what I laid out so I could disassemble it and remember how to adhere everything.
If you make a separate piece for the inside of your card, measure the exact inside of that area because it will be a tiny bit smaller than you think on the sides because of the score lines. Mine is cut at 3 3/8″ x 4 1/4″. I used Balmy Blue for the inside piece. As I said, you could also make your scene just on the inside of that back piece.
On the front you can cut out a circle, oval, square, whatever you want. I used one of the square shapes in the Stylish Shapes Dies. Be sure to cut that out in the beginning, before you adhere the front and back! You might want to see what your inside is going to look like before you cut out the front, but probably you will want to be able to see as much of the inside as possible.
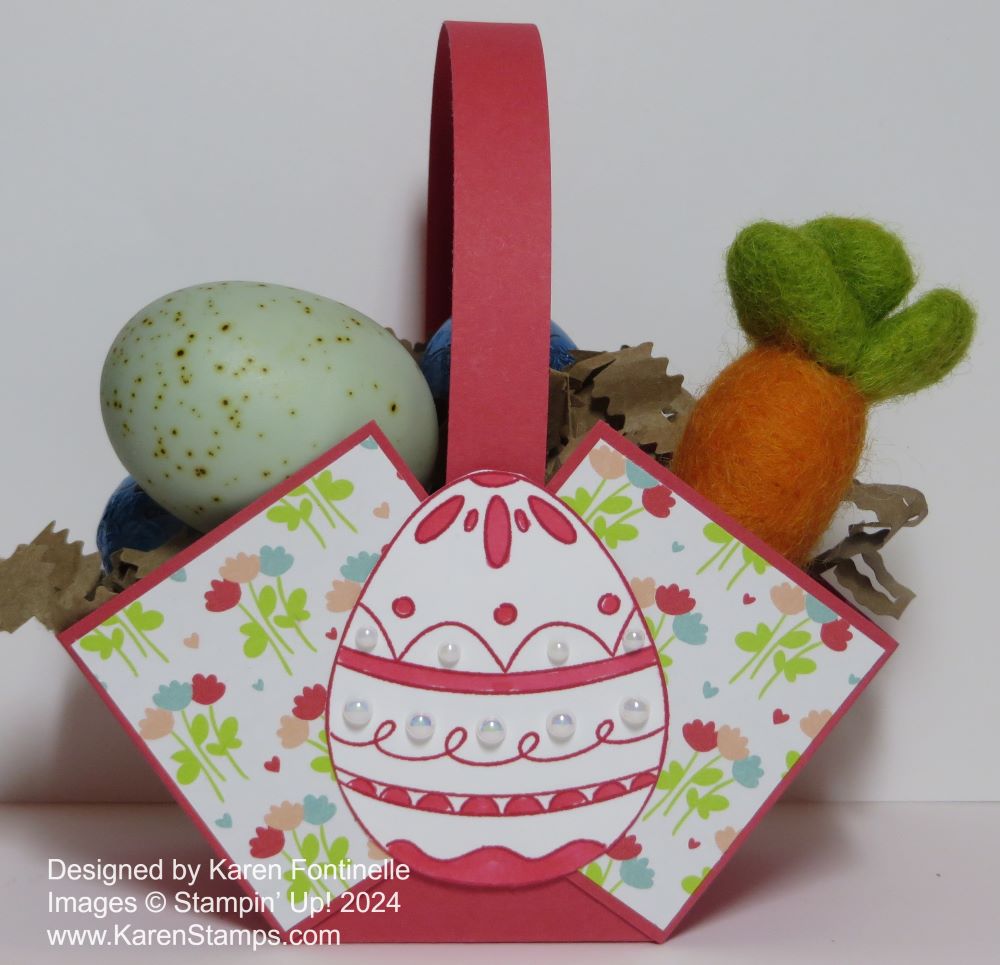
Here is another example of a diorama Easter card, this one using Easter eggs inside.
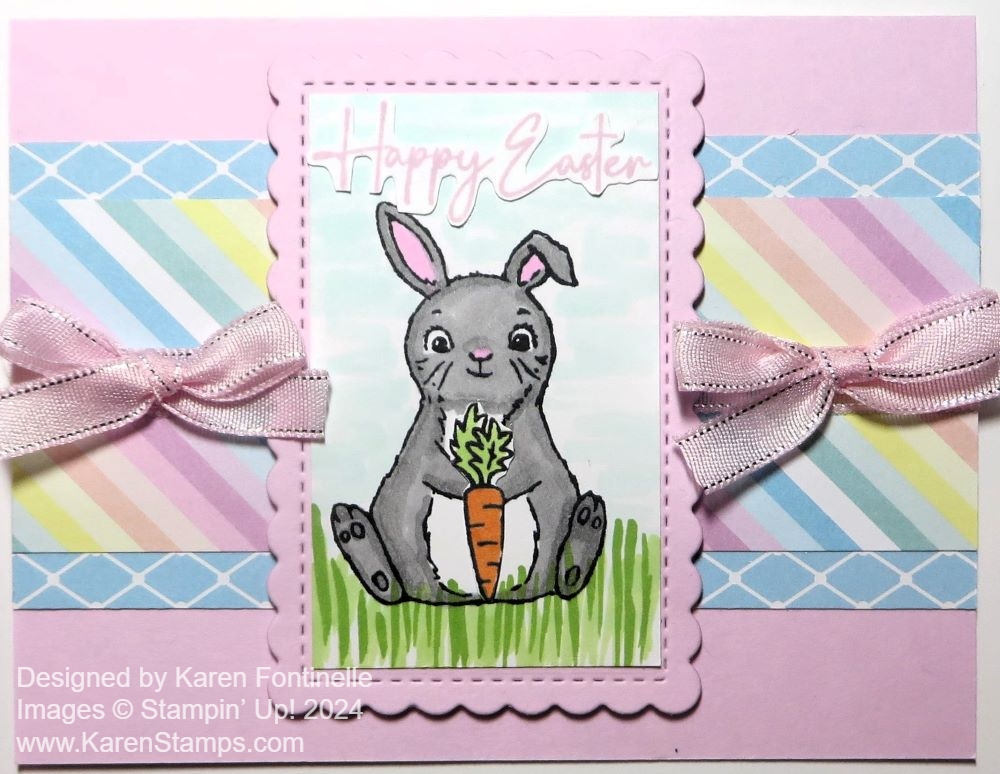
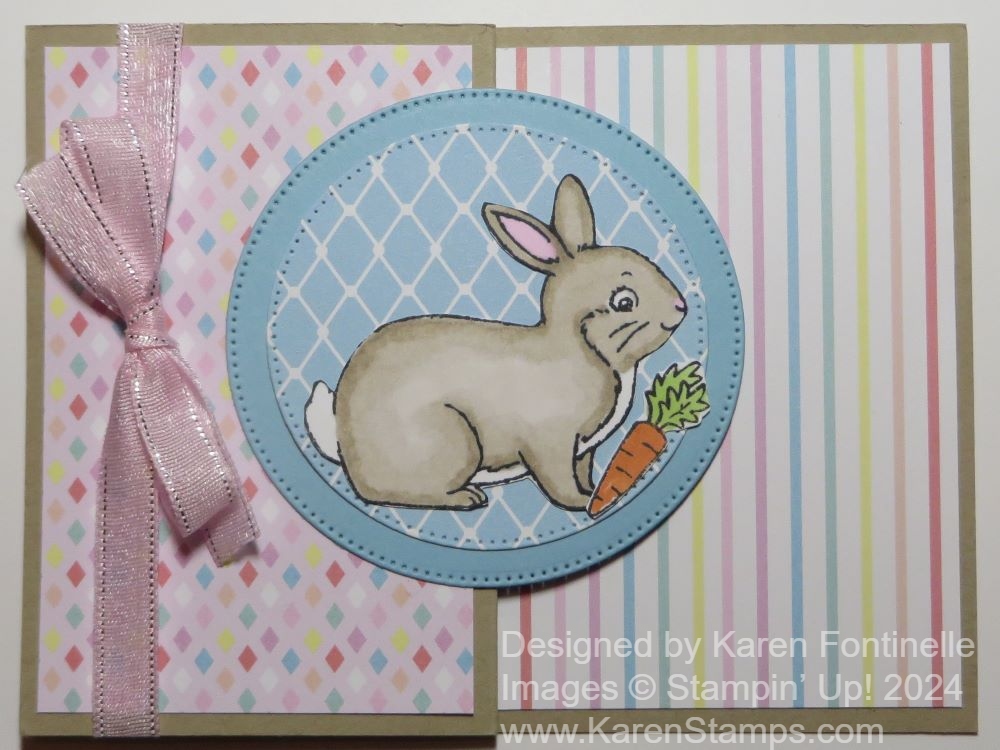
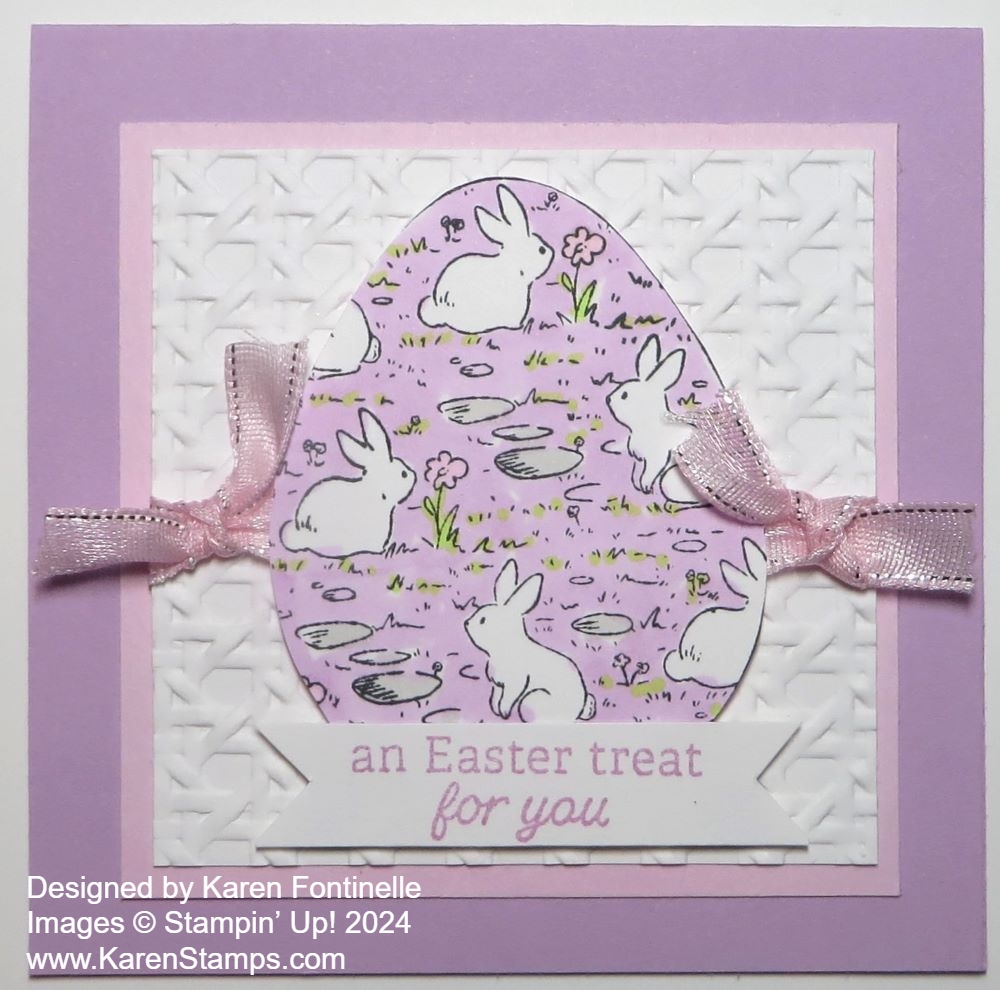
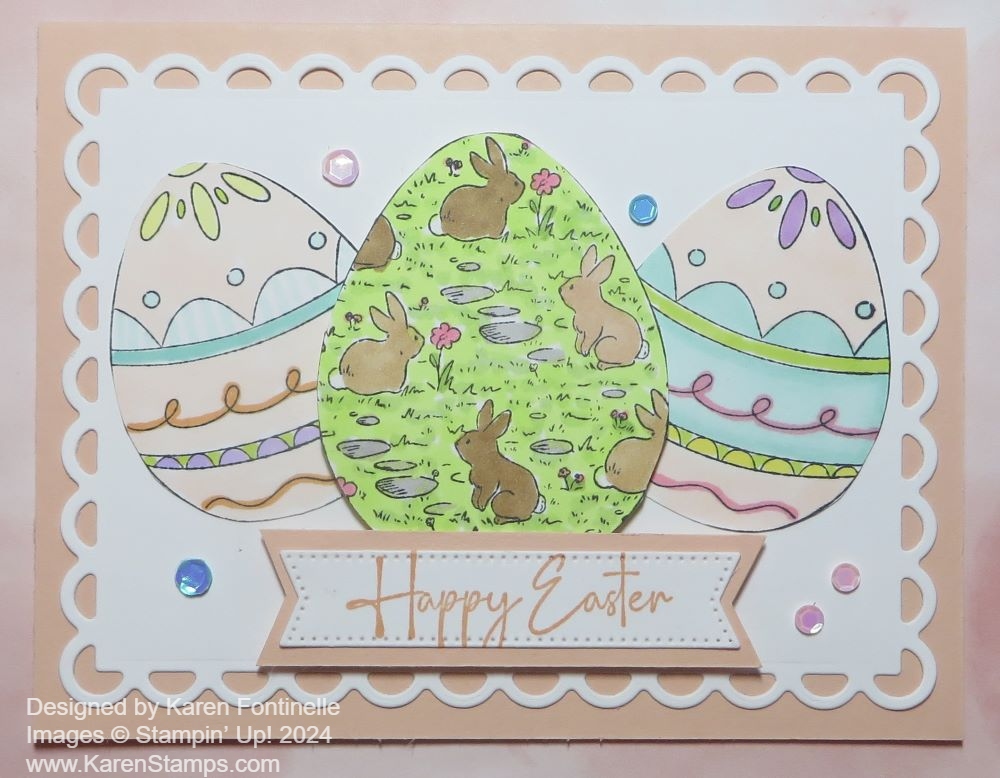
You don’t have to use diecuts. You can stamp something inside, you can make whatever you want and for whatever occasion! Just play and enjoy creating something different!