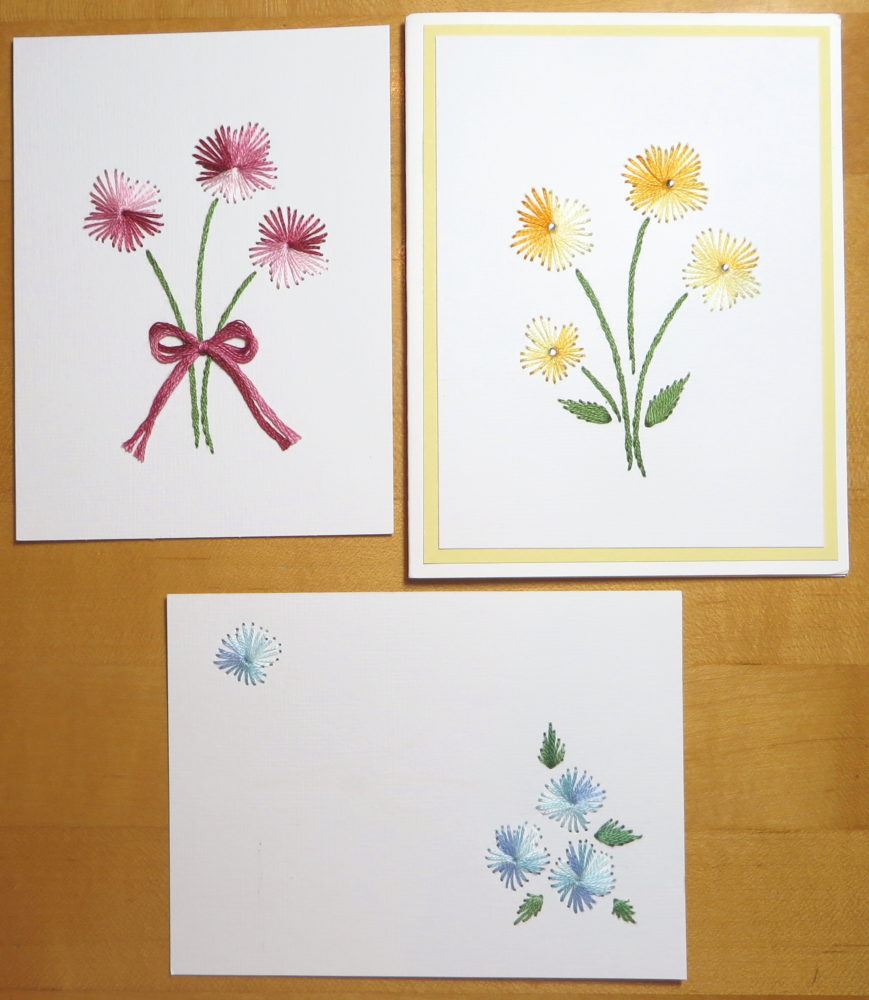
The other day one of my very nice customers, Phyllis, sent me the card with the yellow embroidered flowers that she made with a note and the other two papers with the pink and blue embroidered flowers. She said she’d like to see what I would do to them! My first thought was I would frame them, they were all so beautiful! Since we are into cards, though, I thought I would just make these extra embroidered flower cards into greeting cards.
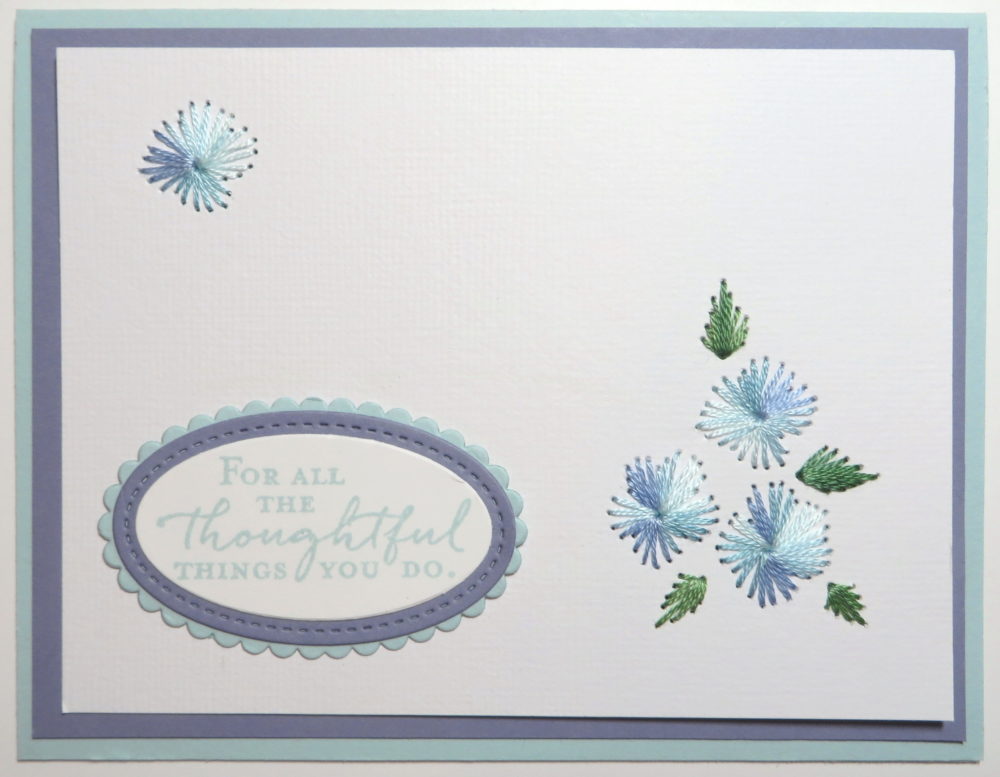
The paper with the blue embroidered flowers just seemed to have an empty space where I could put a greeting so I concentrated on that. I thought the new Stitched Shapes Framelits would go well with the actual stitching. I love the stitched look those dies give (without having to do any stitching or piercing!). First I played around with cardstock colors to see what would match and finally decided on Wisteria Wonder and Soft Sky. Her floss seems to be varigated colors so that’s why I chose two different colors.
I chose a greeting from the Floral Phrases Stamp Set which I think is a nice greeting, plus it would fit into a nice oval shape. I die cut the greeting with the Layering Ovals Framelits Dies. The greeting is layered on a piece of Wisteria Wonder cardstock die cut with the Stitched Shapes Framelits Dies and then layered on a piece of Soft Sky cardstock die cut with the scalloped oval in the same Layering Ovals Framelits Dies pack. The card is made by layering the embroidered piece on top of Wisteria Wonder and Soft Sky for the card base. I think you could also add a small pearl or rhinestone in the center of each flower and maybe some sequins adhered randomly to take up a little of the open space, but I wouldn’t want to distract from the pretty embroidery. Sometimes less is more!
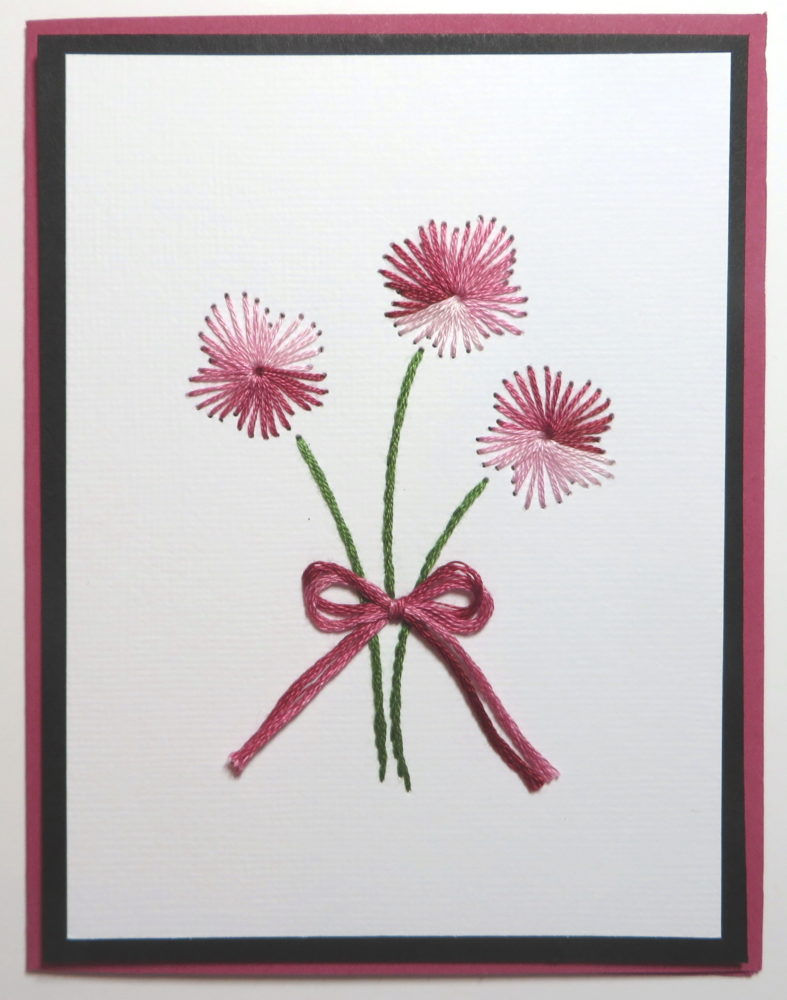
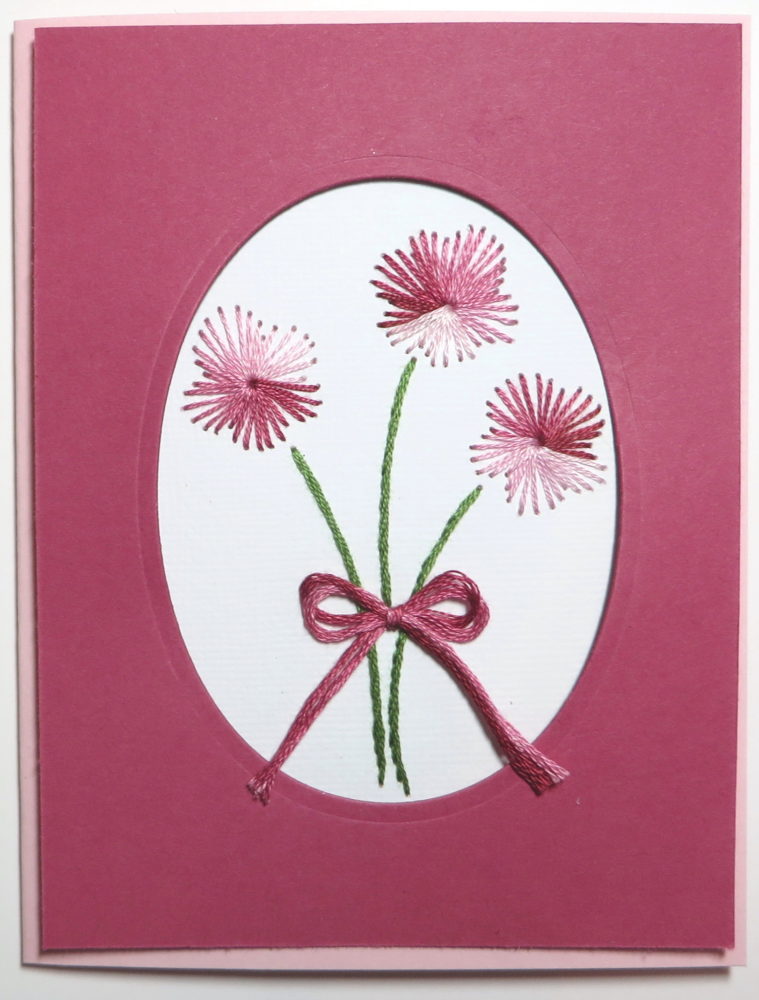
For the pink embroidered flowers I went through the same process of choosing cardstock colors. As it turned out, I thought Rose Red and Pirouette Pink worked best with the thread. Then I even wondered if a pop of Basic Black would work. I think maybe it does, but I like the Rose Red and Pink the best.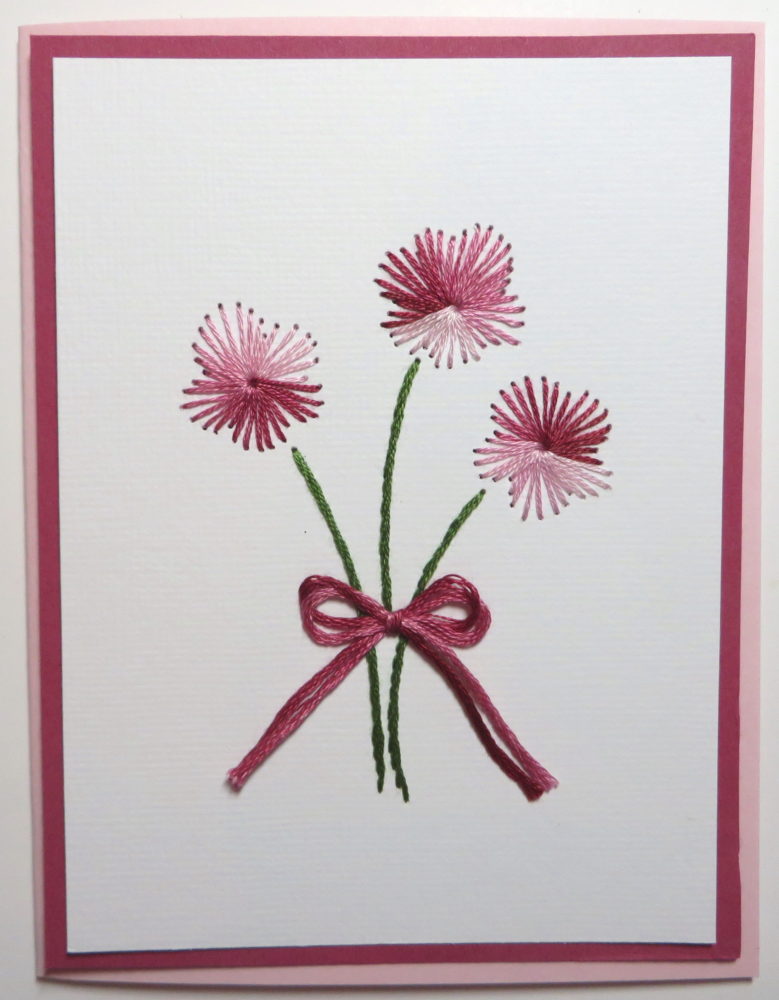
Since I had first thought of framing these pretty embroidered flowers, I happened to remember a card I made way back in the beginning of my stamping with an oval as a frame. I used the largest oval in the Layering Ovals Framelits Dies to cut out a frame to place over her embroidered piece. I think maybe you could also emboss the oval frame if the design didn’t take away from the embroidery.
It’s nice to see someone doing something different with her cards and yet you can still use Stampin’ Up! cardstock, and accessories to enhance the design. A greeting could also be added to these cards, something smaller and simple since the pink embroidery takes up more space. But just a plain card without a greeting is always good to have on hand for those personal notes you want to write.
Stampin’ Up! actually has a Christmas kit of cards on which to do some stitching on the Clearance Rack, the Stitched with Cheer Project Kit. If you would like to incorporate some stitching on your cards and get some early Christmas cards made, check out this kit! It’s quite the deal, on sale for 60% off the original price! Watch the video below to see it!
I hope you will be inspired by Phyllis’s idea to make cards with beautiful embroidery. She says this is her “go to and easy” card to make. Although I have done all kinds of needlework in years past, needles and thread are not my thing any more so for me stamping is much easier! It’s great we can see all kinds of styles of cardmaking and crafting and creativity! Leave a comment below if you have any other ideas for Phyllis’s cards or tell us about any different kinds of cards you make.

Go to Stitching Cards for patterns. There are hundreds of sites around the world with stunning results. Have been doing card embroidery for 25 years. Stay safe.
Debra, I guess I don’t have an email for you on your comment. If you are interested in the embroidery books, leave another comment or just email me at Karen@Karenstamps.com and I can send you the information. Thanks.
The card is absolutely beautiful!! I would like to have the pattern as well. Would it be possible to check with your customer to see if I could purchase the pattern? I know you provided how you would do it but if you could please check with your customer for the pattern I would be so ever grateful!!!! Thank you soooo much!!
The card is absolutely beautiful!! I would like to have the pattern as well. Would it be possible to check with your customer to see if I could purchase the pattern? I know you provided how you would do it but if you could please check with your customer for the pattern I would be so ever grateful!!!! Thank you soooo much!!
I love what you did with the different flower papers! Your colour choices of paper are beautiful together.
Would it be possible to find out how I could get the pattern for the flowers?
Thanks!
Debra, The embroidery was done by one of my customers but it looks to me like you can make these without a pattern. If I were doing it, I would come up with my needle in the center of my flower, wherever you want it on the paper, then down at whatever point out to the side, back up in the center, down in another point just to the side of the first stitch and so on around the circle of the flower. You can make the stitches shorter and longer like she did or all the same length. I think you could also look online at an embroidery video or in a book of stitchery and get the idea. Thanks for your comment!
The card is absolutely beautiful!! I would like to have the pattern as well. Would it be possible to check with your customer to see if I could purchase the pattern? I know you provided how you would do it but if you could please check with your customer for the pattern I would be so ever grateful!!!! Thank you soooo much!!
Joyce, my customer sent me photos of the embroidery books she used so I will email them to you.
Debra, I know it’s been awhile back, but my customer sent me photos of the books she uses, so I will email them to you.