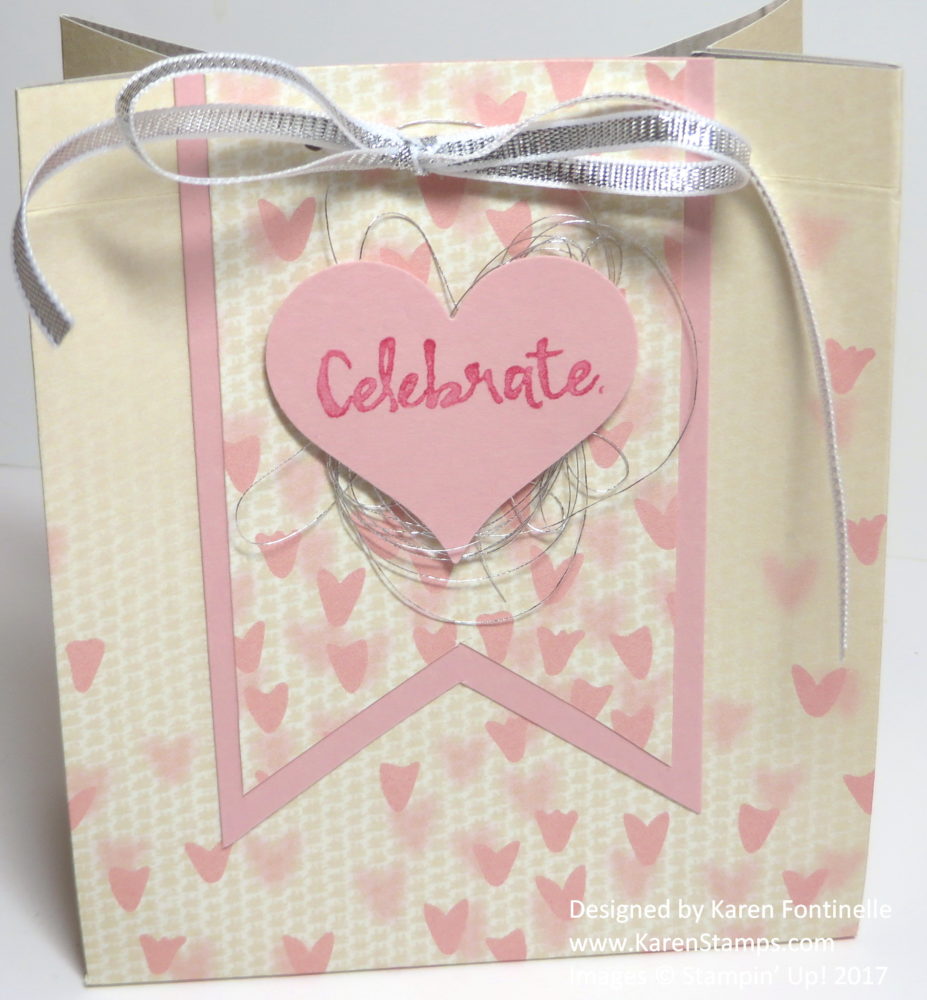
Here’s how to make a Falling in Love Handmade Gift Bag very easily! The Falling in Love Designer Series Paper will make any number of beautiful gift bags and other projects with the lovely patterns and bokeh look on many of the sheets. This bokeh look is actually a little difficult to photograph because by definition it has some blurriness in it, which also photographs as being blurry! But you will love the paper when you see it in person!
I started off making this gift bag to be for Valentine’s Day with the heart patterned paper and of course it could be. But it could also be for a wedding or shower or baby gift or birthday or any occasion! And if I used the pattern on the opposite side, that would also be beautiful!
To make this gift bag, I just cut a 12″ x 12″ piece of designer paper in half. Think about your pattern as you make something like this so the pattern doesn’t end up upside down (as I almost did!) or sideways. Your scoring and cutting will determine which way the pattern goes.
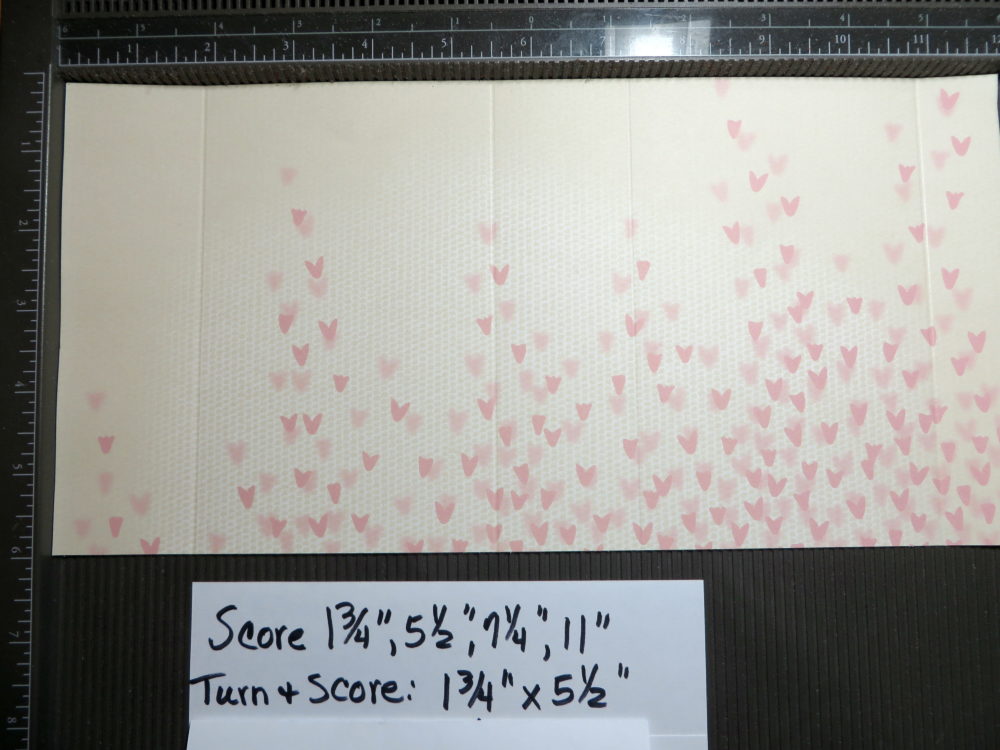
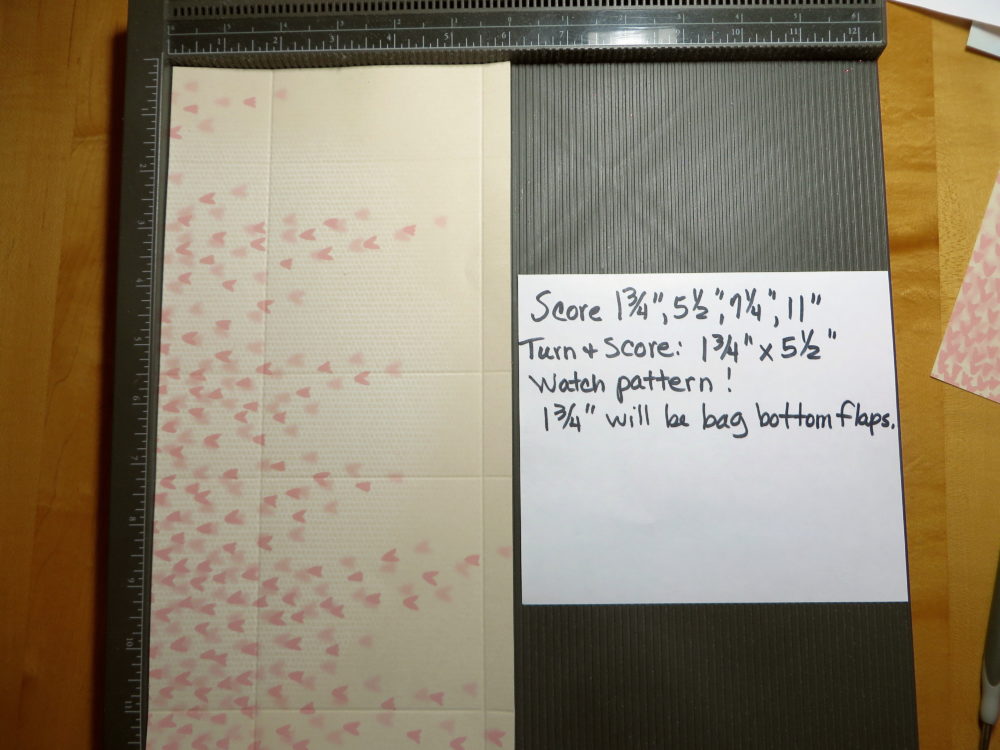
You could easily use the Gift Bag Punch Board, but today I chose to use my Simply Scored board. Score at 1 3/4″, 5 1/2″, 7 1/4″ and 11″.
Then turn and score lengthwise at 1 3/4″ and 5 1/2″. This is where you need to think about which way the pattern of the paper is going because the 1 3/4″ area will be the bottom flaps.
Then crease all the score lines and see how your bag will go together. Cut out the small piece on the bottom edge and cut up on the score lines that will make the bottom flaps of the bag.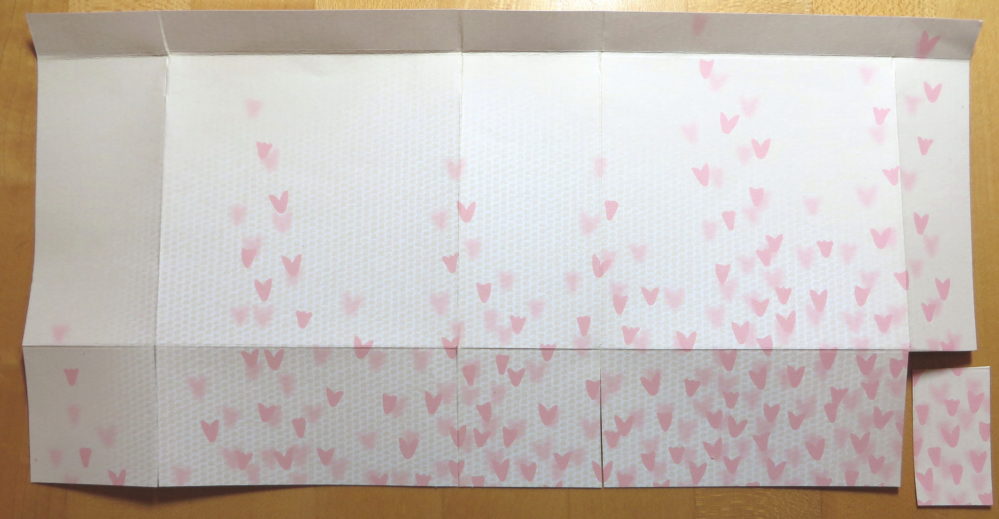
Apply strong adhesive to the narrow flap on the right in the photo above. Fold the bag flat in half so that you adhere the other side to this sticky flap. I used Fast Fuse Adhesive.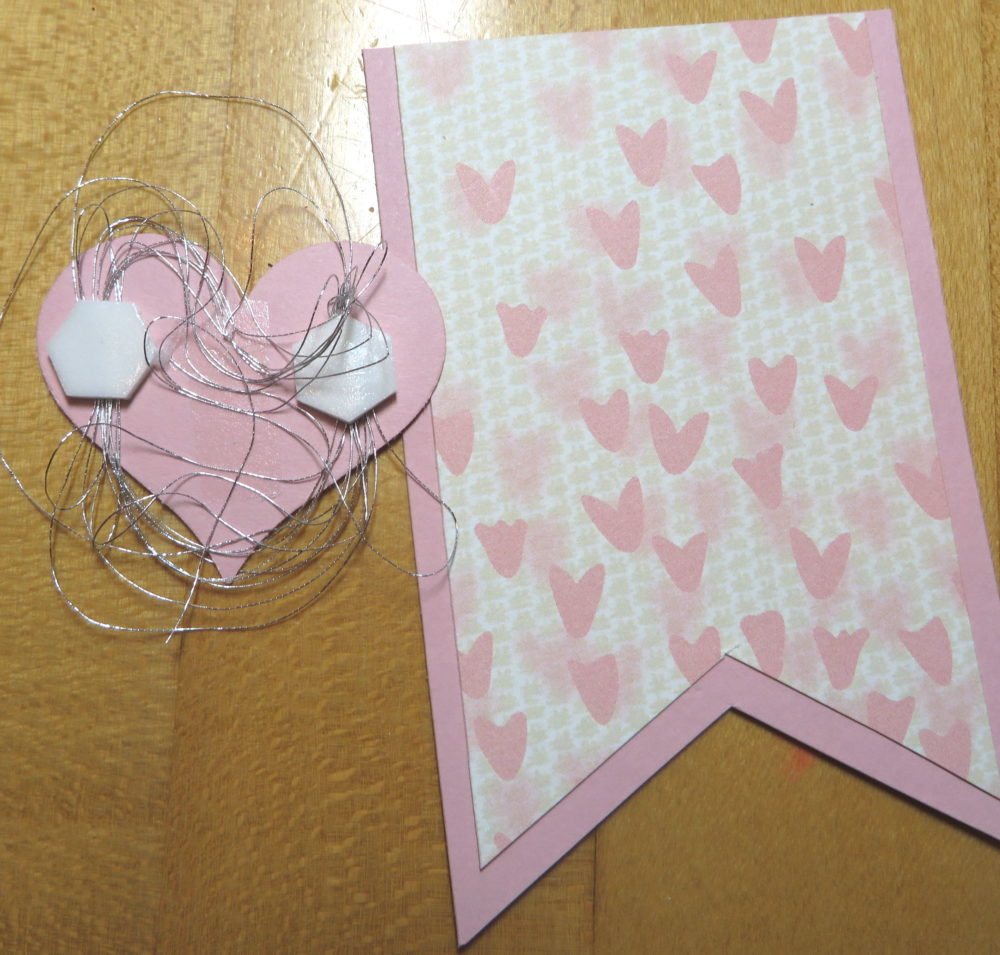
Decorate the gift bag how you like. I made a banner out of the Falling in Love Designer Paper that the bag is made out of but a piece that had more hearts printed on it, with a layer of Blushing Bride behind it. For a greeting, I inked up the “Celebrate…” stamp from the Beautiful You Stamp Set with a Melon Mambo Stampin’ Write Marker so I could omit the “…” at the end of the stamp and used that color so it would show up better on the Blushing Bride cardstock. I just stamped this on plain cardstock first and then punched with the Sweetheart Punch. To jazz up the little heart, I used the Silver Metallic Thread just wrapped around my fingers and then adhered down a little bit on the back of the heart and then adhered to the banner on the bag. I also punched two holes in the top of the bag and tied a bow with the Silver 1/8″ Ribbon.
You can adjust the size of any bag you want to make by doing a little math. Leave the bag open at the top if you like. I almost did on this bag because the inside is so beautiful.
The Stampin’ Up! computers and systems are up and running today so if you are ready to order from the new Occasions Catalog (and who isn’t??!) and get your Sale-A-Bration rewards FREE with each $50 purchase, go right ahead! If you have any questions or problems, just let me know and I will try to help!

