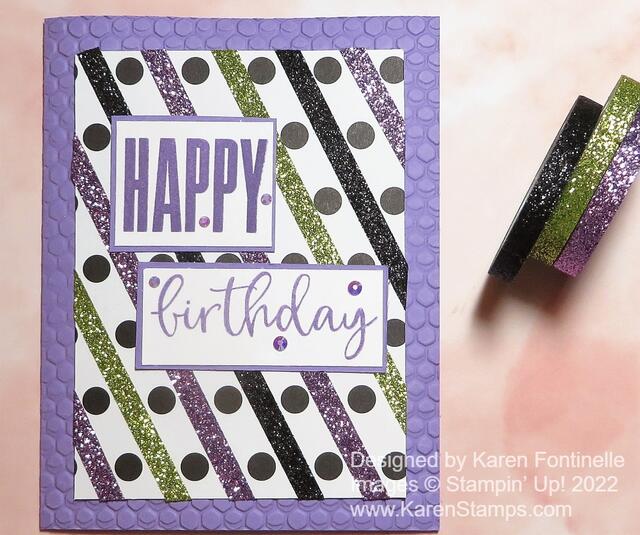
I saw this idea of using our Glitter Washi Tape this way on the @Stampinupofficial Instagram account the other day and I loved the idea! Because of the colors, I assumed they were suggesting this was a way to make a Halloween card. While that would be very cute, I thought I could make a Glitter Washi Tape Birthday Card with three of the four washi tape colors! And I did! But I’m also dying to make a Halloween card using this technique, too!
The main idea is to use the Black & White Designs Designer Series Paper and add strips of the Glitter Washi Tape in the Holiday Mini Catalog on page 57. You have to look up in the upper left corner of the page to find it! I did make THIS CARD for Halloween using some Glitter Washi Tape but not in this way. I think this is such a clever idea to use this washi tape with this designer series paper!
The colors of the Glitter Washi Tape are Old Olive, Black, Highland Heather, and Pumpkin Pie. I left out the Pumpkin Pie so it wouldn’t look like Halloween. The card base is Highland Heather and I embossed the front with the Hive 3D Embossing Folder. I would normally use a separate layer to emboss, but since this card base was already cut and folded in the cardstock package I just went with it this way. I had to run the folder through my Stampin’ Cut & Emboss Machine sideways which isn’t the best but it worked. Since I had a slightly smaller layer for the card front I thought a little texture around the edges of the card was in order.
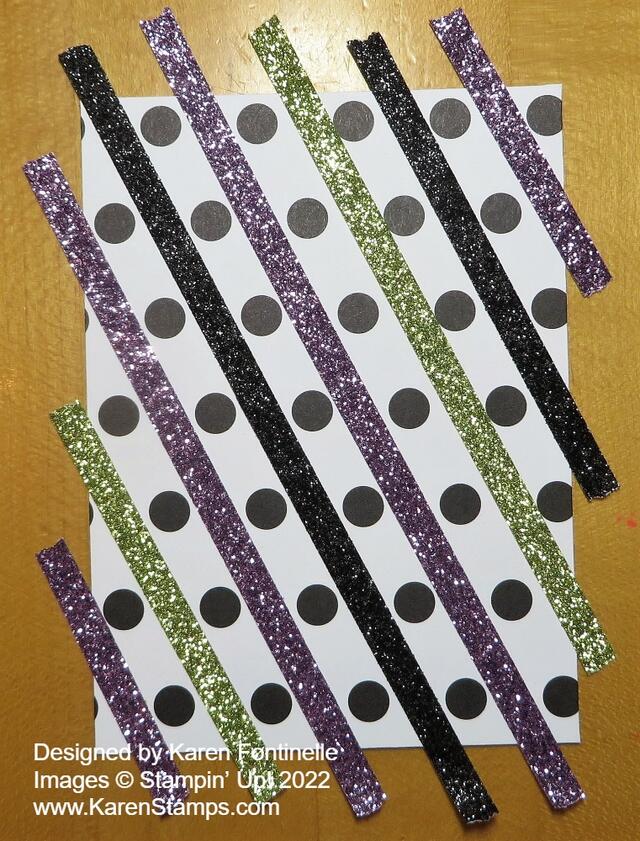
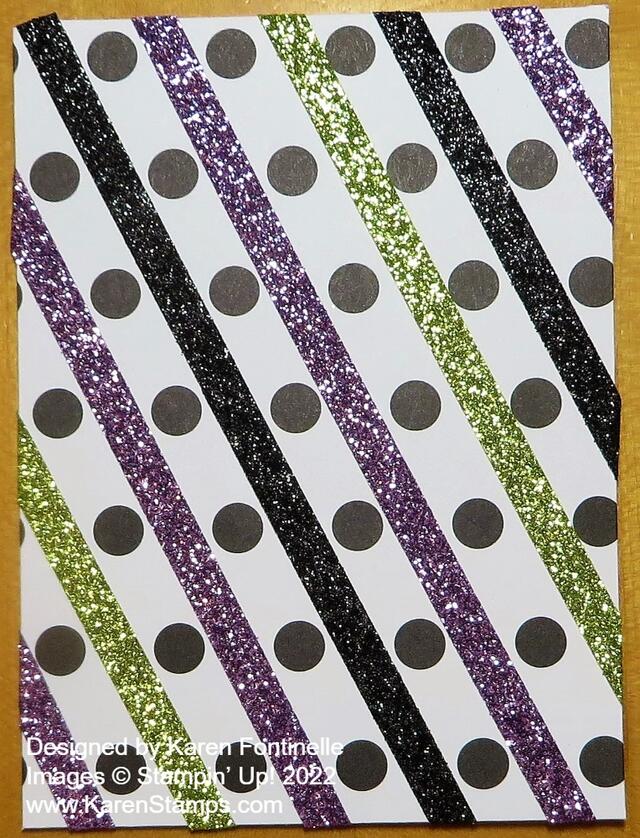
The card front is a polka dot pattern in the Black & White Designs Designer Series Paper in the Holiday Catalog. I ran the washi tape diagonally in between the polka dots. There are also striped designs and others so you can choose other ways to apply the washi tape. Just let the strips of washi tape extend over the edges of the cardstock and then fold them all under instead of cutting or tearing them off at the ends. You could do that though. I used Stampin’ Seal+ adhesive to adhere the striped card front to the card base.
I used the Biggest Wish Stamp Set for the greeting and focal point of the card. I stamped the words separately in Highland Heather ink and cut them very closely to the words with the Paper Trimmer. I also added a narrow layer of Highland Heather behind the stamped words. This stamp set is a fun one to own and perfect for a card like this.
Just in case the Glitter Washi Tape wasn’t enough “bling” on this card, I added a few 2021-2023 In Color Jewels even though they are retired now. (Such a shame!) I thought the Fresh Freesia jewels could be a close enough match to work on the card and applied a few to the greeting.
You might want to add this 4-pack of Glitter Washi Tape to your next order. It’s not just for Halloween and you can use the tape in so many ways in cardmaking and scrapbooking. You could just use little touches of it or actually make stripes or designs with it on cards. Just one of the fun embellishments we have for our papercrafting!


