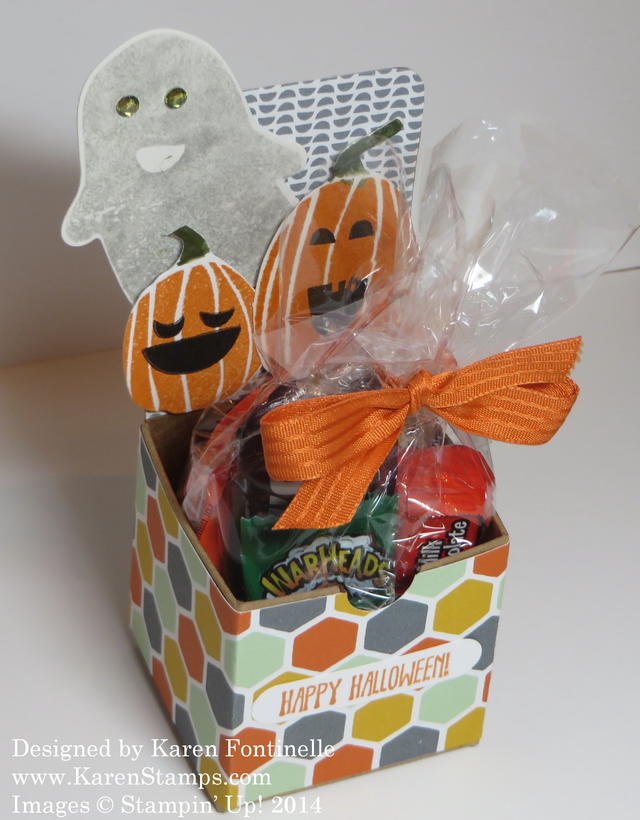
Make an easy Halloween treat or favor using the Tiny Treat Boxes and some stamping and paper! Don’t forget a cello bag of Halloween candy! You could use this idea for any occasion, actually. The Tiny Treat Boxes are shown in the 2014 Holiday Catalog on page 12 as boxes to make into an Advent or count-down calendar. As you can imagine, you can use them for lots of other things – gift boxes for small gifts, a favor or treat for a birthday or holiday, anything you can imagine.
For this Halloween treat box, I cut a strip of the Confetti Celebration Designer Series Paper almost as wide as the box (about 2″). I just wrapped it on to each side of the box, scoring with my fingers over each corner and then trimming off the excess paper in the back. That way it would be sure to fit that box rather than scoring ahead of time. I glued it on with the Multipurpose Liquid Glue in case I needed to wiggle the paper a little to make sure it was fitting on correctly. I’m not even sure how I pulled out that paper! I must have seen the orange and thought it was Halloween paper! But it worked great! Forgot to mention, I tucked in the side flaps of the box and adhered them to the inside (you wouldn’t have to do that because the bag of candy or gift would keep them inside). Or you could cut them off. The lid of the box I never folded on the score lines and just let it stand up as a background. I put a piece of the Confetti paper on that background and trimmed off the top around the curved corners.
The ghost and pumpkins were stamped with the Fall Fest Photopolymer Stamp Set and cut out with the Big Shot and the Fun Fall Framelits Dies. You can buy both the stamp set and framelits together in a Bundle and save 15%! For some reason, all I could think of was that I had to stamp the ghost and didn’t want to take the time to emboss him in white, so I inked him up in Smokey Slate, stamped off once lightly and then stamped him on Whisper White. It worked, and I added Rhinestone Jewels colored with an Old Olive Blendability Marker for the ghost eyes. I should have just cut him out of Whisper White with the framelit, but then I guess he wouldn’t have the face! So do whatever you like!
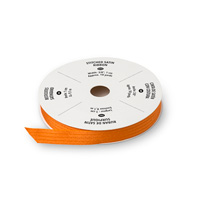
The Happy Halloween greeting on the front is from the And Many More Stamp Set, punched out with the Word Window Punch. It seemed fine without a layer behind it! The bag is tied with the Tangelo Twist 3/8″ Satin Stitched Ribbon.
This was a quick and fun project! Try the Tiny Treat Boxes and see how many ways you can use them!


