Category Archives: Houston TX

April Showers Bring May Flowers Card

April Showers Bring May Flowers Card

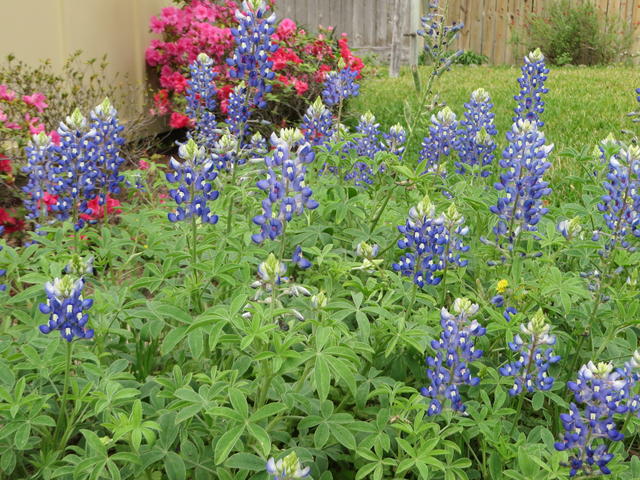
We have had a couple of gray days in Houston of drizzly, barely-there rain, but today we have had heavier showers, which, being April 1st made me think of “April showers bring May flowers”. Here in Houston we actually have already had March and now April flowers! Texas wildflowers are already blooming, like the beautiful Bluebonnets in our backyard!

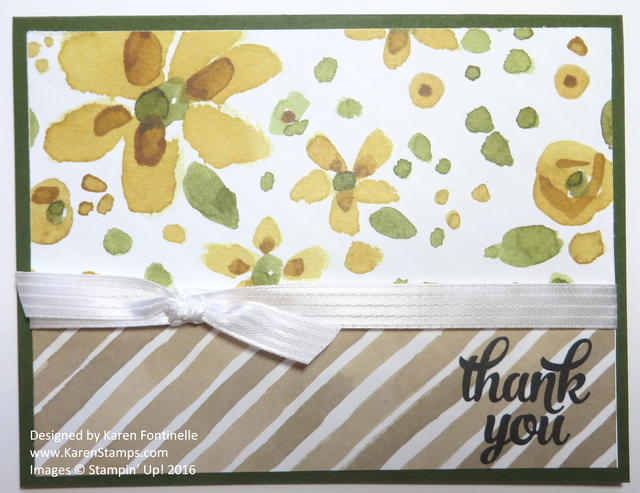
So here is a card made with the beautiful English Garden Designer Series Paper with some pretty flowers!  This style card is so easy to make, one you want to keep in your creative mind as a go-to layout. The card base is Mossy Meadow Cardstock, but it could be any neutral color. I did use a layer of Whisper White Cardstock underneath the designer paper because I wanted to tie a ribbon around this front layer. The two patterns you see are the opposite sides of the same paper.  I thought they looked great together on the same card. The ribbon tied around is the Whisper White 3/8″ Stitched Ribbon.  The greeting is a stamp from the Tin of Cards Photopolymer Stamp SetEven if you don’t have the Tin of Cards Project Kit (very cute, by the way!), this is a great stamp set to have on hand.  I was keeping it simple so I just stamped directly on the designer paper. (Better to do before you have the card finished and everything glued down, but I got lucky and didn’t mess it up!)

If you already have a lot of designer paper, stop and look through your stash and be reminded of the pretty patterns you have and get them out and use them! Or look through the catalog and refresh your memory about the designs available and remember that all of it looks better in person!

I hope you are having a safe April Fool’s Day and that no one is playing pranks on you! And if you are having April showers today, remember that they do bring May flowers – or even April ones!  Make a card to celebrate!

Texas Bluebonnets

Go Houston Astros! Baseball Card

Go Houston Astros Baseball Card

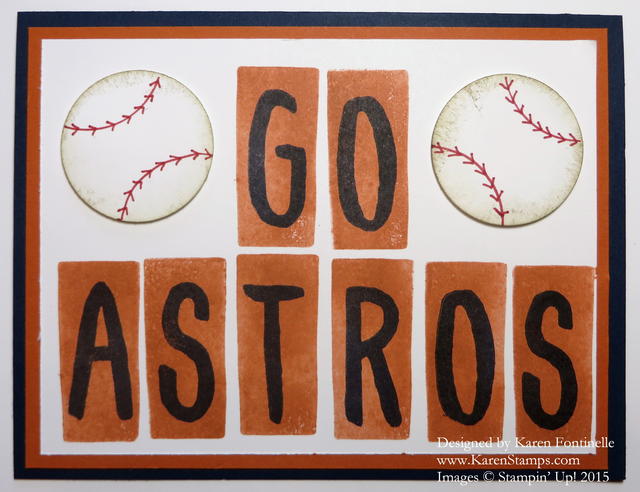
It’s been a weekend of watching baseball games on TV, and in honor of the Astros baseball game today, I have made this Houston Astros baseball card. It’s fun to have a winning home sports team for the city to rally around and enjoy! It’s been ten years since the Astros were in the baseball playoffs (I even got to go to the World Series game, thanks to my friend!)  Today is Game 4 of the American League Division Series and I’m keeping my fingers crossed for an Astros win! We’ve also been watching the St. Louis Cardinal games (because when you are from St. Louis, you are always a Cardinal fan!) and we watched one of the Dodger games because our son-in-law is a huge Dodgers fan.

The Layered Letters Alphabet Photopolymer Stamp Set is perfect for a card like this when you want to express the name of a team or place or certain words. I have loved this stamp set since I first saw it! You just need to have an alphabet stamp set on hand for certain projects, and this is a good one. I love having the background shapes you can use for each letter – or not!

The baseballs were fun to make, and you can make any size.  I used the 1 3/8″ Circle Punch because that’s what fit in the space on the card. I punched the baseball from Whisper White card stock, then I used the negative piece over the punched circle as the guide to draw the red curved lines on the baseballs. I used the Real Red Stampin’ Write Marker which has two ends, a brush tip and a narrow tip, to draw on the lines and stitching on the baseballs. Then I sponged a little Soft Suede ink around the edges of the baseballs.  I loved the look of that.  Sometimes sponging can add so much to your stamping! Use the Stamping Sponges by Stampin’ Up! or the Sponge Daubers to do any sponging around the edges of your stamped images.

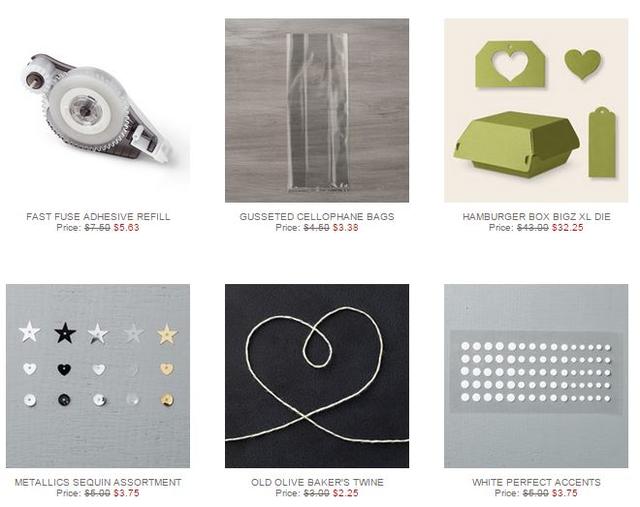
Today is the last day for the Stampin’ Up! Weekly Deals!

Stampin' Up! Weekly Deal Oct 6 2015

If you are interested in making cards or other papercrafting projects, you can buy the best in stamps, paper, ink, and accessories at my Stampin’ Up! Online Store HERE.

Be ready when your team is in a good position and you want to celebrate or support! I hope I have reason to make more Houston Astros Baseball Cards after today’s game!

Make a Witch Hat Decoration With the Witching Decor Project Kit by Stampin’ Up!

Witching Decor Project Kit Witch Hat

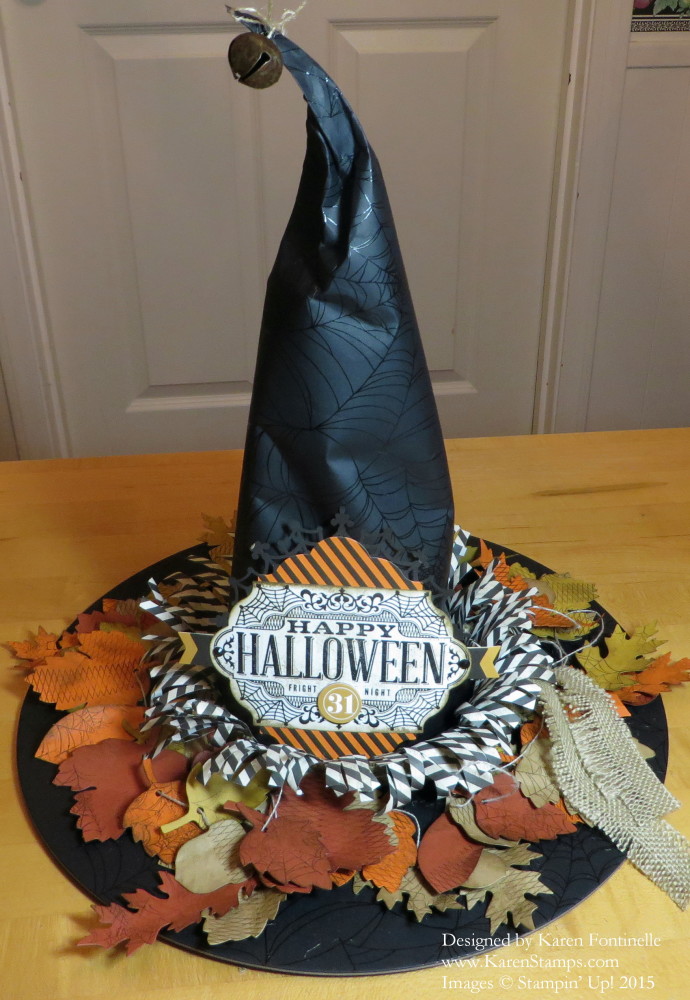
Today is the day that the Stampin’ Up! Holiday Catalog begins! And the Witching Decor Project Kit Witch’s Hat is the item that caught my eye as soon as I saw it! It was the first thing I wanted to get my hands on because I love Halloween and all the fun decorations! This is a kit with everything you need for the hat except for the stamp set, ink pads and adhesive. It doesn’t take very long to make (really!) and it is a good size for a table decoration or Halloween decor! I love how mine turned out! You’ll find the Witching Decor Project Kit (140969) on page 7 along with the coordinating stamp set, Witches’ Night, to make that Halloween label and to stamp the leaves.

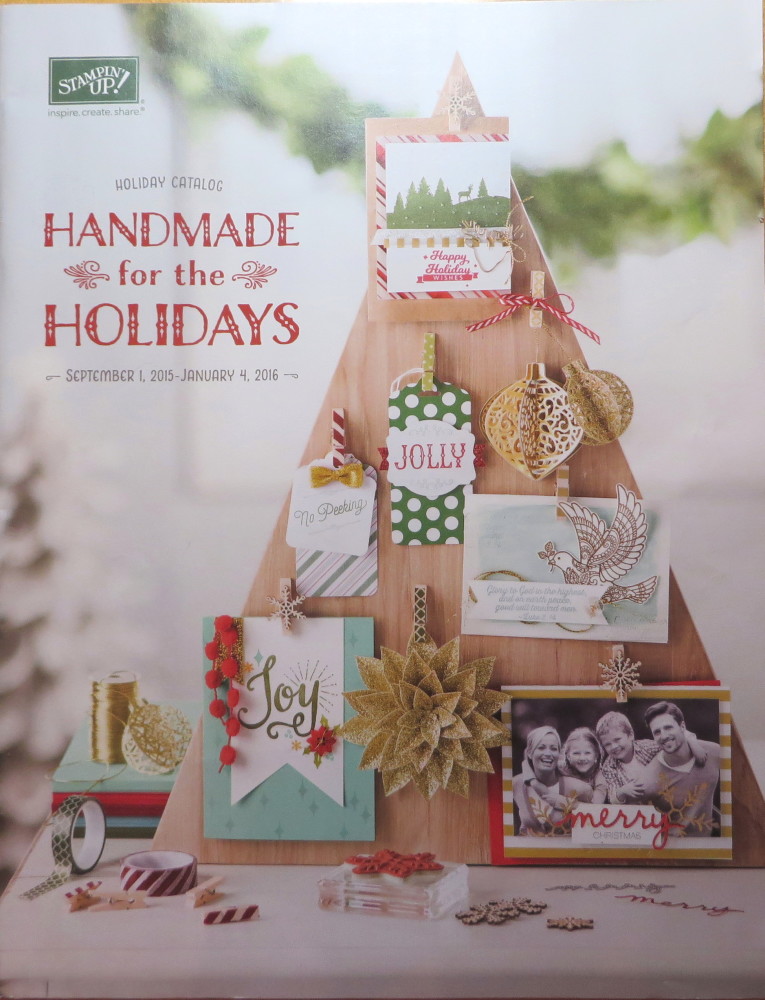
Everyone can begin ordering from the Holiday Catalog today and right through January 4, 2016. (Okay, let’s not get ahead of ourselves!) Everyone can view the catalog and the products online today. I hope my regular customers received their catalog in the mail already. If you would like to be one of my customers, please contact  me and I can send you a catalog (in the USA).

This Holiday Catalog is the best, even if I did say that last year – and the year before!  But this one really is fantastic with lots of new products, lots of Bundles to save you 15%, and lots of Kits that take the worry out of designing something. Get together with some friends and have everyone order a kit, then get together to make the project for a fun girls’ night out, or afternoon.

Stampin' Up! Holiday Catalog 2015
Go right now and check out all the great Holiday Products from Stampin’ Up!  I think you will be dazzled! Order the Witching Decor Project Kit by Stampin’ Up! and make your own witch hat decoration!

Back to School Bravo Star Card

Back to School Bravo Star Card

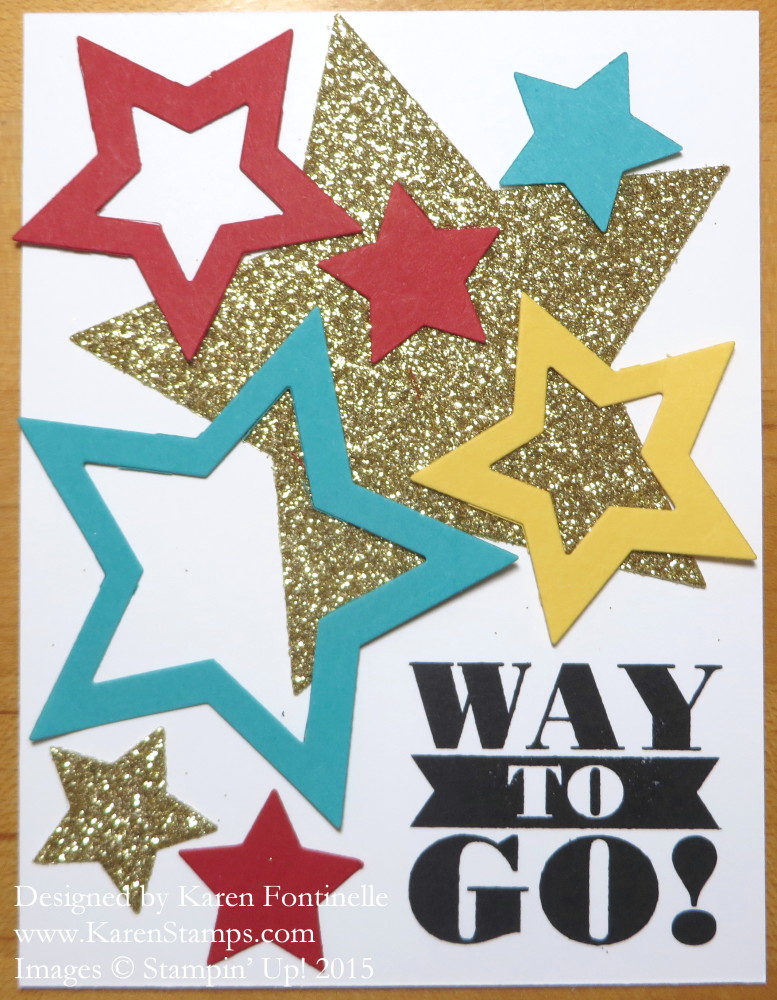
Here in Houston it is almost the end of the first week of school, so I thought maybe people would want to make a Back to School Bravo Star Card either for the student that has completely their first week of school or perhaps for the teacher who has completed a week (and probably more) of back to school! Use the Bravo Stamp Set and some stars cut with the Stars Framelits and Big Shot to choose an appropriate greeting. Change the greeting and make the card for someone getting ready to start school next week or after Labor Day!

For the card base I just used the new Whisper White Thick Cardstock. You will love the weight of this card stock if you would like to make a card with less layers. Then just die cut a bunch of assorted stars with the Stars Framelits and play around with the arrangement until you are happy with the placement of the stars and greeting.  Use a lot or use a few!  Place one framelit inside the other to make the stars with the center cut out.

I’ve always said everyone should have some star punches, star stamps, or in this case Star Framelits because stars can be used for just about anything. They are so good for congratulations, birthday, promotions, achievements, baby, thank you, anything special that you are making!

I loved making this simple Back to School Bravo Star Card using multiple stars and the Bravo Stamp Set! If you need any supplies, please visit my Stampin’ Up! Online Store!

Paper Pumpkin Kits to the Rescue!

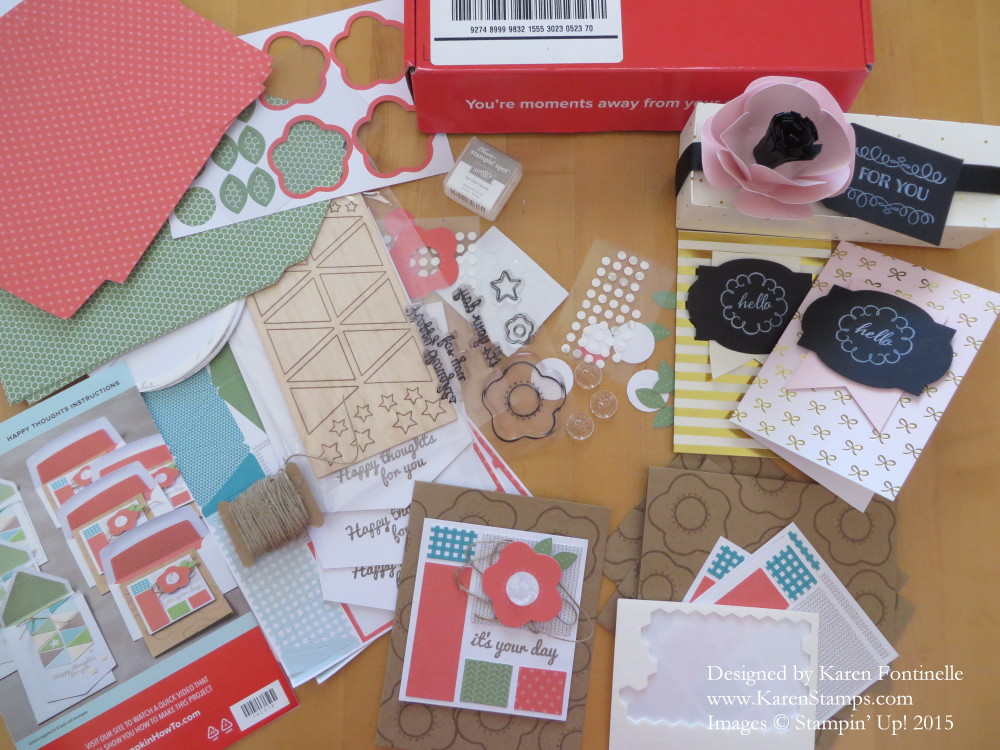
Paper Pumpkin August 2015 Kit ProjectsI have to say my Paper Pumpkin kits saved my sanity yesterday! Pictured above are just some of the projects in the August Paper Pumpkin Kit. I stopped with those in case I wanted to make anything different with the remaining materials. I would vote the August Paper Pumpkin Kit probably the easiest and prettiest kit to date. There were lots of other kits I also loved, but this one was really so easy and turned out so nicely. And that’s what I needed yesterday!

Our power went off yesterday at 8:30 am, not due to any storm or anything wrong that I could see.  I even thought we had a new transformer or something for our part of the neighborhood put in recently due to the frequent outages we were having. In the many, many years we have lived here in Houston, we have never had the power go off as much as it did there for awhile a couple months ago.  Even after hurricanes and tropical storms, OUR power came back on in a few hours, even if others’ didn’t for a couple weeks.  Maybe this is payback!

Thank goodness now for email notifications from the electric company telling us what was going on (or not going on!). As we passed the first estimated time of repair and another couple hours was estimated, I suddenly realized the air-conditioner was not running and would not be and it was going to get HOT in here! For lunch I went to Subway and picked up sandwiches and a cold, icy Coke since we couldn’t open the refrigerator with the power off. As the next email said “repairs were taking longer than estimated”, but, by golly, they were trying really hard to fix it, the temperature climbed to 93 degrees outside, according to my phone. Now that’s cool compared to what we had not long ago, 100+, so I should be grateful. We closed all the blinds to keep the heat out, didn’t talk or move much.

Finally I decided I needed something to do to take my mind off how hot it was getting inside, so I got out my new August Paper Pumpkin Kit that just arrived the other day! What a blessing that kit was, this one in particular! I really liked it from seeing the kit and it was oh so easy to make! It was too hot to think about designing something or even copying something, too hot to be hopping up and down for supplies. The Paper Pumpkin kit made it easy. I didn’t have to think about what to make, I liked what I was making, and everything I needed was right there in the box except for scissors to cut the ribbon. The cards and gift boxes went together quickly. When I was finished with that kit, I moved on another kit I hadn’t worked on yet. Again, it was cute, easy to make, and everything was right there.  No need to get sweaty making a card!
Paper Pumpkin Kits Power Off

To wind up my power outage story, we went out for dinner to cool off and went somewhere where I could sit by an electric plug to recharge my laptop. That was all great and while we were gone it rained at home so maybe it cooled off a bit. As we sat here in the dark in the evening, and the latest repair estimate of 9 pm came and went, we decided maybe it was time to head to a hotel for the night.  Good news!  As we began throwing a few things into a suitcase, in the dark with flashlights, the power came back on!!! Perfect timing, and saved us at least $100 to stay cool for the night. The power was off for 13 hours, but we survived.

My Stampin’ Up! Paper Pumpkin Kits really came in handy yesterday to keep me occupied during a stressful time (and who doesn’t have stressful times even with the power on?!) and gave me a sense of accomplishment knowing I got something done even without electricity! Stamping is something we can do even without power. And maybe it’s a good idea to keep at least one Paper Pumpkin kit on the shelf for just such an occasion when you need it!

You’re in luck right now because a monthly Paper Pumpkin subscription is 50% off for the first two months if you sign up by September 10th!

If you’re a mom and you just sent your kids back to school or will soon, go ahead and get Paper Pumpkin for yourself!  You deserve it! No risk, no obligation.  Pause your subscription any month or cancel if you must. Order extra kits for a gift any month! Have some fun with your friends!

Just click HERE for more information and to join. Enter Promo Code HALFOFF.

Back to School Big News Awesomeness Gift

Back to School Big News Awesomeness Gift

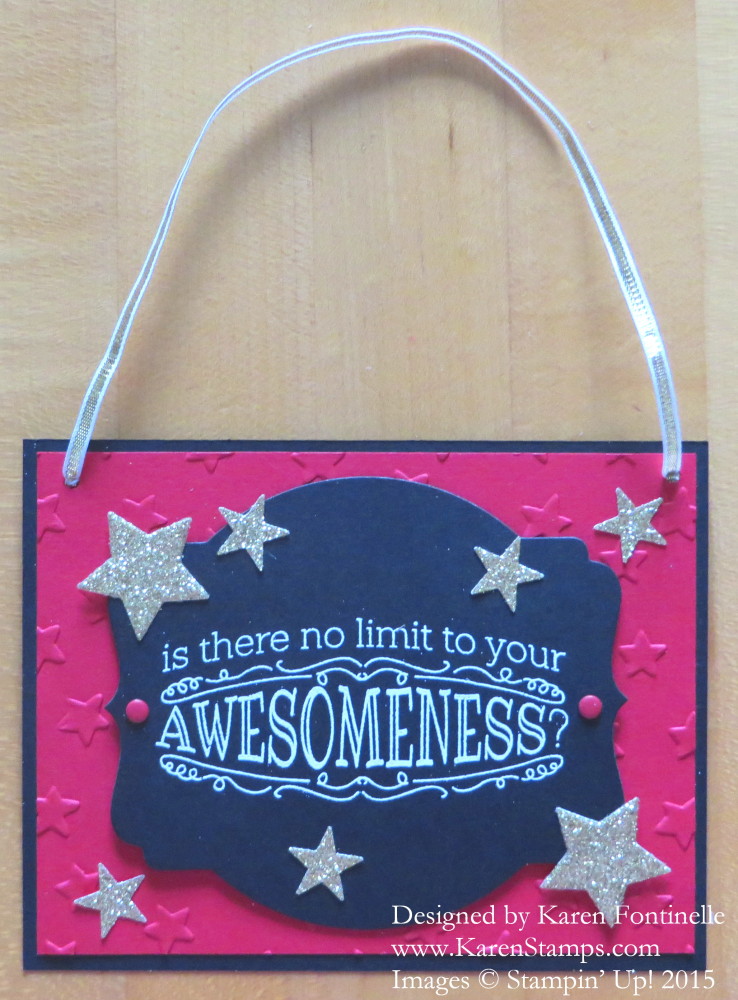
Tomorrow is Back to School time in Houston and probably lots of other places. If not tomorrow, probably very soon! Maybe you are looking for a little card or something for your child’s first day of school to encourage them, surprise them in their lunchbox or backpack. Rather than make this a card, I chose to tie some ribbon across the top to make it a hanger. Now the child can hang it up in their room or school locker and be inspired everyday and know you were thinking of them!
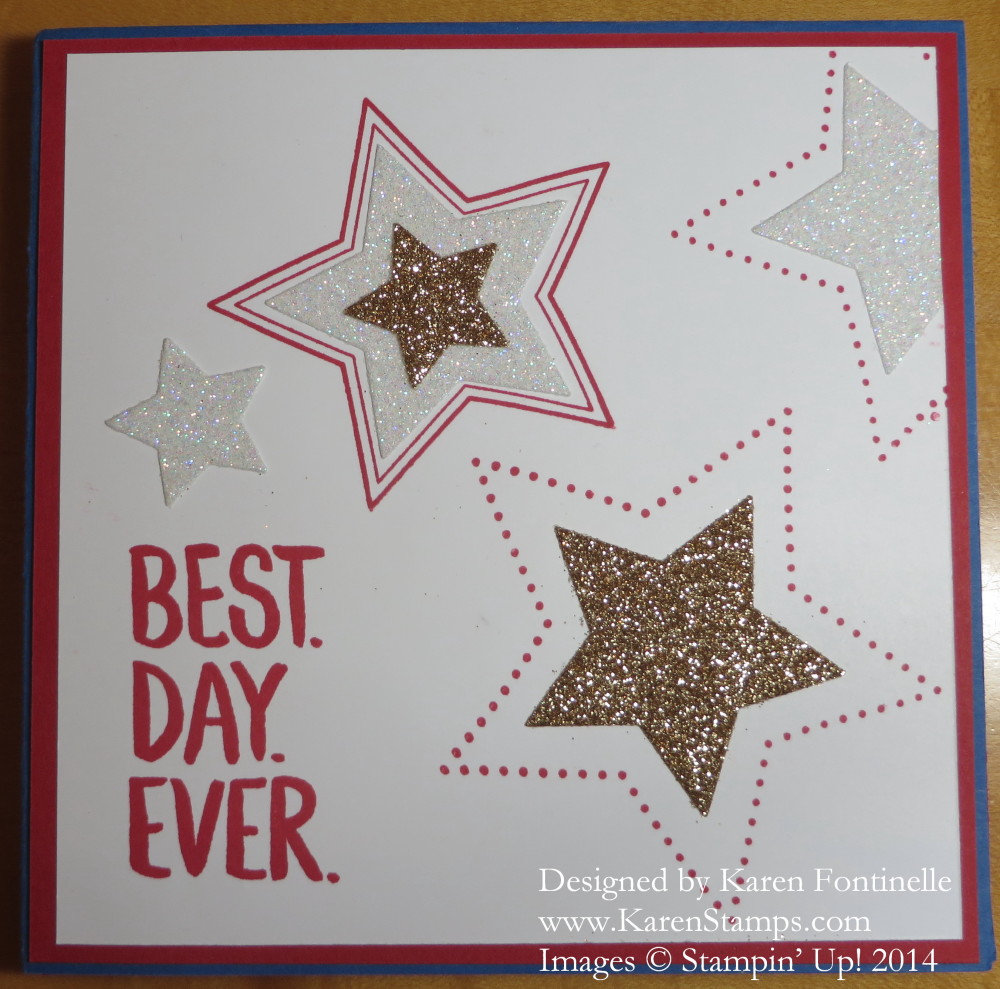
We have yet another power outage at our house as I am writing this so I’m not even sure how the colors are showing up. The base is Basic Black with a Real Red layer embossed with the Big Shot and Lucky Stars Embossing Folder.  The sentiment from Big News is stamped with Versamark Ink and heat embossed with White Stampin’ Emboss Powder and the Heat Tool. Be sure you have the Embossing Buddy to wipe across the card stock before stamping and applying the embossing powder because it helps eliminate the static that makes specks of embossing powder cling to the paper where you don’t want them! This embossed piece is cut out with the largest of the Deco Labels Framelits DiesYou could also just trim it whatever size you wanted to fit the card base. The smallest stars are punched out with the star in the Itty Bitty Punch Pack and the smallest star in the Stars Framelits DiesOf course the Gold Glimmer Paper is perfect for this as would be the Gold Foil Sheets. And I had to use a couple of Brights Candy Dots because they are so cute!

While you could easily copy this and make it a card in the usual fashion, I inserted some Gold 1/8″ Ribbon for a hanger. Any little thing you can make for your child for back to school I’m sure will be appreciated, even a note in their lunchbox!

Be sure to check the Stampin’ Up! Weekly Deals that end Monday night, August 24 as well as the Clearance Rack.

And if you are in the USA and do not have a Stampin’ Up! Demonstrator that you work with and don’t have access to the gorgeous new Holiday Catalog coming September 1st, please contact me at Karen@KarenStamps.com and  I will send a catalog out to you! I’m always happy to assist people in discovering and enjoying the fun and creativity of stamping and the products of Stampin’ Up!

Visit my Stampin’ Up! Online Store HERE!

Calling All Heroes Stormy Night in Houston

Calling All Heroes Stormy Night in Houston

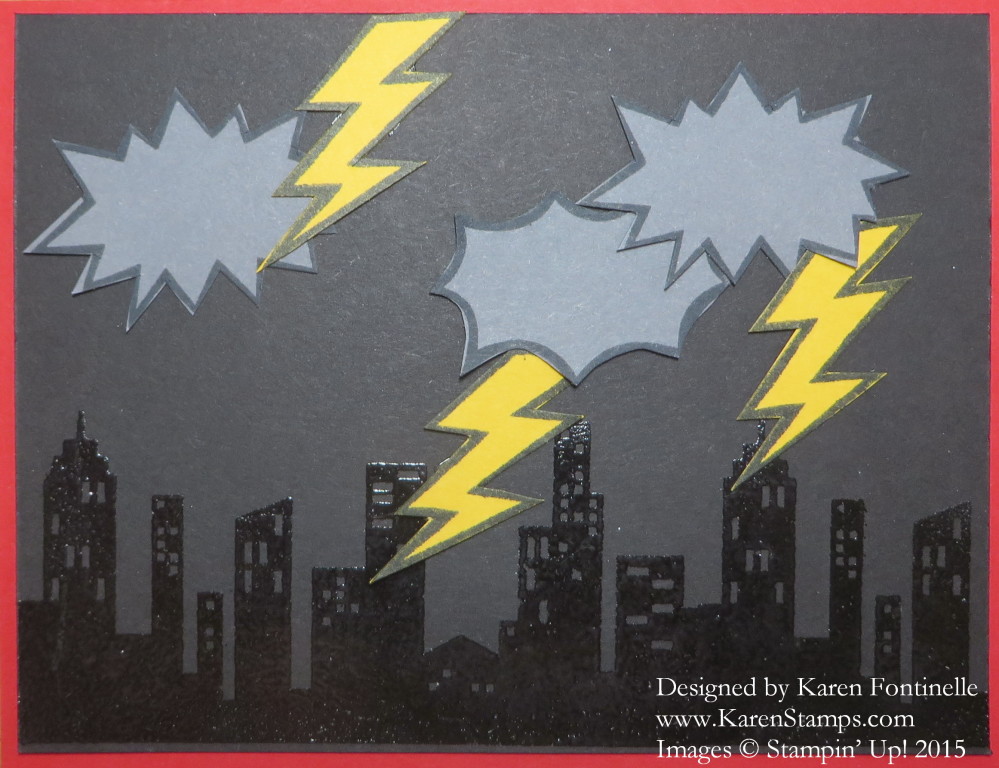
We were having such a stormy night in Houston, Texas last night that I got the idea to make a stormy card with the Calling All Heroes Stamp Set right in the midst of the lightning, thunder and buckets of rain. Those lightning bolts in the stamp set popped into my head, plus the tall buildings for a skyline, as well as the word bubbles that could serve as angry clouds.

In spite of looking dark gray in my photo, the card layer is actually Basic Black. At first I stamped the buildings in one of the gray inks, but they barely showed up. Then I thought of stamping with Versamark Ink and embossing with Clear Emboss Powder using the Stampin’ Up! Heat Tool. It made the buildings show up subtlely in the dark and stormy night, and they certainly were soaked in rain!

I stamped the “word bubble” stamps in Memento Ink on Basic Gray cardstock and cut out with my Paper Snips. I stamped the lightning bolts also in Memento Ink on Crushed Curry card stock and cut out.

I was stamping this card in the midst of this storm with all kinds of thunderstorm warnings and flood warnings beeping loudly on the TV plus on my cellphone, the lightning was flashing like crazy, and it was raining harder than I’ve heard it in a long time. So I had plenty of inspiration going on around me!!

Just as I finished photographing the card, the power went off!  All these years we have been on the lucky side of the street with the power, for the most part, even after hurricanes, but lately something has been wrong and the power has been off several times as they made repairs. Last night I didn’t hold out much hope that it was going to get fixed any time soon and it didn’t.  It came back on about 7 am today, which was great.  Thank goodness for a charged laptop and a small battery TV so we could keep up with the weather and watch some of the late shows before bed. Not to mention doing some reading with a flashlight.

The good thing is, stamping does not require electricity (except for heat embossing) so any time your electricity is off, you can still stamp by a window or with a flashlight!

The other good news is the Calling All Heroes Stamp Set, which I surprisingly love, is good for stormy nights and not just super heroes!

And maybe the best news of the weekend, if you saw my late post yesterday, is that the Butterflies Thinlits Dies are available again! Due to the west coast port situation, plus the delay of unloading the ships and finding a truck to transport them, Stampin’ Up! has been out of them for ages.  But the Butterflies arrived yesterday in Riverton, UT and are available now! To make up for the delay, Stampin’ Up! is offering them at a discount OR if you want the already-discounted Bundle with the coordinating Butterfly Basics Stamp Set, you can choose a free Sale-A-Bration item (while supplies last!)

SHOP HERE FOR ALL THINGS STAMPIN’ UP!

Spring Has Come to Houston!

Azaleas in Houston Spring 2015

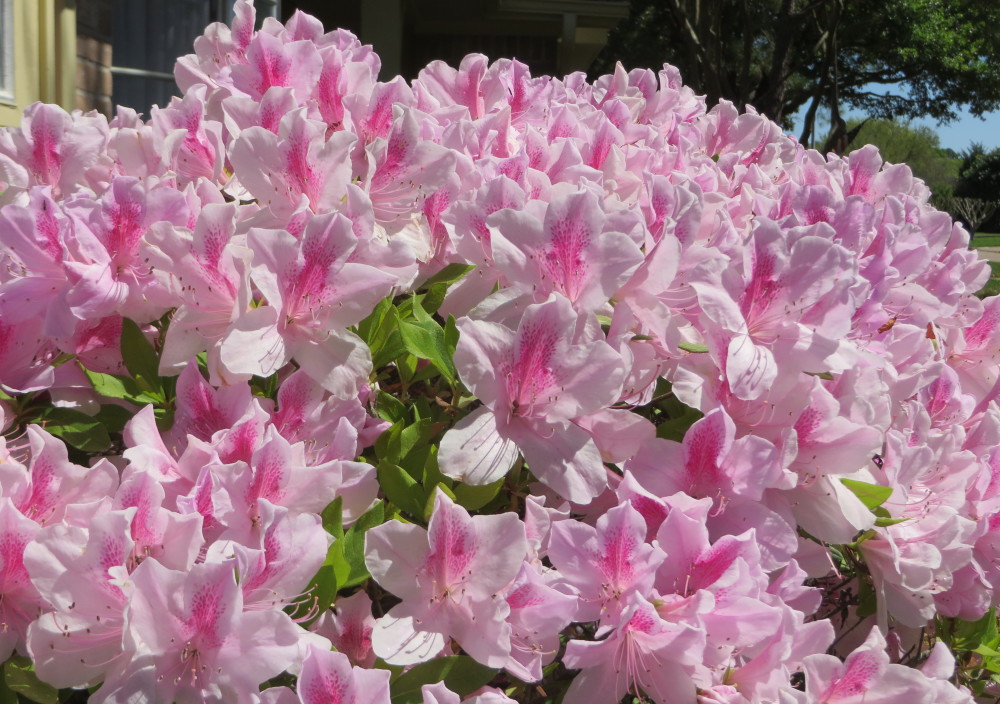
The weather is gorgeous here in Houston, Texas and our azaleas are in full bloom! I just have to show them off! If you are still experiencing snow, I hope this will give you some comfort that spring will soon come to you as well! Perhaps just looking at these beautiful blooms will inspire you to stamp a card with pretty flowers or make you feel like Easter is on its way. There was an older stamp set with a flower stamp that I used to use to look like my azaleas. But any flower stamp that gives you the same feeling as looking at this picture will do!

While you have some free time this weekend, be sure to shop Stampin’ Up!’s catalogs and Online Store and make your list before the end of Sale-A-Bration.  Tuesday, March 31 will be your last day to get your free Sale-A-Bration goodies with each $50 purchase.  No limit on multiple increments of $50! Any current merchandise counts toward the $50, even My Digital Studio downloads, if you need a couple more dollars to reach $50 or $100. My Digital Studio is going away May 31 so purchase any downloads, or the software, that you want before them – might as well do it now and take advantage of Sale-A-Bration! You can still use My Digital Studio even when Stampin’ Up! no longer carries it.

You might consider stocking up on card stock, adhesives, refills, or In Colors that will be retiring in a few weeks.  Beat the rush and avoid a sell-out.

Remember you have extra choices in Sale-A-Bration products beside the brochure! Click on the links below!

Sale-A-Bration Brochure

New Sale-A-Bration Choices

Newest Sale-A-Bration Choices

Place your Stampin’ Up! order at my Online Store or email me and I’ll be happy to put it in for you! Continue reading

I’m Back! Happy Spring!

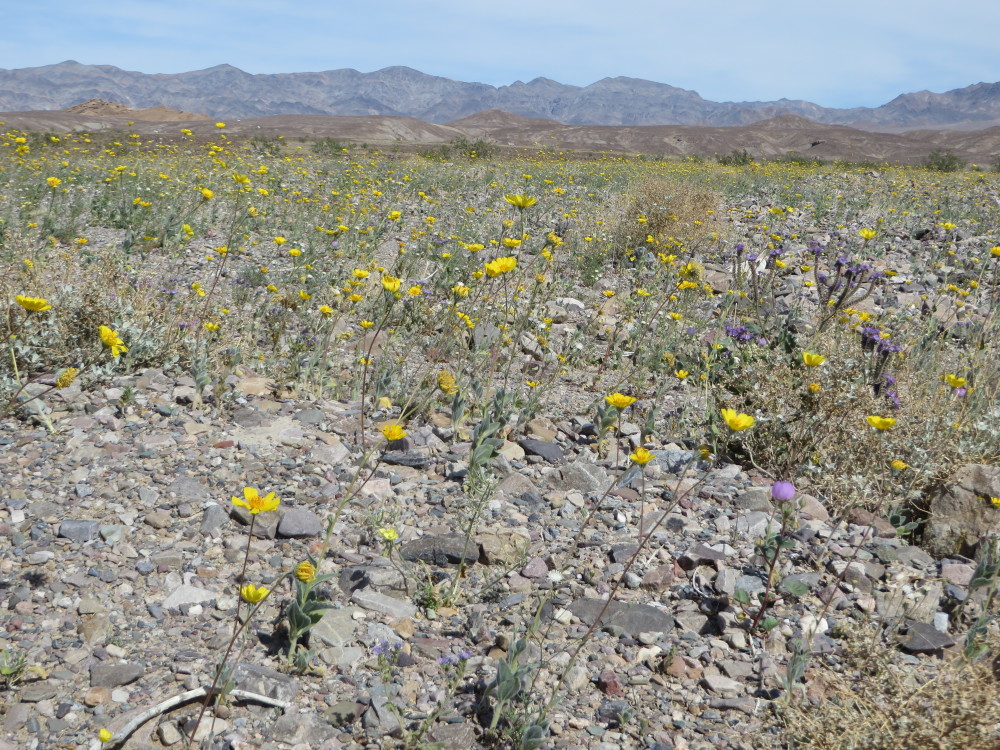
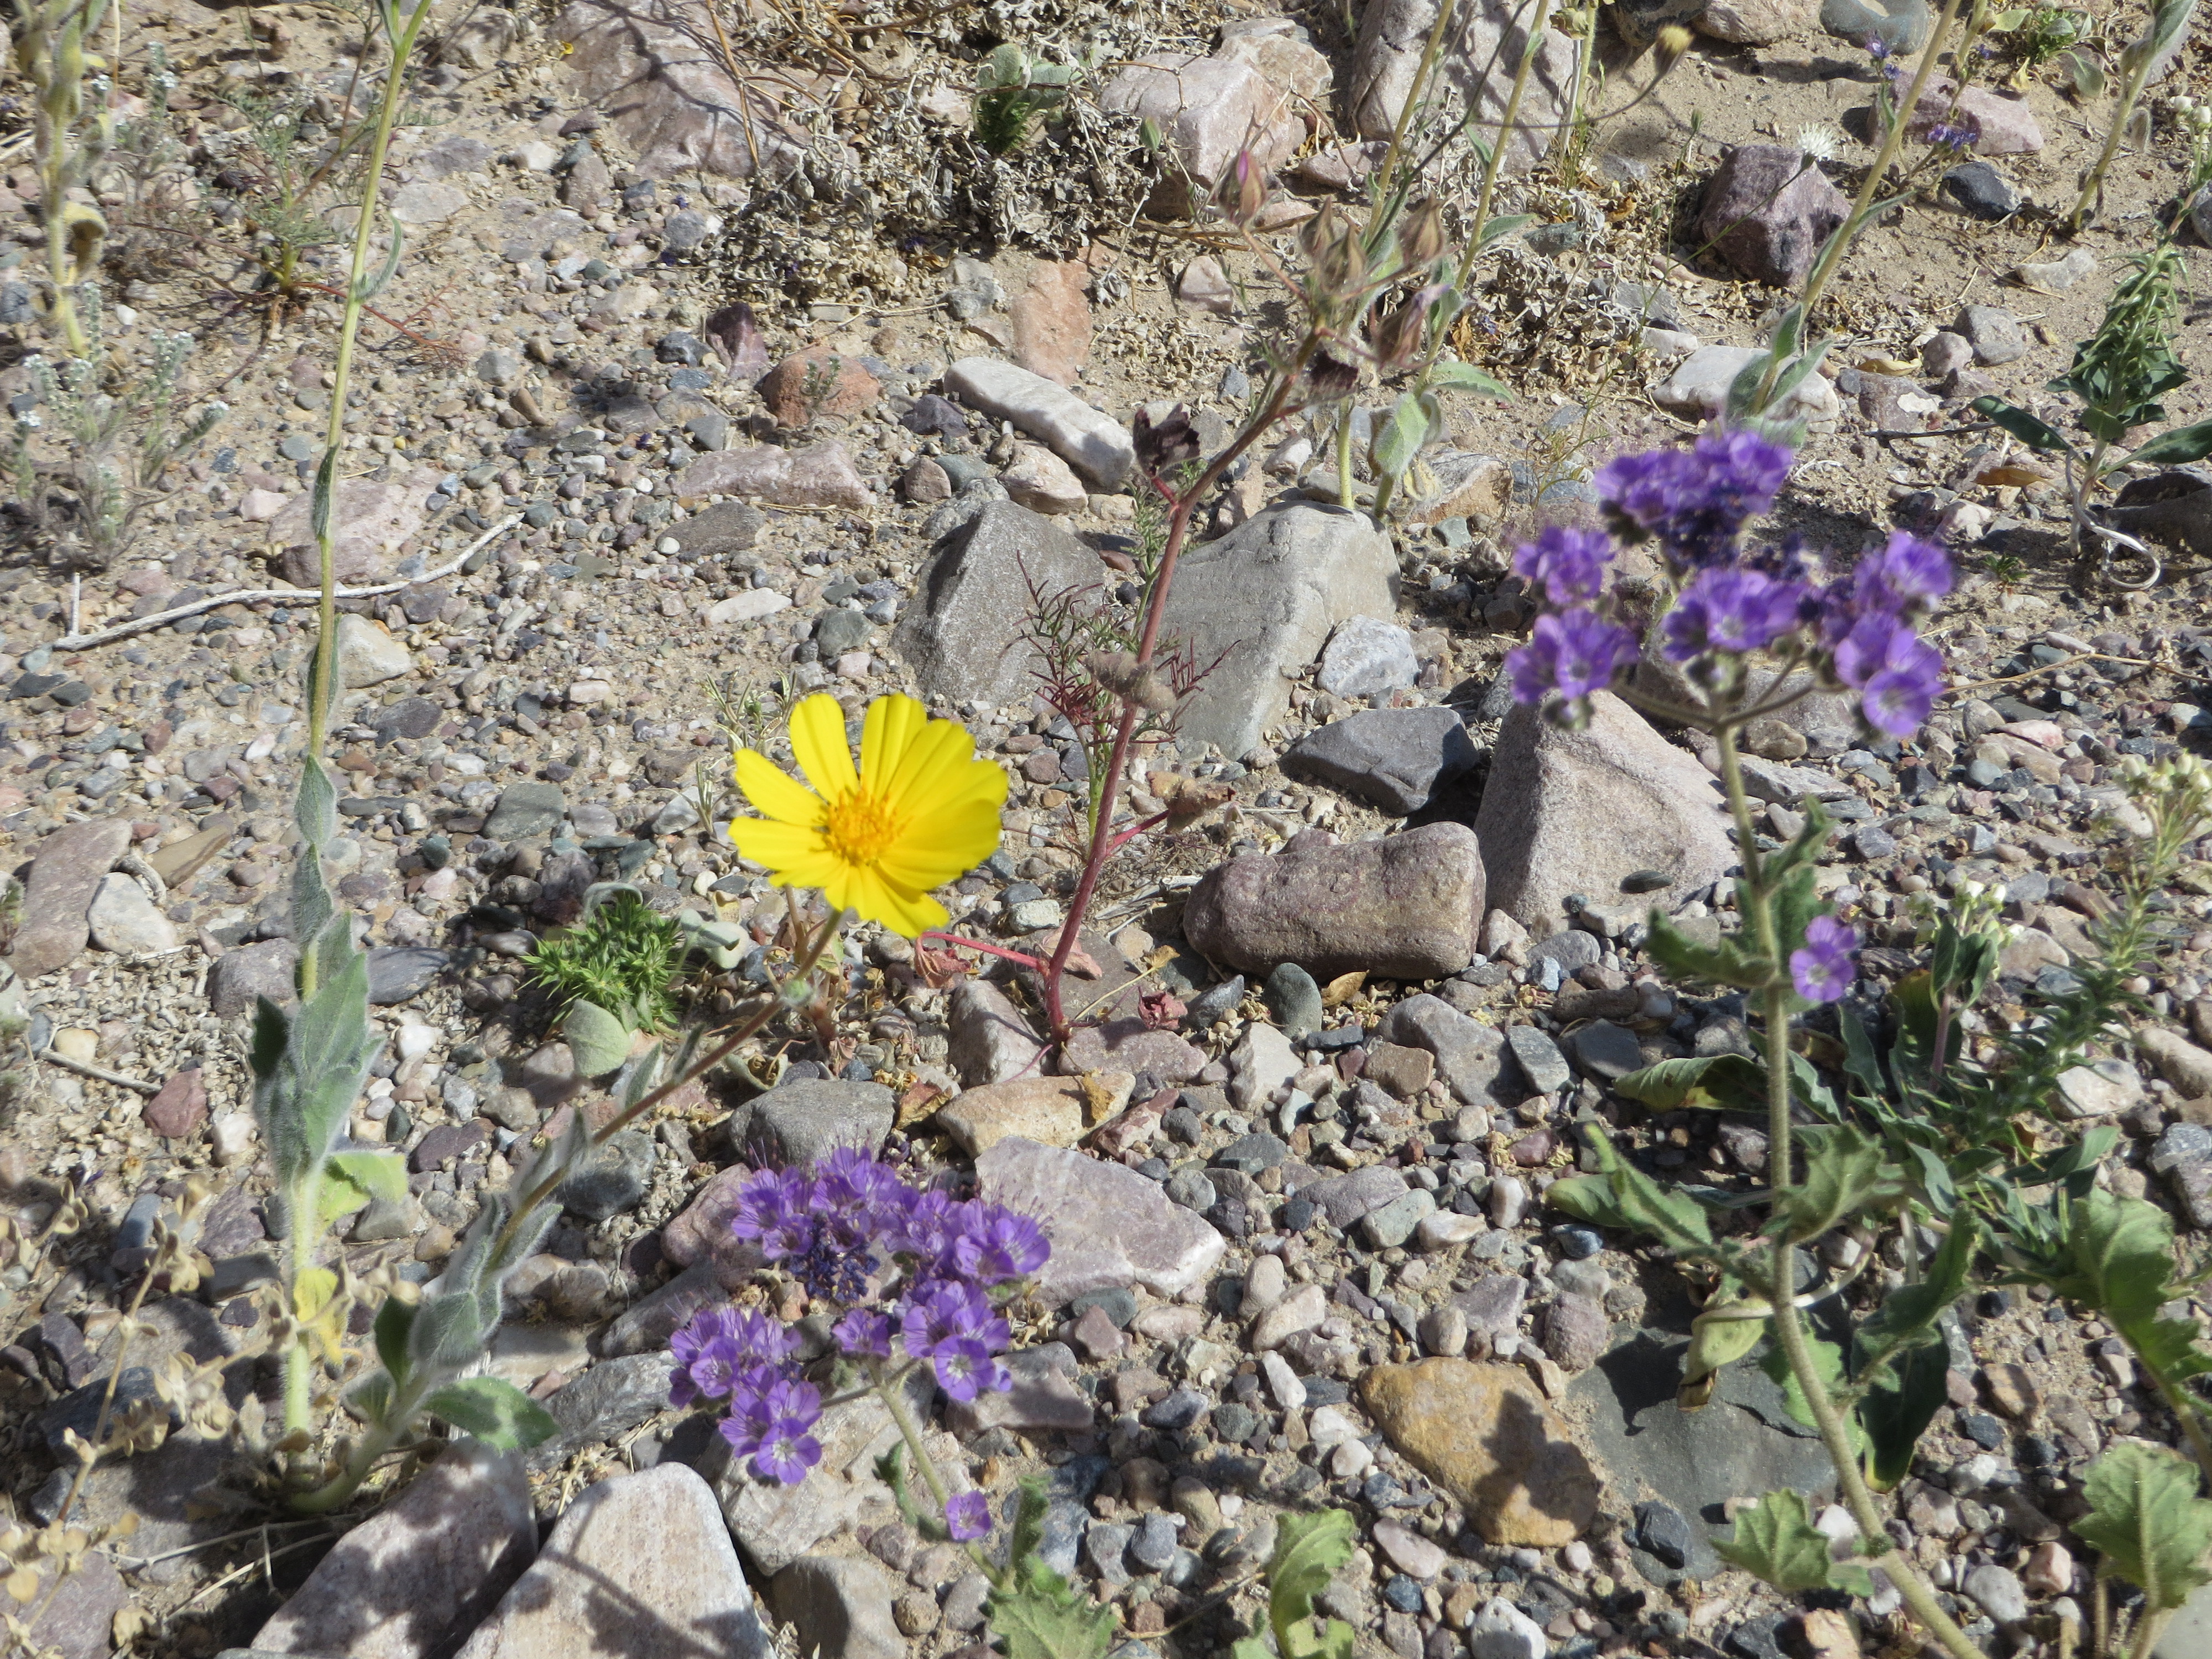
Death Valley National Park Spring WildflowersToday is the first day of spring! We came back from our trip to Death Valley, California yesterday and even here in Houston, where things are green year round, we could see the trees leafing out in that bright green and our azaleas are bursting into bloom! We were excited to see some spring wildflowers in Death Valley on our vacation there this past week. Lots of these little yellow flowers in certain areas, but when you get up close you see they are pretty spread out.

Death Valley National Park Wildflowers

Death Valley National Park Wildflowers

Death Valley National Park Wildflowers

We had never been to Death Valley before and although I resisted going with every fiber of my being, it turned out to be a spectacular place to visit (as long as I could go back to the car when I got too hot or tired from hiking with my husband and kids!!). I didn’t know what to expect (except lots of hiking!) but as all national parks have done, it delivered more than we could have imagined. I certainly wouldn’t want to be there if it was any hotter, but these temperatures were doable and comfortable enough in the mornings and evenings. The hotel we stayed at was very nice and convenient, the food not so great and very expensive, and we kept our water bottles and  the gas tank filled up so we wouldn’t have to worry.

At times we were BELOW sea level and at times 6000 ft above. The views and expanse were amazing, just amazing!!! The silence in many spots was golden. The mountains were rock, not covered by trees like you usually see, so the landscape was quite different. At times it looked like piles of dirt and rock like you see where mining has gone on or where construction is going on. But then you could see the beauty in all the different kinds of rock and their colors and the way they were laid down or uplifted. And it doesn’t hurt that I’m married to a man who knows all this stuff and which way water runs and how these mountains and landscapes were formed. We even visited a volcano that went off as recently as 300 years ago! The wind was so fierce I was afraid we would all blow in over the edge, but of course my family walked around the rim while I waited in the car! Some parts of the park looked like a moonscape. We also stopped to see some very tall sand dunes. There were people laying out in their swimsuits on the sand as if it were a beach – but there was no water anywhere around!

Death Valley

If you haven’t visited some of the national parks, you are really missing something. I find them to be almost a spiritual experience to see these amazing creations on our earth and to witness the forces of nature going on under our own feet or in front of our eyes, invisible but taking place over eons of time to form these magnificent landscapes that we can enjoy.

Even while I was away, I didn’t forget that Sale-A-Bration was going on! It only lasts until March 31 so don’t delay or you might forget and miss out on your free product with every $50 purchase!

Shop HERE for the best in stamping and papercrafting supplies AND to earn your FREE Sale-A-Bration gift!

River Oaks Garden Club Azalea Trail

Azalea Trail FlowersIf you live in the Houston area and the rain doesn’t get too bad today, you should consider a trip to the River Oaks Garden Club Azalea Trail today. This is one thing my husband and I have done every single year (except one) that we have lived here and we always enjoy it. We like to focus on the houses, because you often get to walk through the main floor in order to get to the garden out back. Sometimes you only get to see the yard and garden. We love to see beautiful homes, and of course the Garden Club ladies have them all spiffed up and beautiful flower (or vegetable – or ???) arrangements in every room (but unfortunately you can’t take pictures inside the houses!). I often love the smallest details the most, like the table arrangements or decorations. It’s a chance to see how the other half lives, as they say! Some of us can only dream!

Azalea Trail Home & Garden

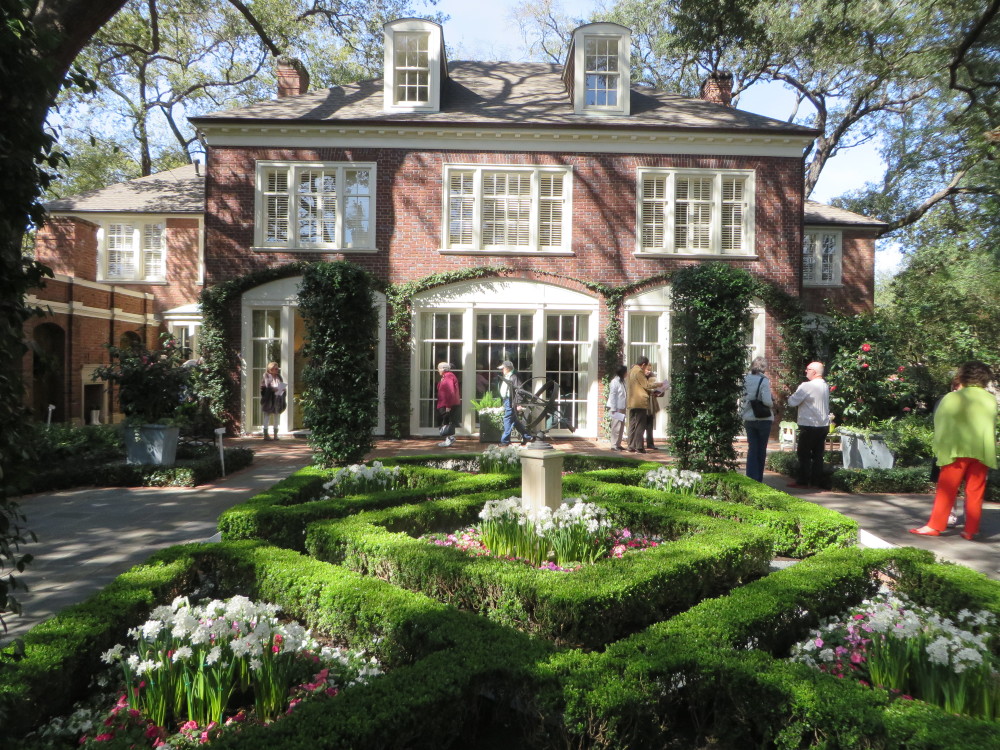
This is the BACK of a house. How would you like this to be your backyard?!

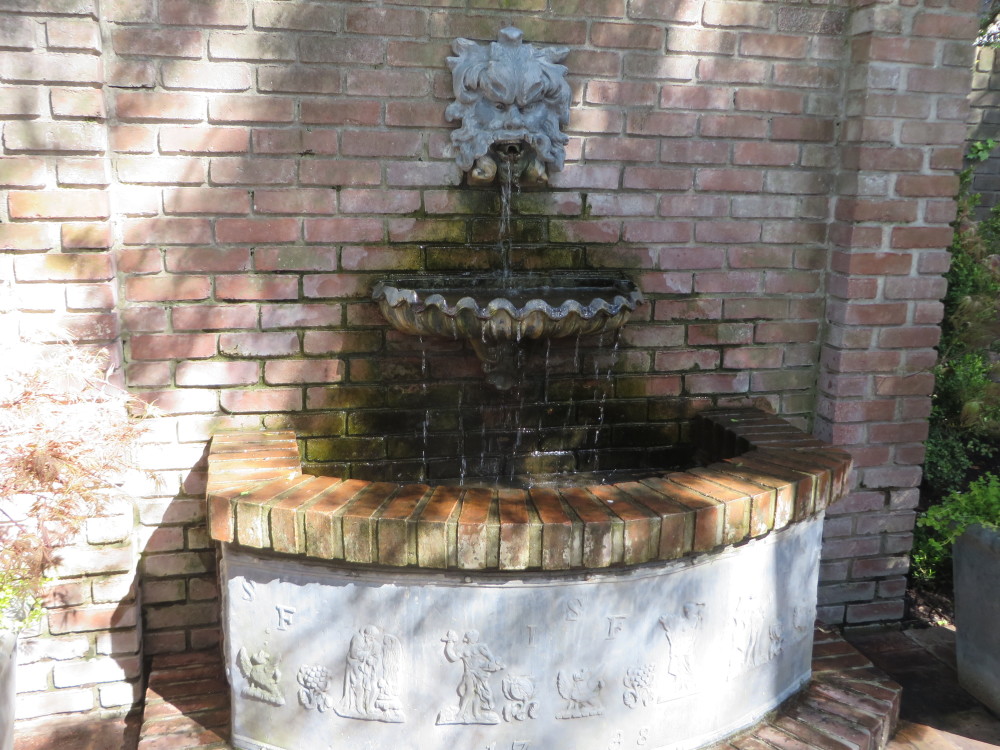
Azalea Trail Fountain

Just a little fountain for the back of the yard!

Azalea Trail Garden Party Table

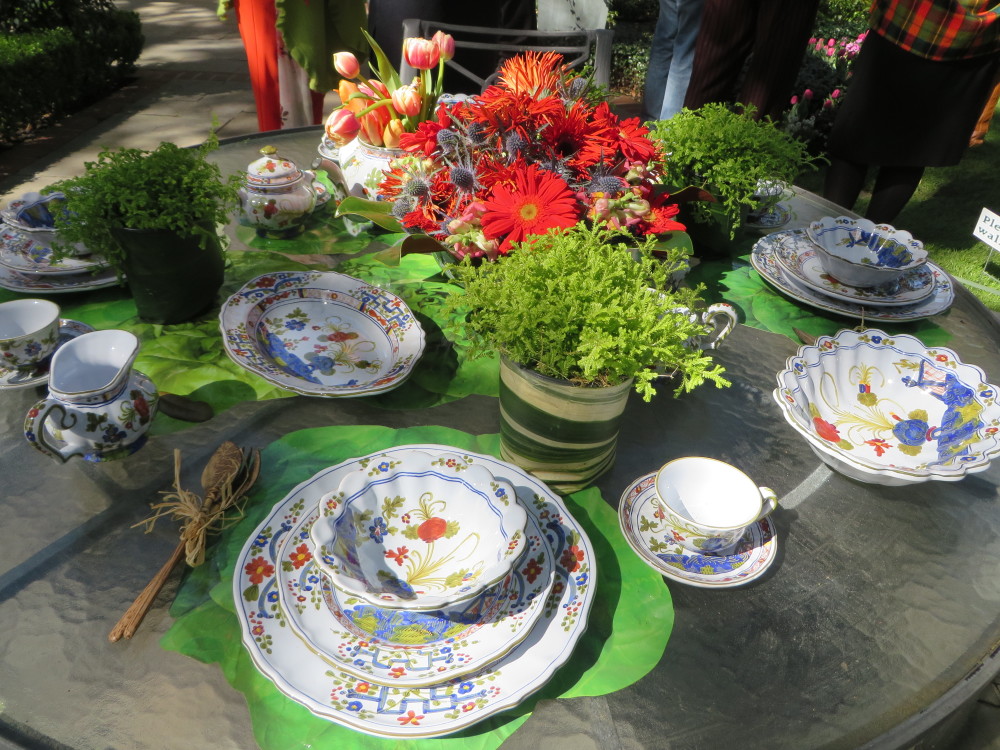
An outdoor table set for a lovely party.

Azalea Trail Garden Party Tulips

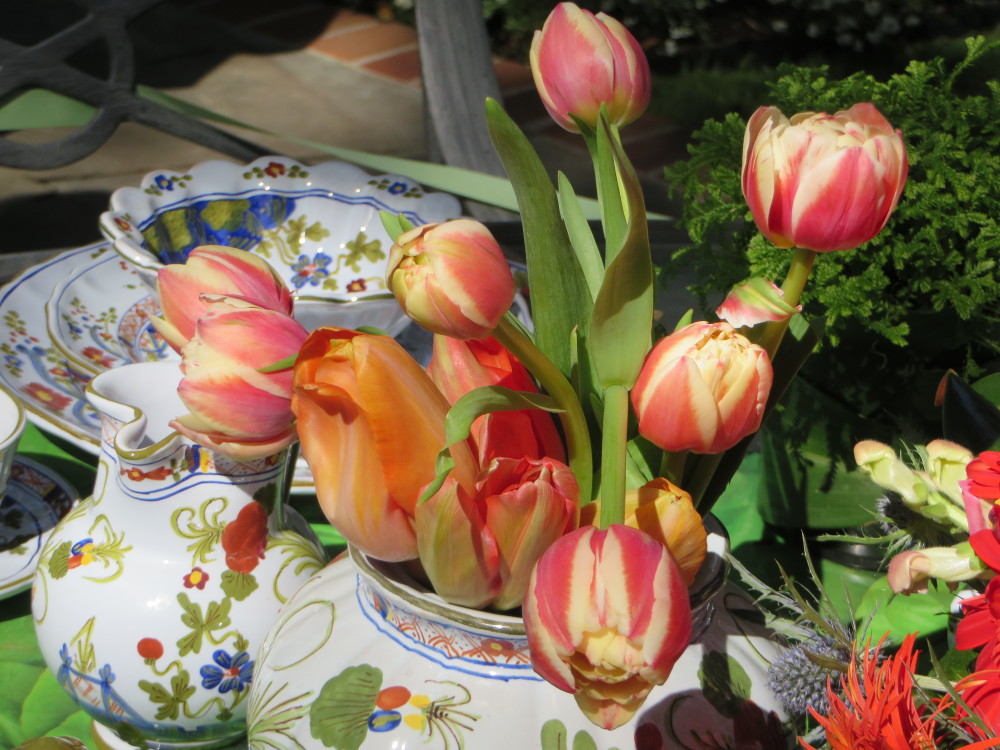
Close-up of the tulips on the table.

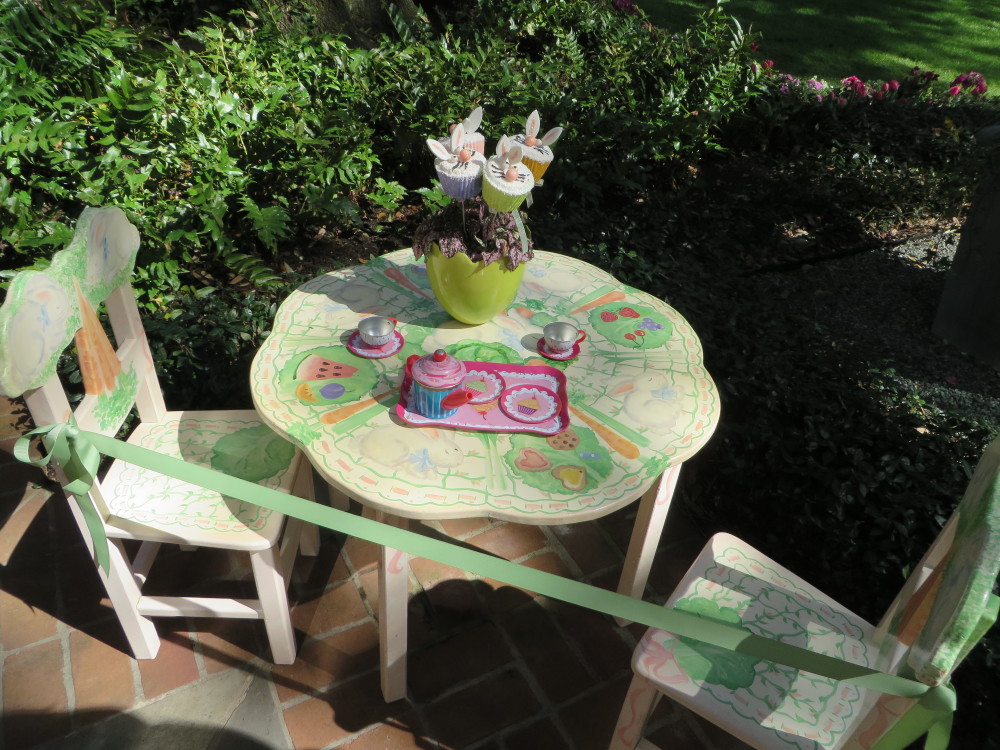
Azalea Trail Children's Table

A small children’s table set for a garden party!

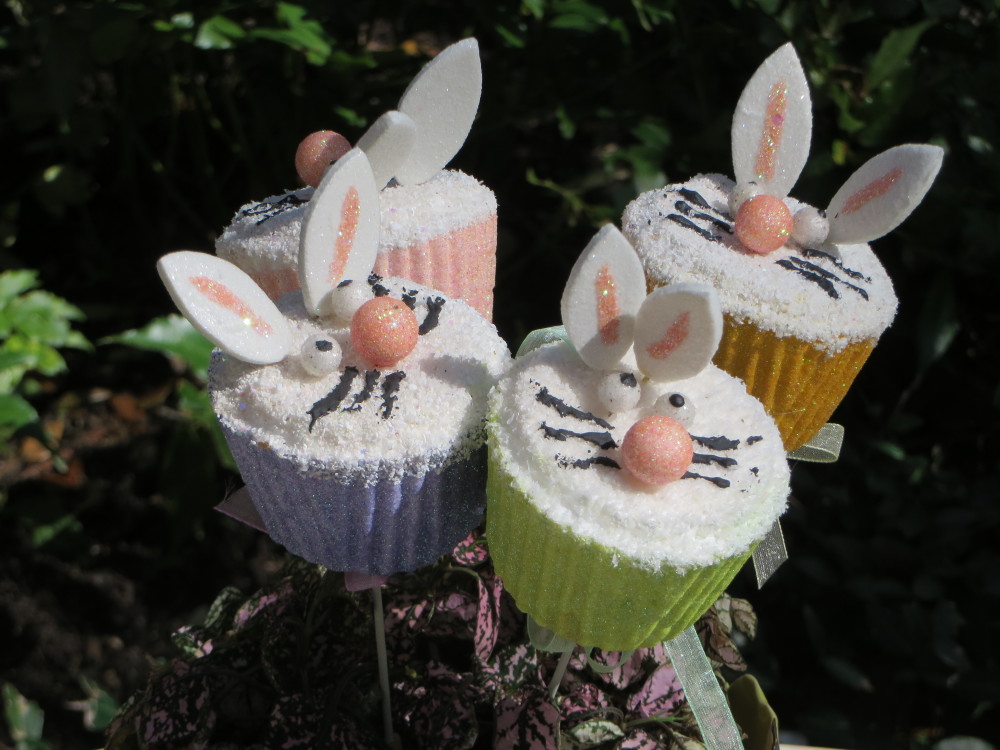
Azalea Trail Table Decorations

Cute table decorations!

Azalea Trail Tulip Tree

A Tulip tree in bloom!  Spring is coming!

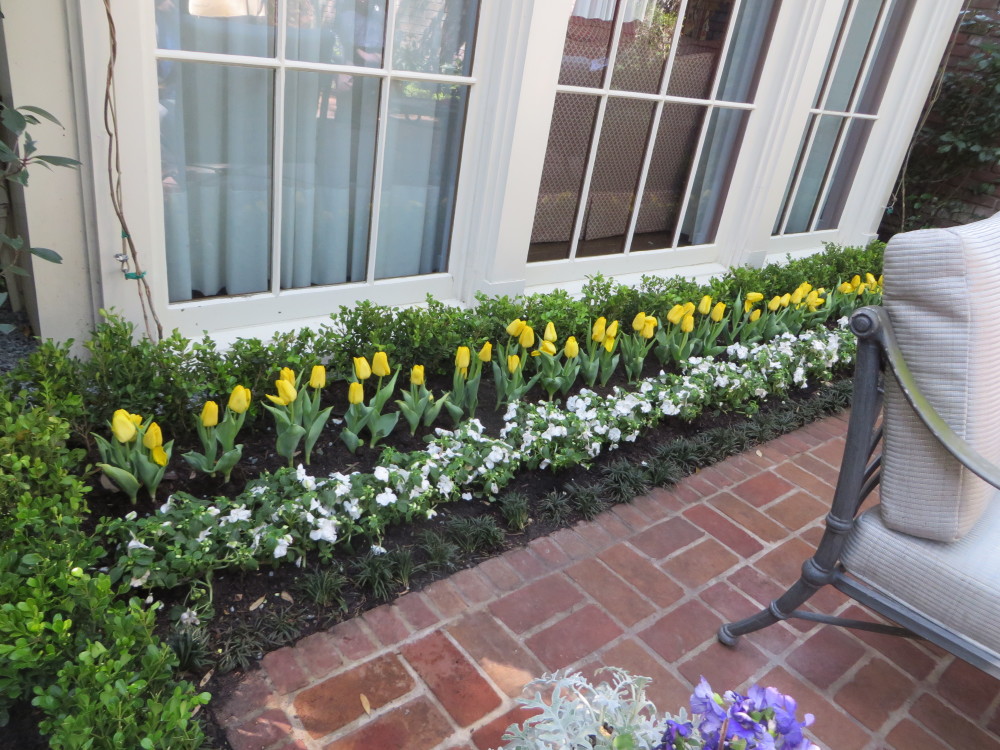
Azalea Trail Yellow Tulips

This is how I would like MY flowers to look!

Azalea Trail Fountain

Always my husband’s dream feature! This type of fountain reminds him of one from his childhood.

Azalea Trail Pool

Unusual pool in a newer house and grass unlike the usual in Houston WAY back in the far corner of the large yard.

Azalea Trail Home Backyard

Our house and backyard! (Just kidding!) Those plantings on the left are azaleas. About three flowers had bloomed! But oh my, when all those and the ones along the back of the yard burst into bloom, what a beautiful sight that will be! Azaleas aren’t always blooming on the Azalea Trail!

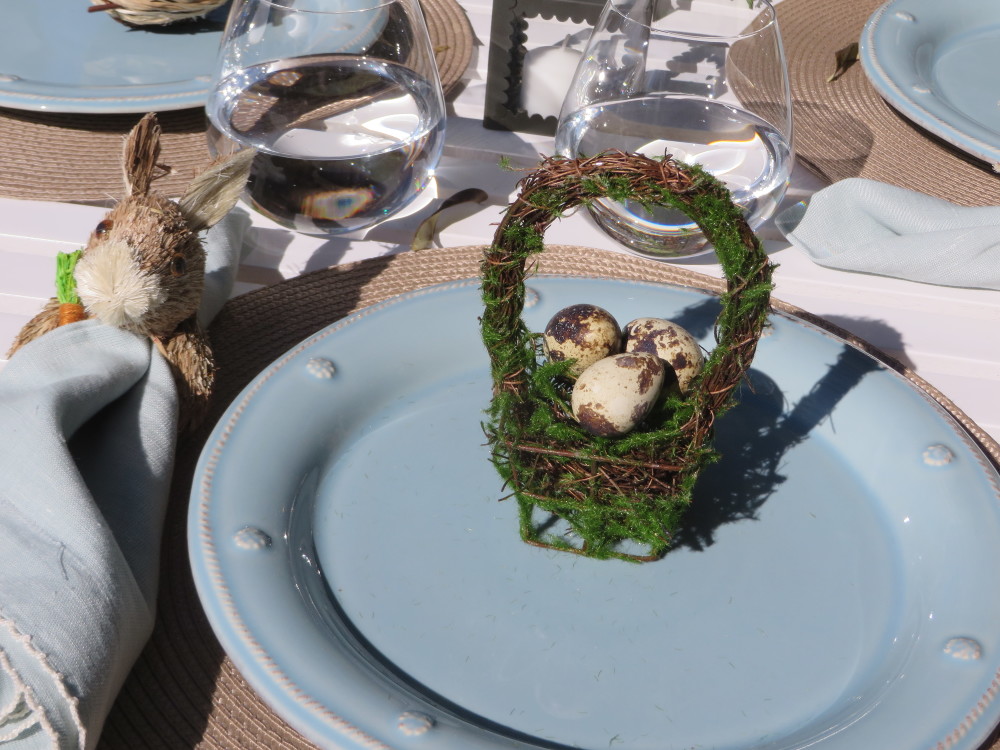
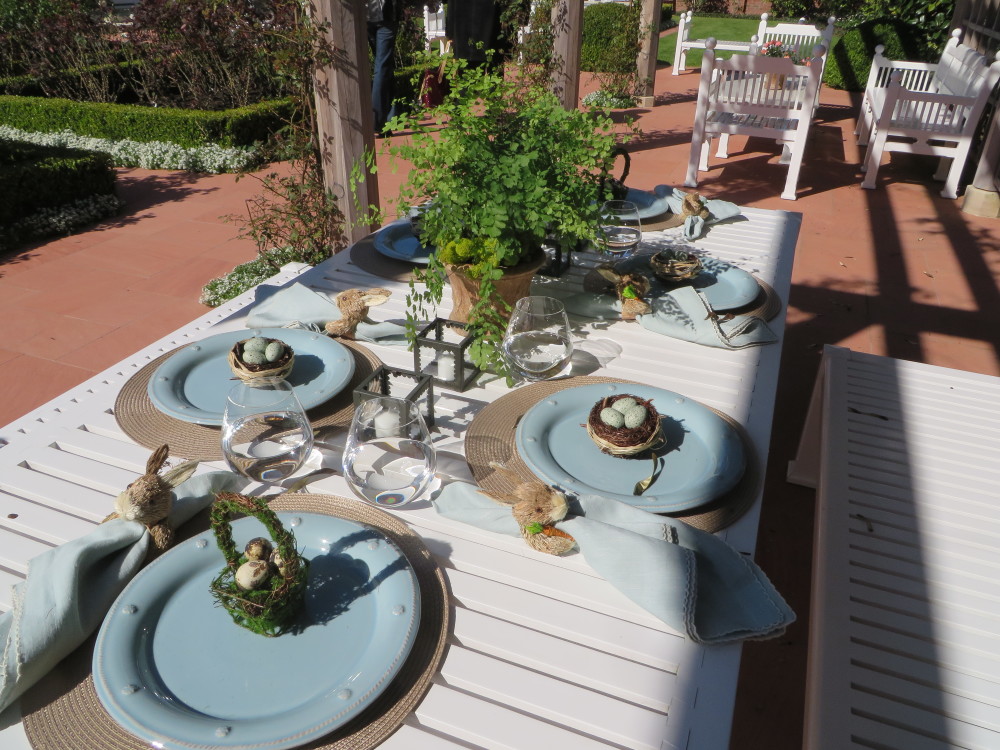
Azalea Trail Easter Table Decorations

Another fun table for an outdoor party!

Azalea Trail Easter Table Place Settings

Yes, my friends are invited over for an Easter garden party in my beautiful yard behind my beautiful mansion!

Alyssum and Purple Flowers

This house wasn’t even on the Trail but was across the street and had these beautiful flowers blooming in front! So many pretty houses!

Azalea Trail Home Overlooking Golf Course

We like to have many parties in our numerous outdoor spaces at our home overlooking a country club golf course!! I really did like all the “spaces” and levels at this home, not that there are too many days in Houston that you can sit outside and enjoy such a thing.

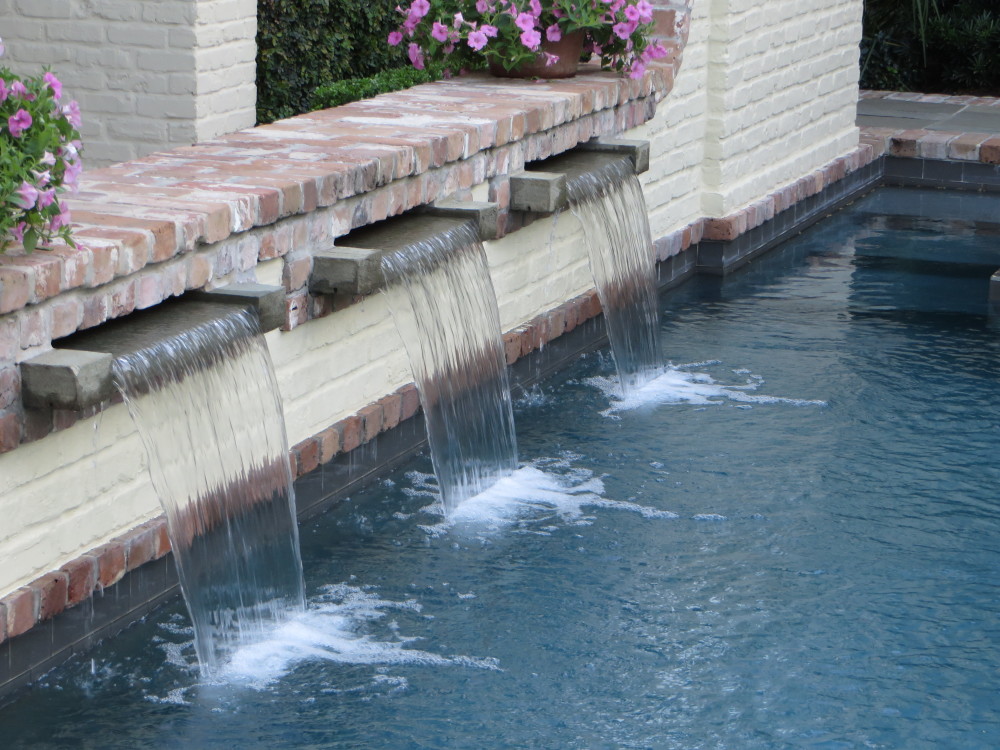
Azalea Trail Pool Fountain

Just a relaxing fountain in the pool!

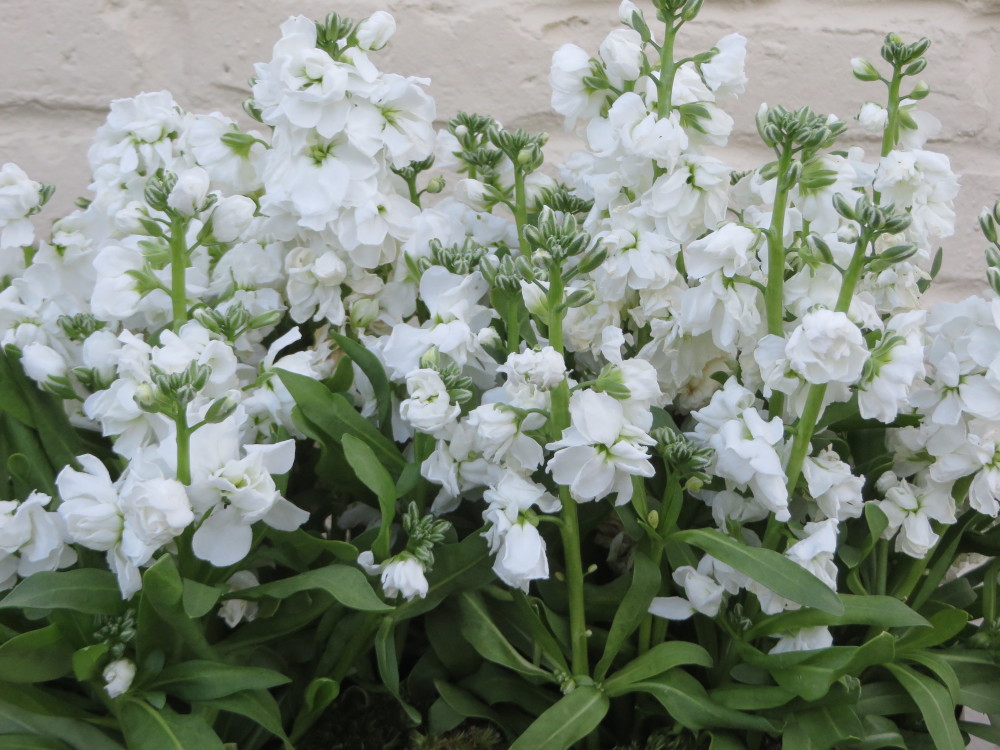
Azalea Trail Basket of Freesia

A cute basket of white freesia (we think).

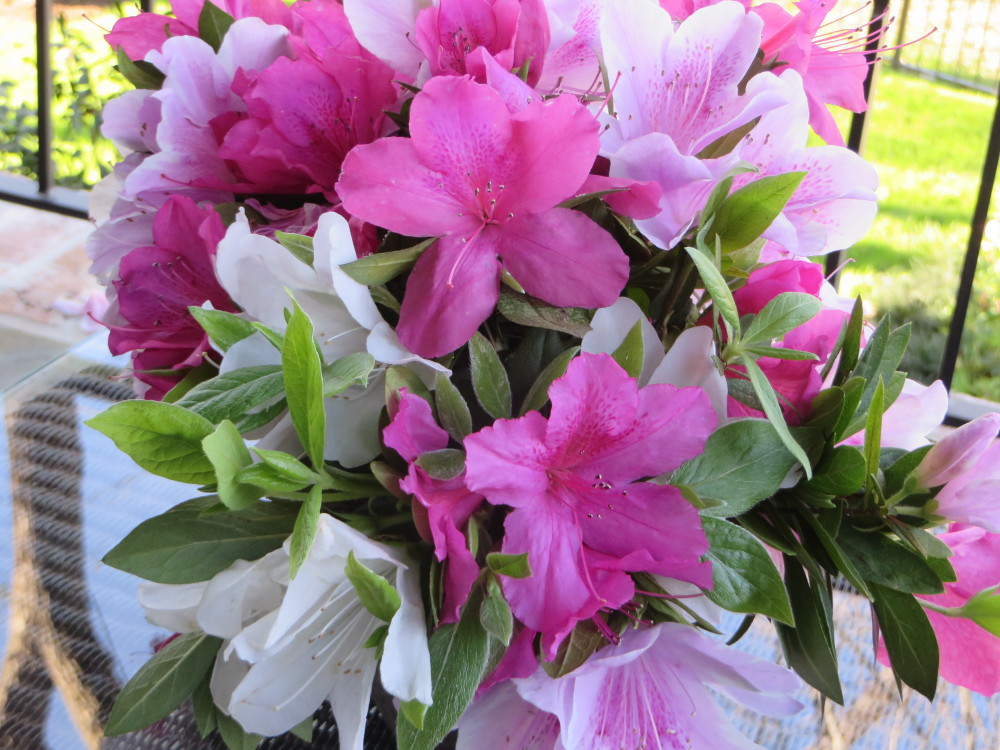
Azalea Trail Azalea Bouquet

And finally, some azaleas on the Azalea Trail (if only in a bouquet!).

If you want more information about the River Oaks Garden Club Azalea Trail, just click the link.

Finishing a Houston Marathon Squash Book Photo Album

Houston Marathon Squash Book Cover

Back in January 2004 (uh, yes, that would be almost 11 years ago! ) my son Eric ran in the Houston Marathon. I immediately made this “squash book” photo album as it was called, very popular back in my earlier days of Stampin’ Up! I made the album, put the photos in it, and I see now never did any journaling in it!  There’s not one date in it! Very bad! I also never got a cover made. But for 11 years, “any minute now” I was going to finish that album by making a cover (and presumably doing some journaling inside!). So it laid around here all these years, probably got dusted a few times, and finally landed who knows where. But this Christmas it resurfaced and by golly, I was going to decorate the cover! I didn’t know exactly what I would use, but immediately I spied a new Sale-A-Bration stamp set, coming January 6, called, appropriately, Best Day Ever. I thought that saying was so right for this project and stamped that on the top layer. As I’ve always said, stars are great for so many occasions, so I used the Many Merry Stars Stamp Setwhich is still available in the Stampin’ Up! Holiday Supplement on page 8 and is discounted on the Year-End Closeouts Clearance Rack (while supplies last!).  (If you missed out on the Many Merry Stars Simply Created Kit that was so popular, at this moment it is available too at a discount!  You can still make the kit and save the stars for next Christmas – or use them for another occasion with different greetings.)  I also used Glimmer Paper and the Star Framelits Dies to decorate the cover of the squash book.

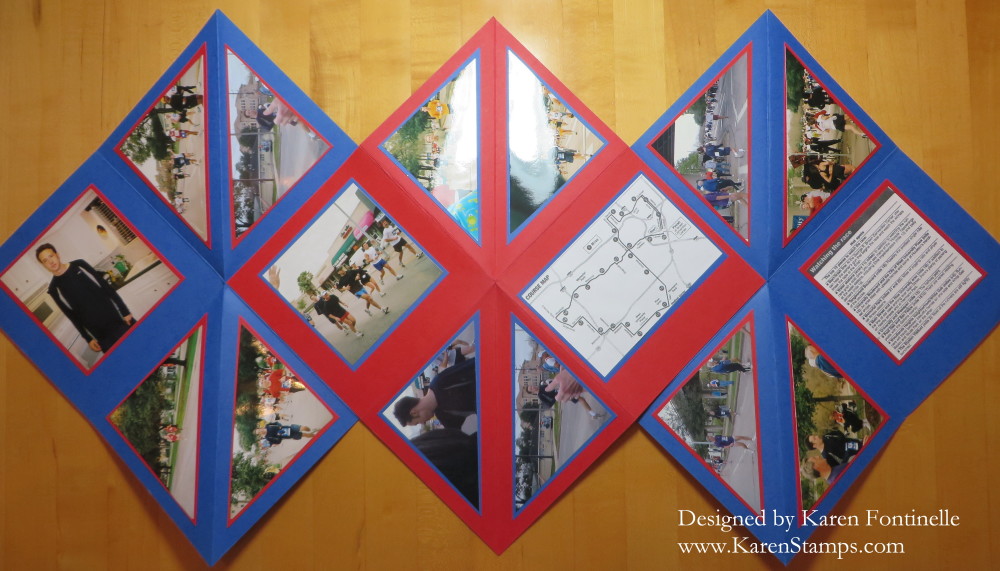
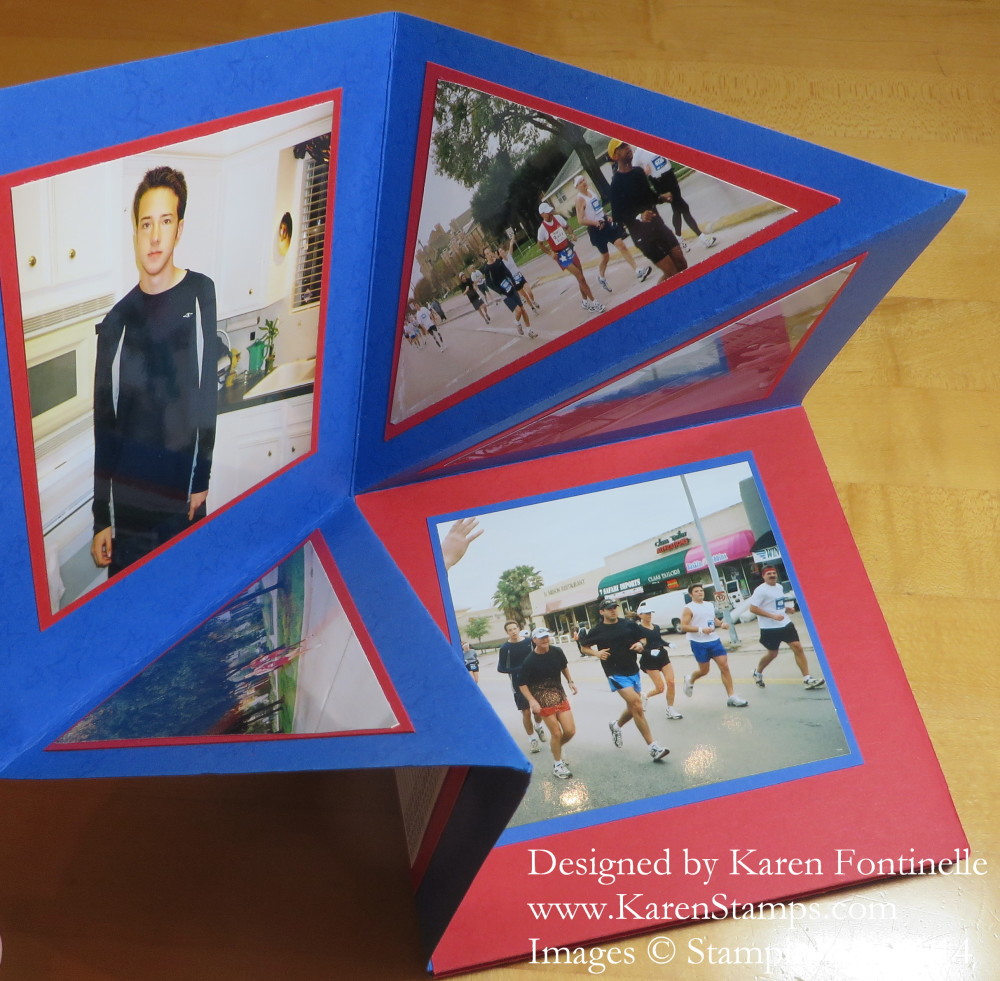
I don’t have any directions at my fingertips for making the squash book, but I did use 12 x 12 card stock. You can make it as long as you want.  I put photos on both sides. The trick is getting it to fold correctly, but once you do that, you’ve got it made.  I’m sure you can google “Squash book” and find some details if you need them. Here are some photos of the inside so you can get an idea of how it is assembled and folded. I see I should add some dates and journaling before I let him take it home!

Here are some photos of the inside so you can get an idea of how the squash book folds and looks.
Houston Marathon Squash Book Inside

Houston Marathon Squash Book Folding

Usually I finish all my stamping projects I start, which I consider one of the advantages of the rubber stamping craft, but this project just didn’t quite make it!  I’m glad I finally was able to finish this Houston Marathon Squash Book Photo Album for a Christmas gift, even if it was about eleven years overdue! Try your hand at making a small album for a special occasion!

Don’t forget, the Stampin’ Up! Holiday Catalog is coming to an end January 5th! Even though we are excited about the new Occasions Catalog and Sale-A-Bration event  coming up, don’t miss out on anything you wanted from the Holiday Catalog or Holiday Supplement before they end! Lots of items are on the Year-End Closeouts as well, so you might get a bargain!

Easy Snowman Christmas Tags to Make

Snowman Christmas Tags

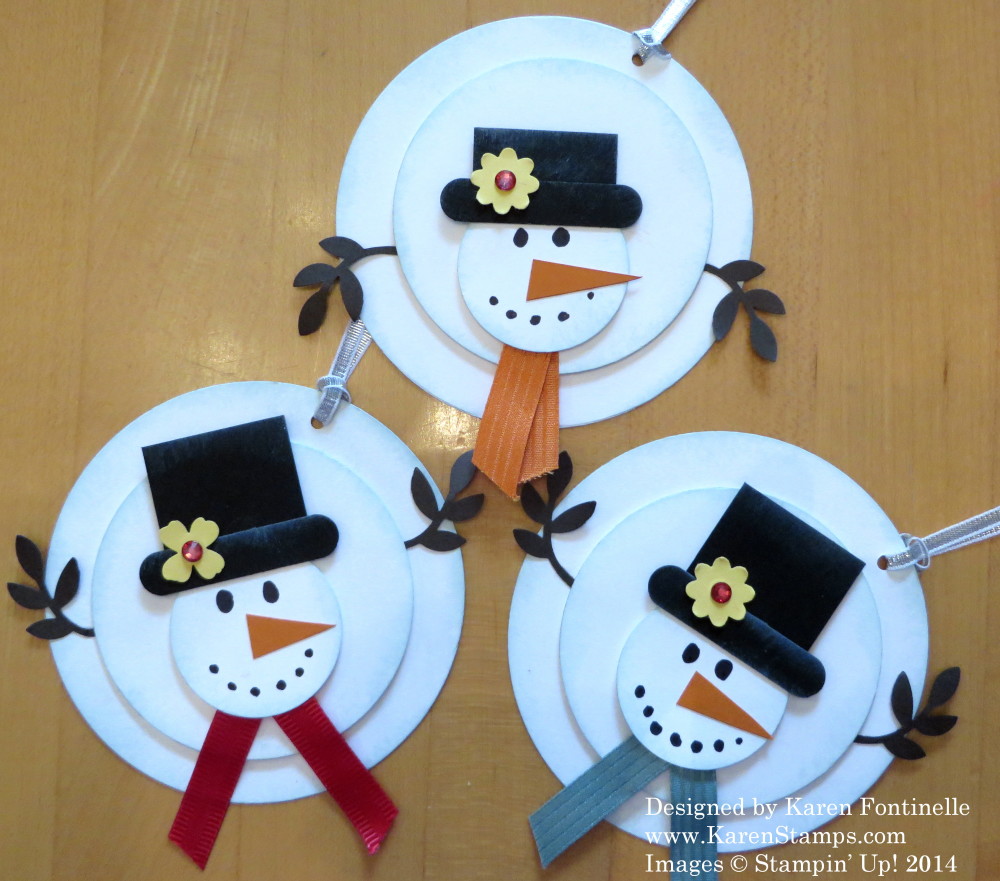
It feels like winter today, even in Houston,Texas!  I even wore my real winter jacket this morning to go out since the temperature was about 43 degrees.  That is pretty cold for Houston!  I know there may be blizzards in other parts of the country, but cold weather here just means “put on a jacket of some sort”. So in honor of the polar vortex or whatever cold blast most of the country is seeing right now, I thought some snowman project was in order! Here are some super simple snowmen that could be placed on a card or scrapbook page or in this case, I have made them into tags.

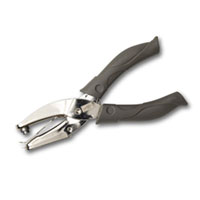
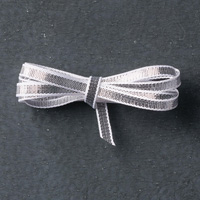
You can make them whatever size you like.  Either use the Circle Framelits as I did for three different sizes or use your circle punches. You just need any pleasing sizes of small, medium, and large circles.  Then cut a square for the hat (mine is 1 1/4″ square) and a piece from the Word Window Punch (who knew how handy THAT punch was going to be when it came out!). I sponged a little White Craft Ink on his hat and brim. The snowman pieces are also sponged with a little bit of Soft Sky Ink. We used to make the snowman arms with the old Snowflake Punch (don’t know if that was the name or not) but since that is not current, I just punched out the branches/leaves from the Bird Punch and those will be the snowman’s arms. Stick on a little piece of ribbon for his scarf, maybe a little flower on his hat from either the Itty Bitty Accents Punch Pack or the Boho Blossoms Punch. I just used a black marker to draw in his eyes and coal mouth, handcut the little snip of orange (any orange will do) for his carrot nose and popped all three pieces up with Stampin’ Dimensionals.  You could do him flat as well. The hole for the tag is punched with the 1/8″ Handheld Punch and tied with Silver 1/8″ Ribbon. Before adding the Rhinestone to the flower on his hat, I colored it with the Cherry Cobbler Blendabilities Marker, but you could leave it plain. Another project that you can do as fancy or plain as you like.

Here are some of the main supplies I used for this project.  Just click on any picture to see it in my Stampin’ Up! Online Store!

Owl Punch Anniversary Card

Owl Punch Anniversary Card

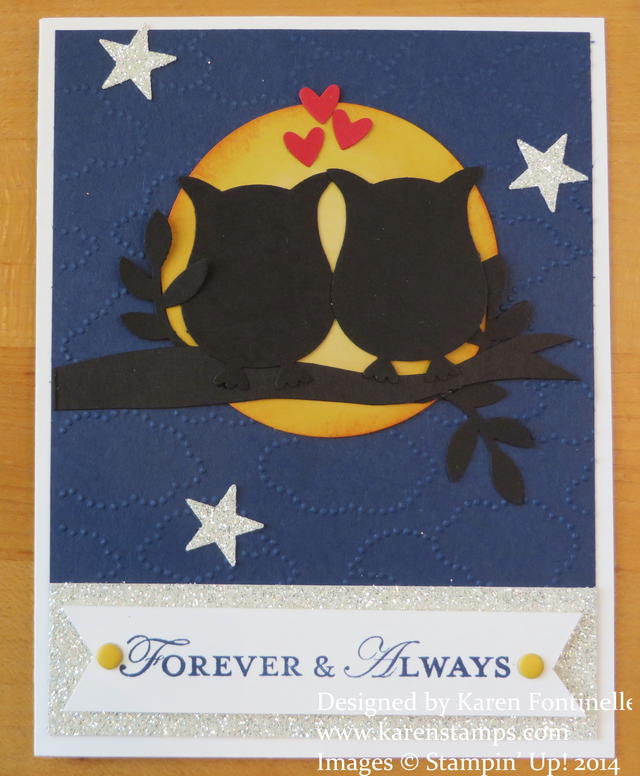
Yesterday was our wedding anniversary and this is the card I made for my husband using the Builder Owl PunchThe Owl Punch is so incredibly versatile you can’t believe it – unless you look online and see all the ideas people have come up with for dressing up the owl shape or cutting it differently to make something else. I found this basic idea online for my card, of the owls and the moon, and changed mine up a little bit. I figured the owl silhouette shapes were fine for my husband’s card because while he might appreciate it, he wasn’t going to ooh and aah over the card if I dressed up the owls!

Since we just had a “supermoon” here in Houston, I thought the owls and the moon were appropriate.  I punched a 2 1/2″ circle out of Hello Honey, our new In Color card stock, and then shaded it a bit by sponging on some Tangerine Tango ink and White Craft ink. It’s barely noticeable but sometimes it is the tiny little things you do that add a lot.

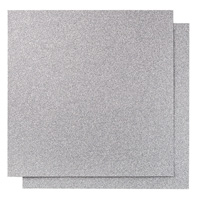
The little branches are punched with the Builder Bird Punch but I hand cut the tree branch out of Basic Black scrap. For the Night of Navy background, I embossed it with the Cloud embossing folder (retired). Since it didn’t emboss all the way to the bottom of the layer, I used a wider strip of the Silver Glimmer Paper to cover and put my greeting from Loving Thoughts (retired) on top of that with a couple Candy Dots. Couldn’t resist playing with the Glimmer Paper some more so I punched out a few stars with the star punch in the Itty Bitty Accents Punch Pack for the nighttime sky! The little Real Red hearts are punched with the Owl Punch.

Today the Stampin’ Up! Convention gets underway! Actually, this year they are officially calling it “Inspire. Create. Share. 2014” They are livestreaming a little bit of Convention each day for those of us sad demos at home!  I can’t wait and have an alarm set so I don’t forget! I’ll keep you posted on whatever news I hear out of Convention. Check back here, or better yet, follow me on my Facebook page at www.facebook.com/stampingwithkaren by clicking the “Like” button. You can also follow me on Twitter  (which I use now and then!) at www.twitter.com/karenstamps

You can bet that Salt Palace lobby is filled with demos already in line for General Session to get a front row seat and tons of swapping of card fronts going on! They swap while waiting in line, while walking by, while sitting down, everywhere, any time!  It’s so much fun and makes for such a friendly experience!

For great papercrafting supplies, please visit my Stampin’ Up! Online Store. Check the Weekly Deals and the Buy 3 DSP Get 1 Free Special Offer.

Spring Is Coming! Houston Azalea Trail Cute Things!

River Oaks Azalea Trail 2014

Last weekend was the annual River Oaks Garden Center Azalea Trail 2014. We always like to go, especially to see the beautiful homes in that area of town. Usually you get to walk through a home and then outdoors to see the yard and gardens. Photographs are not allowed inside, unfortunately (I saw lots of things inside I would have loved to have photos of!) but they are allowed outside.

Here are some of the “cute” things I saw on the Azalea Trail! Just enjoy (I know you will!) or perhaps they will inspire some creative ideas, who knows?! Paper flowers are so IN these days, so no reason we couldn’t duplicate some of these ideas! But these are real, fresh flowers!

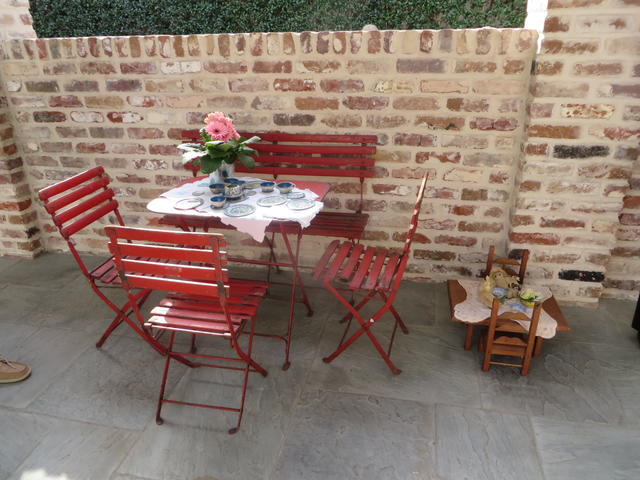
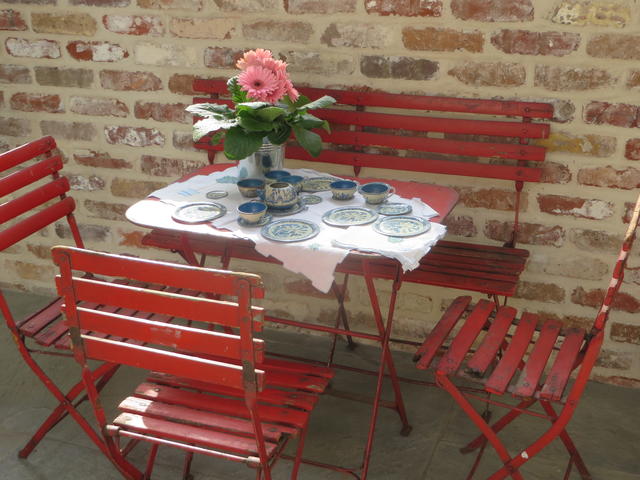
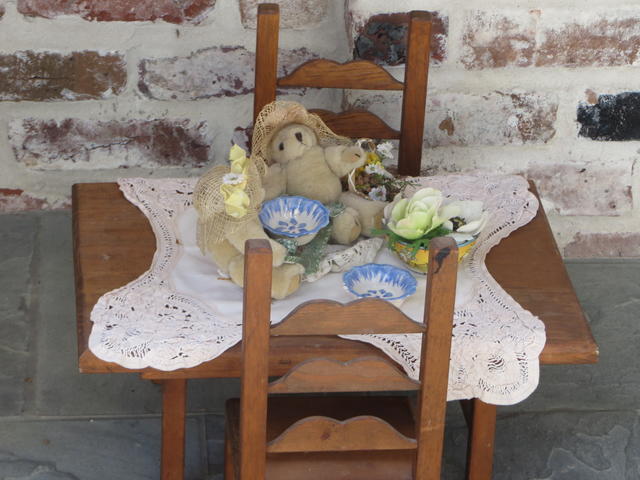
Loved these tables and chairs out on a patio!

River Oaks Azalea Trail 2014

River Oaks Azalea Trail 2014

River Oaks Azalea Trail 2014

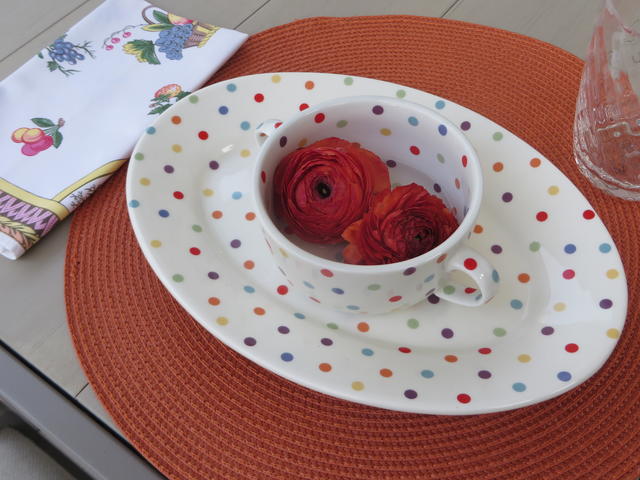
Cute polka dot dishes at a place setting on the patio! Make a card or bag with polka dots!

Polka Dot Dishes Azalea Trail

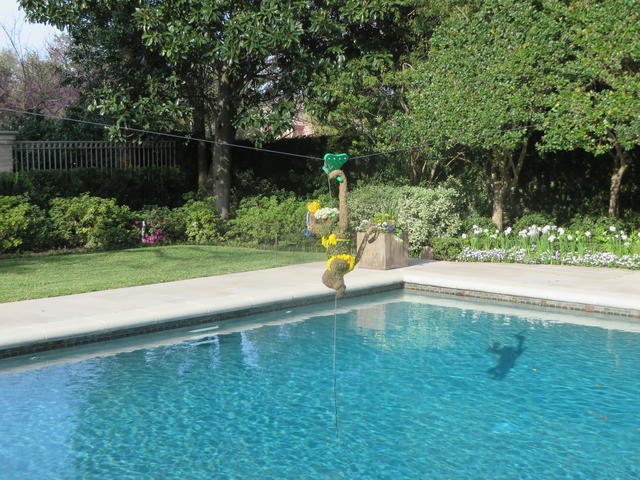
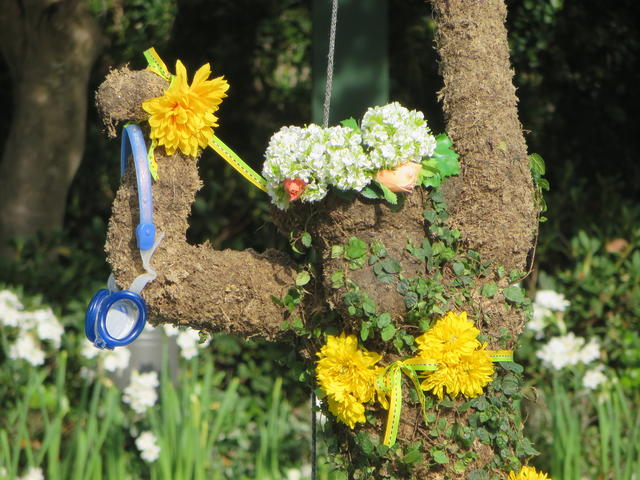
 Cute topiary on a zip line over the pool!

River Oaks Azalea Trail Zip Line Topiary

River Oaks Azalea Trail Zip Line Topiary

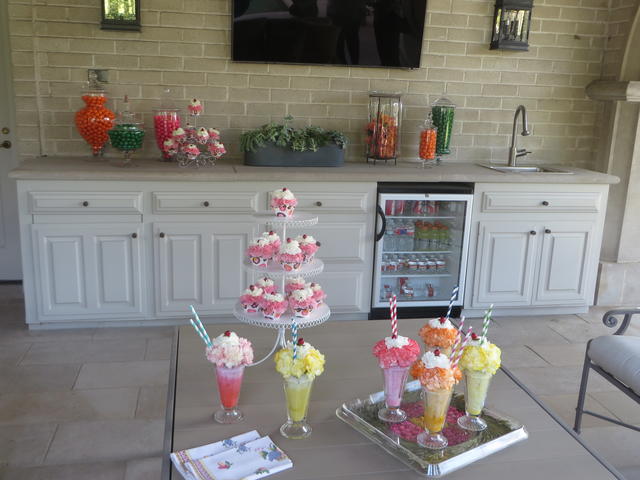
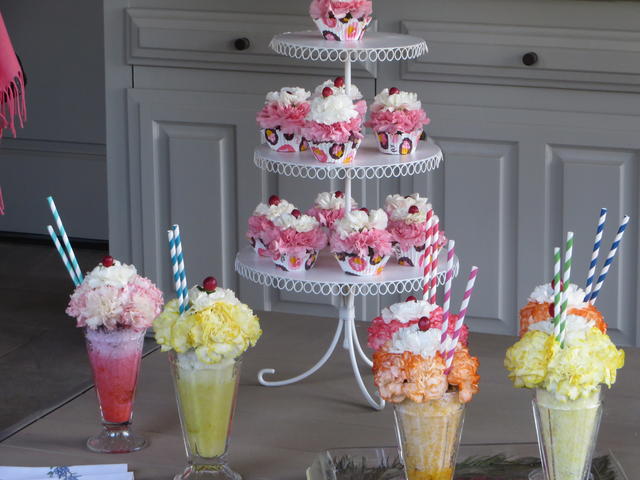
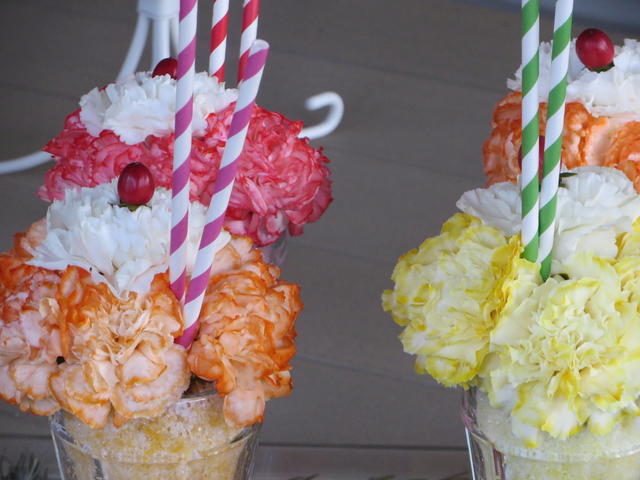
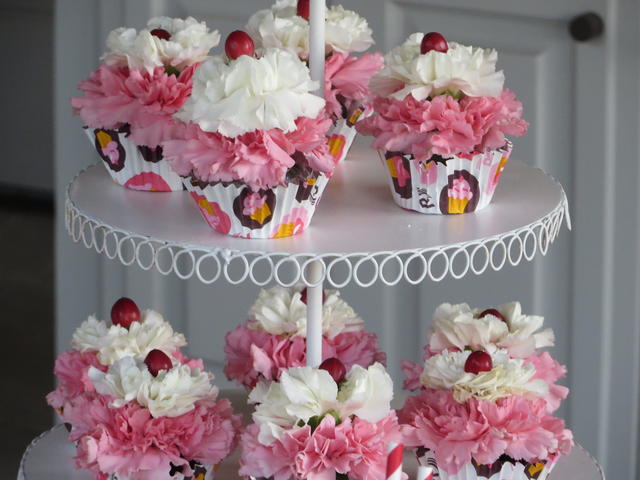
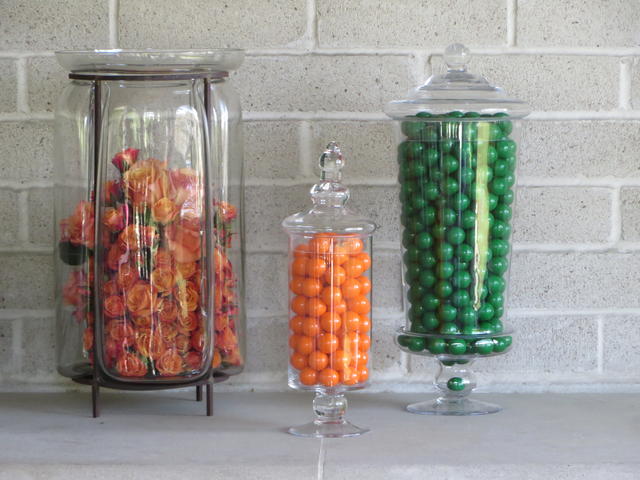
My favorite! Glass jars full of gumballs or candy, cupcakes made out of flowers, and ice cream sodas made from flowers! All out on a patio looking like it is ready for a party!

Azalea Trail Patio Flower Desserts

Azalea Trail Patio Flower Desserts

Close-Up of Flower Sodas

Flower Cupcakes on Azalea Trail

Azalea Trail Candy JarsI hope you enjoyed these pretty photos and that they give you some kind of inspiration. For example, you could use the photo right above to make a card using orange and green – or stamp orange and green polka dots – or punch out orange and green circles – whatever it is that strikes you! Have some fun today looking for inspiration and think ahead to spring!

A Punch Art Cowboy for Rodeo Time in Houston!

Houston Rodeo Punch Art Cowboy

It’s time for the Houston Livestock Show and Rodeo and here’s my cute little punch art cowboy ready to rodeo! The rodeo is a huge event in Houston, Texas that starts with World Championship Bar-B-Que Contests (if only I could be going around to all those places sampling ribs and brisket!!!) and has a rodeo parade, carnival, livestock show, auctions, shopping, more food than you can imagine and of course the actual rodeo performances and concerts by favorite artists afterwards. School kids go to see the farm animals and maybe get to see a baby chick hatched or a cow milked. There are even real trail rides that start from afar and travel into Houston, camping out overnight in Memorial Park and then participating in the parade downtown.

Here is my card I made in honor of the start of rodeo time in Houston! I got the idea for the punch art cowboy from several versions I saw online. Can you figure out the cowboy hat?  It’s an oval punch, with one end cut off and turned vertically and two “wings” (or are they leaves?) from the Bird Punch with a little red band underneath. The shirt and arms are just rectangles, and I used the Signo Gel Pen to draw some lines on the shirt free-handed.

The word bubble is from the stamp set Just Sayin’ and cut out with the Word Bubbles Framelits. You can also purchase the Bundle with the framelits and the clear- or wood-mount stamp sets and save 15%!  Now since I hadn’t paid attention to the Word Bubbles, I put my cowboy on the wrong side of the card! So I had to turn the word bubble over after I cut it out with the framelit, stamp the words inside without the outer border and then draw in the outline by hand. Then the word bubble was pointing toward the cowboy! Too bad they didn’t have some rodeo words to use! Of course an alternative would be to get the Word Bubble and Just Sayin’ Downloads for My Digital Studio and print out the exact words I wanted.

If you live in here, I hope you get to enjoy the Houston Livestock Show and Rodeo in one form or another! The real benefit of the rodeo is the scholarships it gives to many kids for their education.

Check out my Stampin’ Up! Online Store today! Don’t forget about Sale-A-Bration:  just purchase $50 in current merchandise and earn a FREE product from the Sale-A-Bration Brochure!

Also:  Weekly Deals for Feb. 25

Stampin' Up! Weekly Deal Feb 25 2014

Have fun stamping with Stampin’ Up!