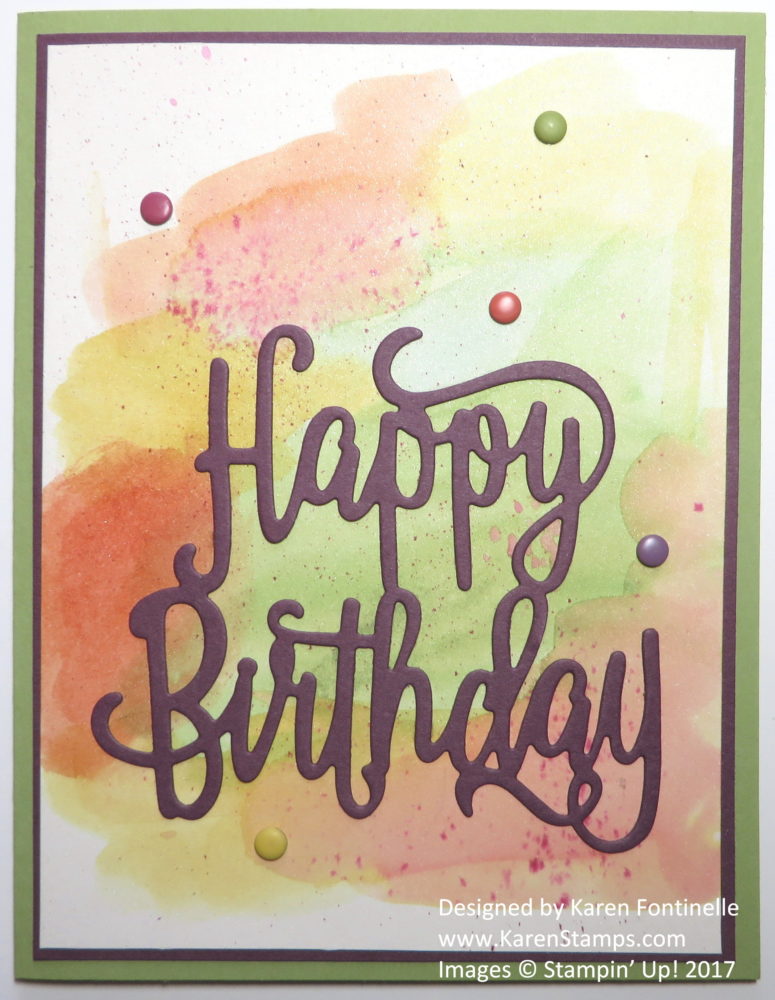
Online I saw several examples of a watercolored background and then the Happy Birthday Thinlits Die adhered over the watercoloring, and I really liked that look. It just takes some random watercoloring to make this so easy watercolored birthday card. Just imagine all the different backgrounds you could make like this in so many colors!
The card base is Pear Pizzazz, layered with Fresh Fig, one of the new In Colors. The Happy Birthday Thinlits Die is also made with Fresh Fig. You have two choices for the top layer of the card. Whisper White is not very good for watercoloring although you can do a very minimal amount. A better choice is the Shimmery White Cardstock (I love that paper because it has the most subtle shimmer under the light!). This is what I used on this card. The best choice for watercoloring is, amazingly, Watercolor Paper!
To make the watercolored background, I just picked up various colors of ink in the lids of the ink pads with my Aqua Painter, one of my favorite tools, and randomly watercolored some blobs of color on the Shimmery White. If you squeeze the ink pad top to bottom before you open it, you likely will cause a puddle of ink to appear in the lid of the ink pad. If you do not, then put a tiny drop or two of reinker in that lid. You can also just touch the Aqua Painter to the actual ink pad to pick up ink but try to just do this on the corners of the ink pad so as not to get a lot of water in the ink pad. Also, if the puddle you make in the lid is real watery when you are finished, just take a paper towel and wipe it out before closing the ink pad so as not to get water in the ink pad. Depending on dry your ink pad seems to be, you might consider reinking it while you have it out!
The greeting on the card is just the Happy Birthday Thinlit Die so that serves as both an embellishment on the card and the greeting! I love this die! Here is another card I made recently with the Happy Birthday die.
I don’t own them yet, but I think Stampin’ Up! carried them in the past, the new Multipurpose Adhesive Sheets. You can adhere a piece of the adhesive sheet to the paper you are die-cutting, then the die cut will automatically have adhesive on the back. No putting tiny dots of glue on the back of a finely die-cut image. So that is a product to consider if you are having trouble with adhering these intricate die cuts.
For some extra embellishment, I used a few of the retired Candy Dots scattered around, but now we have new versions you can purchase in the new catalog on pages 196-197.
I highly recommend the Happy Birthday Thinlit Die because it is bold enough to adhere over a lot of different backgrounds yet very delicate and pretty. Try the watercoloring technique for a background for your card as a different way of making an easy watercolored birthday card.
Shop Stampin’ Up! for all your cardmaking supplies!

