Category Archives: Kit

Stampin’ Up! All Wrapped Up Bundle Livestream

If you missed it last night, you missed a fun new event from Stampin’ Up! It was free and for anyone to watch! Donna Griffith, a Stampin’ Up! home office employee, presented LOTS of projects using the All Wrapped Up Bundle in the Sale-A-Bration Brochure! It was a live stream, shown at various times for various time zones, even in French and Spanish.  Donna always has great projects to show us at Stampin’ Up! Convention, Leadership, and other events! Not only was there the live stream of Donna explaining her projects but also a lively chat box going on the side! I’m sure that all of us who watched hope they will do this again!

Here is the third live stream of the evening for North America.

And to see photos of just the projects, click HERE for a .zip file.

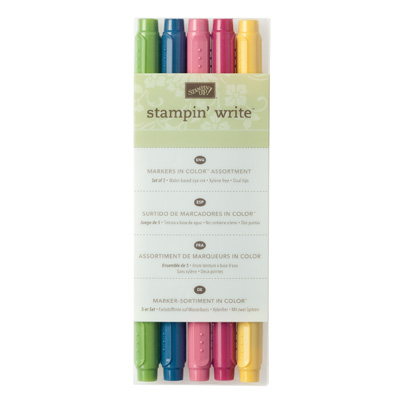
Join Paper Pumpkin for Papercrafting Fun and Free In Color Markers

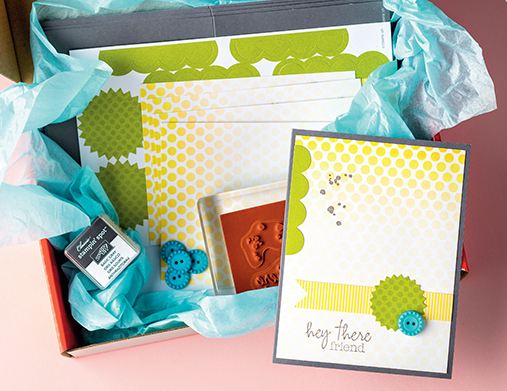
Paper Pumpkin Papercrafting Kit Boxes

If you don’t have a stack of Paper Pumpkin boxes, then you’ve been missing out on all the fun every month! Every month a new kit for a quick and easy papercrafting project! Usually you have leftover materials you can use on another project. Follow the Stampin’ Up! directions or reinvent the project to suit yourself.

Paper Pumpkin is for you if:

  • You like to do a papercrafting project now and then but can’t design one yourself.
  • You like to make things but you don’t really have that many supplies.
  • You don’t have much time for yourself to devote to crafting but if you could make a quick, cute project in about 30 minutes, you would enjoy it.
  • Sometimes you would like to do something fun with a friend or loved one and if you could just pull out two projects all ready to make, you would be happy.
  • You get excited when you get a package in the mail!
  • You’ve got tons of supplies, but if someone is going to put a project in a box all ready to go for you, it would be great!

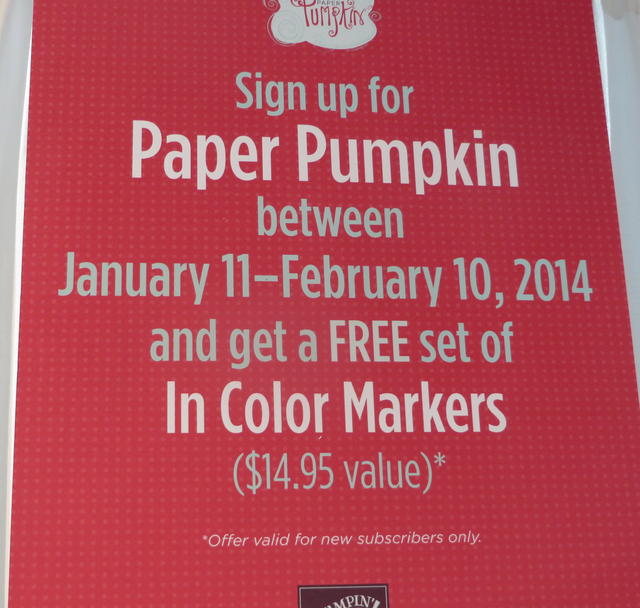
If you join Paper Pumpkin, Stampin’ Up!’s papercrafting kit that comes in the mail once a month, you will get your own pretty red box in the mail once a month with a project all ready to go, except for adhesive.  Join before March 31 and get a free set of In Color Markers (worth the price of the kit itself $14.95).  Try it risk free, no obligation, cancel when you are ready before the 10th of any month to stop that month’s subscription.  Or just pause it if you want to take a break and start up again the next month or the next after that. A monthly subscription is only $19.95 which includes shipping!

Join Paper Pumpkin by clicking this link HERE.  Your markers will come with your Welcome Kit with a free clear block for stamping.  After the first month you will receive the same kits that everyone gets that month.  You can still sign up after March 31, but why not do it right away and get the FREE Markers!

Making a Card With My Own Carved Crown Stamp

Gold Crown Card

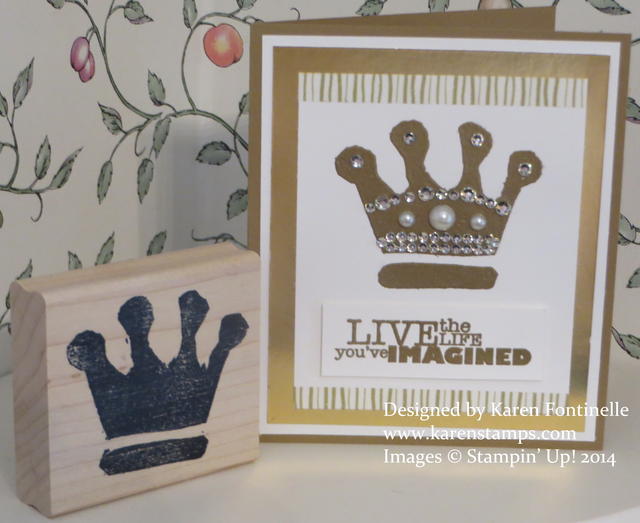
During the Stampin’ Up! Leadership Conference, one of the popular activities we could choose to do was to carve our own stamp using the Undefined Stamp Carving Kit. I waited until the very end and took the easy way of creating, by just tracing the crown emblem on our Leadership program, as a lot of other demonstrators were doing. It was the first time I tried the stamp carving so my skill was not perfect, but it wasn’t too hard for a beginner either! And judging by how many people are coming up with creative ideas for carving their own stamps, it can’t be difficult!

My beloved carved stamp has been sitting on my baker’s rack as a decoration, a home decor item, but today I decided to make a card with it! I stamped the crown with Versamark ink and embossed it with gold embossing powder and the Stampin’ Up! Heat Tool. I was actually able to “clean up” my image a little bit by taking a small paintbrush and smoothing some of the edges of the embossing powder better than I did on the stamp!

After embossing my crown, I had to add some bling! I added lots of different sizes of Basic Rhinestone Jewel Accents and Basic Pearls Jewel AccentsThey’re self-adhesive so easy to put on your project. I added a little bit of Watercolor Wonder Designer Washi Tape at the top and bottom of the top card layer. Then this was layered on a piece of the Gold Foil Sheet. The greeting is from the stamp set Really Good Greetings.

I’m not sure carving my own stamps is going to be my “thing”, but it might be for you! Or it might be for just one occasion when Stampin’ Up! doesn’t have the exact right stamp you need for a certain purpose. How handy is it that now you could make up your own stamp without any special ordering?  Just get the Undefined Stamp Carving Kit and carve your stamp! You can even get refillsJust go to my Stampin’ Up! Online Store for all your stamping supplies – and don’t forget with a $50 order you can earn a FREE Sale-A-Bration product!

Make Some Gift Bags with Stampin’ Up! Paper Pumpkin!

Paper Pumpkin Feb 2014 Box

This is my February Paper Pumpkin kit from Stampin’ Up! that came in the mail this month! Paper Pumpkin is a papercrafting monthly subscription kit that is easy to do and just takes a few minutes. Don’t you need a few minutes of escape and papercrafting bliss?? Even for experienced stampers and papercrafters, it is fun to open the box, find the surprise project, and just make it according to the included directions….or not. Maybe make one following directions and then make the next one a little different.
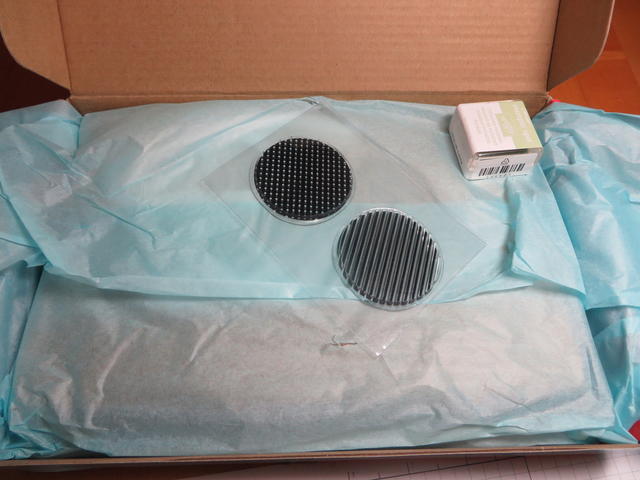
Paper Pumpkin Feb 2014 Stamps and Ink

Here are the new photopolymer stamps and ink spot I got in this kit. Photopolymer stamps are clear so you can see through them and through the clear block you will have received in your Welcome Kit. I LOVED using these photopolymer stamps!  They STICK on the block, no question! Stampin’ Up! plans to use photopolymer stamps in all their future kits. One stamp has polka dots and one stripes.
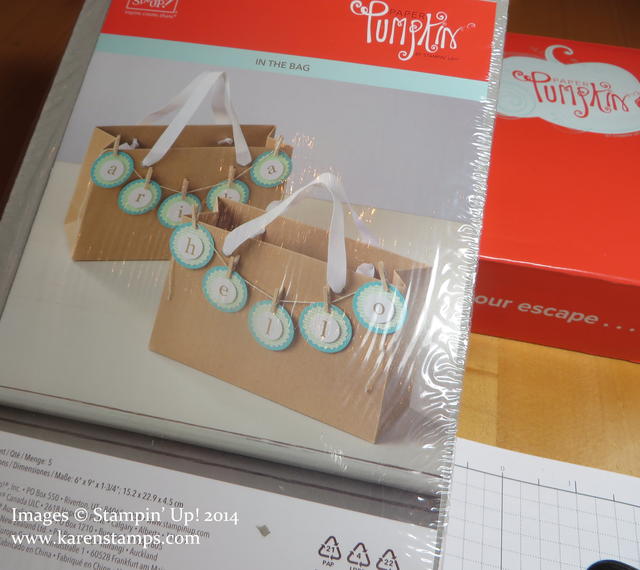
Paper Pumpkin Feb 2014 Pack

Here’s the pack of supplies and instructions!  All you need is adhesive!
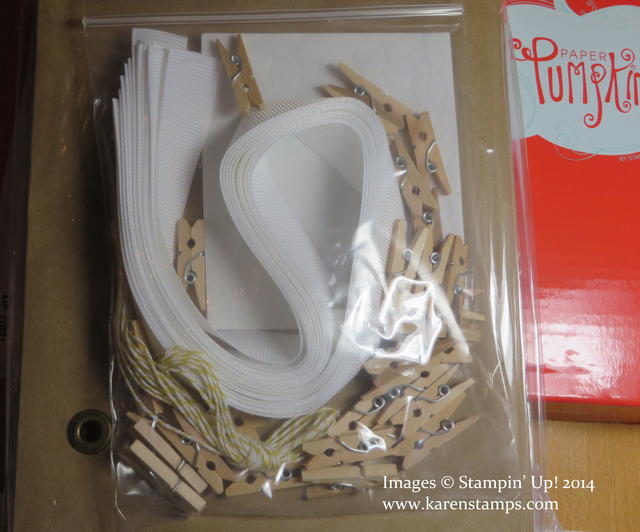
Paper Pumpkin Feb 2014 Supplies

Here are the bags, ribbon handles, mini clothespins, Stampin’ Dimensionals, Baker’s Twine, and all the paper pieces.
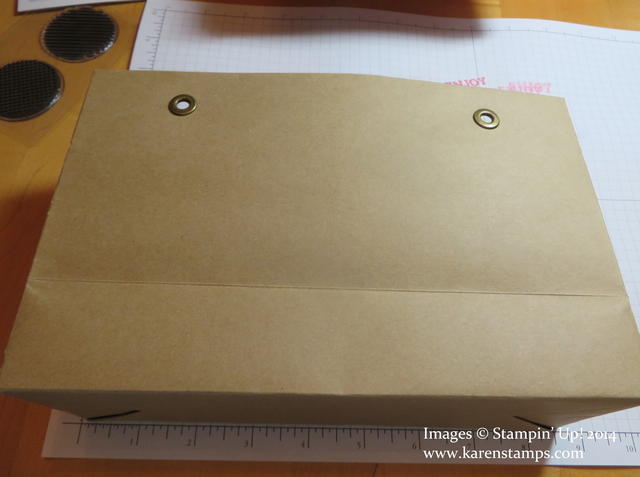
Paper Pumpkin Feb 2014 Bag

Here’s the bag, about 5 1/2″ high and 8 1/2″ wide, complete with rivets for the handles!
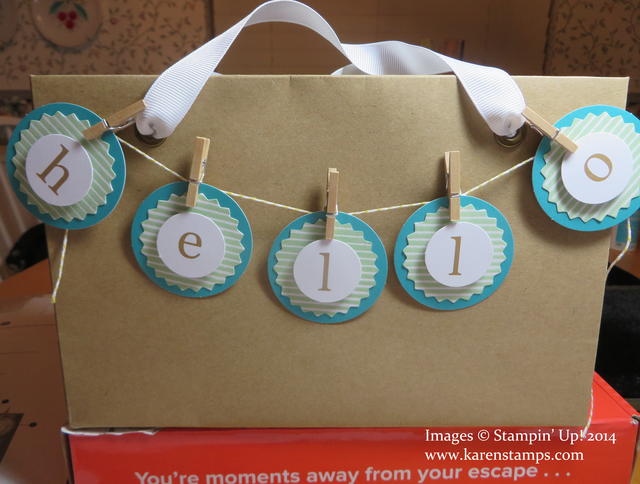
Paper Pumpkin Feb 2014 Hello Bag

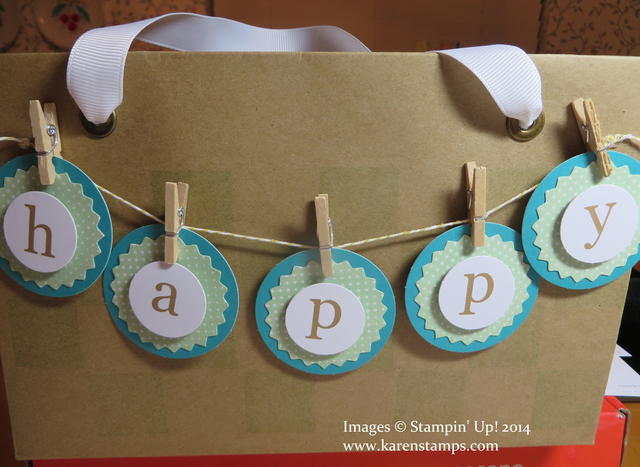
Here’s the first bag I made following the Stampin’ Up! sample. I put in the ribbon handles on the bag. The white starburst shapes are stamped with the stripe stamp and layered on the blue circle with a letter popped up on a dimensional. The letters were already printed on the circles. Then I clipped each circle onto the Baker’s Twine attached to the bag. Pretty cute and simple as could be!
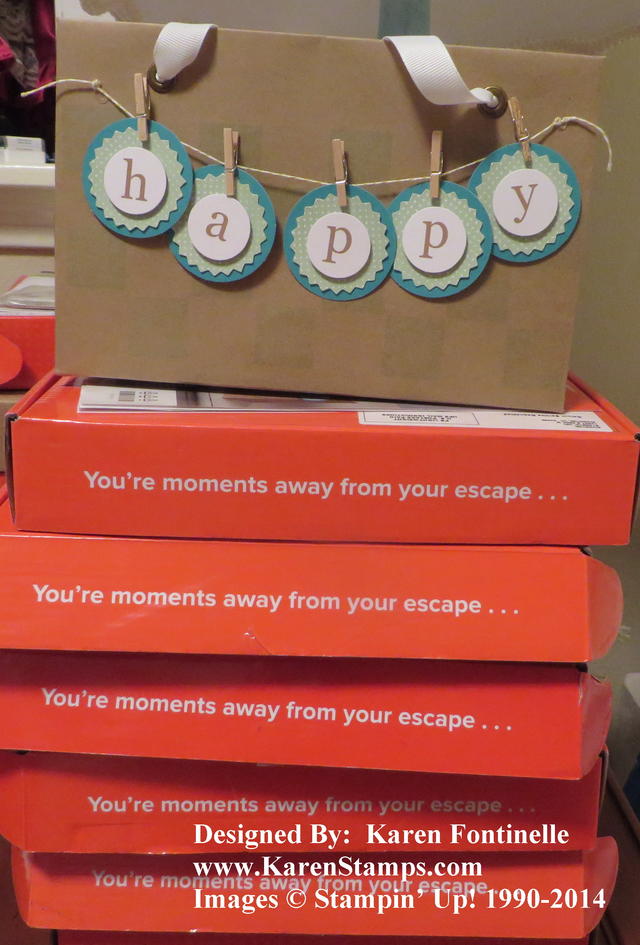
Paper Pumpkin Feb 2014 Happy Bag

I wanted to make another bag (although I might save the other 3 for when I need to use one so I’ll know what theme to decorate it in!).  I decided “Happy” would work for lots of occasions, either as is or I could add another sentiment or word on the bag, like “Birthday” or “Day” or whatever. These starbursts I stamped with the polka dot stamp. I could have turned the blue circles around and used the white background, but I liked the blue.

Sometimes once you get started creating something, you’ll find your mojo just appears and you get more ideas! That’s what is good about Paper Pumpkin! Whether you are already a crafter or just brand new at making things, Paper Pumpkin gives you “the whole package” (except adhesive!) so all you have to do it sit down, open it all up, and follow the directions (if you want to!). You’ll have an easy, completed project in just a few relaxing minutes. No worries about amassing a storehouse of craft supplies because you’ll just have the stamps, the ink spot and probably a few leftover extra pieces of materials.

Try Paper Pumpkin before the end of March and get a free pack of In Color Markers! Those are worth the cost of the subscription in themselves. No obligation, no risk. Cancel your subscription if you need to or just “pause” it for a month or two. The magic date is the 10th of any month to make any changes for that month’s kit (or order an extra kit for your friend or granddaughter). Subscribe by March 10th and get the Welcome Kit in the mail with your free clear block that month.  In April, you will receive the same kit that goes out to everyone. Subscribe later, get the Welcome Kit in April and the same kit as everyone gets in May. Each month is only $19.95, which includes the kit and shipping!

Just go to the Paper Pumpkin Subscription page and get signed up today! Then you can sit back and look forward to your Welcome Kit and free markers!
Paper Pumpkin Free Markers Special Extended!


Go For the Gold! Sale-A-Bration Good As Gold Card Kit!

Good As Gold Card Kit for Sale-A-BrationDuring the Olympics, everyone is going for the gold and now you can, too, with the Good As Gold Card Kit, available FREE to you during Stampin’ Up! Sale-A-Bration when you make a $50 purchase in current Stampin’ Up! products! Its one of eleven items you can choose for FREE during Sale-A-Bration, the biggest promotion of the year from Stampin’ Up! Just shop online at my Stampin’ Up! Online Store or contact me with your order and for every $50 you spend you get to choose one free Sale-A-Bration product, no limits!  Spend $100, get two free items.  Spend $150, the magic number, and get three free SAB products PLUS Hostess Rewards! There are so many great Stampin’ Up! products to choose from, including some that are not even in the catalog. So be sure to check out ALL the categories in the left sidebar of my Online Store so you won’t miss a thing and get to choose your “gold” in the Sale-A-Bration Brochure!

Wow! Stampin’ Up! Weekly Deals, MDS Downloads, and Paper Pumpkin Extras!!

Here are the Stampin’ Up! Weekly Deals for this week February 18th! Click on the image below to go to my Online Store!

Weekly Deal Feb 18 2014

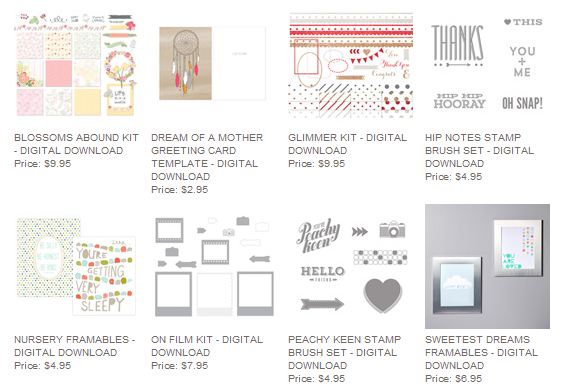
New Stampin’ Up! My Digital Studio Downloads for February 18 2014. Click the image below.

MDS Downloads Feb 18 2014

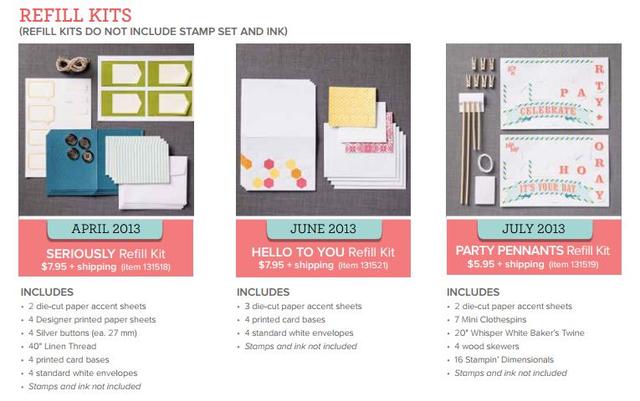
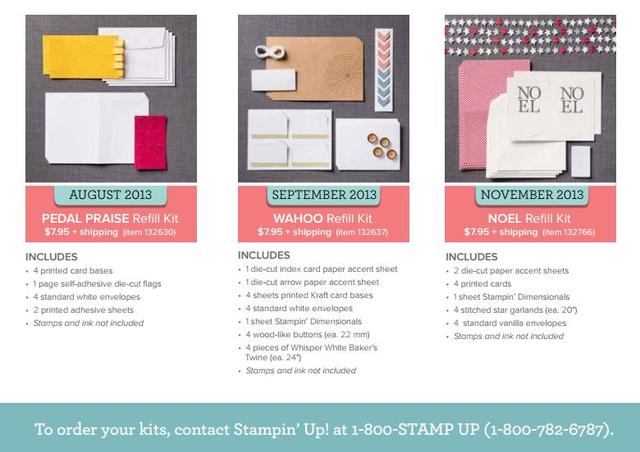
Paper Pumpkin Refills and Additional Kits

Available for the First Time Ever!

Paper Pumpkin Extras

You MUST be a subscriber to Paper Pumpkin, the quick and easy papercrafting kit that comes in the mail once a month from Stampin’ Up! to take advantage of these refills and extra past kits. So subscribe NOW and you’ll be eligible PLUS you will get a FREE set of In Color Markers with your Welcome Kit!

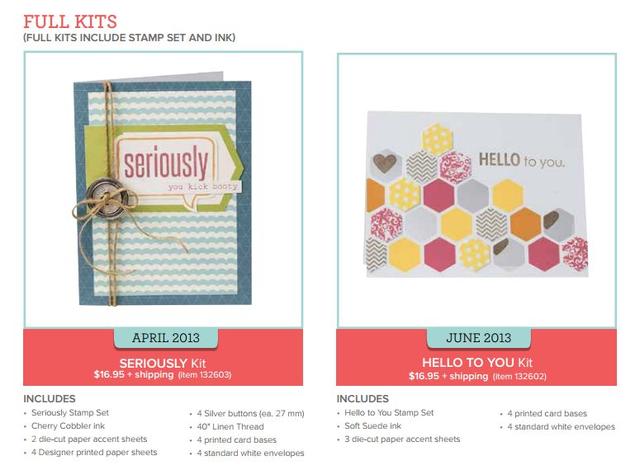
Paper Pumpkin Full Kits1

Paper Pumpkin Extras

Paper Pumpkin Extra Kits Available

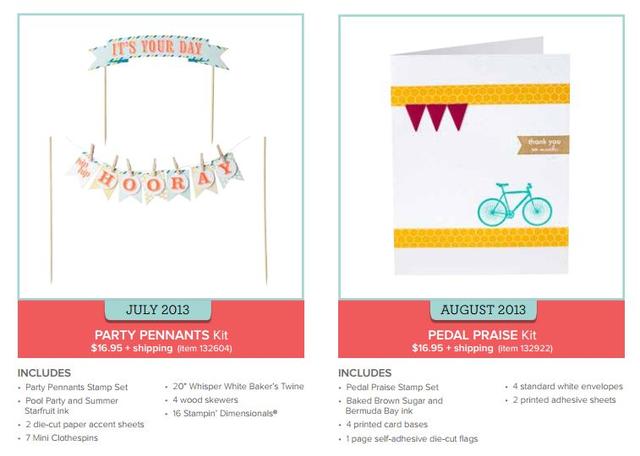
Paper Pumpkin Extra Kits Available

Click on any of the images above to see the Paper Pumpkin flyer. To order any of these Paper Pumpkin extras you do need to CALL Stampin’ Up! at 1-800-STAMP UP. (Paper Pumpkin is not connected with the usual Online Ordering so you have to call.) Don’t worry!  Calling Stampin’ Up! will be one of the most pleasant phone calls you ever make! And remember, you must be a subscriber to get them, so SUBSCRIBE to PAPER PUMPKIN TODAY!

And new items on the Stampin’ Up! Clearance Rack today! Get them while they last!

Be sure to check out the Stampin’ Up! Weekly Deals, the Clearance Rack, and the Paper Pumpkin extra kits and refills because some of these are available only while supplies last. And check out the new My Digital Studio downloads, too!

Stampin’ Up! Paper Pumpkin Free Markers Offer Extended!

HOT OFF THE PRESS TODAY!

Paper Pumpkin Free Markers Special Extended!

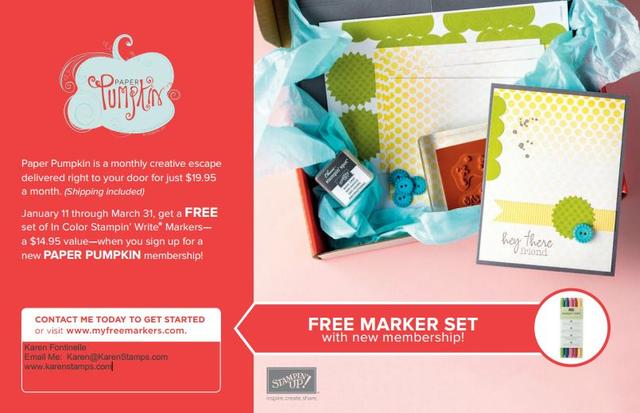
Just today Stampin’ Up! extended the special offer with Paper Pumpkin! Subscribe to Paper Pumpkin during Sale-A-Bration until March 31 and receive a free set of In Color Stampin’ Write Markers!  The markers will be sent with the subscriber’s Welcome Kit (pictured in the flyer above).  No coupon code required.

If you’re looking for a fun surprise in your mailbox every month, if you are a new crafter, if you want to make things but don’t know where to start, if you would like a special project to make with a friend or loved one (order two!), if you want to craft but don’t want to buy a lot of craft supplies, if you have every papercrafting supply under the sun but you still like to be surprised with something new to make in your mailbox — then Paper Pumpkin might be for  you!

Sign up for Paper Pumpkin today (only $19.95 a month including shipping!) and get your Welcome Kit and free markers in mid-March.  You will not be charged until the kit ships.  No obligation!  Cancel your subscription if you need to.  Better yet, just “Pause” it now and then if you must and continue on when you are ready.  The 10th of the month is the magic date to make any changes in your subscription for that month’s shipment. The kits are not always cards. They can be anything.  They are quick and easy and contain everything you need except adhesive. Stampin’ Up! has stepped up the kits recently so they are even a better value now!

Hurry! Sign Up for Paper Pumpkin and Get a Kit in the Mail!

Stampin' Up! Paper Pumpkin Welcome Kit

Don’t get so caught up in the Winter Olympics that you forget about the special offer from Stampin’ Up!, the papercrafting kit that comes in the mail, Paper Pumpkin!! Tomorrow is the last day – Monday, February 10th – for the special offer!  Subscribe to Paper Pumpkin and get a FREE set of 2012-14 In Color Stampin’ Write Markers!

2012-14 Markers

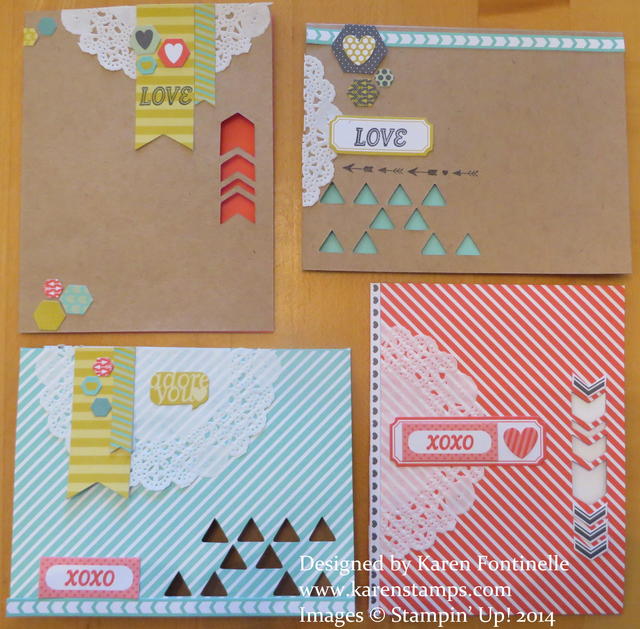
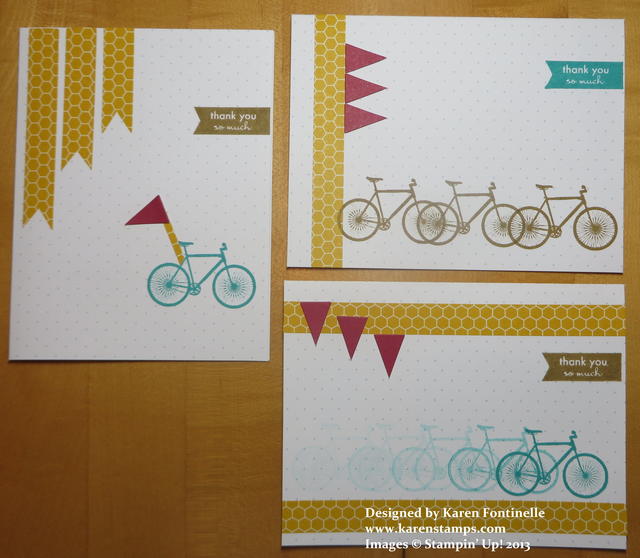
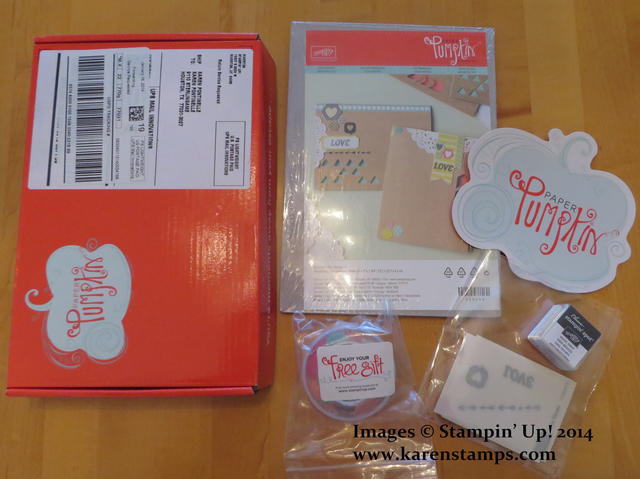
If you like a craft project with no muss, no fuss, easy and quick to do, and a surprise in your mailbox about mid-month, Paper Pumpkin is for you! When you first sign up, you receive the Welcome Kit pictured at the top of this page. This kit makes four cards and comes with stamps, ink, the materials you need plus a free Clear Block to mount your stamps and to use in subsequent kits. All you need to provide is adhesive. Use the ones you have already at home or I can suggest some quality ones from Stampin’ Up!  After the Welcome Kit you will begin receiving the same kit all the subscribers receive.

No risk, no obligation!  Sign up and cancel your subscription in a few months if you need to. Better to just “pause” your subscription (yes, you can do that!) so that you can continue on when you are ready.

The cost for Paper Pumpkin is only $19.95 per month, which includes shipping! Stampin’ Up! has even IMPROVED the kits since January! In fact, our January kit even came with an extra surprise in it! If you like to get mail like I do and if you like a surprise just for you, you’ll like Paper Pumpkin.  You can even order more than one kit if you have a friend, daughter, mother, niece, son, someone special you would like to craft with or treat.  Change quantities every month! Or better yet, have your friend sign up for her own subscription by tomorrow and you each get the free markers! The magic date to make ANY changes in your subscription is always the 10th of the month!
Here are photos of a couple of the projects I have received in my kits. You can follow the supplied instructions exactly or break out on your own and do your own thing!  Whatever you want!  It’s YOUR kit!

Paper Pumpkin Kit Jan 2014

August Paper Pumpkin Kit Extra Cards

Paper Pumpkin Leadership Incentive

You won’t find Paper Pumpkin in the Online Store.  You must go to this Paper Pumpkin Link to sign up! Once to get to that page, click on the “JOIN” button in the upper-right corner.  Let me know if you have any questions or need any help signing up!  Just email me at Karen@KarenStamps.com.

Deals for You at Stampin’ Up! Weekly Deal & Paper Pumpkin!

Stampin' Up! Weekly Deal February 3 2014

Today is Tuesday and that means new Weekly Deals from Stampin’ Up! So many things going on at Stampin’ Up! these days! Add some of these discounted products to your order, reach $50 or more and earn a FREE Sale-A-Bration product (for EVERY $50 you spend!)!

Paper Pumpkin

Don’t forget about Paper Pumpkin! Sign up and start getting your fun papercrafting kit in the mail every month! Not every kit is cards either! Be surprised!!  If you sign up by Feb. 10th, you will receive a FREE pack of 2012-2014 In Color Markers! The 10th of every month is the magic date to sign up by or change your order so that you receive the next kit. The first kit every new subscriber receives is called the Welcome Kit.
Stampin' Up! Paper Pumpkin Welcome Kit

In the Welcome Kit you receive all the materials (except adhesive) to make four cards PLUS a free clear block on which to mount your stamps to use with future kits! I have to say, when I received my Welcome Kit I thought the cards were cuter in person than I thought they were going to be. You can follow the directions from Stampin’ Up! for making your cards or you can strike out on your own! It’s up to you! No rules!
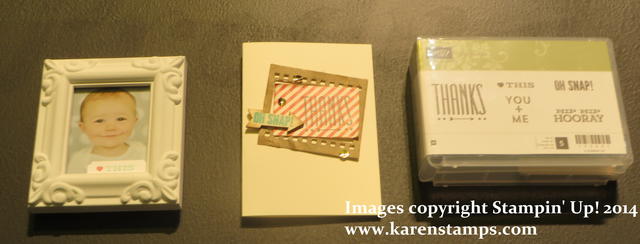
At Leadership we were treated to a sneak peek of the upcoming kits and EVERYONE agreed that Stampin’ Up! had stepped up the kits to make them even better. They are good for new crafters, non-crafters, young, old, friends, family, kids, college students, etc. Order two and make one kit with your friend every month! It’s just fun to get a package in the mail once a month in a cute red box and have a surprise about what is inside!

The cost is $19.95 per month, which includes shipping! You can be flexible in the monthly orders – order an extra kit, pause your subscription, cancel your subscription if you must. Just make any changes by the 10th of the month.

Go to my Paper Pumpkin page NOW and get signed up so you won’t forget! Then your Welcome Kit will be in the mail on its way to you around the 15th of the month.  You won’t be charged until your kit ships! And you’ll get the cutest email letting you know Paper Pumpkin is on its way!

Get Your Free Markers with a Stampin’ Up! Paper Pumpkin Subscription!

Stampin' Up! Paper Pumpkin Kit

Click image above to sign up for Paper Pumpkin!

Paper Pumpkin, a monthly papercrafting subscription from Stampin’ Up! that comes in your mailbox, is stepping it up, and I’ve seen it with my own eyes! At the Stampin’ Up! Leadership Conference we were allowed to peek behind the curtain (honestly!) and see the January, February, and March Paper Pumpkin Kits. Everyone was very pleased to see more in the kits and even better projects.

And Stampin’ Up! sweetened the pot to entice you to try out Paper Pumpkin! Just subscribe before February 10th and receive a set of 2012-2014 Stampin’ Write In Color Markers FREE.

The first kit you will receive will be the Welcome Kit, a kit to make four cards with a free clear block to use with subsequent kits to mount the stamps that come in the kit.  Everything is included in the kit except adhesive! After that first month, you will receive whatever the current kit is.  You can “pause” your subscription when you want or even cancel it.  The “magic date” to remember is to make any changes by the 10th of any month.

Stampin' Up! Paper Pumpkin Welcome Kit

The next month you will receive whatever kit is going out to everyone! It isn’t always cards. It could be a mini album or other project. It’s a surprise!

Here is my January Kit, which even included a surprise gift of the In Color Boutique Details.

Paper Pumpkin Jan 2014 Kit

And here’s what I made! Two of the cards I made following the Stampin’ Up! directions and pictures. Two I reversed, putting the colored inside on the outside and adding the extra adhesive pieces!

Paper Pumpkin Kit Jan 2014

And these are all the extra pieces I have left to use on any other project!

Paper Pumpkin Kit Leftover Pieces

What do you think?  Would you like a surprise papercrafting project in your mailbox once a month? Who doesn’t like to get a present in the mail?! It’s for you to take a few minutes for yourself to sit and relax and make a cute project from Stampin’ Up! without having to design it yourself or gather materials. Just open the box and see what’s inside!

Let me know if you have any questions about Paper Pumpkin or subscribing!  I’d be happy to help!

To subscribe to Paper Pumpkin, just click HERE.

Stampin’ Up! Monster Hugs Valentine Ideas–But Hurry!

Stampin' Up! Monster Hugs Girl Valentine

Stampin' Up! Monster Hugs Boy Valentine

Valentine’s Day is fast approaching and who doesn’t like handmade Valentines?! I think Valentine’s Day is one of the best holidays, especially for children, because everyone is included. Remember the boxes we used to decorate for Valentine’s Day and how we often made our own valentines to hand out with red construction paper and doilies and maybe some glitter?

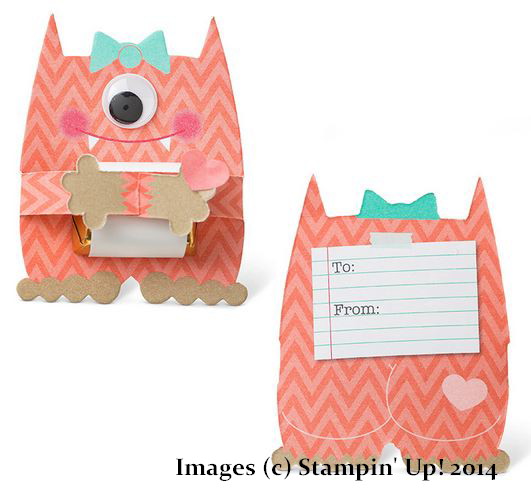
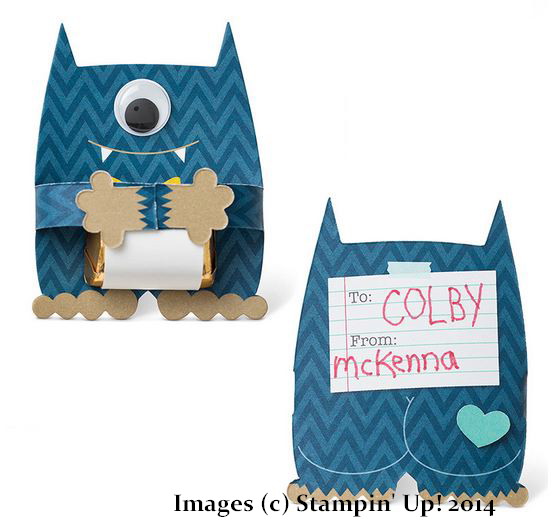
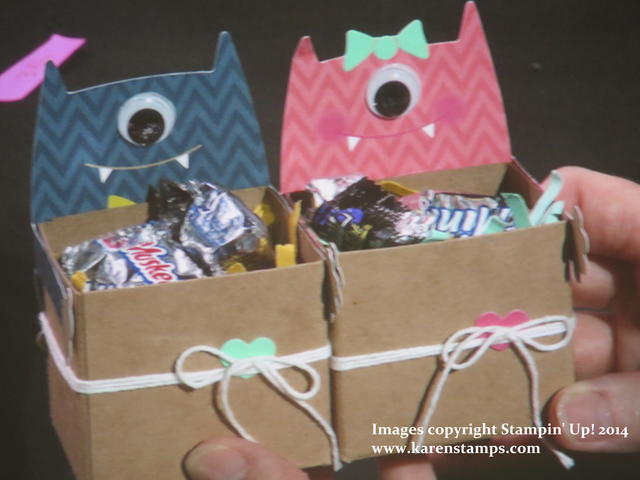
Here are some easy and cute Valentines you and/or your children can make!  Just order from me through my Stampin’ Up! Online Store by January 27th, if not sooner! Monsters are so popular right now and these are adorable ones. It’s a kit! Get 18 monsters, 18 googly eyes and 18 adhesive hearts. Make them as you see with a small piece of candy tucked under the monster’s hands or a lollipop or even stick the monster on a card front.

Here is another idea I saw someone from Stampin’ Up! make on stage with the Monster Hugs Valentines.  She made a box and attached it to the front of the monster, wrapped his arms around the sides and filled with candy.

Monster Hugs Valentine Candy Favors

If you would like to purchase cute Monster Hugs Valentines, you can find them in my Stampin’ Up! Online Store along with some other Valentine products! They do have to be ordered by January 27 so don’t hesitate! As we get closer to Valentine’s Day and the deadline for ordering, these Monster Hugs could go quickly.  You will also find other Valentine ideas and stamp sets in the new Occasions Catalog.

Go to my Online Store now and order your Monster Hugs Valentines! Or if you prefer, just contact me at Karen@KarenStamps.com and I can help you with your order.

Occasions Catalog Displays at Stampin’ Up! Leadership

Retro Fresh Suite

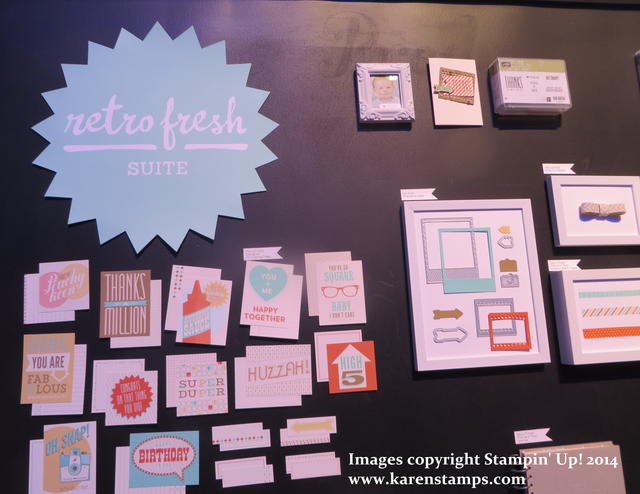
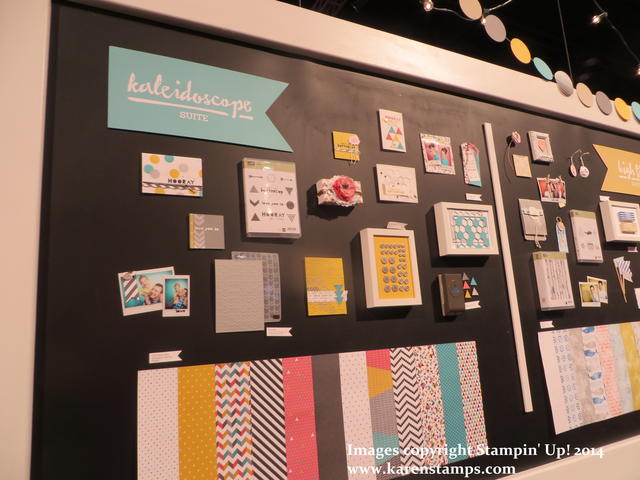
It’s nice viewing all the new products in the Stampin’ Up! Occasions Catalog, but it’s even nicer seeing them all in person under the bright lights in the displays at Leadership! They really know how to make anything look artistic, even the way they display buttons or Baker’s Twine!

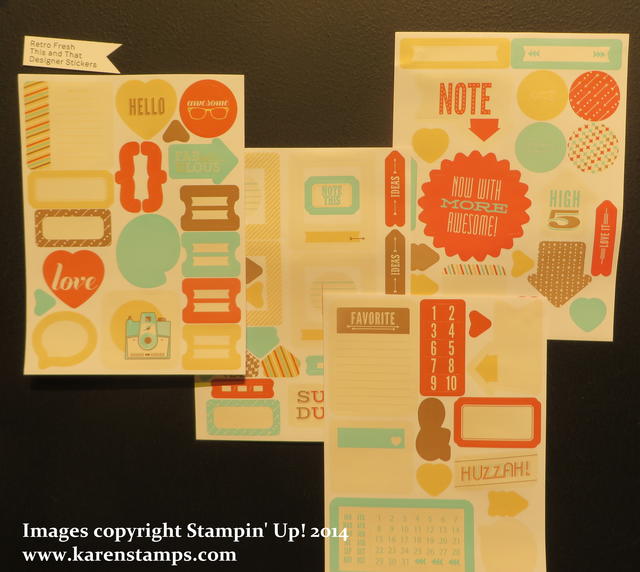
Retro Fresh Stickers

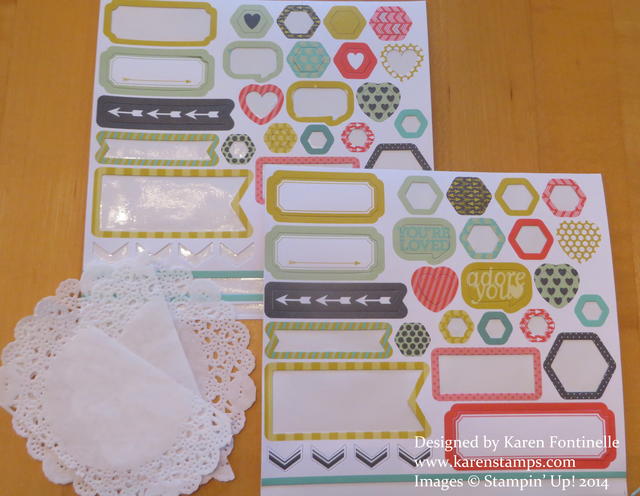
Retro Fresh Stickers to use in the coordinating journal or on any project.

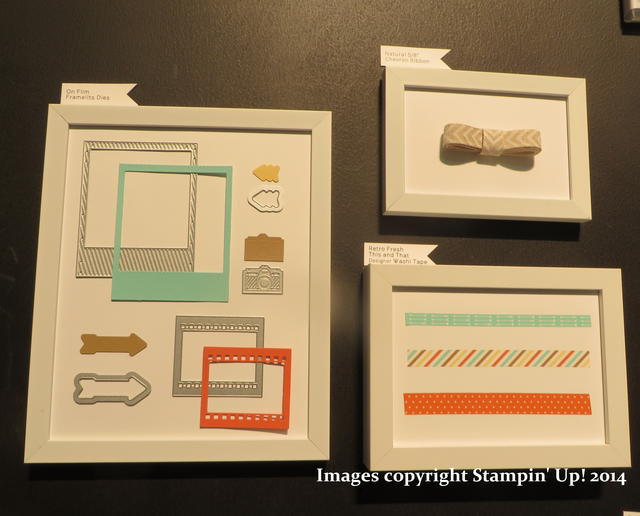
Retro Fresh Peachy Keen

The Polaroid and film look of Peachy Keen is in now!

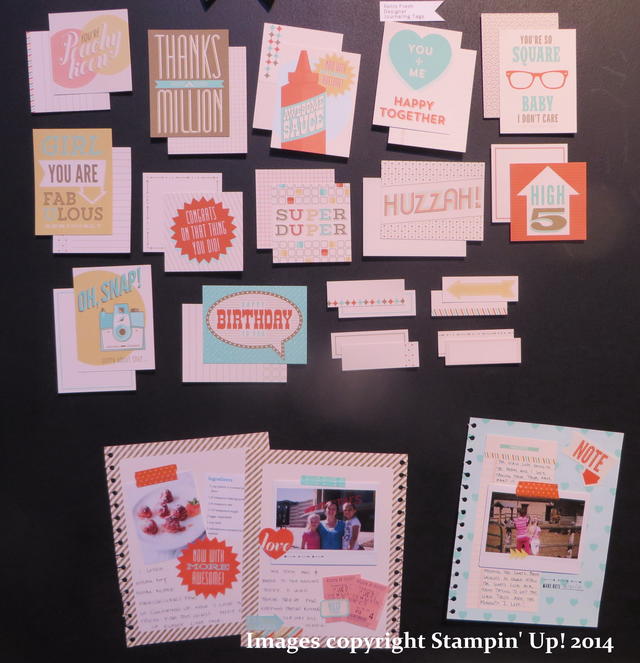
Retro Fresh Journaling Tags

Retro Fresh Journaling Tags – Use them for journaling or making cards or other projects!

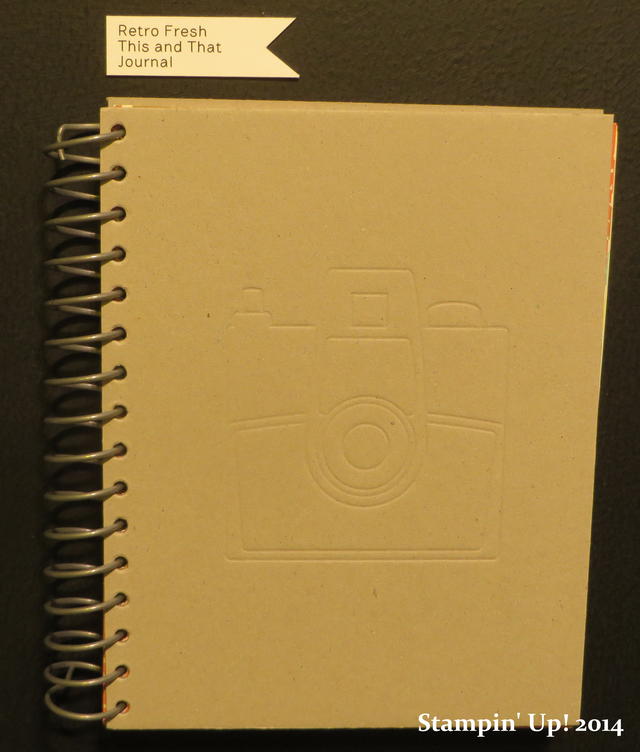
Retro Fresh Journal

Retro Fresh This and That Journal, much like the popular smash books where you add mementos and memorabilia in a casual style. I love the look of the debossed camera on the front!

Kaleidoscope Suite

Look how cute the Basic Metal Buttons are displayed!

Hip Notes

Hip Notes coordinates with the Essentials Wooden Elements and Retro Fresh Suite.

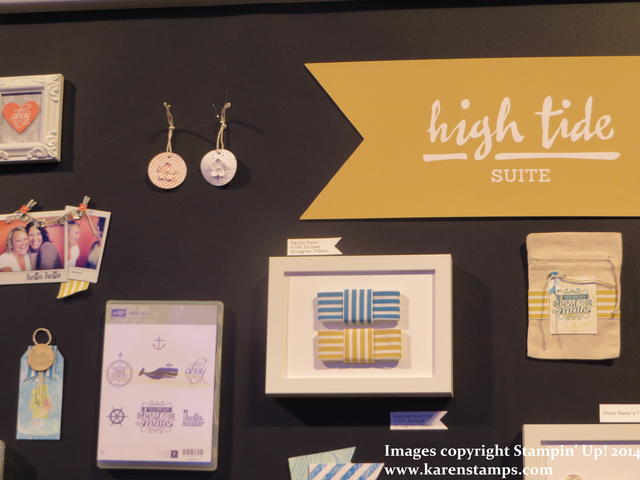
High Tide Suite

Cute striped grosgrain ribbon display!

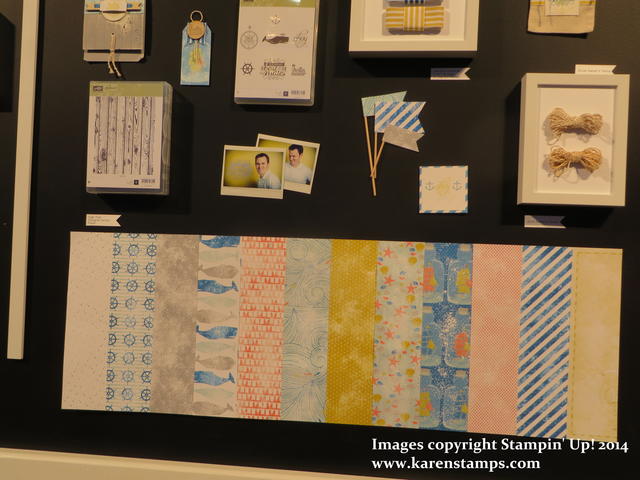
High Tide Designer Paper

Seeing the new designer paper in person is always great!

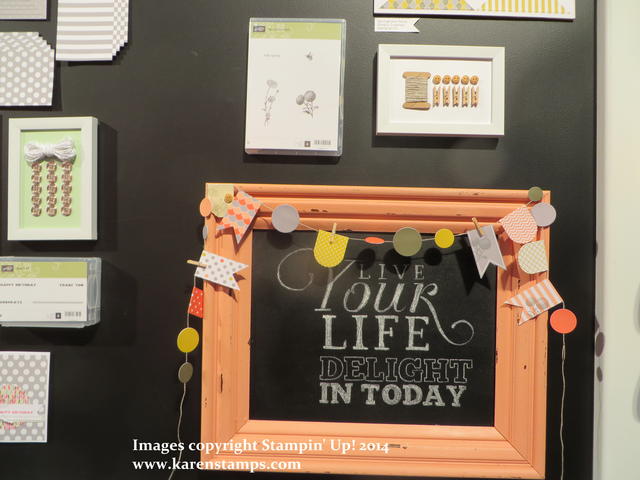
Framed Chalk Art

Love this chalk art with the very trendy garland from the Springtime Hello Simply Created Garland Kit on the frame!

Watercolor Wonder

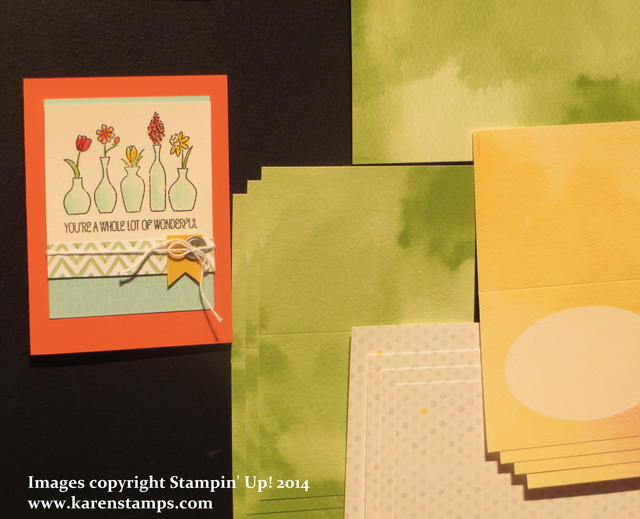
Beautiful Watercolor Wonder Designer Note Cards and Envelopes.

Display Fox Card

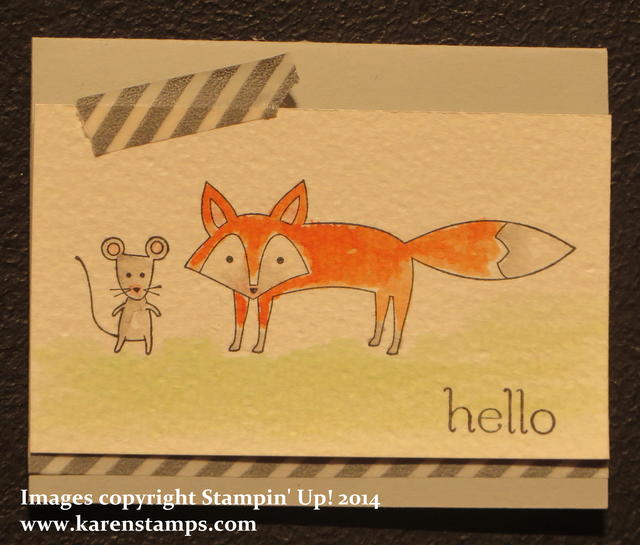
Cute, cute card with the new stamp set Life in the Forest.

Essential Wooden Elements

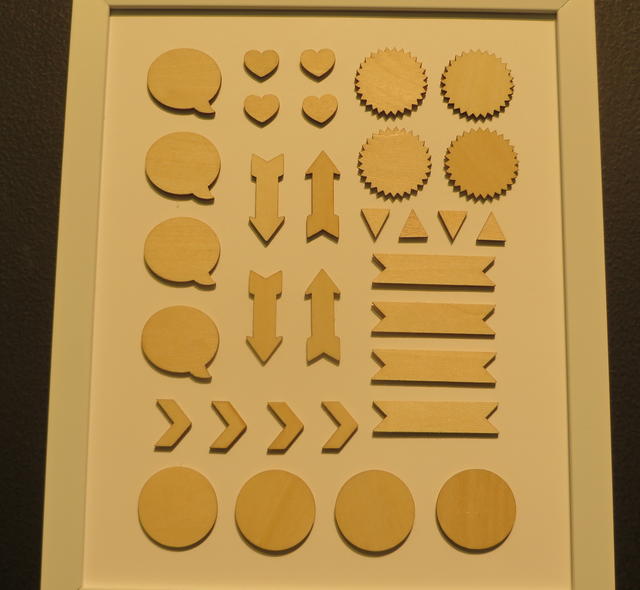
Go natural with the Essentials Wooden Elements which can be stamped on.

Blessed Easter Card

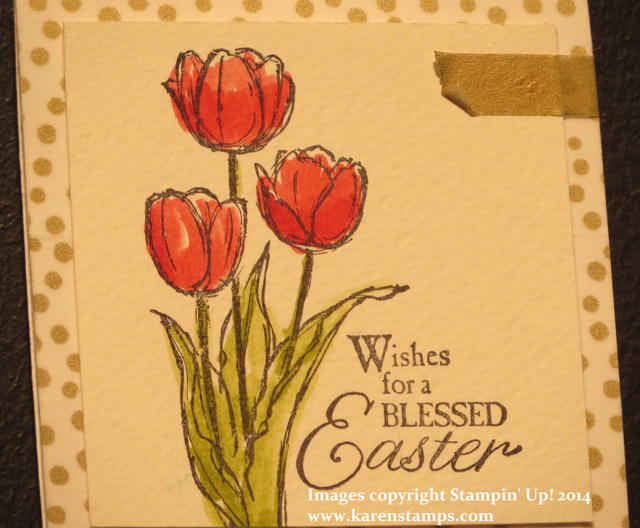
Beautiful Blessed Easter Stamp card watercolored and accented with gold.

Arrows Embossing Folder

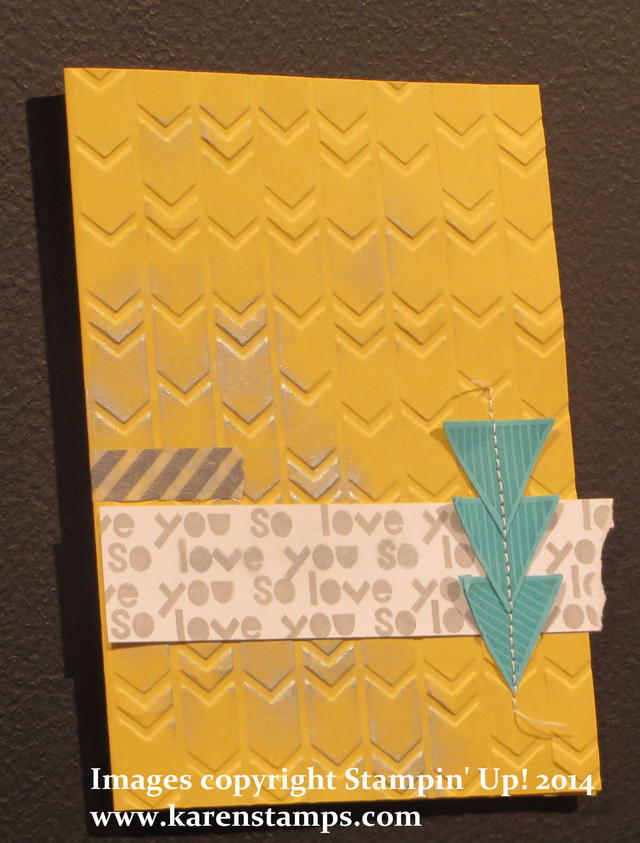
Arrows must be in! Use the new Arrows Embossing Folder.

Making Festive Flurry Ornaments

Festive Flurry Ornament Kit from Stampin' Up!

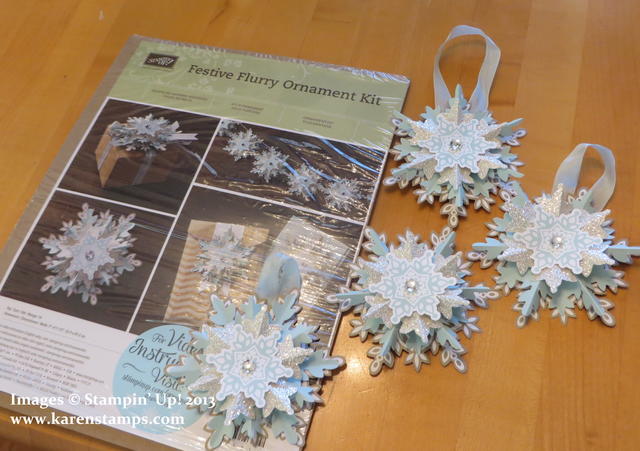
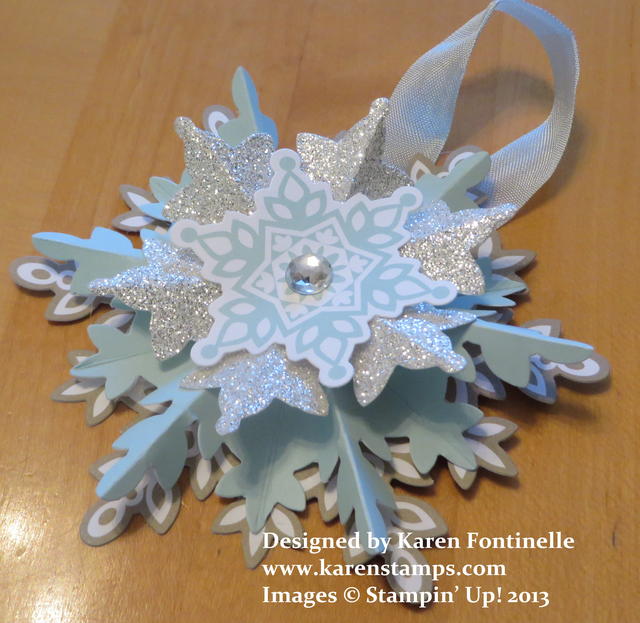
No snow in Houston except on my kitchen table where I played with my Stampin’ Up! Festive Flurry Ornament Kit and made some of the beautiful ornaments. Once you assemble these ornaments you can use them as ornaments, as package toppers, on a super-fancy card, or string them together to make a garland. Lots of ways to use them which you will think of as you make them!

There are no written instructions in the kit but there is a good video from Stampin’ Up! you can watch. I would say be a little more patient with the hot glue as you “squish” your ornament together toward the center than on the video because I’m sure in the interest of time, they didn’t make you wait and watch the full time it takes for the hot glue to set up in the video. If you have the Stampin’ Up! Silicone Craft Sheet it makes it a little easier to work with the hot glue.

Let’s start at the beginning! You will receive ten sheets with die-cut pieces to make your ornament plus a stack of the glitter layer pieces. Just punch out the pieces. You will see two of the pieces, the blue snowflake and the glitter snowflake are pre-scored so that is helpful. Carefully fold on these score lines. Those narrow tips are a little delicate so take your time and remember nothing has to be perfect! I suggest doing the longest points with the fold lines so the fold is “up” and the smaller ones with the  fold “down”. It’s going to be almost like rosettes you have probably made in the past, one fold up, one fold down and so on. Check to make sure you have all the pre-scored lines folded around the ornament and then “practice” squishing them toward the center hole. Once you are sure they will all fold and work together correctly, it’s time to glue. You can put a puddle of hot glue on your silicone craft sheet and then place the snowflake so the center hole is in the glue and “squish” the ornament toward that center and hold until the glue sets and you can safely set it aside. Once you have the blue snowflake and the silver glitter one made in this fashion, you can layer all the ornament pieces together and that is the easy part! Don’t forget the beautiful large rhinestone in the center! Attach a piece of ribbon on to the back if you want to make a hanger.

I also tried, as another demonstrator suggested, just putting glue around the inside edges of the center hole and not using the big puddle of hot glue, and then squishing it to the center. This did seem to hold just as well and didn’t take as long to set up as the big puddle of hot glue.

And for my last try, I attached the snowflake to a small circle on the back as I was gluing it, punched or the center you punch out of the blue snowflake. I thought this worked the best, maybe gave it a little stability while the glue was setting up.

Once you discover what works easiest and best for you and what you want to make, I think you’ll be able to breeze through these ornaments just fine. You will find the Stampin’ Up! video on the sale page for the Festive Flurry Ornament KitThese are SO beautiful you MUST give them a try!!

Festive Flurry Ornament

Make Your Own Holiday Gift Tags Easily and Early!

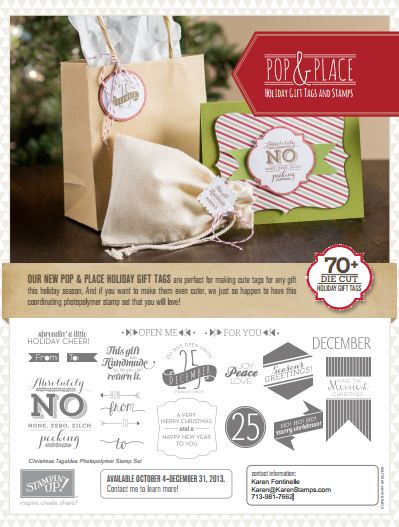
Pop & Place Holiday Gift Tags

Images copyright Stampin’ Up! 2013

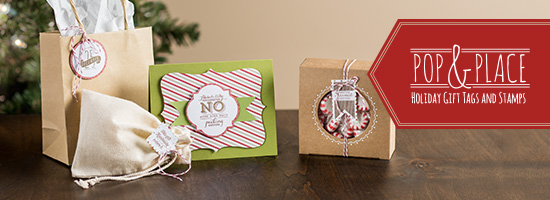
The other day I told you about the new Stampin’ Up! Pop & Place Holiday Gift Tags and the coordinating Christmas Tagables Photopolymer Stamp Set and the combination bundles you can purchase. These all look to me like a fun way to get a head start on your gift wrapping by making these tags NOW so they will be ready when you start wrapping your holiday presents!

Watch this video from Stampin’ Up! that shows you what you get with this new product and then go to my Stampin’ Up! Online Store to place your order!

New Pop & Place Holiday Gift Tags and Matching Stamp Set

Pop & Place Holiday Gift Tags

Images copyright Stampin’ Up! 2013

It’s not too early to start Christmas preparations! Just think how great it would be to sit down and stamp some tags now for fun before we really get into the craziness of the holidays and then you have one project already to go when it is time to wrap packages and gifts!

The new Pop & Place Holiday Gift Tags come in a booklet of 70+ tags in five designs–created from our existing punch and die shapes. These tags coordinate with the Season of Style products in the 2013 Stampin’ Up! Holiday Catalog.

There is also the coordinating photopolymer stamp set, Christmas Tagables, that you can use to stamp the tags. It has many traditional sayings for gift tags with an updated style, including a funny one about “no peeking” and the best one of all about it being a handmade gift!  Check it out!

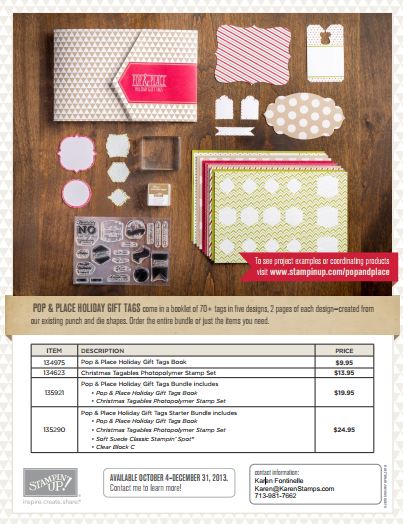
  • To make it easy for you, you can purchase the Pop & Place Holiday Gift Tags Book together with the Christmas Tagables Stamp Set here in this Pop & Place Holiday Gift Tags Bundle.
  • And for a new stamper, choose the Pop & Place Holiday Gift Tags Starter Bundle which includes Includes the tag book with 70+ tags, coordinating photopolymer stamp set Christmas Tagables, a Soft Suede Classic Stampin’ Spot, and Clear Block C.

Get one for yourself and one Starter Bundle for someone as a gift!  Then sit down together and make a bunch of Christmas tags!

Pop & Place Holiday Gift Tags

Click to Enlarge

Pop & Place Holiday Gift Tags Bundle

Click to Enlarge

Item Description Price
134975 Pop & Place Holiday Gift Tags Book $9.95
134623 Christmas Tagables Photopolymer Stamp Set $13.95
135921 Pop & Place Holiday Gift Tags Bundle includes

  • Pop & Place Holiday Gift Tags Book
  • Christmas Tagables Photopolymer Stamp Set
$19.95
135290 Pop & Place Holiday Gift Tags Starter Bundle includes

  • Pop & Place Holiday Gift Tags Book
  • Christmas Tagables Photopolymer Stamp Set
  • Soft Suede Classic Stampin’ Spot
  • Clear Block C
$24.95

Shop for anything you need at my Stampin’ Up! Online Store!