I think one of the many hits at the Stampin’ Up! Convention was seeing the making of the holiday banners offered in the Stampin’ Up! Holiday Catalog and variations using the kits. Shelli Gardner’s daughter Sara fascinated all of us with her holiday banners made from kits and the extra projects she also made. It was one of those products that I didn’t necessarily think I was interested in from the catalog until I saw her demonstrate them at Convention. They were in my first order home from Convention!
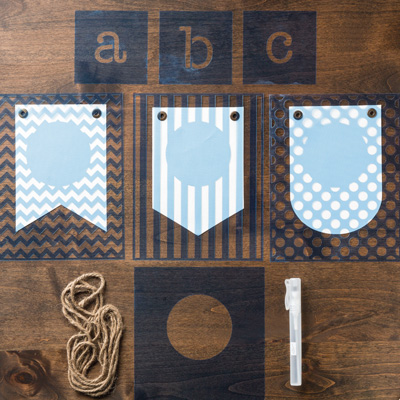
You can purchase this Build a Banner Simply Created Kit and receive the canvas banners with grommets, the stencils with the designs and lower-case alphabet, jute twine, stencil mask and spritzer. In the spritzer you mix 70% rubbing alcohol and reinker and spritz VERY lightly and from a distance with the stencil on the banner. When I saw it demonstrated I thought that surely wasn’t enough color to show up, but it was! The moisture will pool on the stencil so you have to be careful lifting the stencil off. Some demonstrators have found using a spray adhesive on the back of the stencils help hold them in place better.

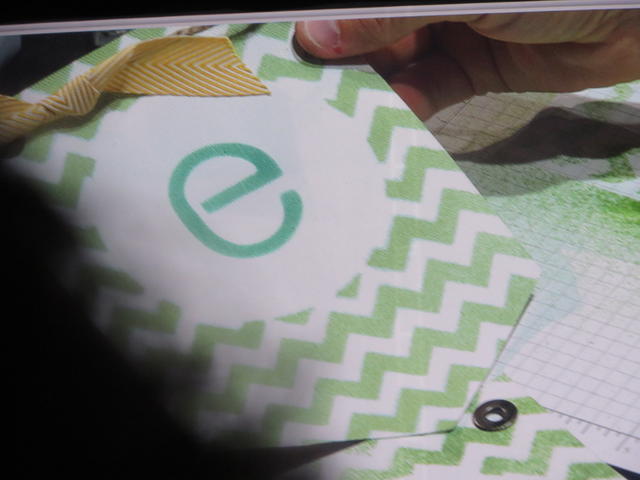
Images copyright Stampin’ Up! 2013 Here Sara used Gumball Green for the chevrons and Coastal Cabana I believe for the letter.
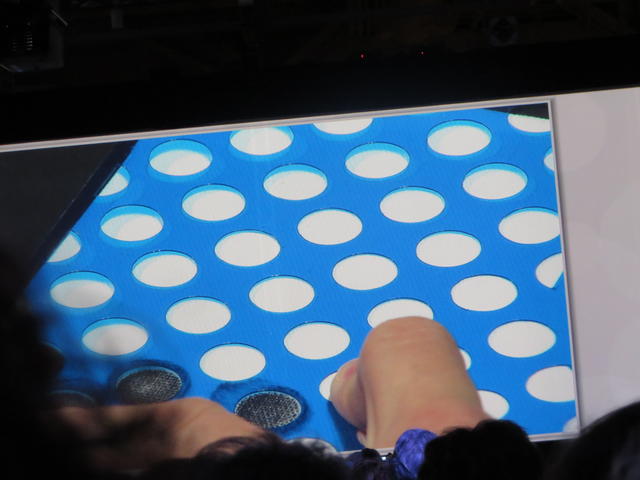
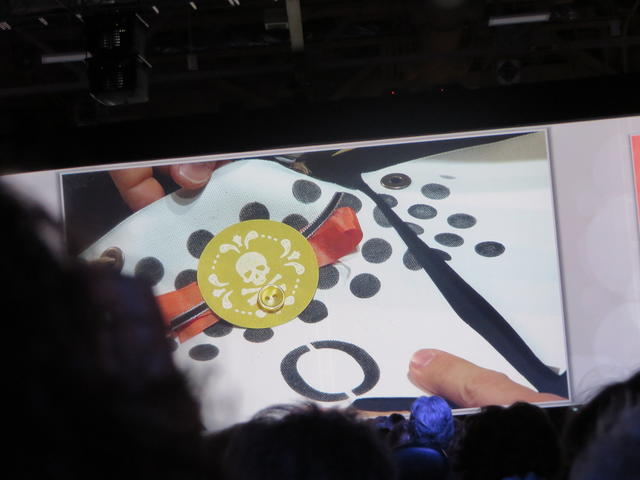
Here’s another technique you can use. Dip a Sponge Dauber into ink and apply to stencil. This method may work better than spritzing but might take a little longer. Sara only colored some of the dots so it wasn’t a big job to fill in all the dots.
I haven’t been able to play with my banner kits yet but hopefully soon! You can purchase extra banners in the Banner Simply Created Kit depending on your project, or if you don’t want the stencils you could just buy these banners. Then if you would like to jazz up your banner without making everything yourself, purchase the Halloween Banner Simply Created Accessory Kit or the Christmas Banner Simply Created Accessory Kit.
Check out these banner kits in the Stampin’ Up! Holiday Catalog and see if you are up for a new kind of project made easy with these kits!


