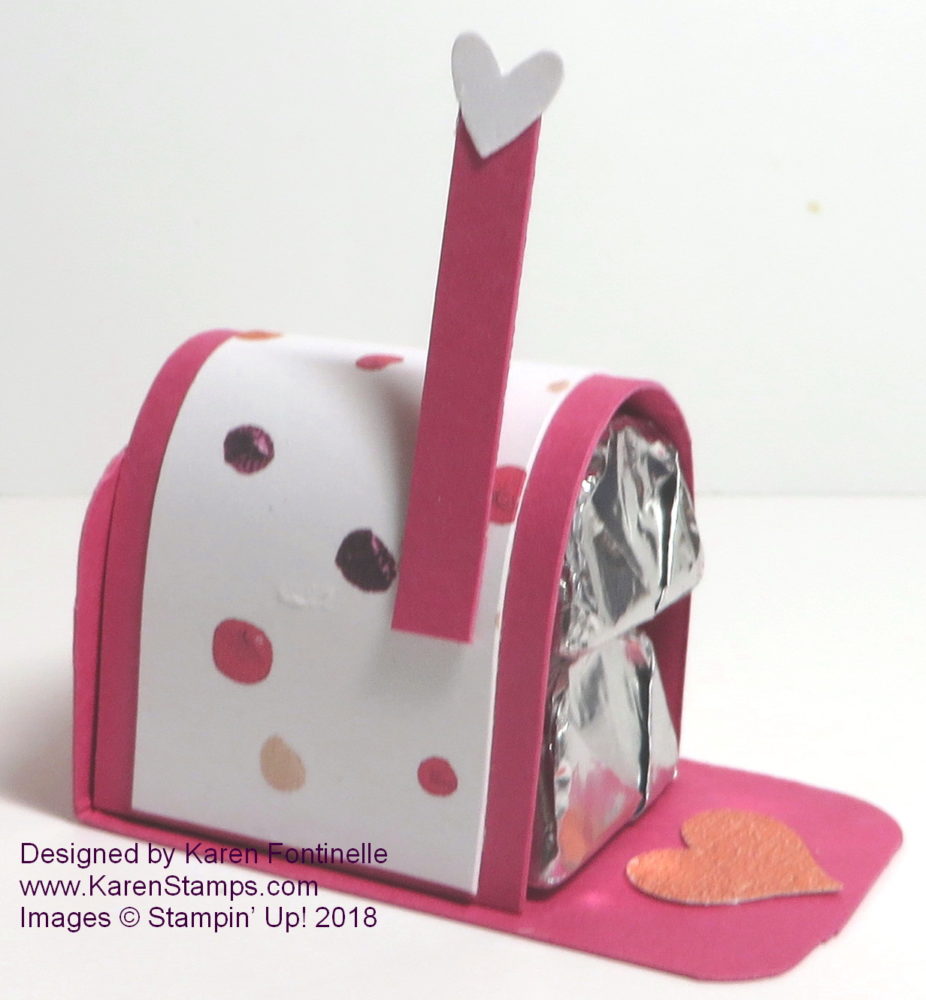
I’ve seen these Mini Mailboxes For Valentine’s Day Candy around on the internet and they are so quick and easy to make! I’m sure you could also make them for other occasions, like a birthday or Christmas. Just change the paper and colors to suit the occasion!
This mailbox has two chocolate nuggets inside. You could use a low-temp glue gun so as not to melt the chocolate of course, but I just used Mini Glue Dots. They won’t interfere with the candy.
For the mailbox base, you need a strip of cardstock that is 3″ x 1″ with the corners rounded at both ends. I used a Project Life Corner Rounder Punch (retired) but you could also just round the corners by hand with your scissors. This is just a little candy treat, it doesn’t need to be absolutely perfect! Mine isn’t! I think I used the wrong piece of paper for the base!
Score this base piece at 1″ to form the flap that makes the back of the mailbox. You don’t need to score the other end unless you want to be able to fold it up like a mailbox door.
Next cut a piece of cardstock 1 1/4″ x 3″ and a piece of designer paper 1″ x 3″ and glue together. This will fold over the stacked chocolate candies. Again, you can use the low-temp glue gun or I used the Mini Glue Dots. You might want to loosen the paper fibers a bit by kind of curling the paper just a bit with a Bone Folder. Then just cut a very narrow strip of paper for the mailbox flag, topped with a tiny heart! I used the Owl Punch (retired)for the small heart and another small heart punch for the lid of the mailbox. You can also just cut these hearts by hand, too. We’ve all been cutting hearts since we were kids, right?!
Here are some other fun and easy Valentine candy treats to make! Click HERE.
Try this mailbox project! It really only takes minutes and you can use up your scraps! Make a Mini Mailbox to hold a couple chocolate candies and give to someone on Valentine’s Day!

