Mediterranean Blooms Thinking of You Floral Card

Mediterranean Blooms Thinking of You Floral Card

I just had to go back to the Mediterranean Blooms Designer Series Paper to make another card! I discovered that if you get tired of the fruit and the tile, you can make this Mediterranean Blooms Thinking of You Floral Card! There are two whole sheets of these yellow flowers! Are they daffodils or just some kind of yellow flower? What do you think? It’s an easy card to make, perfect for beginners or just any time you want a quick and simple design to make.

The card base is Garden Green Cardstock with a layer of Daffodil Delight Cardstock to help the yellow flowers stand out more. The floral designer series paper is cut at 5″ x 3 3/4″. Before adhering to the card, I wrapped around a piece of ribbon. This ribbon color is Lemon Lolly and was part of a combo. It is retired but I kept it out to use since I hadn’t used it very much. I think it looks so pretty on this card even if it isn’t an exact match to the Daffodil Delight.

The greeting is in the Friends For Life Stamp Set. This is a great set to own for the greetings along with the dies if you want to get the Friends For Life Bundle. If you order the Bundle, beginning June 5th, you will save 10% during the Stampin’ Up! Sale! Choose all the Bundles you like during the month of June and get 10% off the regular Bundle price of 10% off!

The greeting is stamped with Garden Green ink on Basic White Cardstock. It is diecut with a scalloped oval die in the Unbounded Love Dies. I popped it up over the ribbon with Stampin’ Dimensionals. The embellishments I added are the Opal Rounds which come in three colors – Daffodil Delight, Clear, and Night of Navy. They come in the Mediterranean Suite Collection. Right now, as I write this, these Opal Rounds are out of stock, but expected to be available the week of July 1st. That makes the Suite unavailable since they are one part of it but you can order the items you want separately.

I hope you enjoy this easy to make card! Be sure to check out all the Stampin’ Up! Bundles in case you want to order one or more and save during the Bundle Sale which begins June 5th. The Stampin’ Cut & Emboss Machine and the Mini Machine will also be 10% off during this sale if you need a diecutting machine! I use mine nearly everyday!

SHOP STAMPIN’ UP! ONLINE!

Citrus Blooms Best Kind of Person Card

Citrus Blooms Best Kind of Person Card

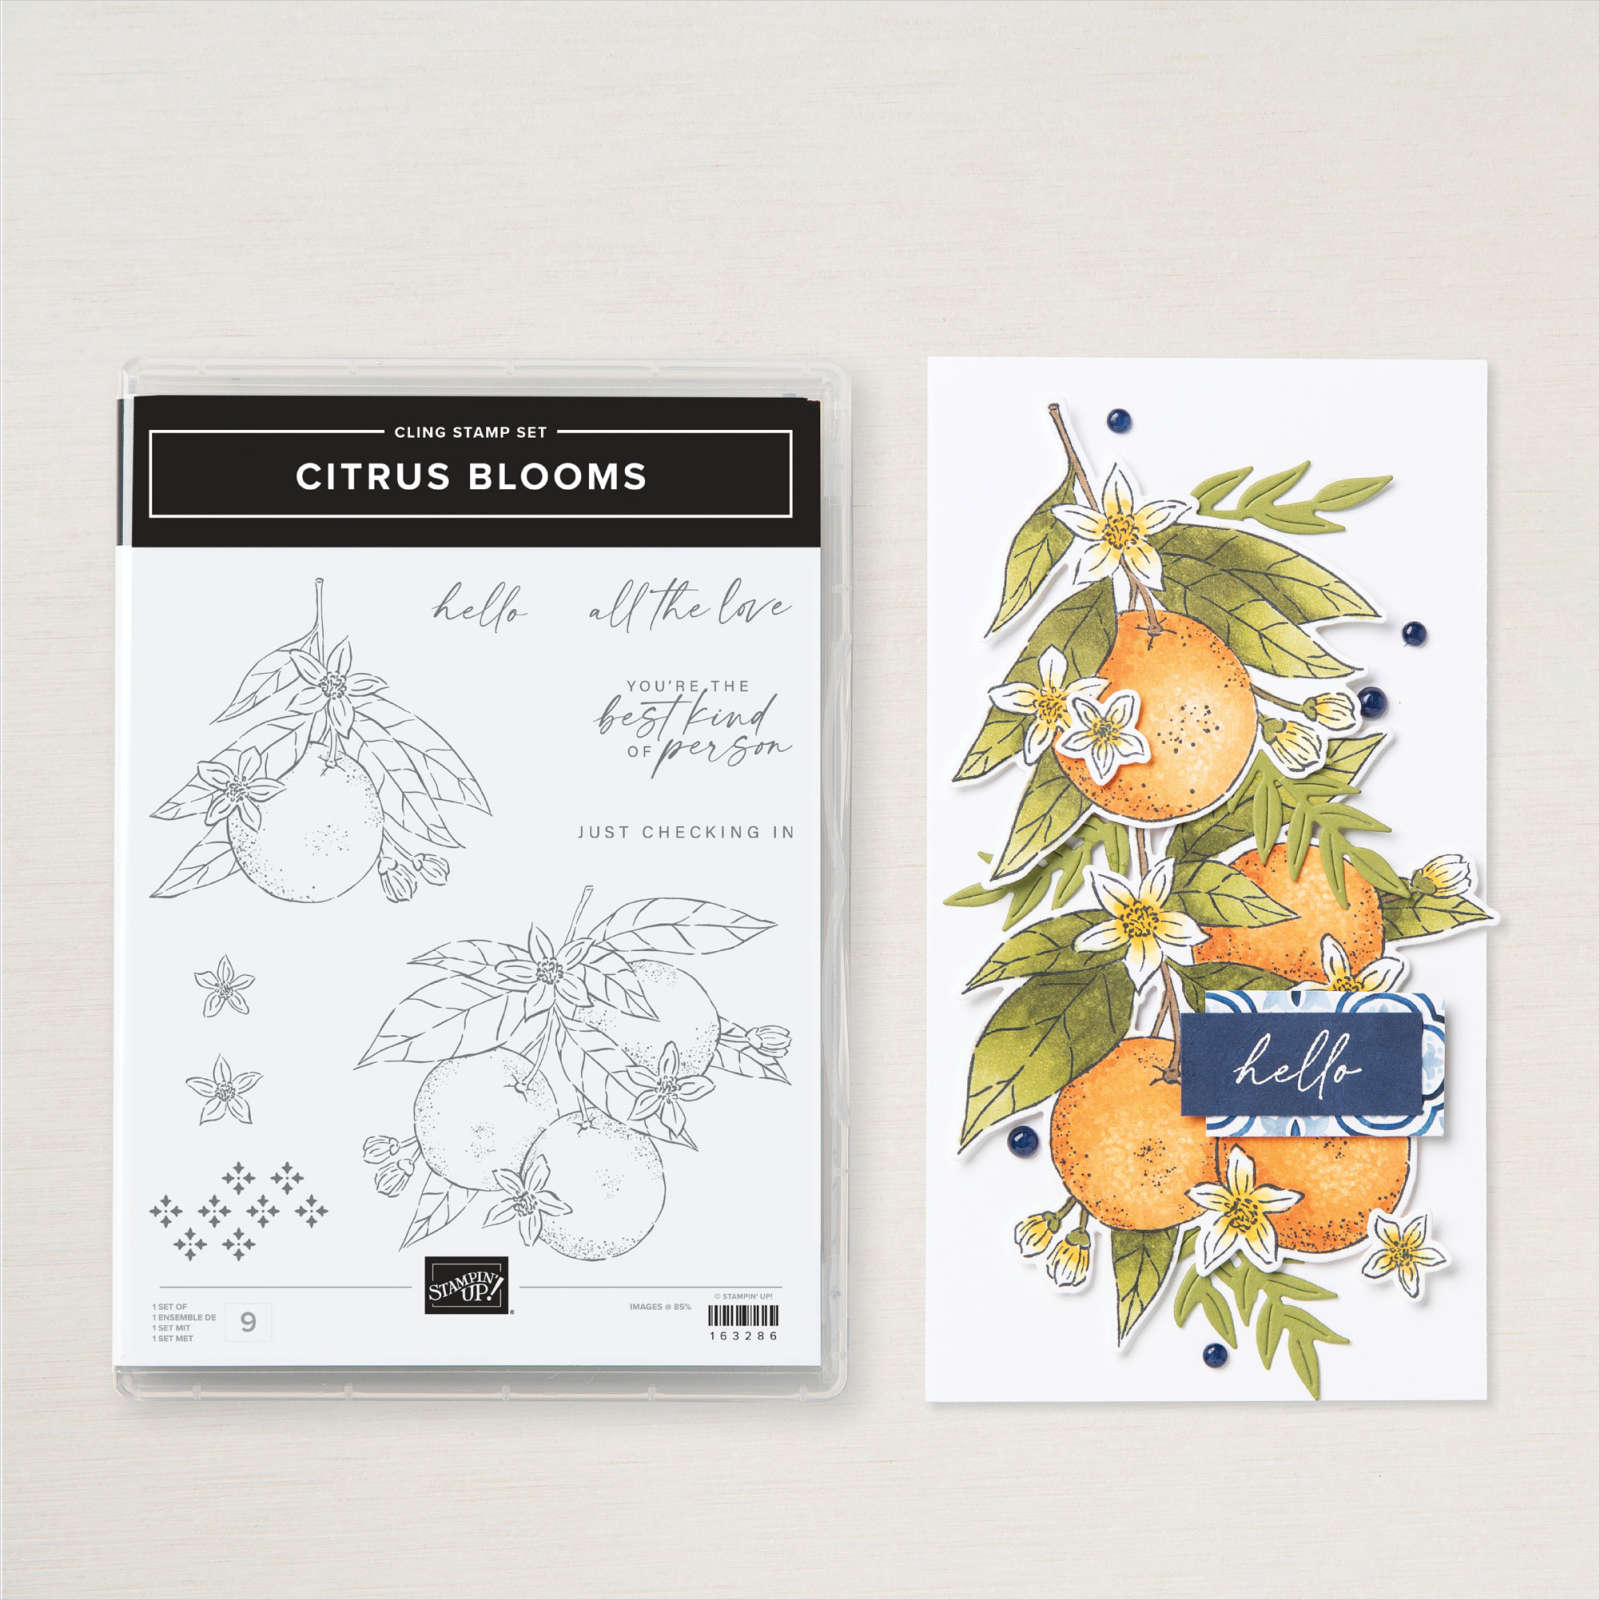
This Citrus Blooms Best Kind of Person Card is my first card using the Mediterranean Blooms Suite that I got recently. You’ll find it in the new Stampin’ Up! Annual Catalog on pages 34-35. The designer paper in the Suite is what sold me, but the whole collection of products is beautiful. If you like these citrus images and tile designs, you will love this group of products!

Luckily, a Bundle Sale is coming Wednesday, June 5th, saving you an extra 10% over the Bundle price of 10% off normally for the stamp set and dies together. If you would like to purchase the Citrus Blooms Bundle June 5-30 is the time to get it! And if you don’t already own the Stampin’ Cut & Emboss Machine or the Mini Stampin’ Cut & Emboss Machine, these will be on sale 10% off also! Check out all the Bundles and make your shopping list!

To make this card, I started with an idea from a sample in the Annual Catalog. I did change the background paper and the greeting. When you start off with a brand new stamp set or Suite it’s often easier to copy an idea in the catalog. You’ll often start coming up with your own ideas for making it a little different as you copy the sample. That’s what the samples are there for in the catalog, to give us ideas of how to use the stamp sets!

The card base is Night of Navy. The Mediterranean Blooms Designer Series Paper has beautiful designs of fruits and tile designs. I chose a different tile design paper than the sample in the catalog and diecut it with the large outline die in the Citrus Blooms Dies. The oranges are stamped from the Citrus Blooms Stamp Set on Basic White Cardstock and then colored in with Stampin’ Blends Markers. You can use whatever colors and combinations of colors you like. You can combine two different colors, not just Light and Dark of one color. Just play and enjoy! After coloring, I diecut the oranges with the matching die. After adhering the designer paper to the card base, I adhered the oranges and leaves to the card using Stampin’ Dimensionals.

The greeting is in the stamp set. I stamped it in Night of Navy Ink on Basic White, then diecut with the smallest rectangle die in the Nested Essentials Dies. Since I didn’t have much room on the card, I didn’t want to add a layer under the greeting, so I just used a Night of Navy Stampin’ Blend marker and ran it around the edge of the diecut greeting. I adhered a piece of Peach Pie 3/8″ Bordered Ribbon under the greeting. I ran some Stampin’ Seal Adhesive on the back of the ribbon. Then I popped up the greeting with Stampin’ Dimensionals over the ribbon. For a finishing touch (and because I just wanted to use them!) I added three of the Opal Rounds in Night of Navy. These come in three colors, Night of Navy, Daffodil Delight, and Clear in two different sizes.

On the inside of the card, since the Night of Navy cardstock is dark, I added a layer of Basic White Cardstock for stamping or writing a greeting or message and adhered a narrow strip of the same tile design I used on the front of the card at the bottom of the card insert. That really adds something when you stamp something or add some designer paper to the inside of the card!

I think anybody will be able to make beautiful and striking cards using even just the Mediterranean Blooms Designer Series Paper and even more using the Citrus Blooms Bundle. Remember, the Bundle will go on sale June 5th for the whole month of June!

SHOP STAMPIN’ UP! ONLINE HERE!

Spotlight on Nature Flower Birthday Card

Spotlight on Nature Flower Birthday Card

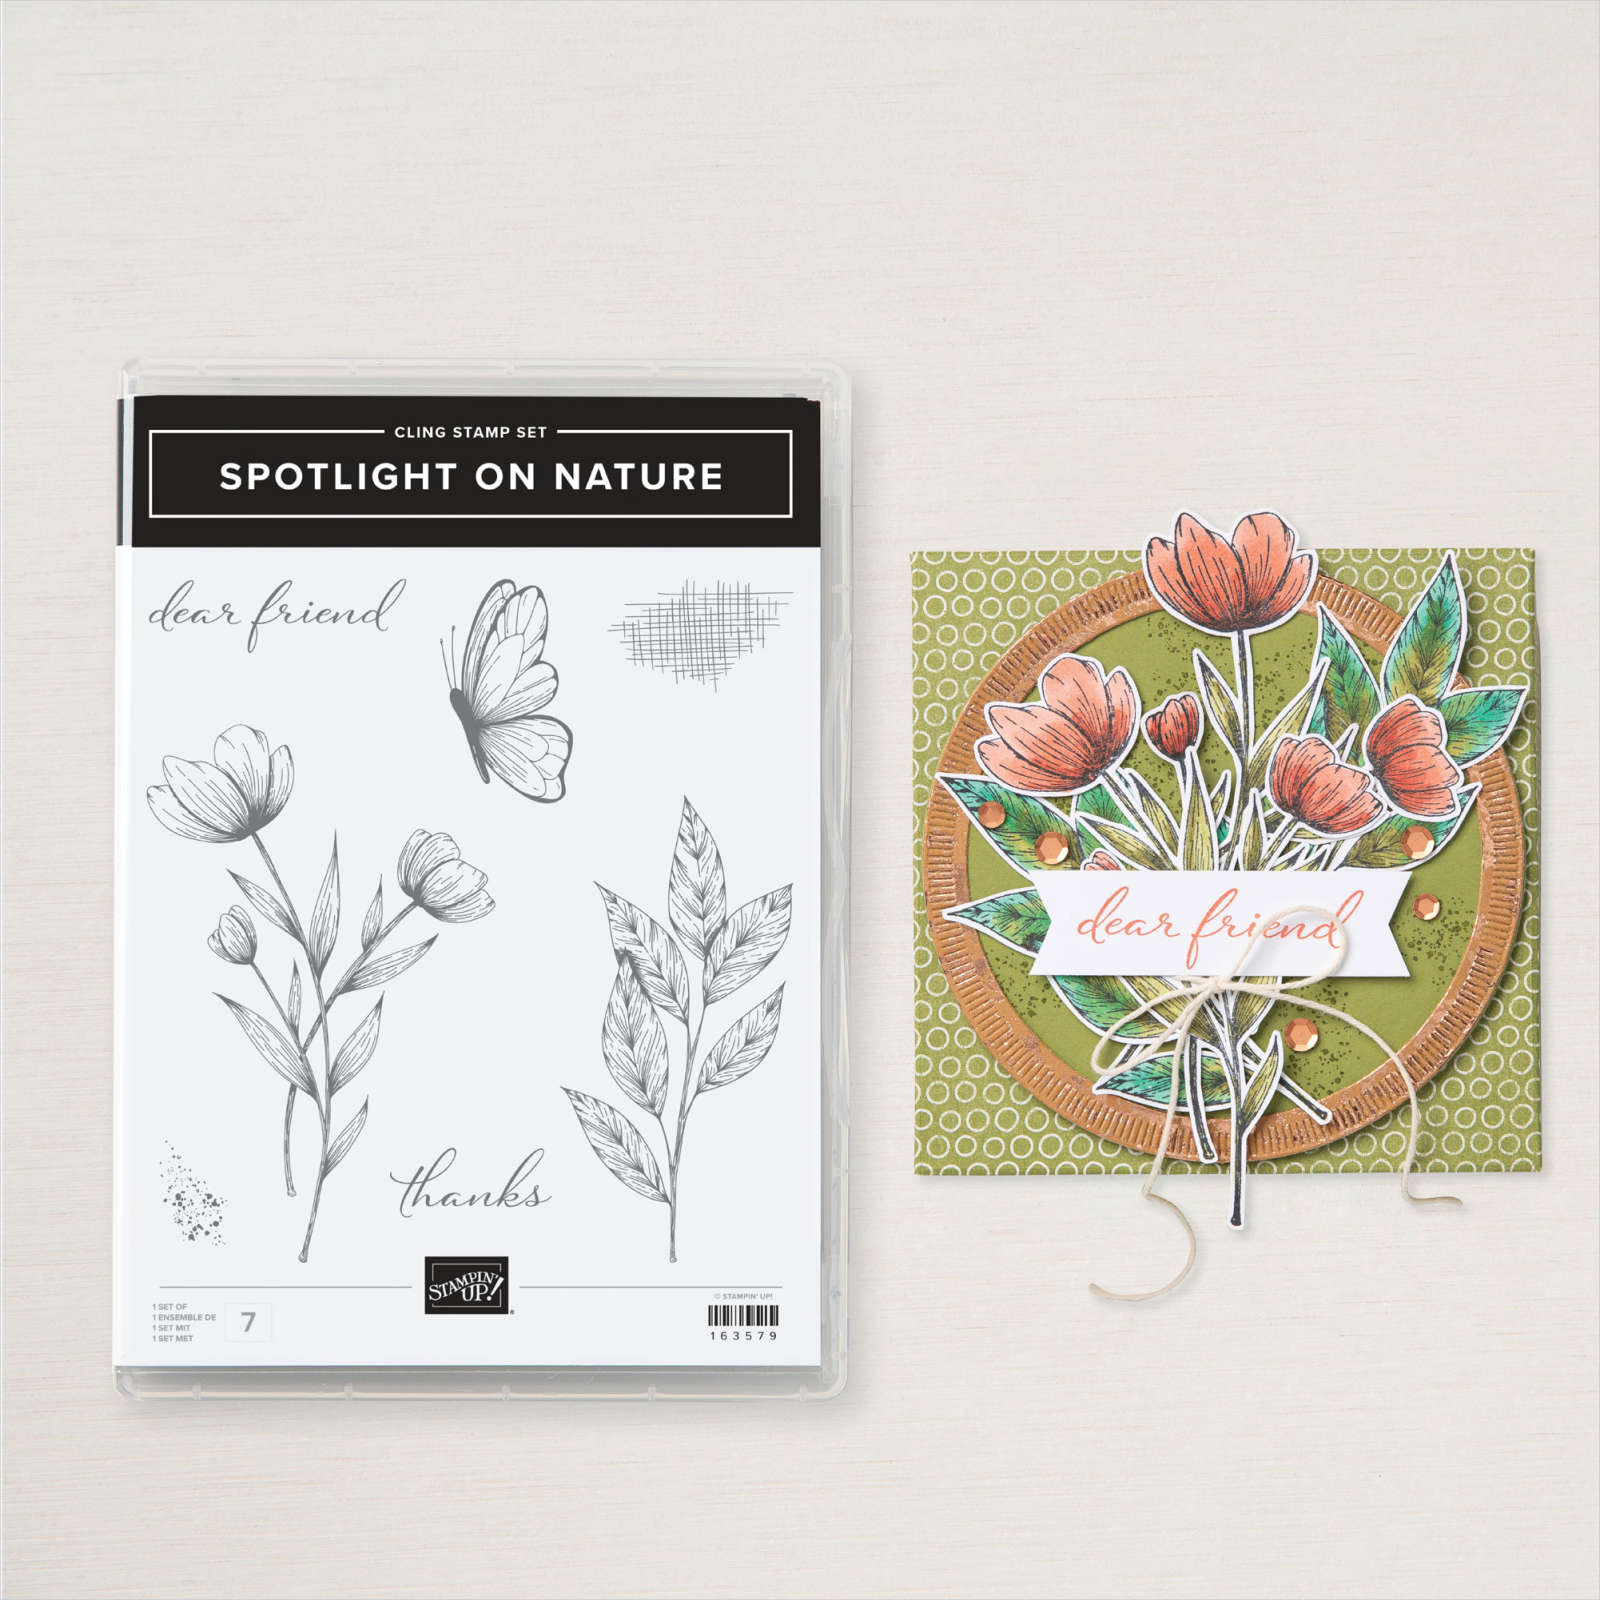
Sometimes you change your mind as you go along creating and that’s what happened with this Spotlight on Nature Flower Birthday Card. I started off thinking I would make a very simple, basic, stamped card. I was going to stamp the flower and butterfly on Basic White which would be the layer on the Soft Sea Foam card base, then add a greeting of some sort. But I kept changing as I went along, and that’s okay!

The card base is Soft Sea Foam and I chose this Soft Sea Foam patterned paper with leaves in the Hello, Irresistible 6″ x 6″ Designer Series Paper. However, I see that this paper is no longer listed under Online Exclusives so maybe it is not available anymore. If you don’t already have this paper, just choose another patterned paper that would make a nice background. As a layer to separate the Soft Sea Foam designer paper from the Soft Sea Foam card base, I added a layer of Garden Green cardstock to help set it off.

Even though I started off thinking I would do simple stamping with the Spotlight on Nature Stamp Set I did stamp and color in but then I cut out the flower and the butterfly! So you may not always know exactly how your card will turn out! The flower and butterfly are stamped in Memento Ink. I colored both images in with Stampin’ Blends markers. Use whatever colors you like. For my flower, I colored the petals with Pretty In Pink and a little Flirty Flamingo. The leaves are colored with Soft Seam Foam and a little bit of Lemon Lime Twist. Just play and see what you like. I love using these Stampin’ Blend markers! The butterfly is colored in with Fresh Freesia, Light and Dark, but then I added some other purple color as well on some parts of the wings. Instead of leaving them on the Basic White piece of cardstock I intended to use on the card, I decided I would rather cut them out separately and adhere them to the card. The flowers are glued down flat on the card and the butterfly is popped up on Stampin’ Dimensionals.

The greeting is from the Simply Said Stamp Set and stamped in Soft Sea Foam ink on this diecut piece of Basic White. The interesting die I used is in the Lovely and Sweet Dies. To make it stand out more on the card, I colored the side tabs and around all the edges with the Soft Sea Foam Stampin’ Blend marker to give it some color.

Before adhering the greeting, I thought I needed something and added some of the Silver & White 1/2″ Sheer Ribbon going back and forth behind the sentiment. I meant to add some gems but I forgot! However, the ribbon provides some sparkle.

This Spotlight on Nature is a pretty set and can come in a Bundle with some great dies. Bundles will be an extra 10% off starting June 5th next week! Make out your Wish List!

Full of Life Friend Card

Full of Life Friend Card

If you love bright and pretty colors you will love the paper I made this Full of Life Friend Card with! This designer paper has watercolor designs colored by in-house Stampin’ Up! artists. I’d love to see the behind-the-scenes of how they created all the designs. One of my friends would call this a “happy” card because of its colors and design. How could anyone not feel happy to receive this card?!

This colorful paper is the Full of Life 6″ x 6″ Design Series Paper. Besides the colorful graphic designs on one side of the papers, the other sides don’t have designs but still have beautiful colors in a plainer style. You can use those for backgrounds. But if you want something bold, use the squares, circles, and color wheels for your project.

This card base is Melon Mambo, but as you can imagine I could have chosen from any number of colors. I love this pattern on the designer paper. It makes a great layer on this card.

I was trying to keep the card simple but I wanted to use the cut-out word “friend” on the front of the card. It is diecut from Melon Mambo cardstock using the Friends For Life Dies. If you would like the stamp set and the dies, you can purchase the Friends For Life Bundle. If you can wait until June 5th, you can save an extra 10% on all Bundles (which are already discounted 10%) and even 10% off the Cut & Emboss Machine. This will be the special at Stampin’ Up! from June 5 – 30.

Before cutting out the word “friend” I added Adhesive Sheets to the cardstock. After the word is diecut, then it is like a sticker and you don’t have to try to put glue on the back of the skinny word! The trick is to remember to use the Adhesive Sheets before you do the diecutting! I usually don’t think of it! But it’s very handy to do!

I diecut a Basic White piece with the Everyday Details Dies so the word would show up better against the background. I also added a rectangle of Melon Mambo cardstock underneath the diecut piece. I just cut it with my Paper Trimmer. I like how it shows through the holes around the border of the Basic White diecut to make it more colorful. In the die set were two different sizes of small hearts so I cut those out also to use up more of the Adhesive Sheet space. Instead of putting a dot over the i in “friend” I put one of the hearts instead.

To make the colorful card even more festive, I thought, I added several (more than 3) Iridescent Adhesive-Backed Discs in various colors. I love these because they are shiny but flat so they aren’t a problem when you mail the card.

Check out the Full of Life Designer Paper in the new Stampin’ Up! Annual Catalog on page 43 in the Suites section. It’s really something different and I love the colors!

SHOP STAMPIN’ UP! ONLINE HERE!

Frames & Flowers So Happy For You Card

Frames & Flowers Specialty Paper Diecut So Happy For You Card

This is another card made with one of the papers in the Frames & Flowers Specialty Designer Series Paper, the Frames & Flowers So Happy For You Card. This card is easy to make, especially with the help of one of the new Ephemera Packs.

The card base is Calypso Coral although Pumpkin Pie is the coordinating color with the paper. But this looks fine and matches the paper and the flowers. The layer of designer paper on the card is “the other side” of one of the foliage patterns. The Frames & Flowers Paper is extra-special because besides three double-sided sheets of designer paper, you also get several sheets of punch-out diecuts of all kinds of foliage, flowers, and frames! So many pieces to play with and design a lovely card, scrapbook page, or other project!

For this card, I diecut a large circle in the Spotlight on Nature Dies in the Stampin’ Up! Annual Catalog. This is a great set of dies with lots of different sizes of circles and all have an interesting border around them. If you would like the Bundle, you get the dies and the Spotlight on Nature Stamp Set and save 10%. The stamp set has very soft and pretty sketches of flowers, a stem of leaves, and a butterfly that you can use on many projects. This is one of the products that I suggest even if you don’t want the stamp set, get the dies because you. will use them a lot.

The little bouquet of flowers in the center couldn’t be easier! They are one of the diecuts in the Frames & Flowers Designer Paper and there are many to choose from! I simply punched that out of the paper and adhered it to the Spotlight On Nature diecut. I popped up the diecut circle on the card using Stampin’ Dimensionals. The ribbon is one of the very pretty new ones in the Annual Catalog. It is called the Iridescent 1/2″ Striped Trim. It’s a very pretty sheer sparkly ribbon on the edges and on the middle stripes. It will beautify lots of cards and projects in the future! I tied the bow and adhered it with a Mini Glue Dot. I also added three little Iridescent Faceted Gems.

The greeting is one of the many diecuts in the Saying Something Ephemera Pack. We have four ephemera packs to choose from, one of the new and different products in the new Annual Catalog. This one has lots of greetings to use on projects of all kinds. I glued it down flat at the bottom of the card.

In yesterday’s post, I made a card using the Frames & Flowers Specialty Designer Series Paper but it has a whole different look than today’s card. That shows how versatile this fun pack of paper and diecuts can be! Be sure to check it out.

SHOP STAMPIN’ UP! ONLINE HERE!

Poised Peony Hello Card

Poised Peony Hello Card

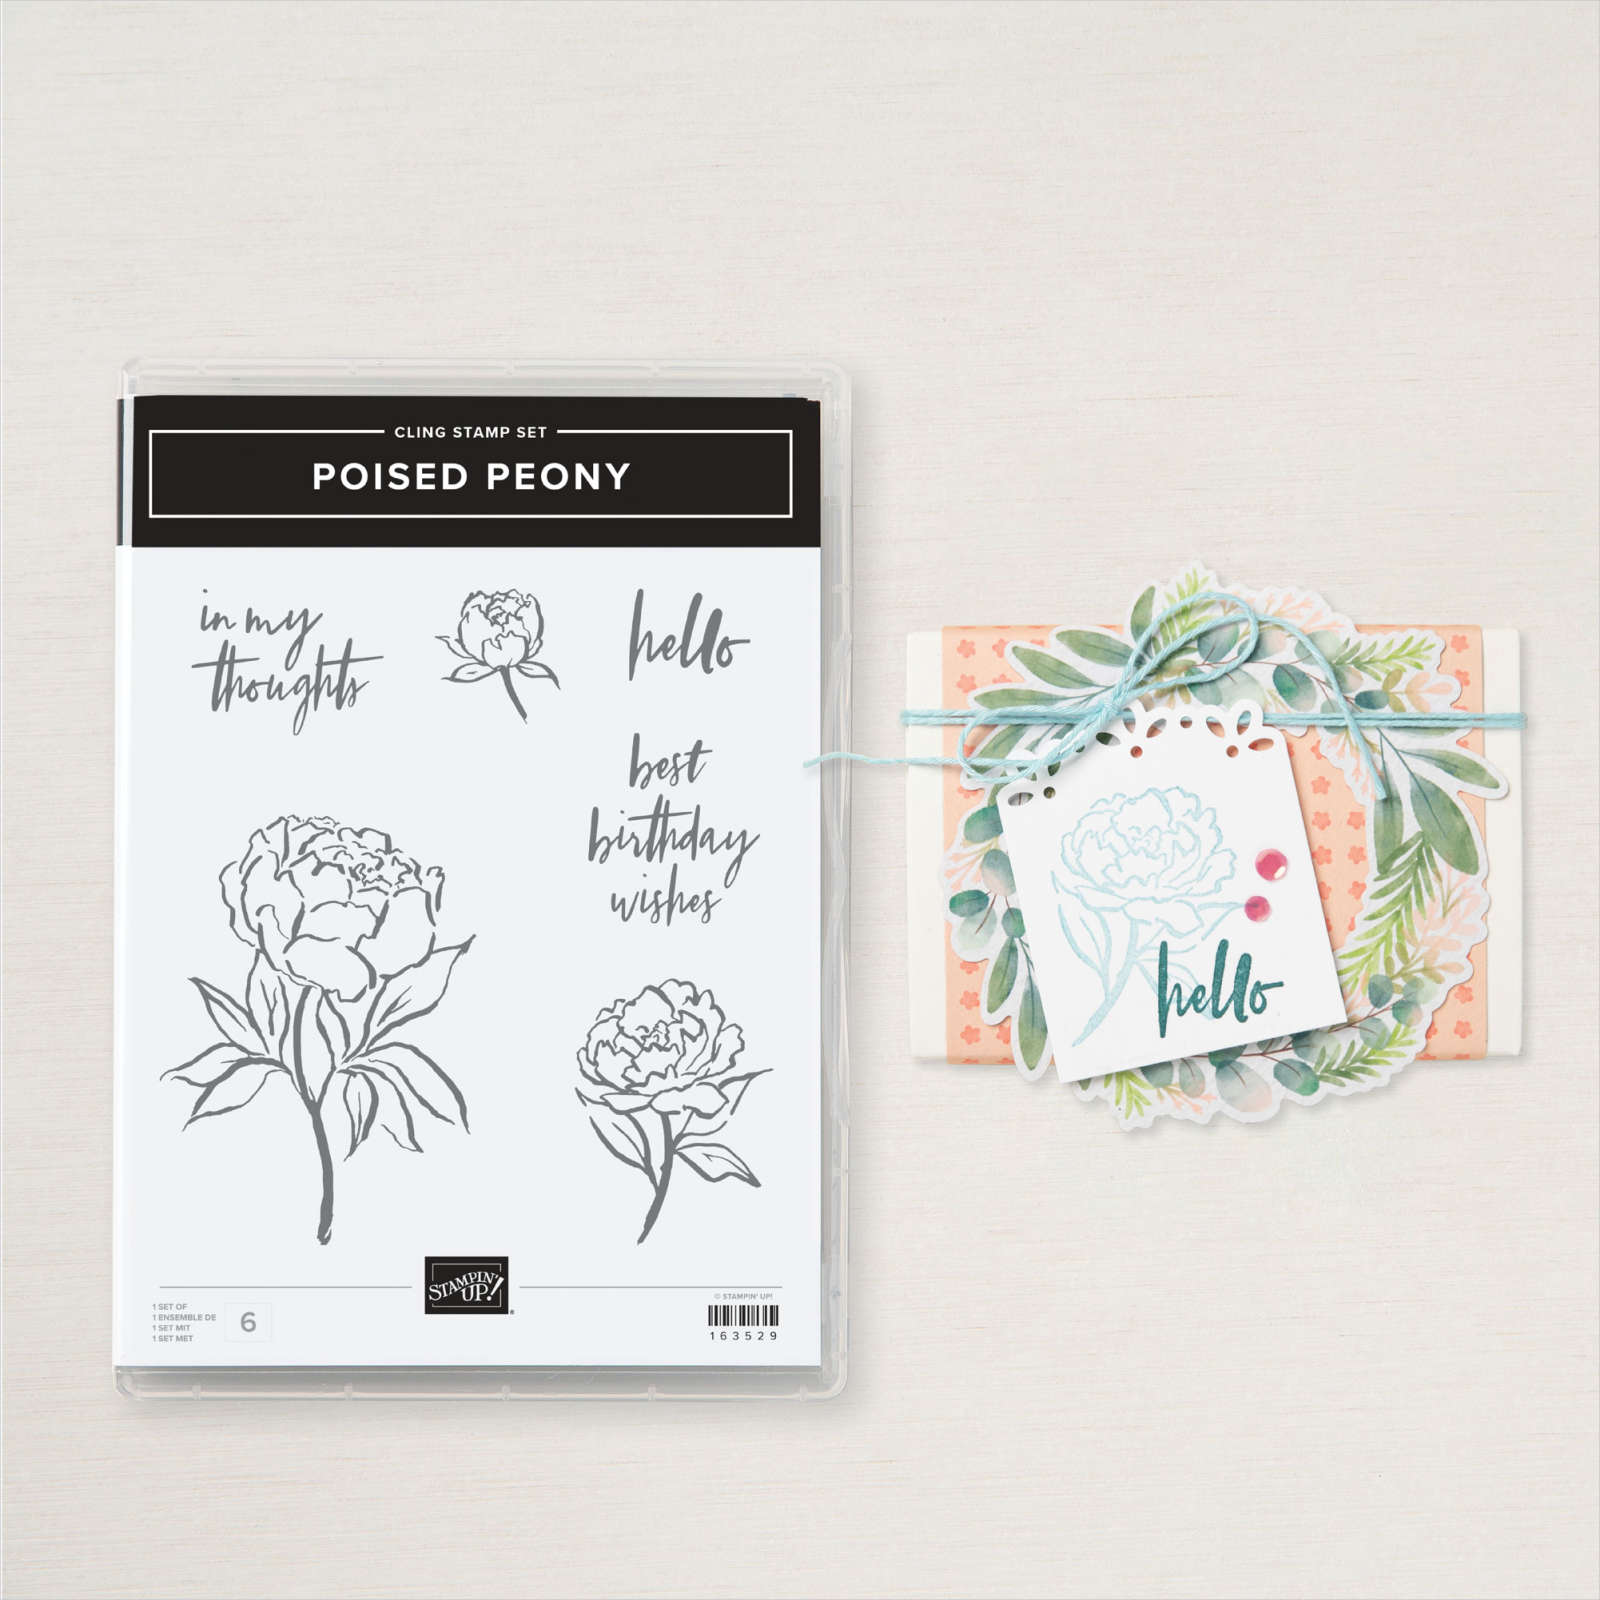
I got some new products the other day (although I placed an order before I knew about free shipping last Tuesday!) so I’ve been trying to organize my new things and take out some of my old things and also do some cardmaking! This Poised Peony Hello Card was a pretty easy one to make with one different little design element.

The Poised Peony Stamp Set is a new stamp set in the Stampin’ Up! Annual Catalog. It’s a standalone stamp set…no dies, no punches….on page 28. And right across on the next page, page 29, is this Frames & Flowers Specialty Designer Series Paper. Pictured are lots of samples using this paper and the stamp set showing cute gift wrap ideas and gift tags.

You will want this package of Frames & Flowers paper because it’s different! It has three sheets of double-sided designer paper in generic patterns on one side and beautiful greenery and floral patterns on the other. Then there are three sheets with diecut of all kinds! You can punch out florals, greenery, wreaths, frames, and more on these sheets. They are thin so they are easy to push out. You will probably want to detach all the pieces and put them in an extra plastic stamp case or plastic envelope or something you have to just keep them ready to use.

Frames & Flowers Specialty Designer Paper Floral

Frames & Flowers Specialty Designer Paper Pattern

Frames & Flowers Specialty Designer Paper Pattern

To make this Poised Peony Hello Card, I started with a card base of Lost Lagoon Cardstock with a layer of Petal Pink. For something a little different, instead of just adding a layer of design paper, I chose one of the Frames & Flourishes floral paper and cut it into three strips. Each paper strip is cut at 1 1/4″ x 5″. You can vary this measurement depending on how you make your card.

The focal point of the card is a stamped large peony on Basic White. The peony is stamped in Memento ink and colored in with Stampin’ Blends alcohol markers in Petal Pink and Granny Apple Green. Then that piece was diecut with one of the Radiating Stitches Dies. (Maybe those dies are sold out now from the Online Exclusives, as I write this!) Use some other rectangular shape for this piece, such as the Deckled Rectangle Dies or just cut out a rectagle with the Paper Trimmer. I added a narrow layer of Petal Pink and popped up this center piece. If you don’t like to do the coloring, just stamp the whole flower in one color and don’t do any coloring. The greeting that I stamped in Petal Pink ink in the corner is in the Poised Peony Stamp Set.

For an embellishment, I just tied a little knot in some Petal Pink ribbon I had that retired from the last catalog, but if you don’t have that you could use the new Petal Pink & White 1/4″ Diagonal Trim Combo Pack in the new catalog. I also added three little Petal Pink dots in the Rainbow Adhesive-Backed Dots. These are really nice embellishments so you might want to put these on your next order!

There are smaller peonies in this stamp set also so you can choose which one suits your project the best!

SHOP STAMPIN’ UP! ONLINE HERE!

Meandering Meadows Scenic View Card

Meandering Meadows Scenic View Card

This Meandering Meadows Scenic View Card uses beautiful designer paper that I haven’t used in awhile and using a greeting that is brand new! Actually, the card base is brand new also!

This designer series paper is called Meandering Meadows and comes in the 6″ x 6″ size. You’ll find it in the Online Exclusives. Each paper is like owning a painting of a beautiful meadow painted by an artist in the impressionist style. You really could frame each individual scenic paper or change them out every few months for some art in your home!

The paper is part of the Meandering Meadows Suite Collection. As I write this, the whole Suite is not available only because the Adhesive-Backed Dragonflies & Birds is out of stock BUT due in next week! With the Suite you get the stamp set, Garden Meadow, the Garden Meadow Dies, the paper, the ribbon, and the brass embellishments.

To make this card, I started with the new Basic Beige Cardstock, one of the new Basic colors. I thought this color of cardstock would go well with the other colors I was using. The Basic Beige is layered with the greenish side of one of the papers that has a scene.

This arched die is perfect for making kind of a window into one of the scenic papers. If you cut the arched-opening first, you can place it over some of the scenic papers and see which one you would like to show through the window, then cut that paper just a smidge smaller than your arched piece. I glued everything on flat to the card but you could use Dimensionals if you wanted.

The greeting is in one of the new Ephemera Packs in the catalog. This one has all kinds of greetings and is the Saying Something Ephemera Pack. The three others have flowers, labels, and miscellaneous things that will be fun to use. I chose this one because the colors kind of went with the card and it fit nicely on the card. You know I couldn’t resist using a few Iridescent Foil Gems on the card.

There are so many fun products in the Online Exclusives so even though they are not in the catalog, don’t forget to check that category online when you are ordering. Of course, new products are going to be added along and along, too! The Online Exclusives makes that convenient so Stampin’ Up! can put new things out there without waiting for a new catalog to be published.

If you like to make scenic cards, this designer paper will really fit the bill! If you would like to see another simple card I made with this paper and a greeting on a tag, click HERE.

SHOP STAMPIN’ UP! HERE!

FREE SHIPPING at Stampin’ Up! TODAY!

SU Free Shipping Banner May 2024 BorderInfo

Tuesday, May 21, with a minimum $75 order!

Have something on your wish list? Thinking about stocking up on crafting essentials? Got the urge to splurge? Shop TODAY and get all the products you love while saving on shipping costs! This incredible deal only lasts for 24 hours, so don’t miss out!

(If you started an order in your Cart on another day, you may have to start over to get the free shipping.)

Think about this:

Paper Pumpkin Boxes

Prepaid 3-, 6-, or 12-month Paper Pumpkin subscriptions can contribute to the qualifying amount for free shipping (Month-to-month subscriptions do not qualify). Subscriptions billed and shipped this month will be charged for the normal amount ($24.50 USD shipping included) + tax.

When you purchase a Prepaid subscription (even if you already have a Monthly subscription), Stampin’ Up! will send you an email with a code. You will set up your account and enter that code to begin receiving the Prepaid Paper Pumpkin Kits. You can still skip a month if you want to. If you already have a monthly subscription to Paper Pumpkin, it will resume after your Prepaid subscription ends.

Go have fun shopping!

SHOP STAMPIN’ UP! ONLINE HERE!

Simply Zinnia Dotted Circles Embossed Card

Simply Zinnia Dotted Circles Embossed Card

You may have heard about this brand new embossing folder in the Stampin’ Up! Annual Catalog. It is huge! I thought I would give it a try with this summery card, Simply Zinnia Dotted Circles Embossed Card.

This is the Dotted Circles 3D Embossing Folder. If you don’t own it yet, you will be amazed at the size when you compare it to your other embossing folders! I don’t even know why it is so large except maybe for scrapbooking. But the embossed cardstock can be trimmed down to any size you want. Here is a photo comparing the Dotted Circles 3D Embossing Folder to the Layered Florals 3D Embossing Folder.

Dotted Circles Embossing Folder Comparison

In the photo, you can see the width of both folders is six inches, but the Dotted Circles Embossing Folder is 2 1/2″ longer.

Dotted Circles Embossing Folder Size

To make this card, I cut the Daffodil Delight cardstock down to the size I wanted it for the card, 4″ x 5 1/4″, then embossed it with the Dotted Circles EF. I tried to center the cardstock exactly where I wanted it in the folder before running it through the Cut & Emboss Machine. I layered the embossed Daffodil Delight cardstock on a card base of Granny Apple Green Cardstock.

For the focal point of the card, I diecut a piece of Basic White using a large circle in the Everyday Details Dies. I stamped the bouquet of three zinnias from the Simply Zinnia Stamp Set in Memento ink and colored in with Stampin’ Blends markers. I mostly used Daffodil Delight for the flowers and added little areas of Peach Pie. The leaves are colored with Granny Apple Green with a little Lemon Lime Twist added. You can play around with any combination of colors you like. I love coloring with the Stampin’ Blends! This stamped diecut circle was then popped up on Stampin’ Dimensionals.

The greeting is from my new ephemera pack, Saying Something Mix & Match. We haven’t had these before, but there are four sets to choose from. If you get a couple of them at least, you can mix & match and put a couple of them together. I liked this one with all the sayings and sentiments. It’s great for a beginning stamper who doesn’t have a lot of stamps yet for greetings. I popped this sentiment up on Dimensionals. To make the ephemera pieces a little more sturdy a good tip is to add extra dimensionals or even a strip along the edge of the dimensionals. You can also use Adhesive Foam Sheets and cut a piece the size you want. Of course, you can always glue the ephemera down flat with glue. I wanted mine popped up to match the circle.

For embellishment, I tied a double strand of Linen Thread into a bow and adhered with a Mini Glue Dot. I also added three Lemon Lime Twist gems in the Tinsel Gems Four Pack.

If you are interested in purchasing any of these new products, wait until tomorrow if you will have an order of $75 or more and get FREE SHIPPING! One day only, Tuesday, May 21st!

SHOP STAMPIN’ UP! ONLINE HERE!

Layered Florals Blackout Technique Birthday Cards

Layered Florals Blackout Technique Birthday Card

Here is a technique I tried this past weekend that I have seen on the internet for a little while. It’s called the Blackout Technique or maybe Blackout Embossing. No matter the term, it is fun and easy and results in a stunning card. This Layered Florals Blackout Technique Birthday Card is my first attempt and I also made another one in different colors. This Layered Florals 3D Embossing Folder is a perfect one to use for this technique!

Layered Florals Blackout Technique Embossing

To make this style of card start with embossing a piece of Basic White with the Layered Florals Embossing Folder and the Stampin’ Up! Cut & Emboss Machine. The cardstock can be larger than will be used on the card front, it can be trimmed down later. Turn the embossed cardstock over to the “debossed” side, not the usual “pretty” side. You will see the indentations of the flowers. Color on this debossed side of the cardstock. For this card, I used Stampin’ Blends….many colors! You can choose what you like or use just one main color. I was using bright colors, such as Melon Mambo, Peach Pie, Summer Splash, Granny Apple Green, Lemon Lime Twist, Pretty in Pink, and more.

Once you have all the coloring done that you want to do, you will swipe a dark ink pad over the whole piece of embossed cardstock, colored side up. You won’t ruin it!

Layered Florals Blackout Technique Swiping Ink

You can use a Memento ink pad or a Stampin’ Up! ink pad. I used Basic Gray which is dark and looks like black. Don’t swipe the ink pad completely flat on the card but rather hold the edge of the pad at a slight angle as you swipe over the card. You do need a juicy ink pad as this uses a lot of ink! You probably will need to go over it in several swipes to get every area covered in the dark ink. You might use a tissue to hold the cardstock down so you don’t get ink all over your fingers, but it is a messy technique!

Layered Florals Blackout Technique Basic Gray Ink

Now you can trim down your embossed and inked piece for whatever size you want for the card. My card base is Basic White with a layer of Melon Mambo so my inked piece is trimmed down to 3 3/4″ x 5″. The greeting is stamped with a stamp in the Textured Florals Stamp Set in Melon Mambo ink. It was then diecut with one of the Unbounded Love Dies.

Another way to color is to use Blending Brushes or Sponge Daubers. For this embossed piece, I wanted Peach Pie flowers for the large ones and I used Daffodil Delights for the small flowers. You can use a light touch with the Blending Brush while adding the color. The leaves were colored with Stampin’ Blends.

Layered Florals Blackout Technique Blending Brush Coloring

For this card, I used Blueberry Bushel ink to swipe on the embossed piece. I thought the dark blue would look good with the Peach Pie flowers. It is very dark, almost black. This card is Basic White with a layer of Peach Pie cardstock. I embellished it with the Peach Pie 3/8″ Bordered Ribbon and added a separate bow. The greeting is from the Simply Said Stamp Set stamped in Peach Pie ink on Basic White and then diecut using the Unbounded Love Dies again.

This is what it looked like as I began swiping with the Blueberry Bushel ink, which even at that stage, I thought it looked interesting and pretty! So I suppose you could stop with a few swipes of ink if you liked it that way! But I did cover it completely with ink.

Layered Florals Blackout Technique Blue Ink

Here is the finished card.

Layered Florals Blackout Technique Peach Pie Card

I know you will want to try this technique! If you don’t have this exact embossing folder, see what you do have or just try any one you have and see what you can do with it! If you don’t have large images like these flowers, maybe using Blending Brushes or Sponge Daubers to apply the color. Remember to do it on the debossed side of the embossed cardstock.

It’s fun and easy and a surprise to see how the card will turn out!

Remember, FREE SHIPPING is Tuesday, May 21, one day only, with an order of $75 or more!

Free Shipping at Stampin’ Up! May 21!

SU Free Shipping May 2024 Sq Ad Info

  • Free shipping is for 24 hours only. Orders must be opened and closed on May 21, 2024. Don’t start typing in your order the night before!
  • Free shipping automatically applies to your cart after the qualifying amount has been met, which is $75 USD. 
  • Prepaid 3-, 6-, or 12-month Paper Pumpkin subscriptions can contribute to the qualifying amount for free shipping (Month-to-month subscriptions do not qualify). Subscriptions billed and shipped this month will be charged for the normal amount ($24.50 USD shipping included) + tax.

Now’s the time to order some new products from the new Annual Catalog! Or stock up on basics! Or try a Kit in the Kits Collection on your order. Lots to choose from to reach $75 and get FREE SHIPPING!

Make out your list over the weekend and then be ready to order ONE DAY ONLY on May 21!

A Little Latte Thanks So Much Card

A Little Latte Thanks So Much Card

With all the excitement over the contents of the new Stampin’ Up! Annual Catalog, don’t forget about the choices in the Online Exclusives! This designer paper alone is so fun to work with, not to mention the whole A Little Latte Suite if you want it all!

The card base is Early Espresso but you can choose from other colors as well. I used two different patterns of the A Little Latte Designer Series Paper for the background layer. The piece on the left can be any width you like, probably about 1 1/2″ – 1 3/4″ and the plaid pattern can be the full 4″ width of just extend under the blue stripe a little bit. Before adhering the designer paper layer to the card, wrap around the ends of the Natural 3/8″ Polka Dot Trim Ribbon to the back at the top and bottom. Then tie on a short piece just for a knot, rather than a bow, since the ribbon is a little stiff and thick.

Two coffee or latte cups are just fussy-cut out of the designer paper. If you have Paper Snips or similar small scissors, it’s easy! You can adhere them flat or pop them up on Stampin’ Dimensionals.

The greeting is from the Latte Love Stamp Set. It is stamped on a piece of Basic White in Pecan Pie ink, then die cut with a rectangle from the Everyday Details Dies. Since the rectangle has holes around the border, I cut a piece the same size (just a smidge smaller) of Calypso Coral cardstock to show through the holes!

For a little embellishment, I added three Adhesive-Backed Swirl Dots. They are also included in the A Little Latte Suite along with the ribbon, paper, stamps, and dies. As I write this, the A Little Latte Designer Series Paper is sold out but is expected back in stock the week of June 3rd. That makes the Suite unavailable but you can order the rest of the products separately. These are all in the Online Exclusives category rather than pictured in the catalog. Here is another card made in almost a similar way.

SHOP STAMPIN’ UP! ONLINE HERE!

Paper Pumpkin June 2024 Kit Life Is Sweet

Paper Pumpkin June 2024 Kit Life Is Sweet

I almost forgot it is time for a new Paper Pumpkin Kit! This Life Is Sweet Kit is the June Kit you can subscribe to now! If you are already subscribed, you don’t have to do anything except look forward to this box that will show up in your mailbox in mid-June!

The June kit details:

· Celebrate the sweet things in life with textured, artistic cards.

· Features the new 2024–2026 In Colors!

· Makes 9 cards: 3 each of 3 designs with 9 coordinating envelopes

· Iridescent glimmer sentiments and precut paper pieces
· Coordinating colors: Poppy Parade, Peach Pie, Lemon Lolly, Shy Shamrock (Classic Stampin’ Spot), Pool Party, Pretty In Pink

Sign up to receive a Paper Pumpkin Kit each month in the mail! It’s a special treat you give yourself when you find the kit in your mailbox. Each kit includes an exclusive stamp set and an ink spot. This month you will receive one of the new In Colors, Shy Shamrock, as your ink spot. You can save these ink spots and use them any time. They are especially good for traveling if you want to take some stamping supplies along. With your first kit, you will receive an acrylic block on which to mount the stamps you will use. All the supplies you need to make the cards will be shrink-wrapped in your box and wrapped in tissue paper to make the presentation to you extra special! You can even save the tissue paper in your gift-wrapping stash!

No risk! No obligation! If Paper Pumpkin is not for you, just go into your account before the 10th of the next month and Cancel. If you see a sneak peek of the upcoming kit and it’s not your style or you’re going to be too busy, just skip a month. Go into your Paper Pumpkin account and you’ll see what to do. Stampin’ Up! guarantees all kits so you can always contact them if you are unhappy with your kit.

Join now so you won’t forget! The deadline is June 10th to sign up and get your kit in about ten days!

JOIN PAPER PUMPKIN TODAY!

Unbounded Beauty Thinking of You Card

Unbounded Beauty Thinking of You Card

This Unbounded Beauty Thinking of You Card is an easy basic design that you can copy easily for almost any kind of card. I wanted to make a simple card and I wanted to use this white ribbon. When I cleaned up my basket of ribbons, dividing up the retired ribbon and the current ribbon, I hated to put all the retired ribbon away. But this white ribbon isn’t retired! You can find it in the Clearance section!

I started with a card base of Petunia Pop, one of the new In Colors, and I was even thinking of adding a Basic White layer underneath the designer paper. But then I decided to try Berry Burst cardstock for the card base which I liked a little better. The layer of designer paper is the Unbounded Beauty Designer Series Paper, a new pack of 12″ x 12″ paper in the Stampin’ Up! Annual Catalog. These papers, in my opinion, are prettier in person than in the catalog! I used a full layer of the designer paper, 5 1/4″ x 4″. If you wanted to, you could make the bottom half of the card with the other side or another pattern of the paper.

Before I adhered the designer paper, I adhered the ends of this White 3/4″ Frayed Ribbon to the backside of the designer paper before adhering the paper to the card base. I tied the bow separately and adhered it to the card with several Mini Glue Dots.

The greeting is stamped in Berry Burst ink in the Simply Said Stamp Set. This is a great stamp set for greetings. I used a die in the Unbounded Love Dies to cut out the sentiment and then I chose one of the larger dies for a background layer for the greeting. I popped this up on Stampin’ Dimensionals and added a couple of 2024-2026 In Color Shimmer Gems to each end of the diecut.

You can make this card design with any designer paper or stamped background. Add some ribbon for embellishment and a greeting and you have a nice card!

SHOP STAMPIN’ UP! HERE!