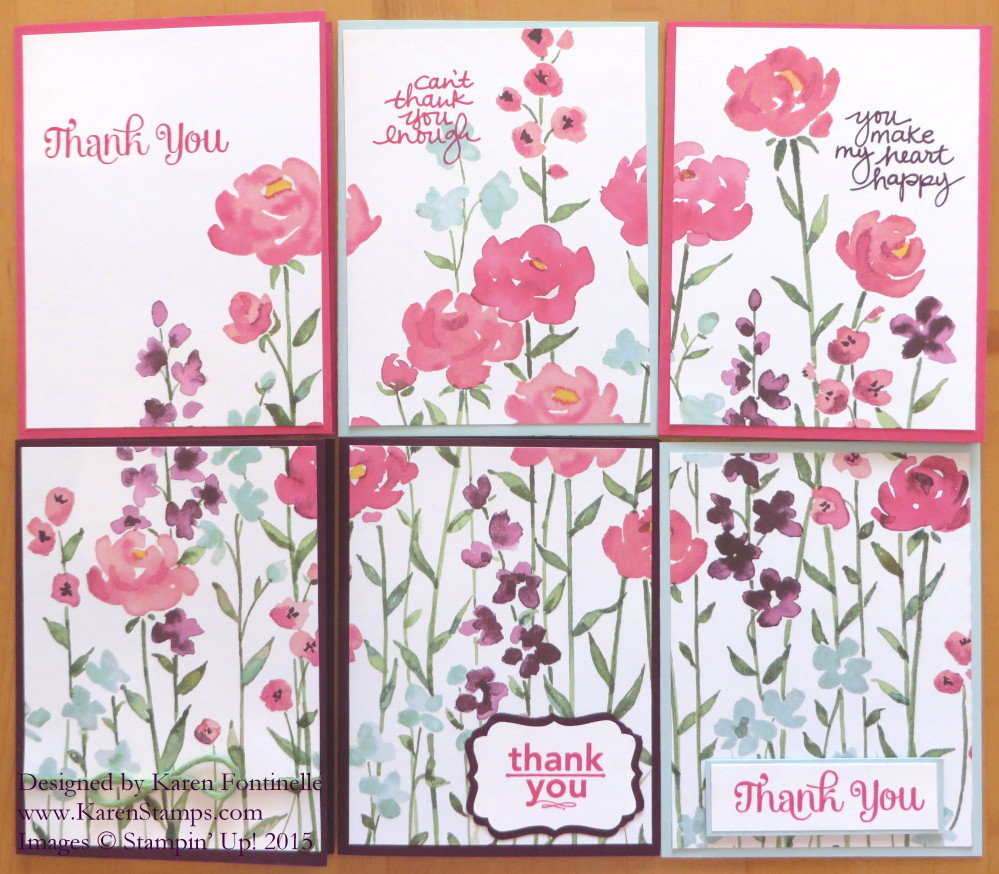
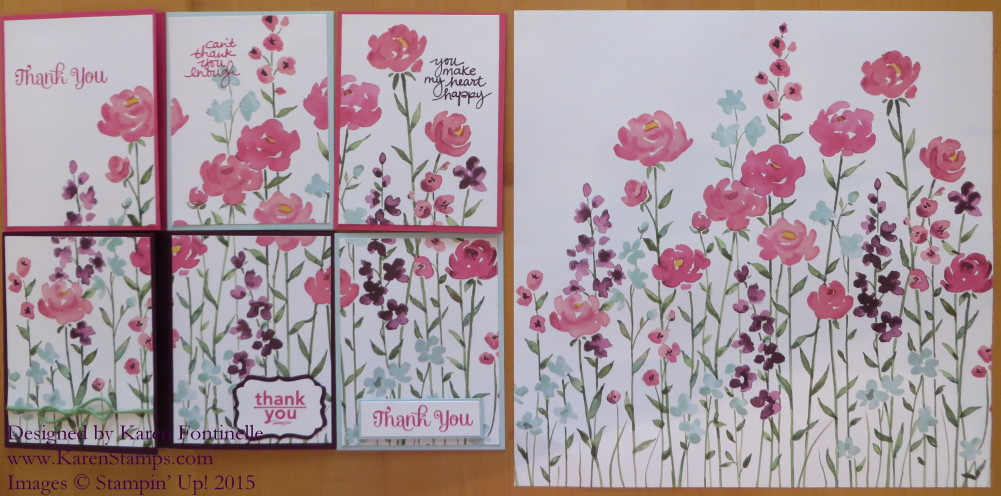
This beautiful Painted Blooms Designer Series Paper is in the Stampin’ Up! Occasions Catalog, which will be ending soon! Just so you don’t miss out, I wanted to remind you of how you can make six easy cards with one sheet of Painted Blooms paper! The “beauty” is already done for you, you just add a greeting and maybe an embellishment. This paper came from an actual watercoloring! Since you get two sheets of the same design in the package, you can cut one up and frame the other one for artwork! Don’t be afraid to use it! Better to be made into cards or in a frame than to be stuck in a plastic package unused! Release it!
Here’s how you do it!
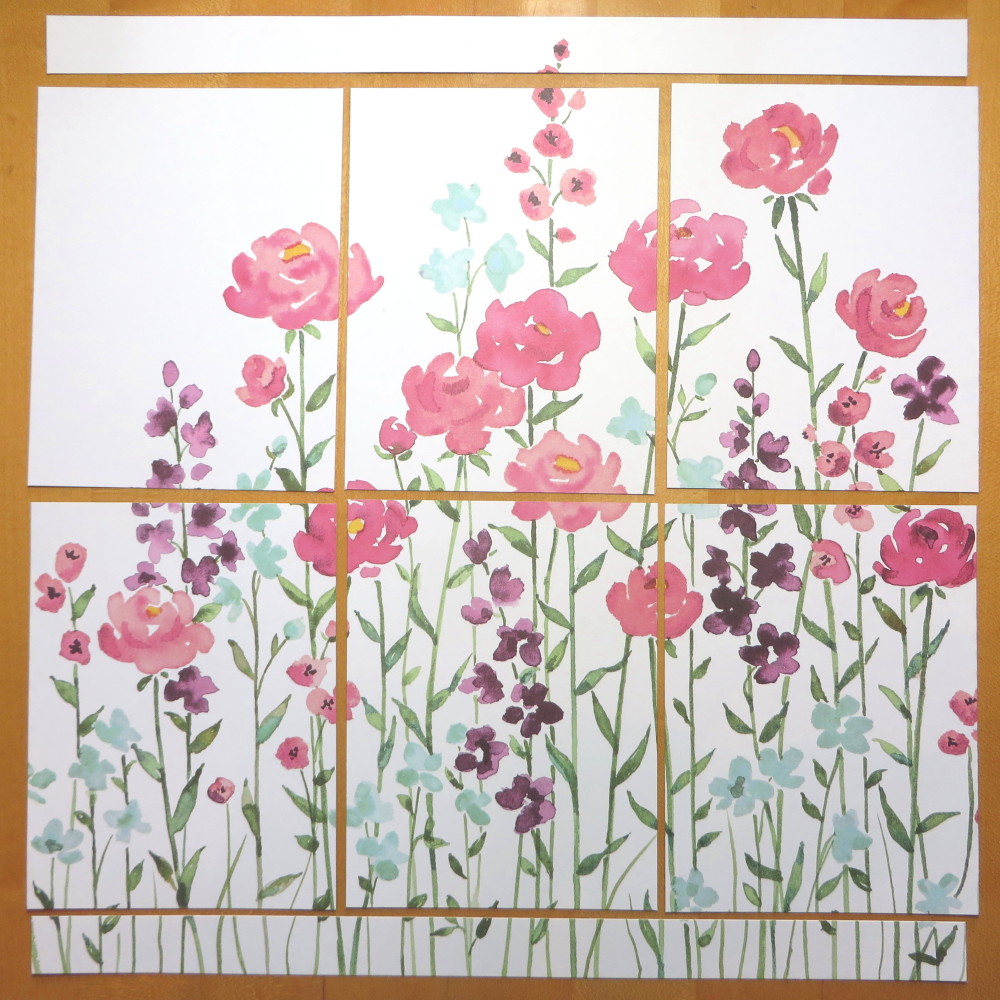
Just cut 3/4″ off the top and the bottom of the sheet of paper. At first I wondered why I wouldn’t just cut 1 1/2″ off the bottom or top, it would be the same, but following these directions you are just trimming off the bottom of the grass on the bottom and the white area on the top, leaving almost all of the design intact! Then cut the middle piece in half at 12″ x 5 1/4″ horizontally and then cut each strip at 4″. So your card layer pieces will be 4″ wide and 5 1/4″ tall.
Then just add these layers to card bases, stamp a greeting if you like, maybe add some ribbon or a butterfly or whatever you like, maybe some Dazzling Diamonds Glitter on a flower. Keep it simple and you will have six cards made in no time!
If you need some pretty Mother’s Day cards this weekend and you have this paper, try this out! Don’t be afraid to use your designer paper! I know we are all paper hoarders! If you don’t own this paper, look through your stash and see if there is another pattern you can use similarly. It’s easy!
Don’t forget the Stampin’ Up! Weekly Deals as well!


