

You might not believe how easy this Perennial Essence Birthday Gift Box or Bag is to make, and just think what a great impression your gift to someone would make when presented like this! You can leave it open as it is filling it with “shred” or tissue paper to hide the gift inside, or close the top with ribbon or a decorative binder clip or many other ways.
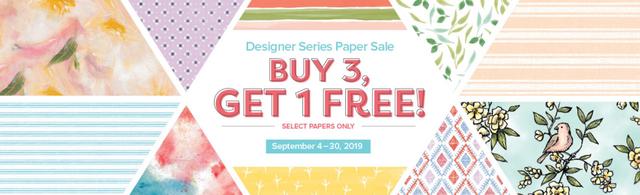
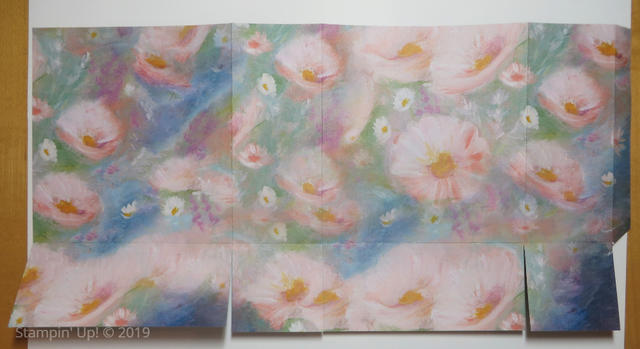
This Perennial Essence Designer Series Paper is so beautiful. You could even frame a sheet of it to look like art! This paper features handpainted impressionistic images in rich colors! You just can’t go wrong on any project using this paper! And guess what?! It’s going to be part of the Stampin’ Up! Designer Series Paper Sale beginning Wednesday, September 4, 2019!
While we are waiting for the sale day to arrive, here are directions on how to make this easy little birthday gift bag!
Start with a 6″ x 12″ piece of designer paper. Score at 4″, 5 3/4″, 9 3/4″, and 11 1/2″. Then turn the paper long ways and score at 1 3/4″.
Before you do anything, pay attention to any pattern in the paper. That 1 3/4″ area is going to be the bottom flaps of the bag or box, so picture how the paper will look when it is completely made. Even some of this paper you might decide has a bit of a pattern that you want to pay attention to. Cut those flaps up to the 1 3/4″ score line. Crease all the scored lines and fold so you can see how the bag will go together. Cut off that smallest end piece on the bottom that would be 1 3/4″ x 1/2″.
When you fold on all the scored lines, you will be able to assemble the box (or bag). Start with putting a strong adhesive on that narrow flap you see on the far right. Use something like Tear & Tape or Multipurpose Liquid Glue. Think about which side you want for the front of the box depending on where you see the good side of that flap and then try to fold and adhere the flaps on the bottom so that the folded edge is facing the front, if possible. These small details help to make your project finished off perfectly!
I chose to just leave my box open at the top. I tied a bow but just adhered it to the top of the bag with Mini Glue Dots. You could punch holes in the top of the bag and tied the ribbon through. Or you can punch holes in both sides of the bag and close it with ribbon that way. The ribbon I used is the gorgeous Petal Pink 5/8″ Organdy Striped Ribbon.
To decorate the front of the bag/box I die cut a piece of Petal Pink Cardstock from the Petal Labels Dies and then cut an oval for the stamped greeting with the oval that comes in the set. The Happy Birthday greeting is from the Beautiful Bouquet Stamp Set. And I couldn’t leave well enough alone! I had to add a little bling with the Petal Pink Rhinestone Gems.
Here is a similar project I made back in May. Check out THIS POST. You can see how fun and easy this project is!
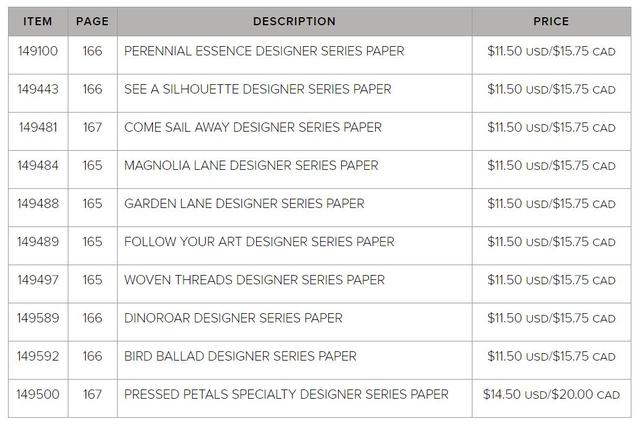
Start looking over the select designer series papers that will be on sale Sept. 4th, which will be the same day as the Holiday Catalog goes live. None of the Holiday papers are part of the sale, though! Choose 3 papers, then the 4th one you add to your order will be FREE!
I hope you will try this project I made today with the Perennial Essence Designer Paper and see how easy it truly is!