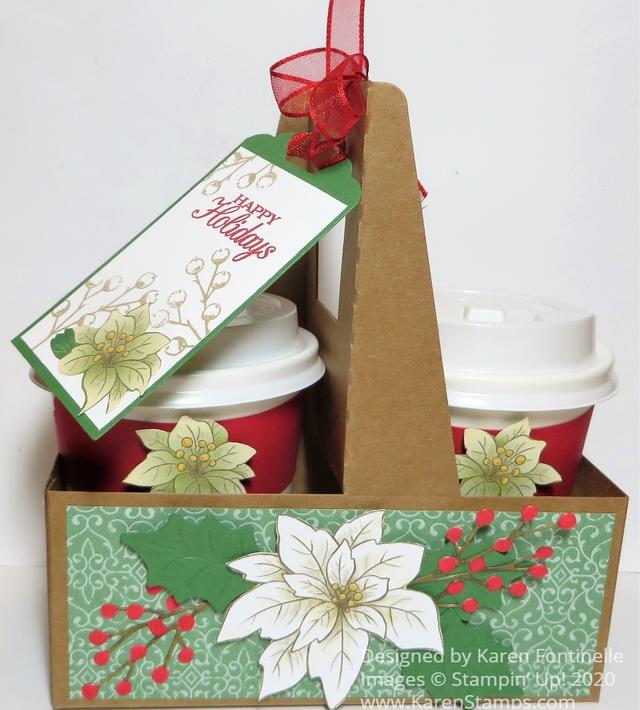
I’ve had these carriers for a while and kept forgetting to use them, but here is one for you today, my Poinsettia Decorated Mini Coffee Carrier! These will be fun to make for neighbor gifts or treats or extra presents for your family. You can use them in so many different ways for so many different treats!
Fill the cups with cocoa mix, or maybe just one cup and then on the other side put cello bags of marshmallows and maybe a peppermint stirrer. Put any kind of candy or maybe small cookies inside the cups. Fill cello bags with a treat and insert those inside the cup but leave off the lid so the recipient will see the pretty treat bag tied with a ribbon and a tag. Decorate the Mini Coffee Carrier but put in gifts of small candles or bath products or some other kind of product or container. The ideas are endless!
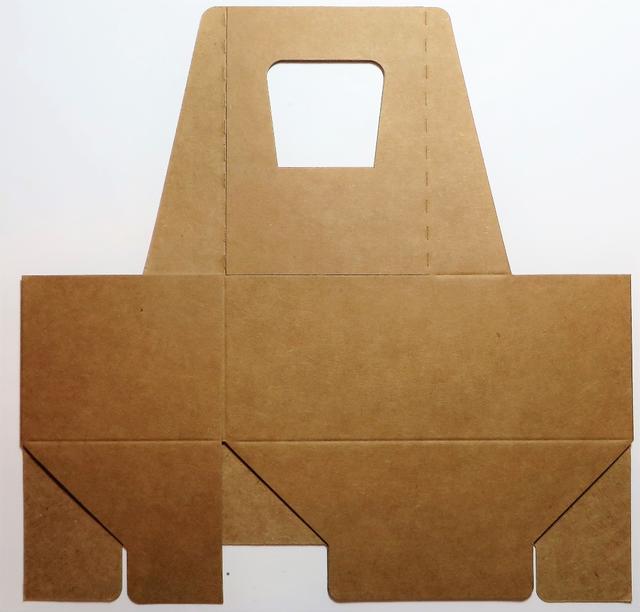
This is what the Mini Coffee Carrier starts out like! It is folded flat so you don’t have to worry about storage space. Just start sticking your hands in there to open it up and then when it gets loosened up, crease and fold on all the score lines to make your carrier. Play around with those tabs on the bottom and make sure you have them assembled so they are strong to hold the contents of the carrier. You get 8 kraft carriers for only $5!
The coffee cups are separate if you would like those. Order the Mini Coffee Cups and get eight cups and lids and they are food safe and can hold a beverage up to 200 degrees F.
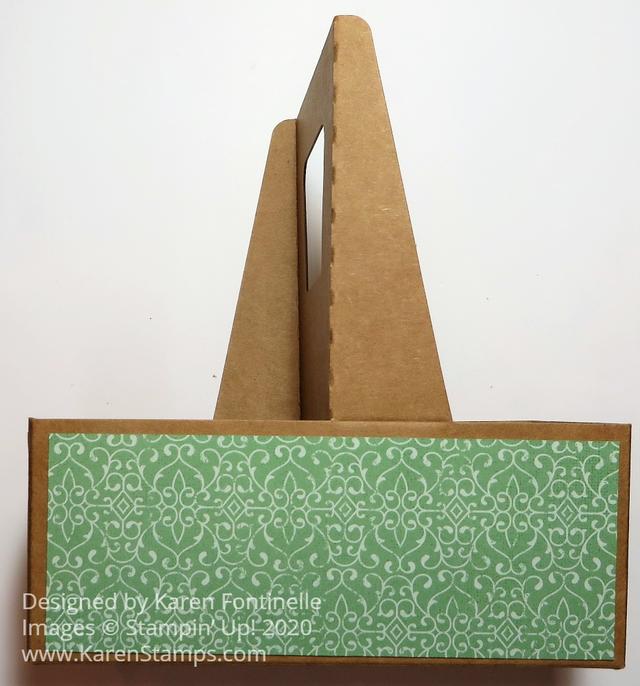
Here I started decorating my carrier with paper in the Poinsettia Place Designer Series Paper. You can wrap a strip of paper around as far as it will go or you can do as I did, just cut paper to fit each side of the carrier. To leave a small margin of the carrier showing, I cut my designer paper at 2 1/8″ x 5 1/2″ for the front and back and 2 1/8″ x 2 5/8″ for each end. I tried to match the pattern but it wasn’t that important with this paper, but make sure you check your patterns so one isn’t upside down or completely doesn’t match and look good.
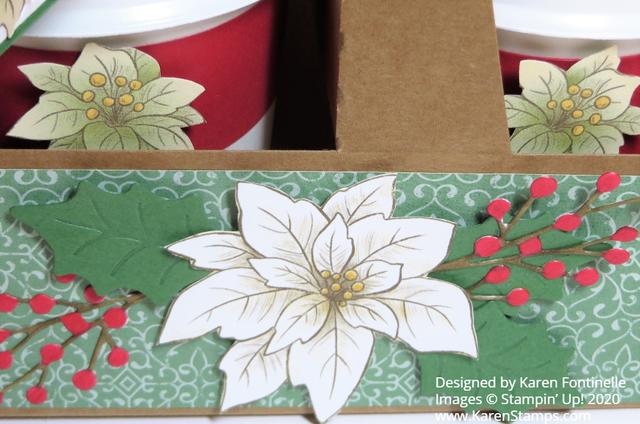
To decorate my carrier, I cut out a large poinsettia from one of the papers and die cut the leaves with the Poinsettia Dies. I used Garden Green Cardstock. For the berry sprigs, I die cut those from Whisper White Cardstock and then colored the berries with the Dark Real Red Stampin’ Blend and Dark Soft Suede for the stems. The flower and leaves are popped up on Stampin’ Dimensionals® and the sprigs adhered with tiny bits of Multipurpose Liquid Glue on the berries.
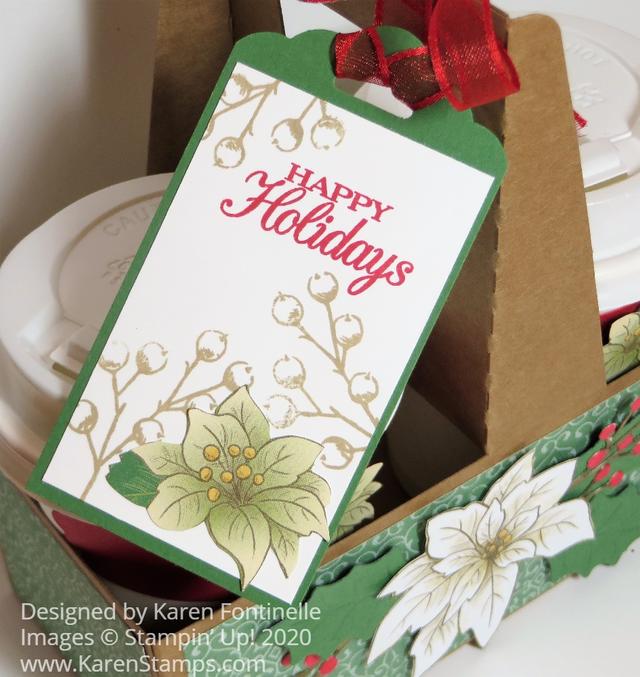
I actually love this tag that I came up with! The Garden Green tag is punched with the Scalloped Tag Topper Punch. The Whisper White layer is stamped with a Happy Holidays greeting in the Poinsettia Petals Stamp Set. Then I stamped the berry sprig in Crumb Cake ink to make a lighter interesting background. The poinsettia is hand-cut from the designer paper. The tag is tied on with the Real Red Sheer Ribbon.
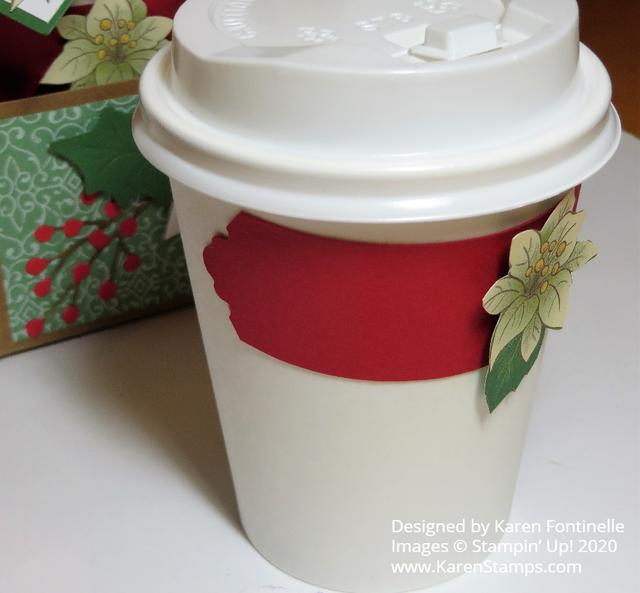
There are dies to order to make wrappers to go around the cups for decoration. If you don’t order these, you may have to cut up a cup for a template to make your paper fit around the cup. The dies are called Warm Wrap Dies and they will make your life easier! Since I don’t own them, I punched a strip of Real Red with the Lovely Labels Pick a Punch and adhered that to the cup, then added another hand-cut small poinsettia flower to each label.
It’s time to be thinking about making some holiday gifts! Really, you could use these any time of year! All you have to do is decorate for any occasion.

