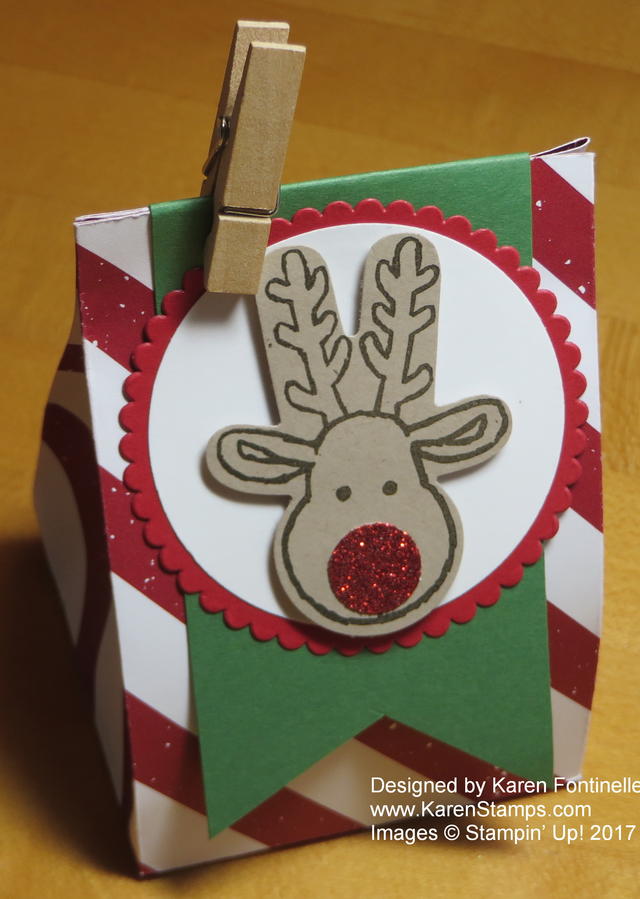
If you need a quick and easy little treat, this Reindeer Small Treat Bag is easy to make! Honestly, it only took me a few minutes before I went out the door! Nothing like planning ahead! I got the basic idea from another demonstrator, Angie Juda.
The paper I used for the bag is from the Be Merry Designer Series Paper package. Of course you can use any pattern, any paper, and make one for any occasion. Keep in mind if there is a pattern going in one direction, think about which way you are cutting the paper! I had to use the reverse side of the designer paper on another treat bag I was making because I didn’t pay attention to the pattern on the side I intended to use!
Start with a 6″ x 12″ piece of paper. Score the length of the paper at 2″. This will become the bottom flaps of the bag. Now turn the paper so you have the 12″ width going horizontal. Score at: 1″, 3 3/4″, 6 1/2″ and 9 1/4″. Crease the score lines. Cut off that tiniest portion under the 1″ section (it’s 2″ x 1″). On all those score lines you just made, cut up from the bottom to the 2″ score line to make the bottom flaps. Apply a strong adhesive to that 1″ flap and adhere the other side of the bag. If you just fold the paper over in half you will see that it matches up with that 1″ section with the adhesive. Fold in the bottom flaps and use adhesive. Reach inside the bag with a bone folder or something to press down to make the adhesive stick.
Now you have the basic bag made. You could leave it open at the top, punch holes and run ribbon through to tie it, fold it over, staple it shut, or use a small clothespin (retired) like I did. Actually I cut a strip of paper to fold over the top and made the flag ends. I did put a little bit of Multipurpose Liquid Glue on the back of the front banner and let it dry, just a small circle of glue, in hopes it would be “reuseable”.
To decorate the bag, I stamped the reindeer from the Cookie Cutter Christmas Stamp Set, gave him a Red Glimmer Paper nose, and punched him out with the Cookie Cutter Builder Punch. Just turn it upside down for the reindeer! Then I die cut a circle and a larger scallop circle to mount the reindeer on. Very cute and easy! Quick and easy, I should say, because I was really doing it before leaving the house for an appointment!
Check my blog for other past treat or gift bag ideas if you need some last minute ones! Here’s one with the Mini Treat Bag Thinlit Dies. Just click on the category you want or write something in the Search box!
I need more time to stamp more holiday projects I wanted to make! But if you want something simple to make, try this Reindeer Small Treat Bag for some candy treats, small gift, or maybe a gift card!

