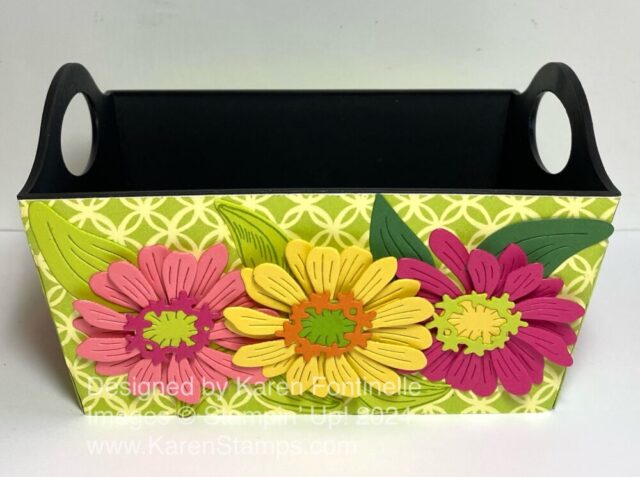
This Simply Zinnia Home Decor Container is an idea you can use to decorate any container you may have laying around your house. Use the Simply Zinnia Dies and Flowering Zinnias Designer Series Paper for something bright and eye-catching!
This originally was some random container I bought maybe at Home Goods or one of those stores. I got the idea from Patty Bennett back in 2019! (Was it that long ago??!) She had also decorated some of these containers for Thanksgiving but the Christmas one with the Let It Snow Specialty Designer Paper was an idea I couldn’t pass up! I think I was lucky enough to find a couple of these containers and I decorated them for gifts. I probably put candy in the basket, maybe some other gifty things.
One that I decorated with that cute snowman paper I gave to one of my doctors and she set it on her counter. I don’t remember if she left it out forever or just since businesses started offering a separate container for used pens. Anyway, the snowman paper on hers was looking a little ragged. Finally, one day it dawned on me to take it home and redo it for a new season!
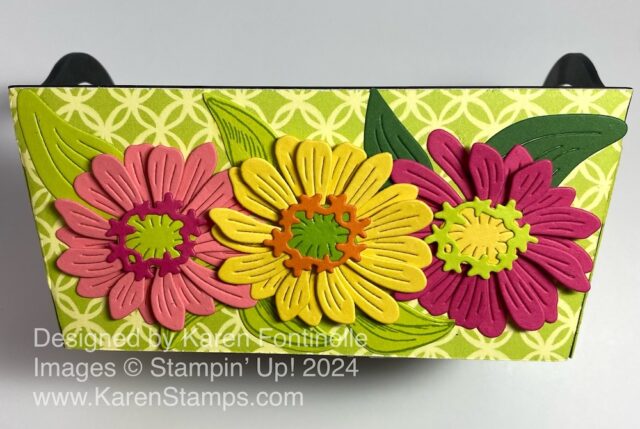
The bright colors of the Flowering Zinnias Designer Series Paper probably gave me the inspiration to make something really bright and cheery. I chose the trellis-look pattern in the package for the background, after trying out a couple of other choices. For the flowers, I die cut three zinnias and leaves using the Simply Zinnia Dies. I tried to make each one look different. I cut out two layers for each flower and then the center pieces. You could pop these up with Stampin’ Dimensionals or adhere them flat.
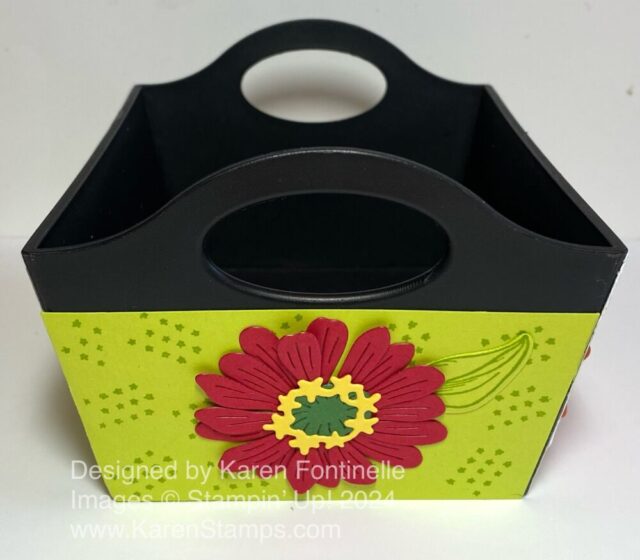
On each side of the container, I added one die-cut flower. I used cardstock for the background and stamped it with the little texture stamp in the Simply Zinnia Stamp Set. I didn’t take a photo but I think on the back side I used one of the patterns of designer paper, maybe the one with the white space in between the flowers on each half of the paper. You could even add paper inside the container if you wanted to.
If you make something like this, with angled sides, I found it easiest to either make a template or just go right to the paper and place the container on the paper and use a pencil to trace around it. You could even cut it out a little larger and then trim it along the edges after you adhere it to make sure you could the whole area properly. You could use Tear & Tape or the Multipurpose Liquid Glue.
You likely won’t find these exact same containers anymore, but this is just to give you an idea with what you could make with what you have or find out shopping! It’s fun to make different things like this with all our supplies for a nice gift. Remember, presentation is everything!


