I’ve let go of Christmas today and have another way to use the Mini Treat Bag Thinlits Dies I think you will find useful! The die pieces include one large one which forms the front of the bag, and we used two of them to make the larger gusseted bags. Today we will use the smaller die piece which normally forms the back of the bag and cut two of those to make these Smaller Mini Treat Bags!
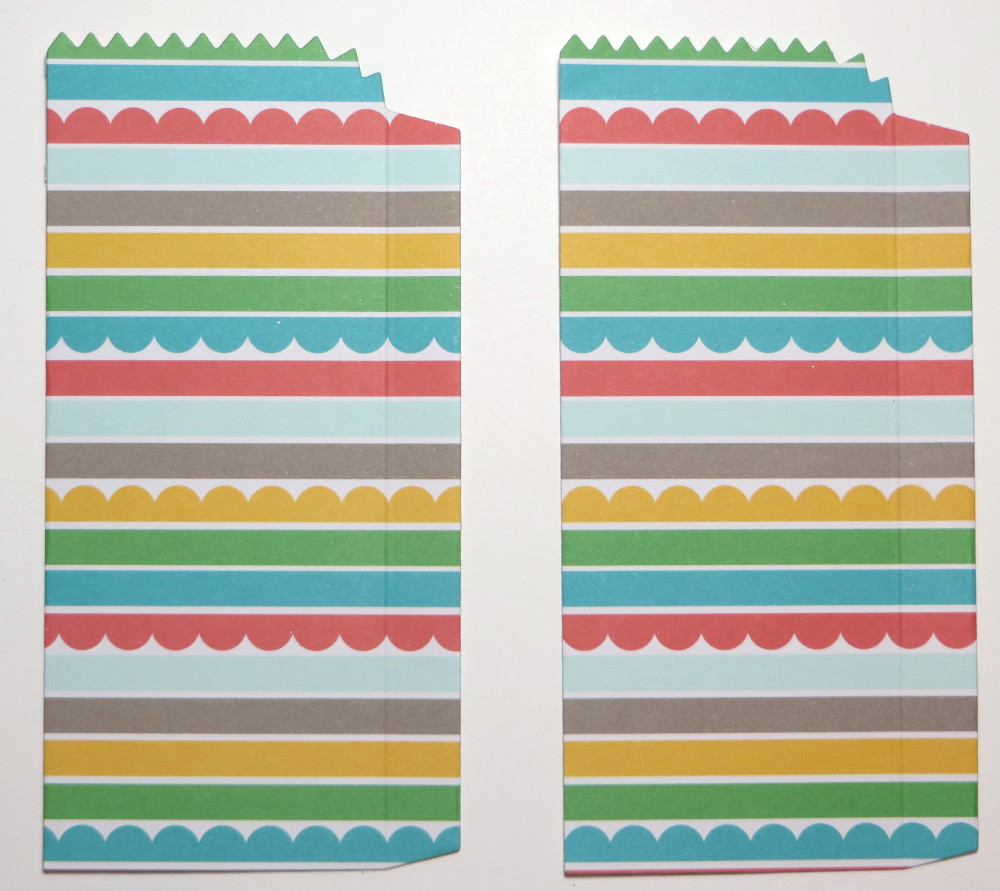
Cut two of the small bag die pieces.
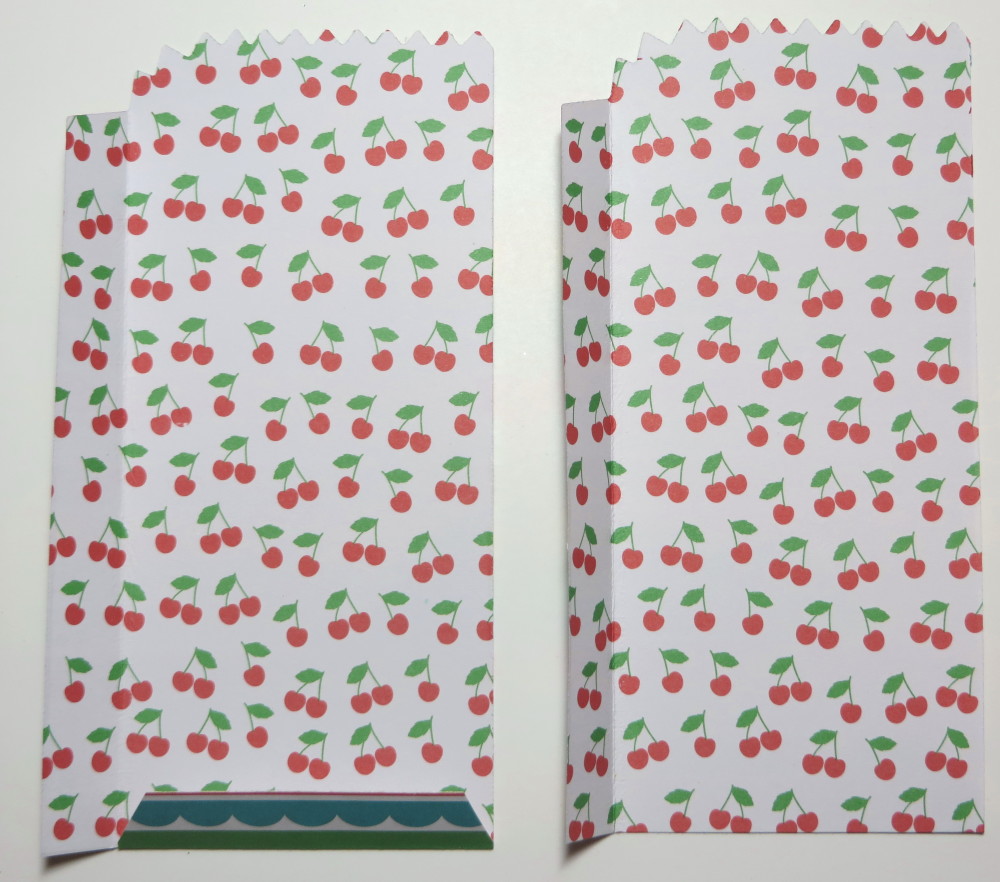
Fold the score lines made by the die to form the bag. Since the bottom edges of these pieces are just straight, trim off a little bit, maybe 1/2″ from the bottom of one that will be the back piece of the bag. On the other piece, make a 1/2″ score line and fold (maybe even trimming the corners off as shown. This piece will be the front piece of the mini treat bag.
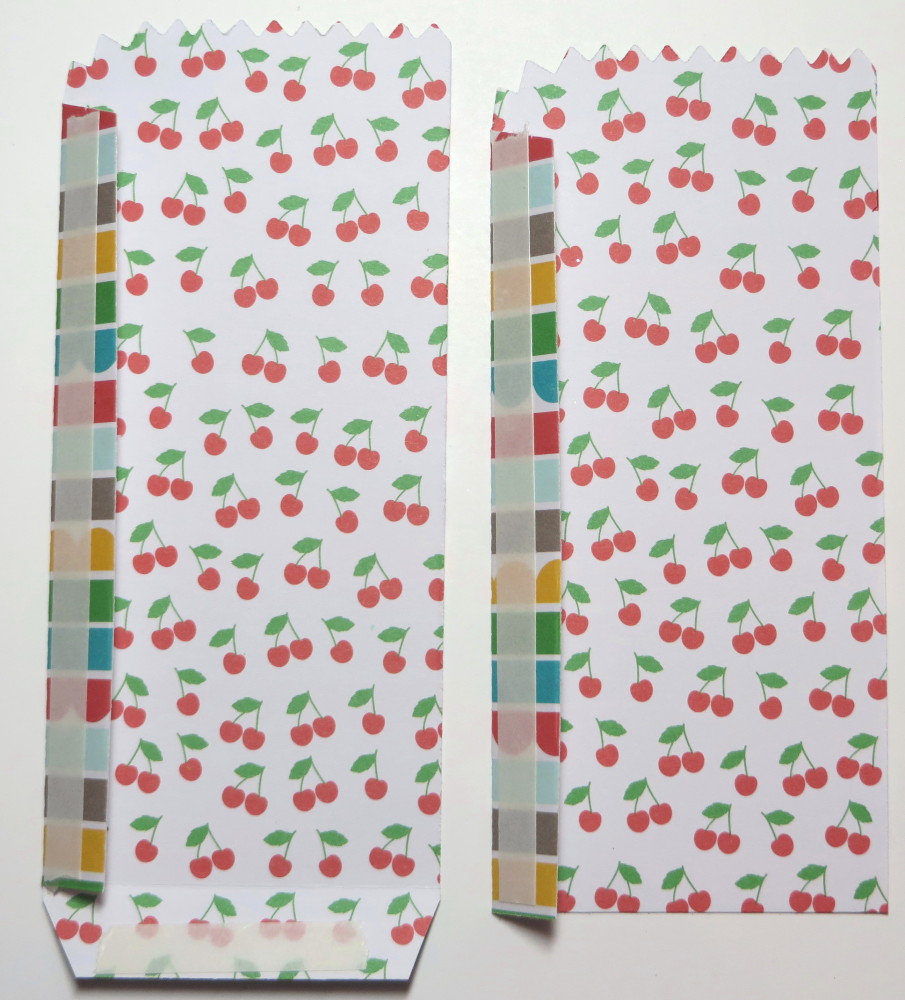
Apply adhesive of your choice as shown. I used the new Tear & Tape Adhesive.
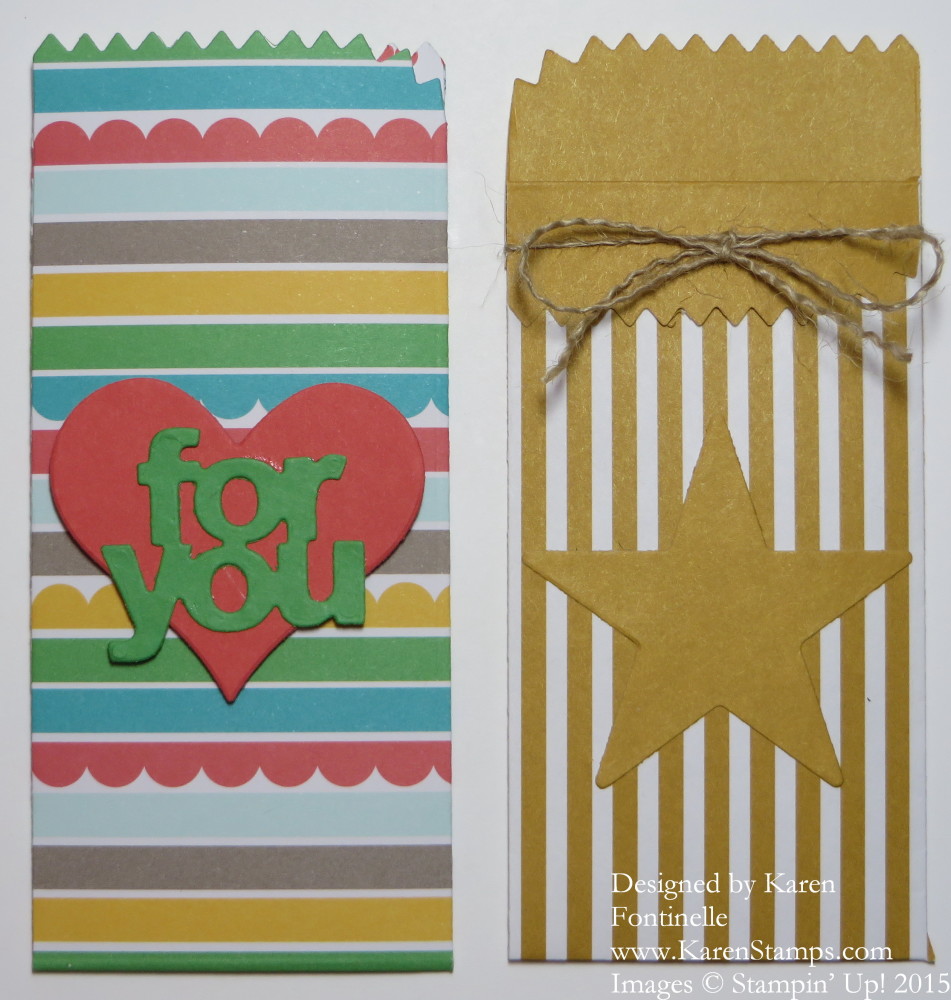
The Mini Treat Bag on the left is made with the Cherry on Top Designer Series Paper Stack. Such a cute stack of colorful papers! As you can see the front and back top edges are the same length. The heart and words are die cuts in the Mini Treat Bag Thinlits Dies. Not only do you get the mini treat bag dies but you get extra dies that cut embellishments for your projects.
The treat bag on the right is made from the new In Color Envelope Paper. On this bag, the front piece is folded down a bit and I tied a string of the Burlap Ribbon around the top edge. The star is a die cut in the set of thinlits dies.
Remember, the Mini Treat Bag Thinlits Dies are on the Stampin’ Up! Weekly Deals through Monday night, June 29. You can save $10 when you purchase these dies! To see some other altered Mini Treat Bags I have made, check out this post and this post. To see some of the “regular” mini treat bags you can make with the Mini Treat Bag Thinlits Dies, please click HERE.


