Stampin’ Blends, the new alcohol markers from Stampin’ Up! will be released for customers to purchase on Wednesday, November 1, 2017! They have been available for Demonstrators to order for a short time, but soon they will be available for customers, sooner than I expected!
Alcohol markers allow you to color and blend easily, making everyone look like an artist! These Stampin’ Blends come in 12 exclusive Stampin’ Up! colors. Each color comes in two shades. They are dual-tipped markers, one end a brush tip and one end a narrow tip. There is also a Color Lifter in case you want to remove some color to make something lighter. Two other markers that will be available are Bronze and Ivory.
While supplies last, there will be a limited-time stamp set called Color Me Happy plus a Color Me Happy Project Kit to make cards. These two items will get you started with the Stampin’ Blends!
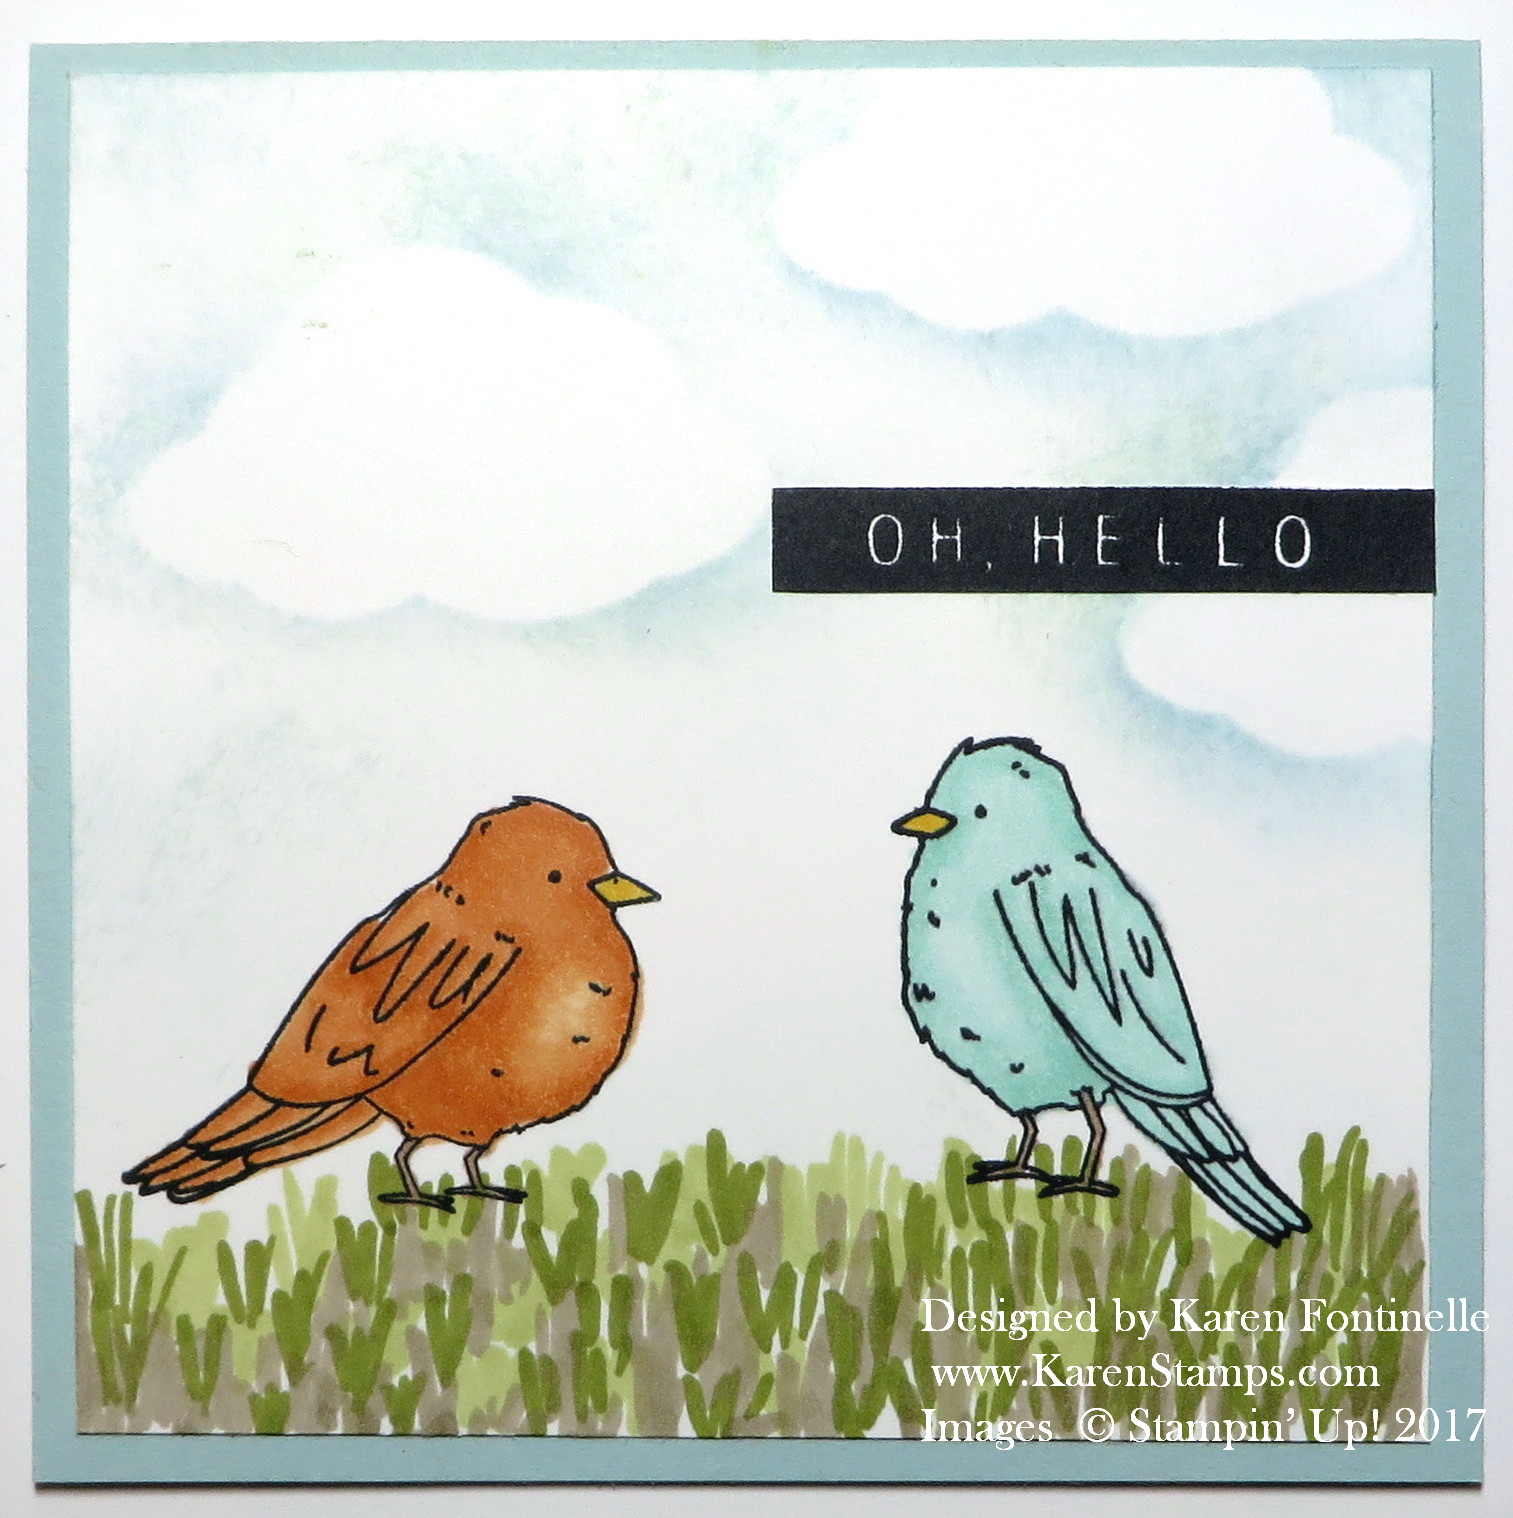
Here is a card I made by stamping the two birds in the Color Me Happy Stamp Set. It sort of copies one of the cards in the project kit, but without the extra embellishments.
This card is a 4 1/4″ square card with the fold at the top. The birds are stamped on a piece of Whisper White Cardstock. The Thick cardstock is recommended, as well as Memento Ink, which is what works well with alcohol markers. The birds are stamped and then colored with the Stampin’ Blends in Pool Party and Pumpkin Pie, plus Daffodil Delight for the little beaks and a touch of Crumb Cake for the legs. I decided to add some grass for the birds, so I just drew in the blades of grass willy-nilly with the Old Olive markers and kind of filled in with some light Crumb Cake. Next I sponged in the sky, with masked clouds, with Soft Sky Ink. The greeting is from the Color Me Happy Stamp Set and I stamped on a scrap, cut it out and adhered it to the front of the card. The card base is Soft Sky. That’s it!
While I haven’t done a tremendous amount of coloring yet, I have found the markers to be really easy to color with, very smooth, and very fun and relaxing! You can use just one shade for basic coloring. You can use both light and dark shades of one color and blend to soften the edge. Or you can use different colors together and blend and see how it looks! Just play!
The lids at each end are pretty tight to take off and put back on. Just make sure you hear it snap when you put the lid back on. That means it is sealed properly to keep the air out. The marker shape is square so no rolling off the table!
Stampin’ Up! has spent time testing these Stampin’ Blends for evaporation and life testing, and they feel confident with the results. There will be videos to help you learn to use these markers the best way.
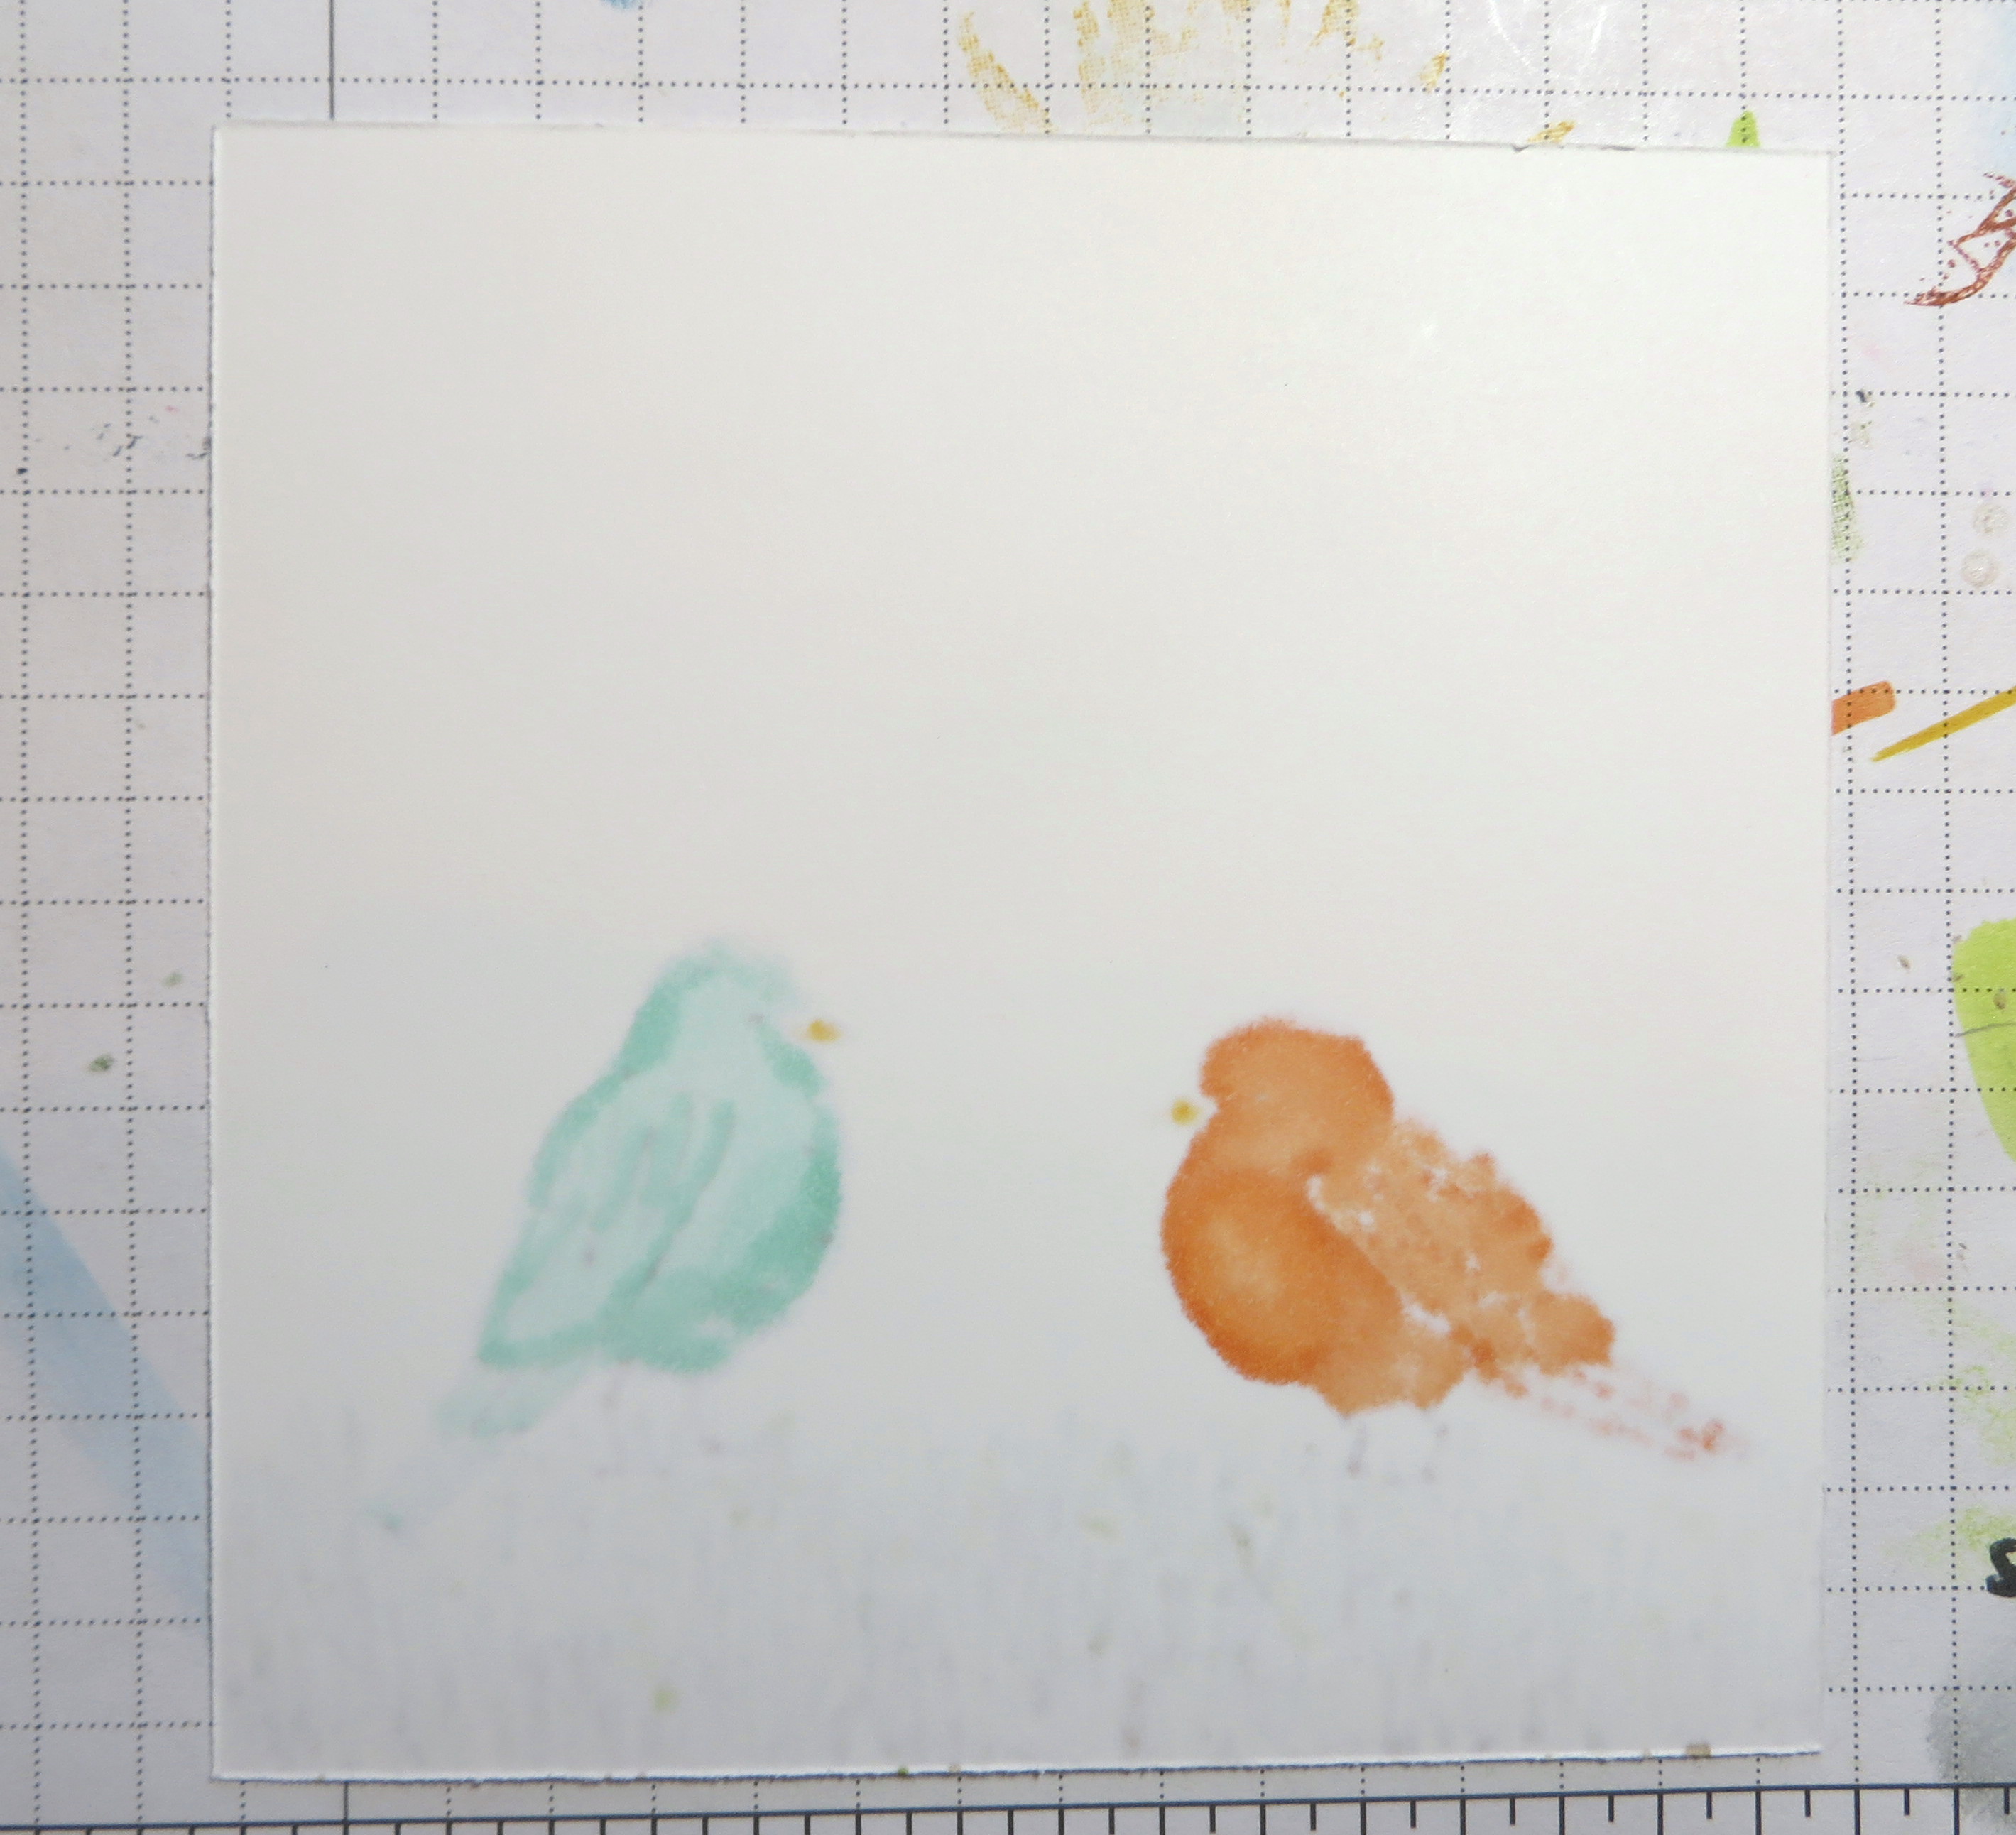
You will want to have a scrap piece or two of paper underneath when you color as the color does bleed through to the other side. Here is the back side of my birds which I colored on my Grid Paper. The markers haven’t bled through my Grid Paper, but if you want to be extra careful, just use a couple sheets of paper underneath.
 It won’t be long and these Stampin’ Blends Markers will be available to purchase! Mark the date on your calendar! I’m sure you will hear even more about the markers as the time gets closer!


