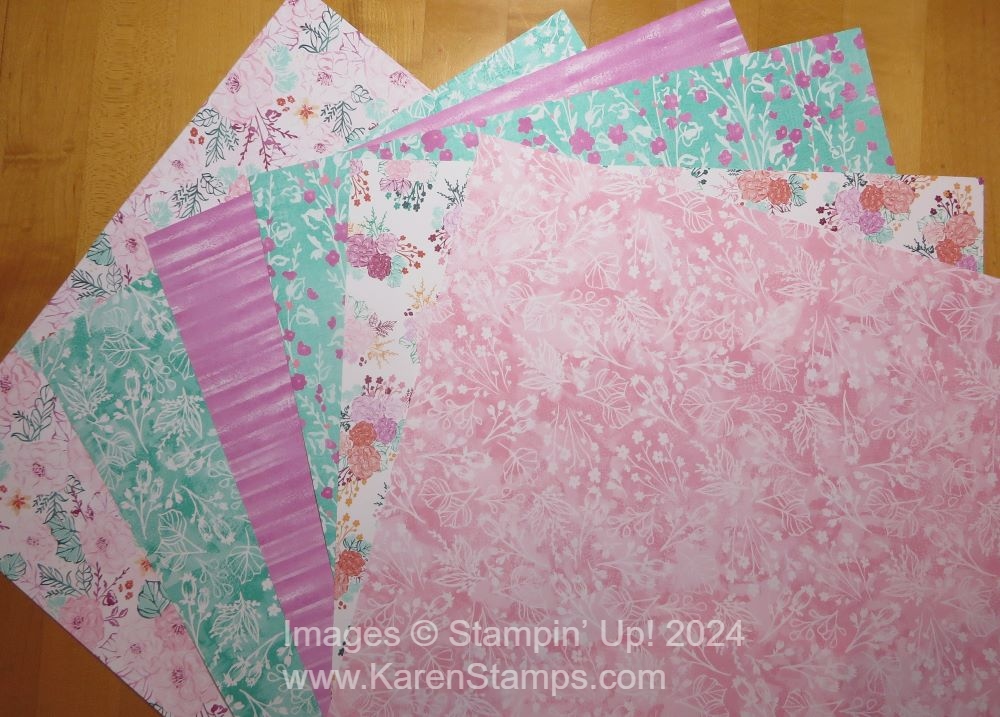
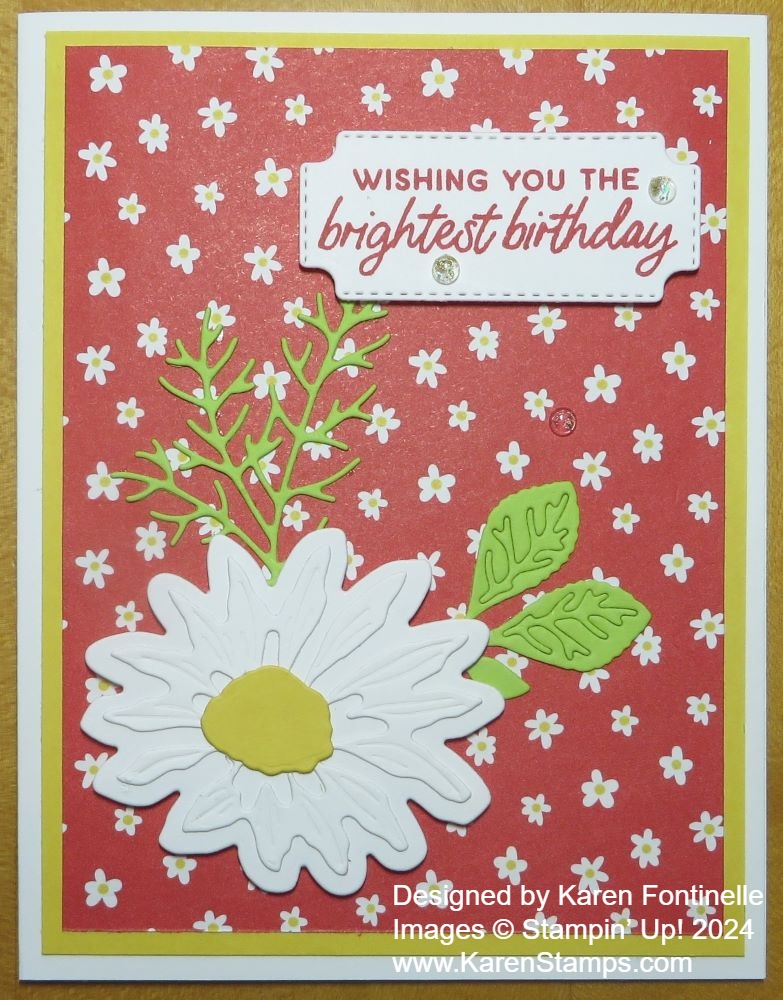
Make this Wildflower Birthday Cupcake Birthday Card easily with the Wildflower Birthday Specialty Designer Series Paper in the Stampin’ Up! Spring Mini Catalog. It’s not “just” for birthdays (as you can see with the floral paper in the background) but you will have some fun options for making birthday cards or birthday scrapbook pages.
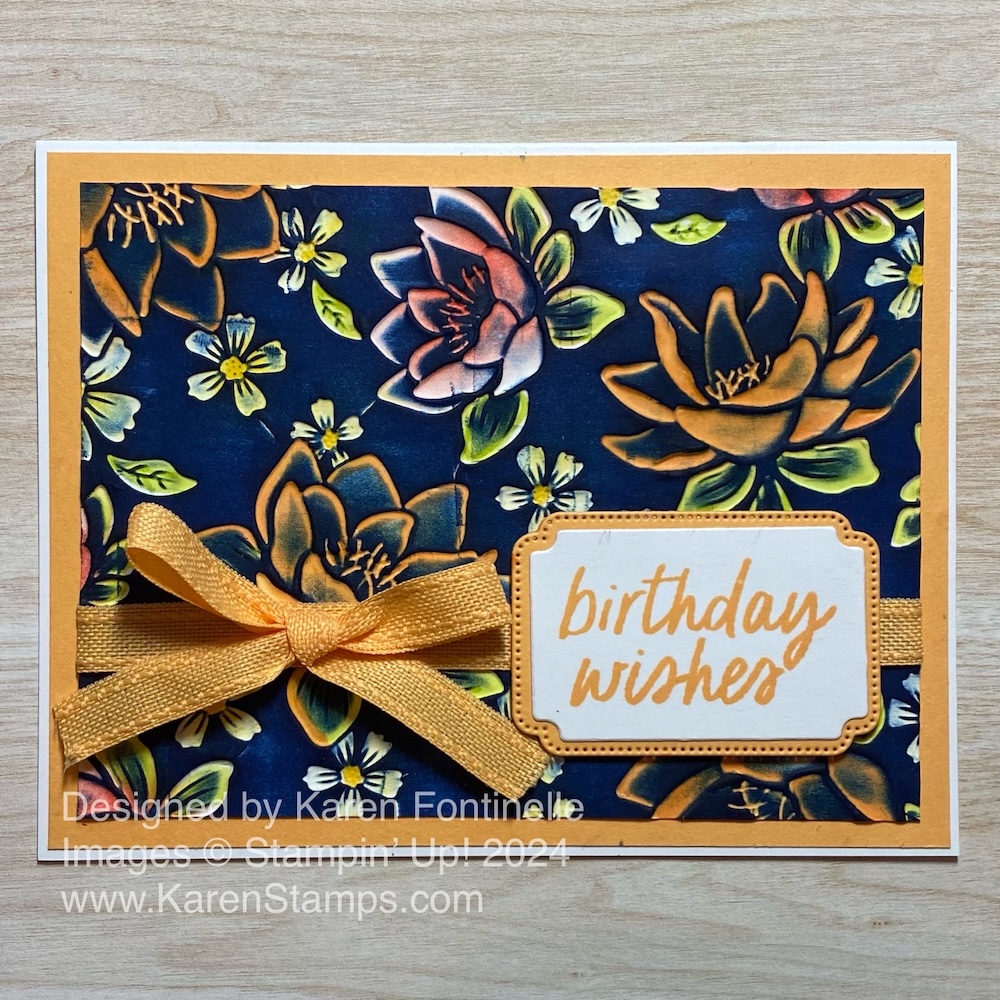
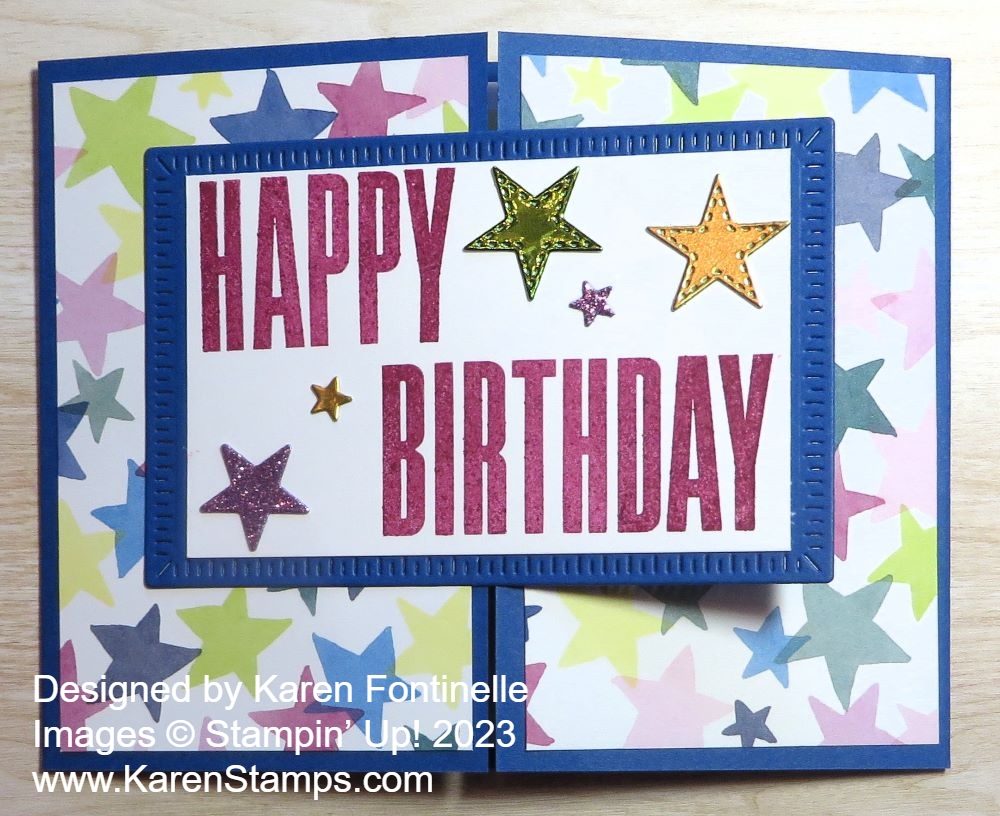
This card is made with a card base of Blueberry Bushel Cardstock. It coordinates with some of the flowers in the background paper. The pretty floral paper in the background has gold foil accents which makes almost anything look fancier!
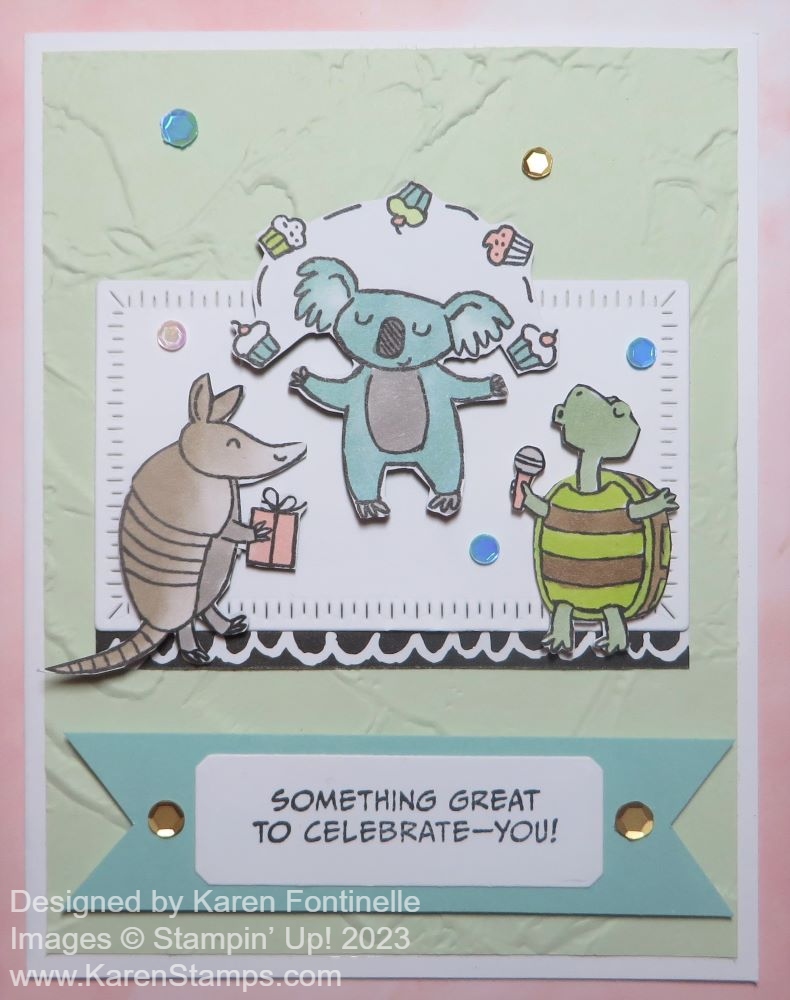
The extra special feature of the Wildflower Birthday Designer Paper is that it comes with two sheets of diecut images. These are great to use on cards and scrapbook pages and make designing the project quick and easy, not to mention fun! For this card, I used three cupcake diecuts on these sheets on the front of the card. They are popped up on three layers of paper underneath to help them stand out. The green paper with white dots underneath the cupcakes is cut at 4″ x 1 1/2″ and is in the Wildflower Birthday DSP. The layer underneath that paper is Blueberry Bushel cardstock cut at 4 1/4″ x 1 3/4″. The layer underneath that is Gold Foil to match the gold foil accents and is cut at 4 1/2″ x 2″.
The greeting is stamped on a scrap strip of Basic White cardstock and layered on Gold Foil with the ends flagged like banners. I just cut these by hand. Just for a little extra embellishment on this card, I added some Shiny Sequins (retired) from the Flowering Zinnias Suite on the top of the cupcakes using the different colors. You can use anything sparkly that you have!
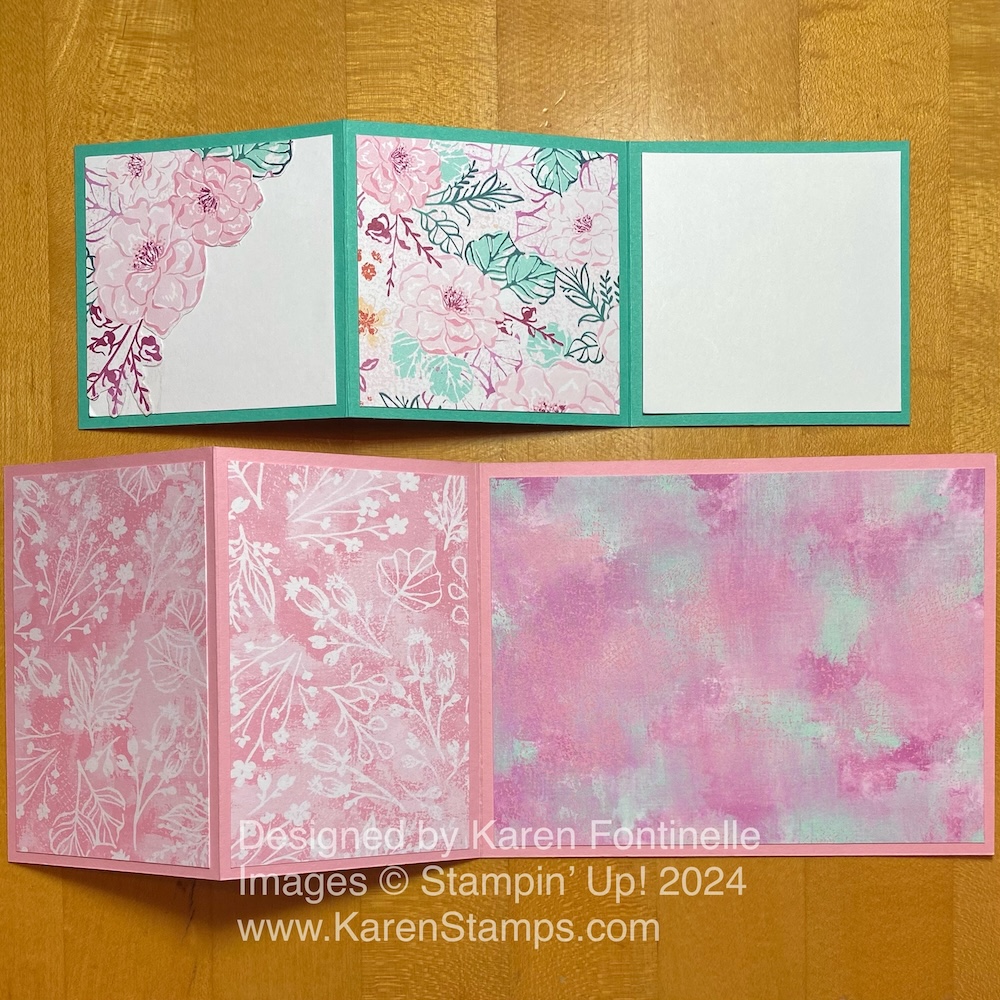
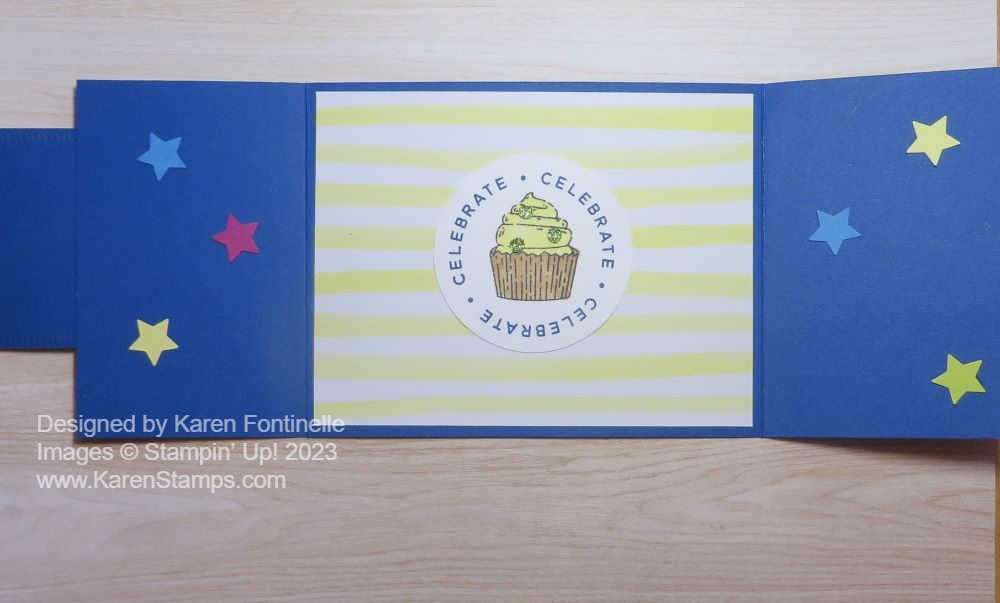
Since the card base is a dark color, add a Basic White layer inside the card on which to stamp or write a personal message. Make it extra nice with either a strip of the designer paper along the bottom and/or a diecut or two!