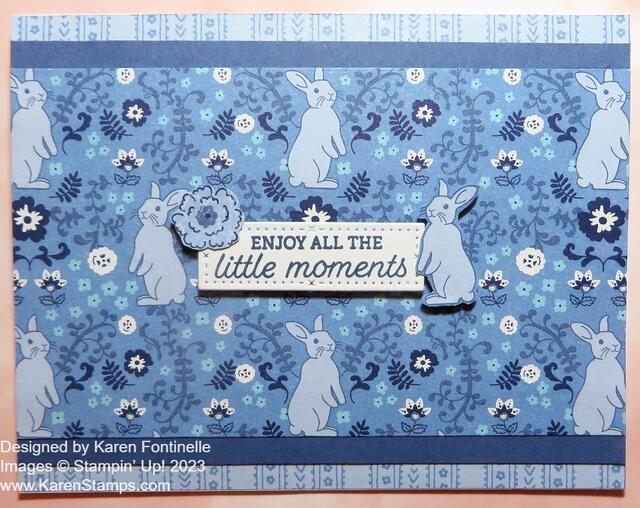
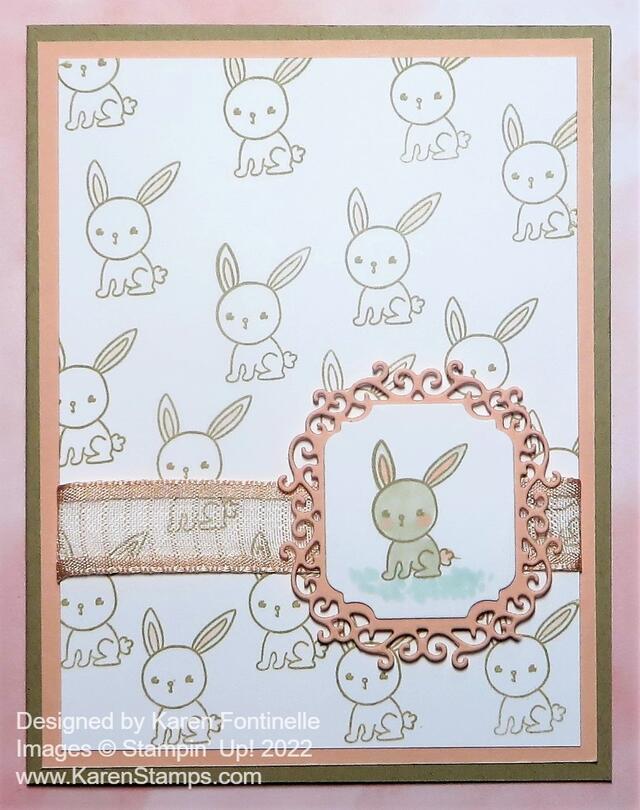
I think this Storybook Moments Z-Fold Bunnies Card turned out so sweet, not because I made it, but because the paper and the bunnies are just irresistible. I didn’t even add a greeting because this was not meant to be an Easter card (although it could be!) and I wasn’t sure for what occasion I would send it or to whom I would send it. And I could have no sentiment and just write a personal message inside.
This is a Z-Fold card which I think always looks special and yet is simple to make. It is just the front of the card folded back on a center score line. The only tricky part is adhering the center panel on the front, centered properly, so that if you have a stamped greeting on the inside, it is completely hidden from the front because of how you place it.
This card starts with a base of Boho Blue cardstock. Cut the usual card size, 8 1/2″ x 5 1/2″. Score at 2 1/8″ and 4 1/4″. Or score the card at 4 1/4″ as usual, then score the card front in half. Half of 4 1/4″ is 2 1/8″. Or just fold the card front in half lining it up with the card fold. Then decorate however you like.
I used the Storybook Moments Specialty Designer Series Paper for this card. I have liked this paper so much I have almost used all of it and that doesn’t usually happen! I just love the patterns with the strawberries and I got to use both on this card! One has a pinkish background and one has blue. My friend said she’d like to have the blue one for wallpaper! That would take a lot of packages of paper!
I adhered a piece of the pink strawberry pattern to the front panel. It is cut at 5 3/8″ x 2″. The main thing to think about is keeping margins the same wherever you place paper on the card. This measurement gave a teeny tiny margin around the edges. If you want the usual margin, then cut the designer paper a little narrower and shorter. But then so that with the inside layer and the strip on the right-hand edge of the card, IF you are doing those. The inside of my card has a Basic White piece cut at 4 1/8″ x 5 3/8″. I played and played trying to decide on the paper design for the edge of the card and finally the blue background strawberry pattern looked perfect.
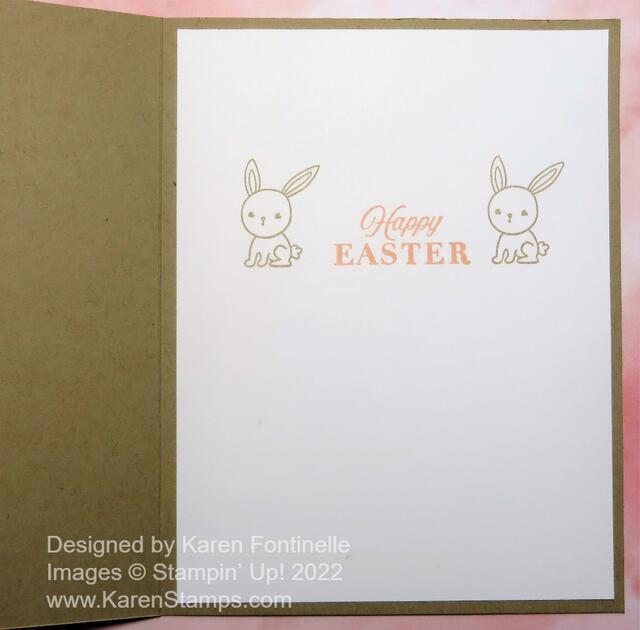
The Basic White paper on the inside of the card (for a stamped or written message or note) looked too stark white against the other papers so I used a Small Blending Brush (or you could use a sponge) to apply just a very light shade of Crumb Cake ink just around the edges and even a bit in the center. Very light! It’s just enough to match the background of the paper with the bunnies instead of looking so white.
The focal point of the card uses the Storybook Moments DSP pattern with the larger images of bunnies in a variety of poses and actions. I used the largest circle die in the Stylish Shapes Dies because that was the size I needed to get every bit of the bunnies in the die. That left me with nothing larger for the layer. After looking through my dies, I chose the Memorable Blooms Dies (which were on the Last Chance List and now must be discontinued). The octagon shape fit the bunny diecut very well and the Old Olive cardstock helped it stand out from the background.
The strip on the side of the card is 1″ x 5 3/8″, again, matching the same length of the other papers and margins on the card. You can vary this size or not even add it. For a finishing touch, I added a small bow under the bunny piece. I haven’t gone through my ribbons in awhile so this one may be retired as well. It was a Granny Apple Green in a Ribbon Duo Combo Pack. Use whatever you have. Linen Thread would look perfect on this card as well. Another important tip is to only put glue or adhesive on the half of the focal point panel so that it only is sticky on the side going on the Z-Fold and not sticking to the inside of the card!
Here is a photo of the card opened up so you can see how the Z-Fold looks.
As much as I like to add bling or sparkles, I felt this card was fine without anything else, just the bow!
Don’t forget about the Last Chance List! Some items are discounted but not all and once they are gone from there, they are gone. The Last Chance List of retiring products has now taken the place of the Clearance Rack. If a product in any retiring catalog is carrying over, if you don’t see it in the new catalog it is in the Online Exclusives category in the Online Store!
Also, remember that now you get Stampin’ Rewards in your account to spend on a future order any time you place an order of $20 or more in merchandise! In fact, I noticed that when you view a product in the Online Store, it will tell you what your rewards would be for that product!


