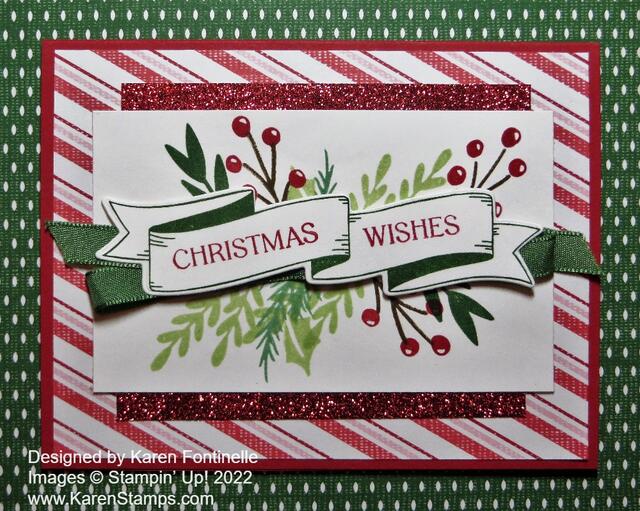
I wanted to make another Christmas card sample so I copied a design in the Holiday Mini Catalog on page 11. I found just the Real Red card base and the striped paper already cut so I just started with that even though the sample design uses a green stripe paper. I was happy with my Christmas Wishes Banner Card when I finished. That red glimmer paper really adds some pizzazz!
The green paper in the background is just another of the Sweetest Christmas Designer Series Paper designs that I put under my card for the photograph, but I kind of like it if I wanted to make a card with that as the layer if I made the center part smaller!
As I said the card base is Real Red with a striped layer of the Sweetest Christmas DSP. The center piece is Basic White cardstock, stamped with leaves, with a die-cut banner overlaid, and some glimmer paper on the top and bottom.
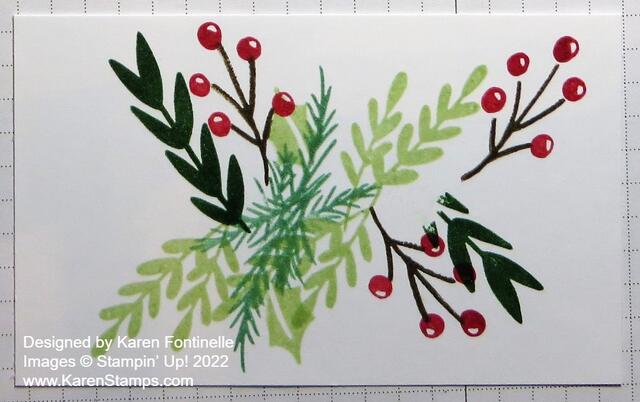
Here are the details! The Basic White piece is 4 1/2″ x 2 3/4″. I stamped various leaves and stems in the Christmas Banners Stamp Set. I used Garden Green, Soft Sea Foam, and Mint Macaron in for the greenery and Soft Suede and Real Red for the stems of berries. I love how those turned out! The berries and stem are two different stamps so you don’t have to color directly on the stamp to get two colors. As I stamped the greenery and berries, I just imagined the banner going across the middle so I didn’t have to worry about how it looked underneath. You can see in the photo below how I stamped all of that.
The banner is stamped in Garden Green ink with the greeting words stamped in Real Red. The banner was diecut with the Christmas Banner Dies. You could just place the banner over the center of that stamping, but I noticed the catalog sample looked like it had ribbon underneath it. I used the green ribbon in the Real Red & Garden Green 3/8″ Ribbon Combo Pack. It just goes across and back and then back to the other side so that you can see a loop at each end of the banner. I added some Stampin’ Seal on the back of the banner so I could adhere the ribbon going back and forth and back, then popped up the whole banner with Stampin’ Dimensionals.
Before adhering the piece to the front of the card, I added two scrap pieces of red glimmer paper from the Real Red & White 6″ x 6″ Glimmer Paper to the top and bottom of the center piece. I cut the glimmer paper at 4″ x 5/8″ and adhered to the white cardstock, then adhered the whole thing to the card front.
The sample in the catalog has a little bow tied with one of the Flat Jingle Bell Trinkets. You could also add some jewels if you wanted to, such as the Red Rhinestone Basic Jewels.
Even if you copied this sample, there are ways you could change things up a little if you wanted. It at least helps you to get going to copy something!


