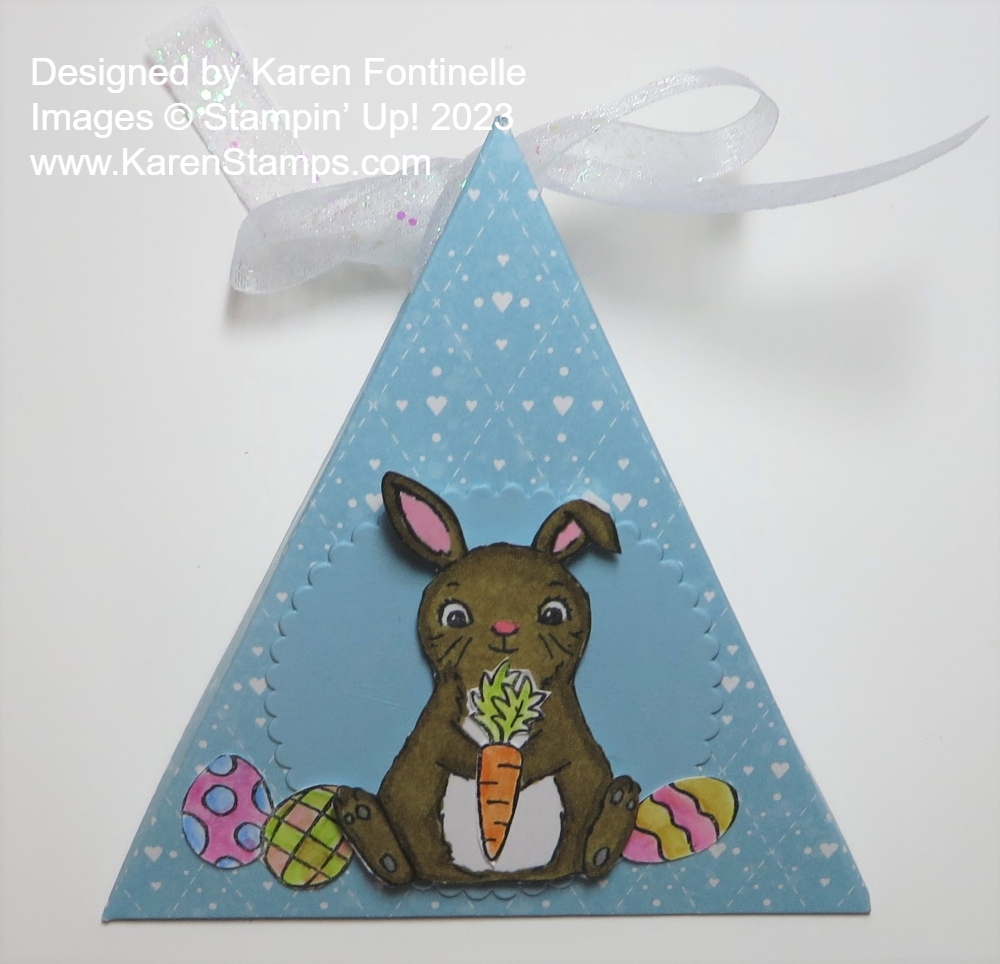
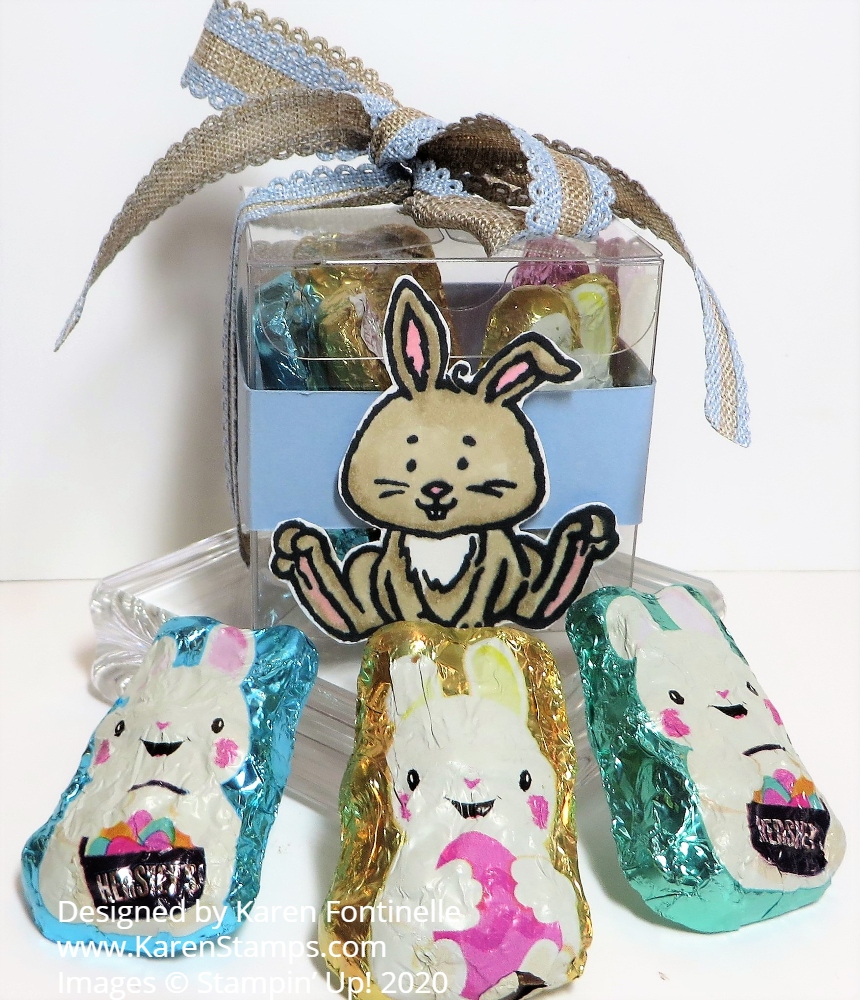
Here is an Easy Chocolate Easter Bunny Treat that you can easily make for a little favor or treat for Easter. All you have to do is buy some chocolate bunnies! They are required for Easter, aren’t they? I’ve made these little treats through the years and you can vary the size according to the size of your chocolate bunny or whatever you are putting inside.
If you have a bigger treat, just make the treat holder taller or wider and possibly increase the size of the base if you need to to make the treat fit inside. You don’t even have to cut a window in the front if you want to decorate the front and hide the treat a bit. But my preference is making a cute opening so you can see the treat inside as if it is in its little home!
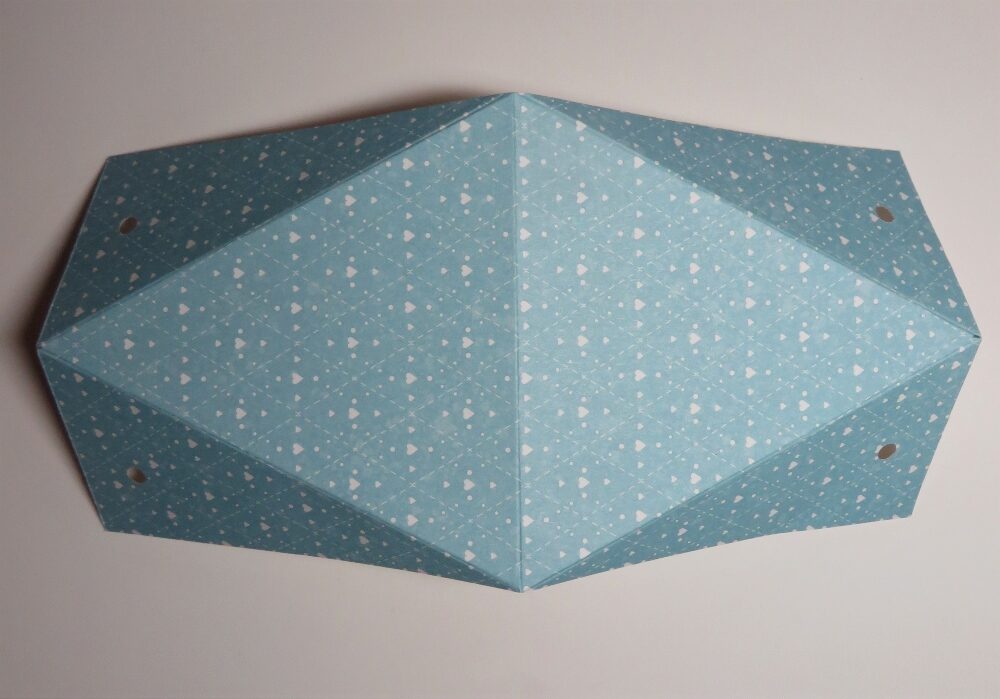
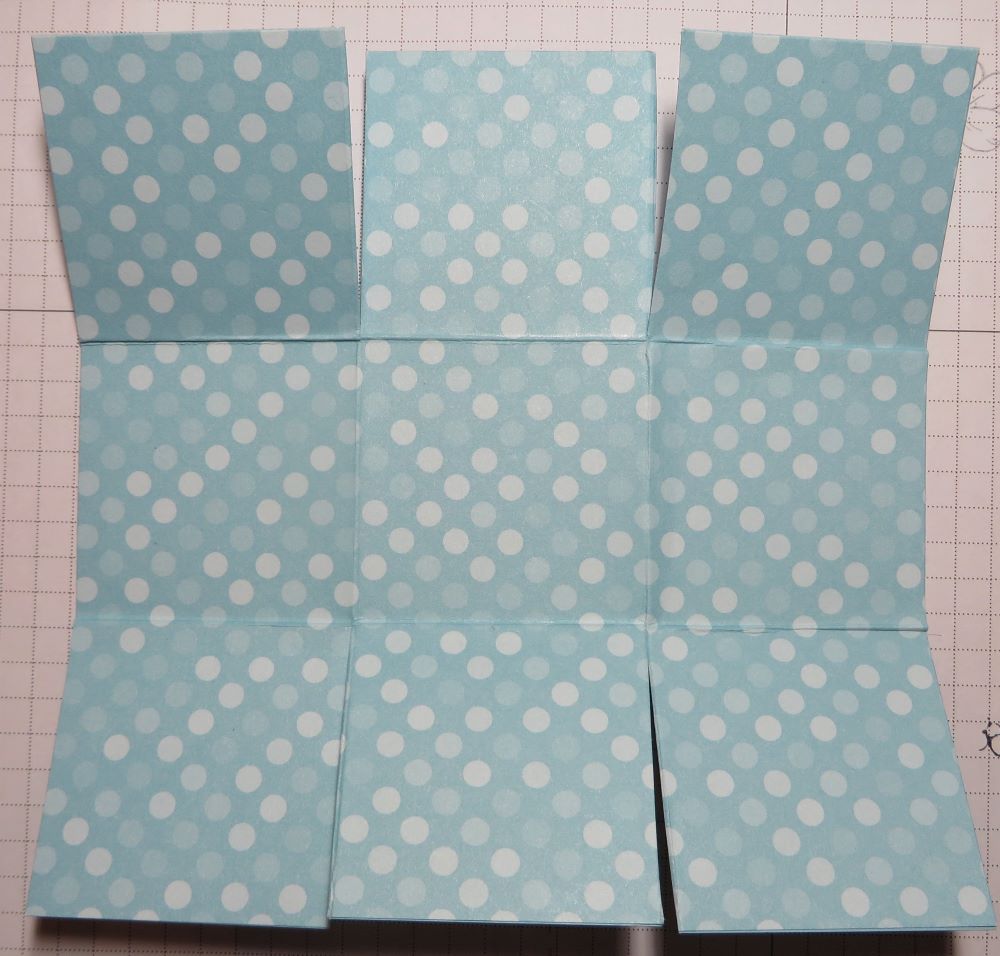
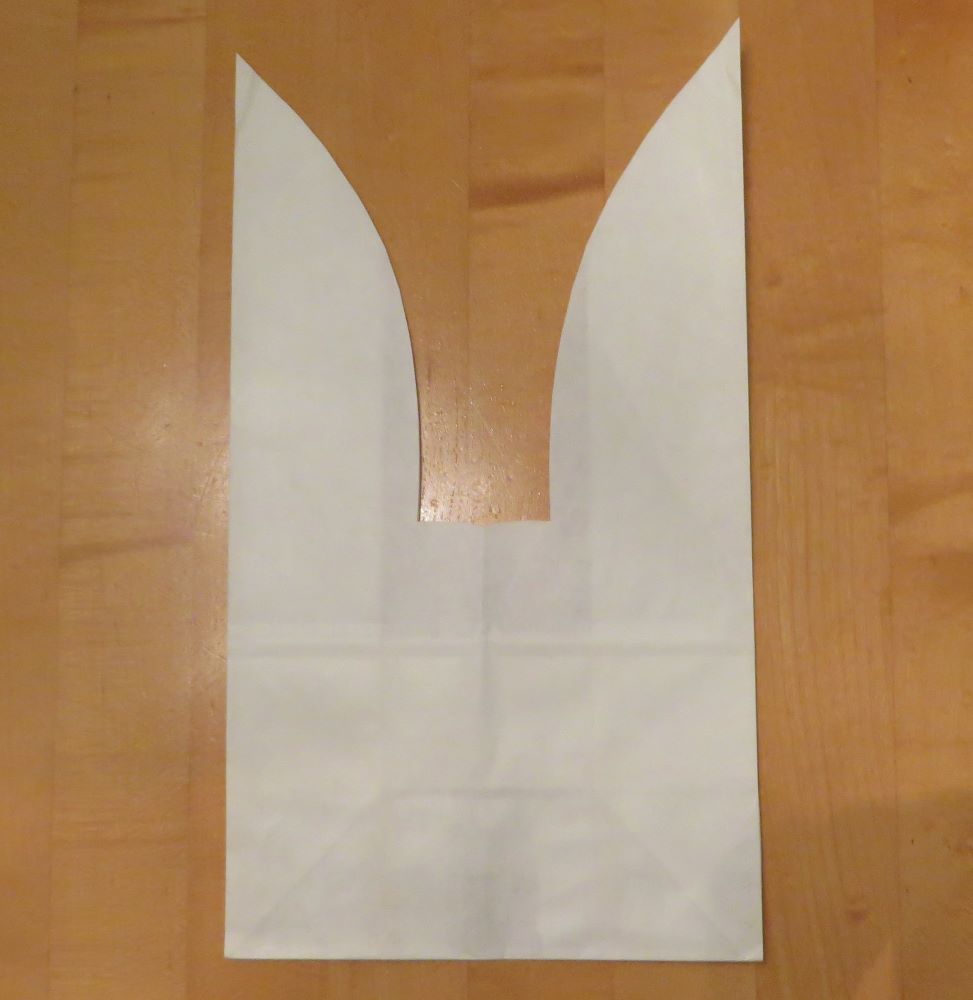
For this particular one, since I had just a small chocolate bunny, I cut a strip of Pool Party cardstock at 2″ x 8 1/2″. I could have made it a little bit shorter or probably wider would have been better for wider sides to be a little sturdier. After cutting the 2″ wide strip, score at 3 3/4″ from each end. That gives you the middle section which will become the flat base of the treat holder and you will put the treat on that center base. You should be careful with adhesive and candy, but I did put a little Stampin’ Seal on the bottom of the treat holder to hold the bunny in place.
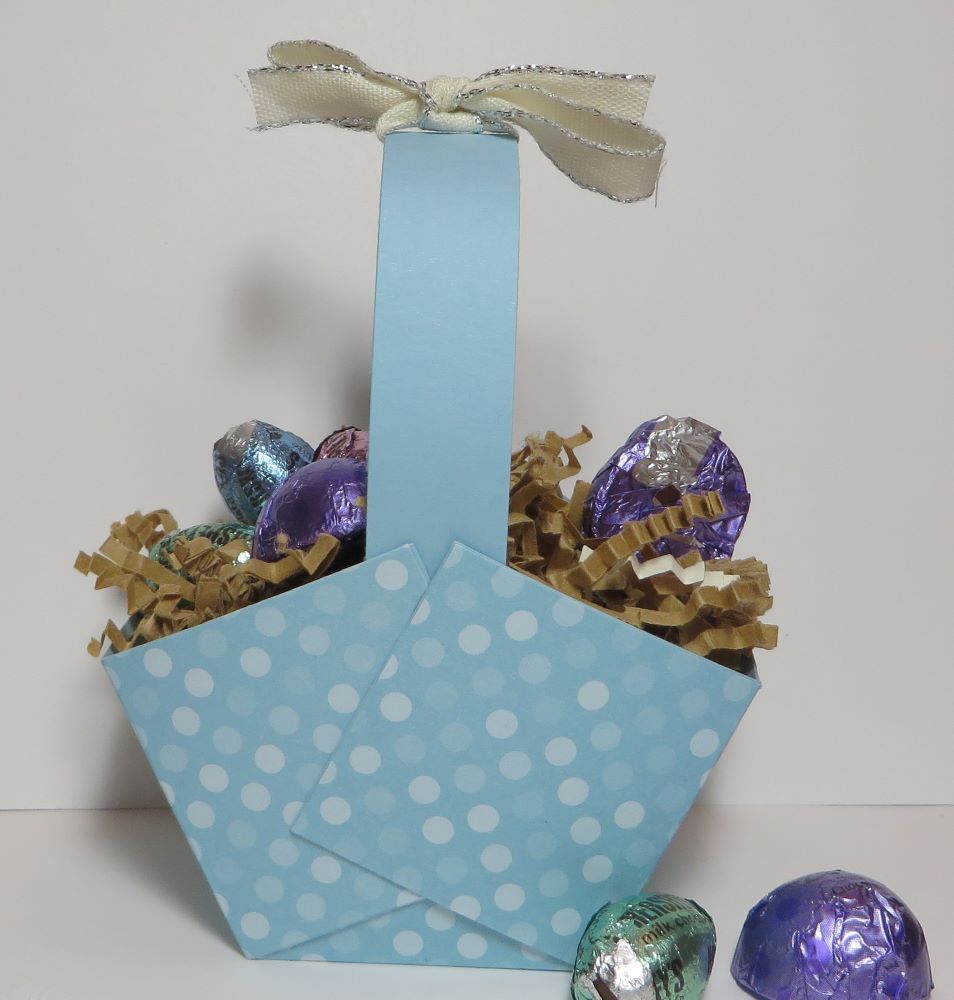
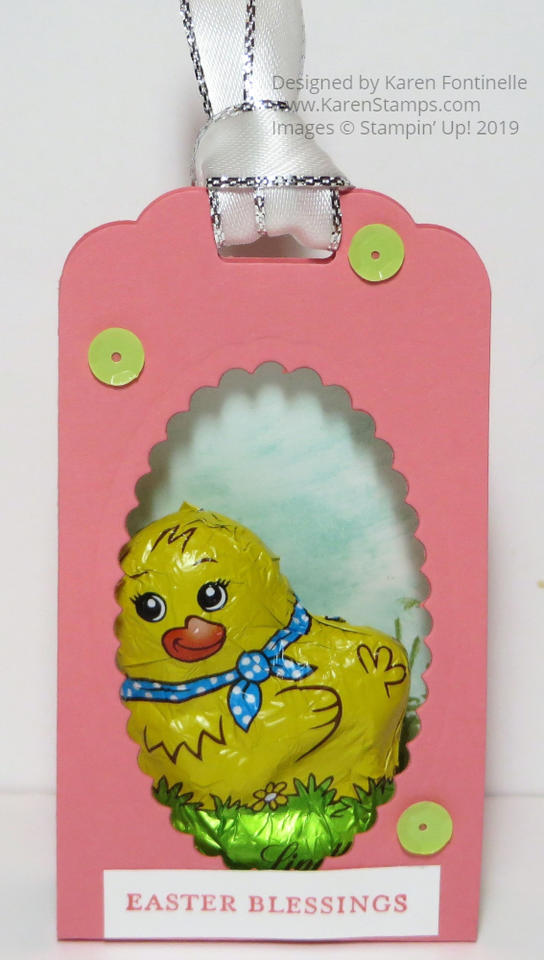
For the opening, I used one of the rectangle dies in the Nested Essentials Dies. Position it on what will be the front side of the treat holder and exactly where you want it to be. If you are decorating your treat holder with designer paper, then adhere that to the front first before you diecut. After you have the front opening cut out, fold and crease the two score lines and punch two holes for ribbon at the top, unless you are going to use some other closure. Decide if you want another color or stamping on the inside background behind the candy and adhere that to the inside before adding the candy.
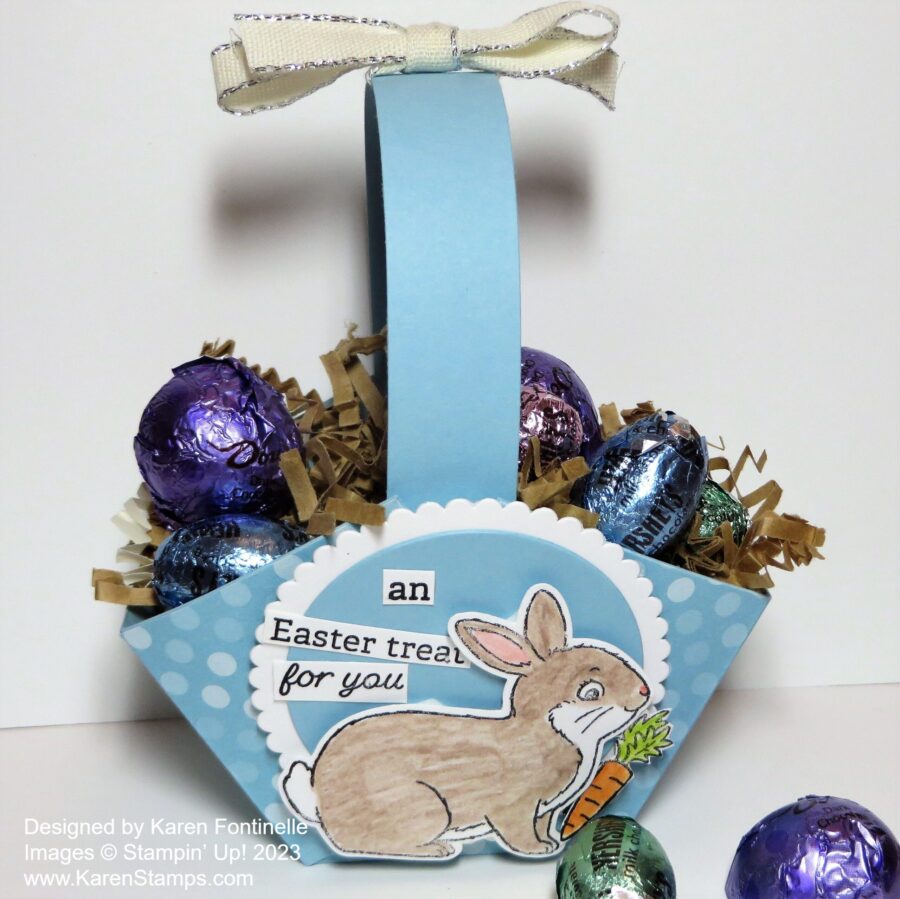
Decorate the front however you like, with stamping, DSP, embellishments, a greeting, whatever you like. I used a few diecuts in the Celebrate Love Ephemera Pack. See! It wasn’t just for Valentine’s Day! I even glued a stem of flowers to the inside. Oh, and I put some Lemon Lime Twist grass at the bottom. When I used to make these I used the Scalloped Tag Topper Punch I think it was named to make the top edges fancy. But rather than look for a punch, I just clipped the two corners off to give it a little something. Then I tied it together with some silver trim I had handy.
As you can see, you can make one of these little Easter decorations pretty quickly and easily and they will give your guests a smile on their face to receive one! Plus one by each dinner plate at your table for a little favor and to decorate the table! Or put one in an Easter basket!
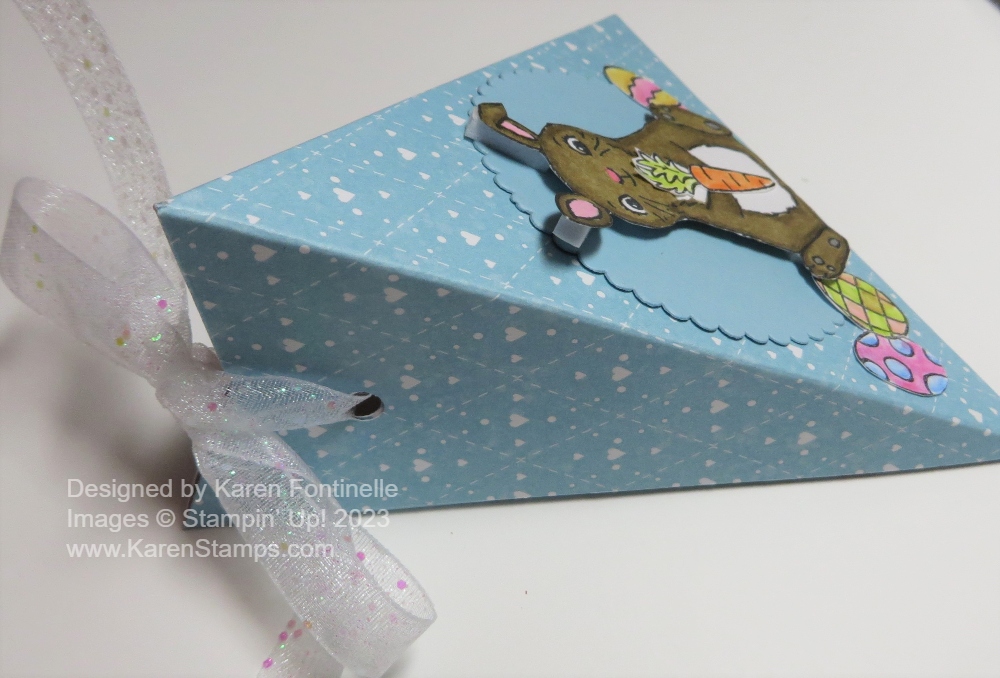
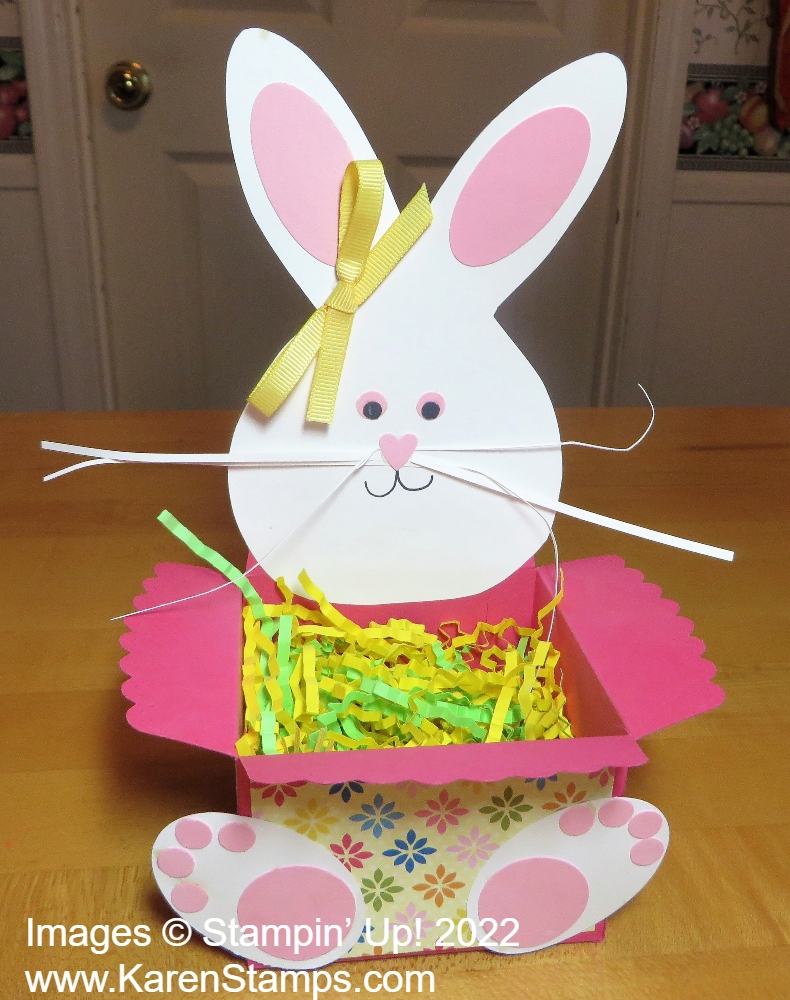
Here is a side view of the treat holder.

Just play with this idea and see what cute things you come up with!