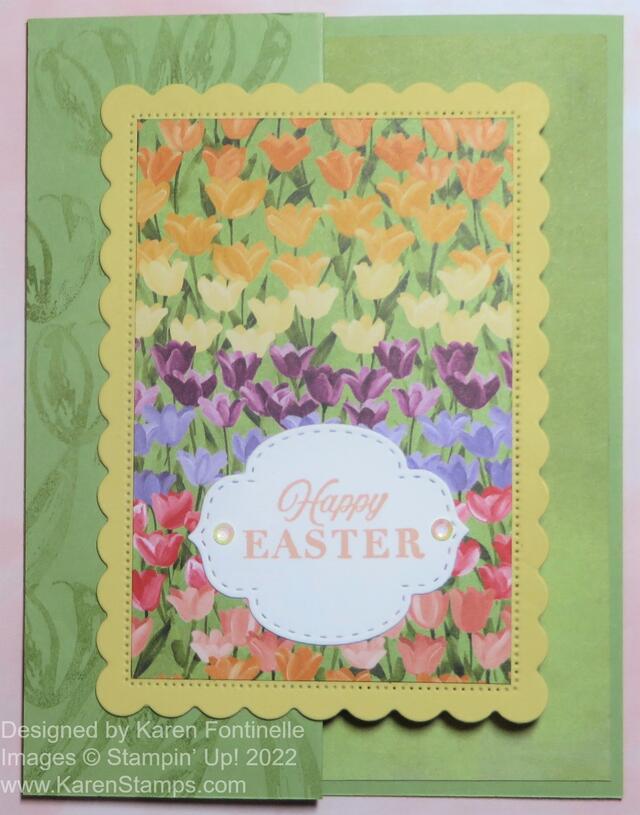
As I looked through my package of the Flowering Fields Designer Series Paper looking to see if a certain pattern was in there, I saw this print of tulips and decided I had to make an Easter card with it right away! As I scored the card in half, I decided to make it a Z-fold card and that’s how this Flowering Fields Z-Fold Tulips Easter Card came about! You never know when you start out what you will actually end up with!
This card was so easy really. I often add pieces of designer paper at least on the folded back front portion but this time I just stamped the smallest tulip in the Flowering Tulips Stamp Set. I used the same Pear Pizzazz ink as the Pear Pizzazz cardstock but I stamped off once on scrap paper because I wanted that light, watermark look down that side panel. I didn’t use the second step of stamping another tulip petal on top of the first because not much was going to show anyway and I just wanted that light look. I did stamp a few leaves to fill in some space.
I die cut a scalloped rectangle from the Scalloped Contours dies (retiring soon!) in So Saffron for the background layer to the tulip paper. For the designer paper, I just measured with a ruler inside the scalloped rectangle and cut out that size rectangle of DSP to fit inside the area. Mine was just a “smidge” under 4″ (about a 1/16th inch less) and about 2 5/8″ wide. If you want to tie a ribbon around that piece, do it before you adhere it to the scalloped rectangle of course.
The greeting is stamped on a die-cut piece from the Stitched So Sweetly Dies (also retiring soon!). I just glued it flat on the card as I am likely to mail this card. I couldn’t resist adding two Iridescent Rhinestone Basic Jewels to the sides of the greeting.
For the inside of the card, to add some interest, I adhered “the other side” of one of the designer papers without a particular pattern except for the shading of colors. This particular piece barely makes a difference in the look from the cardstock, but it’s there and makes a prettier finished look I think.
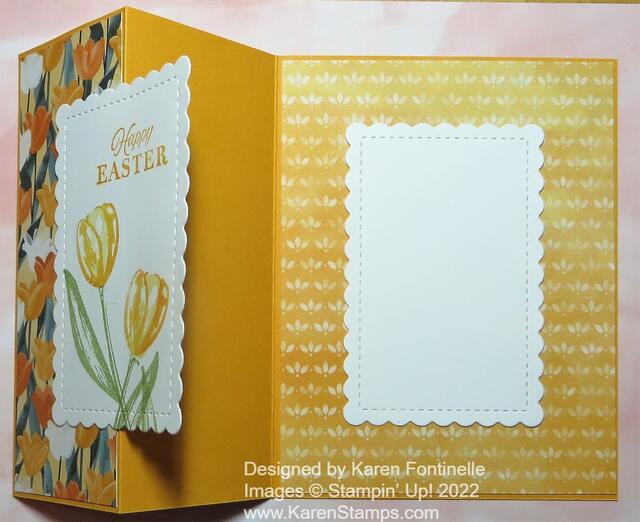
For the inside, I die-cut a Basic White scalloped rectangle, one size smaller than the card front to adhere inside the card on which to stamp another greeting or write a message and sign the card. You could use one the same size as the front but you would have to line it up perfectly so it wouldn’t stick out from underneath the front card design.
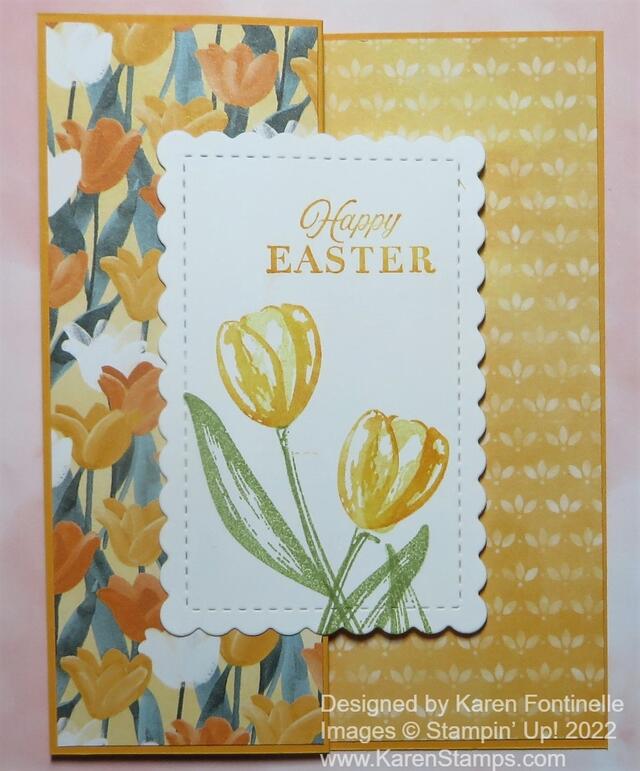
Here is another Z-Fold card I made recently for Easter using the Flowering Tulips Stamp Set instead of the designer paper.
I’ve made lots of Z-Fold cards and I always say they are so easy to make (just fold back the card front!) yet they make such a nice presentation! The recipient will think you are so clever and creative to make such a fancy card! The only difficult part is not to put glue all over the back of the front piece, just on the half that will be adhered to that Z-fold.
Be sure to check the Last-Chance Products list in the Stampin’ Up! Online Store to see what will be retired on May 2 and what is still available. Not everything is discounted, but some things are so grab what you “need”!
Reminder Today is the last day to sign up for Paper Pumpkin to get the April “Change Is Beautiful” Kit!


