Tag Archives: Halloween candy

Halloween Memories Stickers Candy Bars

Halloween Memories Decorated Candy Bars

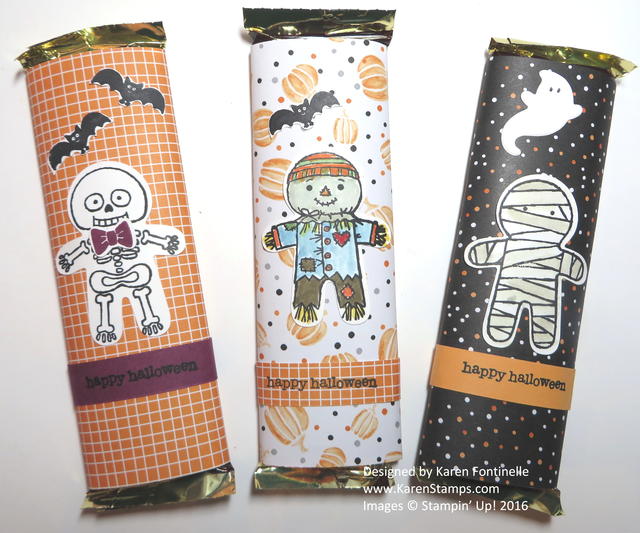
Decorating these candy bars for Halloween was one of the easiest projects to do! When I came across these chocolate bars with a Harry Potter wrapper, I knew I had to get them for my niece and nephew and their families who love Harry Potter. When I went to decorate them, it was so easy with the Halloween Memories Scrapbooking Workshop Kit. In the kit, you get designer series paper, cardstock, and stickers! And obviously, you don’t have to only use it for scrapbooking, although it would sure make scrapbooking Halloween memories easy!

For these candy bars, I wrapped each one in a different Halloween color of cardstock. You could use designer series paper which is a little thinner and easier to fold around. I secured the two ends on the back to each other with Stampin’ Seal+ which is a little stronger. I happened to have some scraps of the Dotted Circles Embossing Folder so I cut those down into strips and adhered around the candy bar. On the third bar at the top I used a piece of the Halloween Spells DSP to wrap around. The rest are stickers in the kit except for a few Daffodil Delight stars I punched out with a retired small star punch. The ghost is my favorite technique of all time, cutting a heart in half and making it into a ghost!

Halloween Memories Stickers Candy Bars

Here is another group of decorated candy bars using cardstock and stickers in the Halloween Memories Scrapbooking Workshop Kit. I did add some eyes on the bats with a white gel pen. And on the top purple bar is the other half of the heart ghost and some punched out stars.

These were so fun and easy it was incredible! I had no plan, no design idea, just played with what I had in front of me. Using chocolate candy in your stamping projects is always one of the most fun things you can do! Even if you had little candy bars you could wrap around small pieces of paper and decorate a little bit. Designer Series Paper probably would work best.

Have fun jazzing up some of your Halloween treats!

Last Minute Past Halloween Ideas!

If you are still looking for last-minute Halloween ideas, here are a few from past years! You can update with our newer products or maybe you still have some of these older products from years past! Whatever you like! Click the title above the photo to go to that blog post for directions. Don’t miss the last idea at the bottom of the post – a new one I had to stick in because it’s so fun! I usually make one of these every year! Save that paper towel roll!

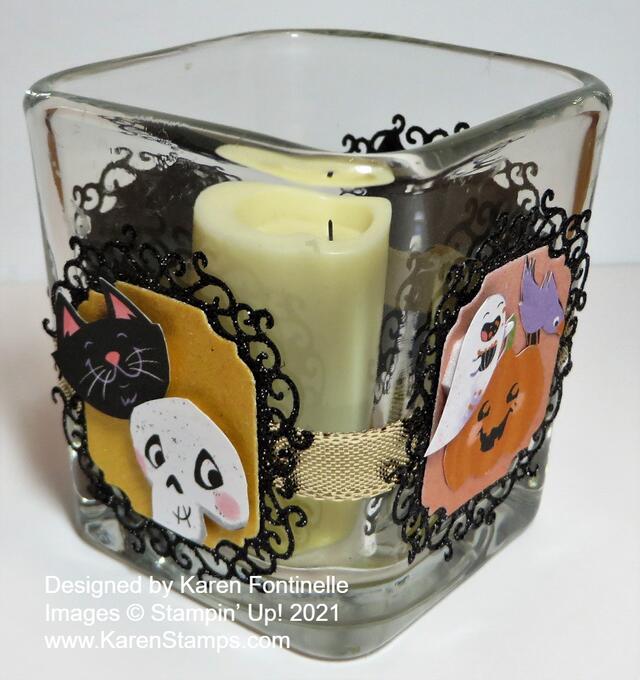
Make a Cute Halloween Votive Candle Holder

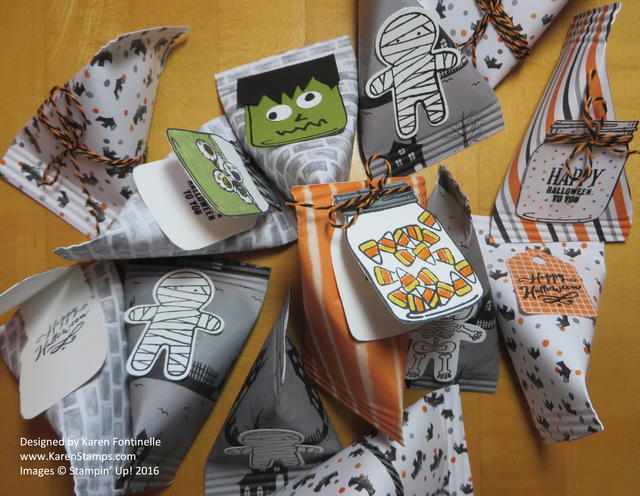
Make Easy Sour Cream Containers for Halloween Treats

Make Easy Sour Cream Containers for Halloween Treats

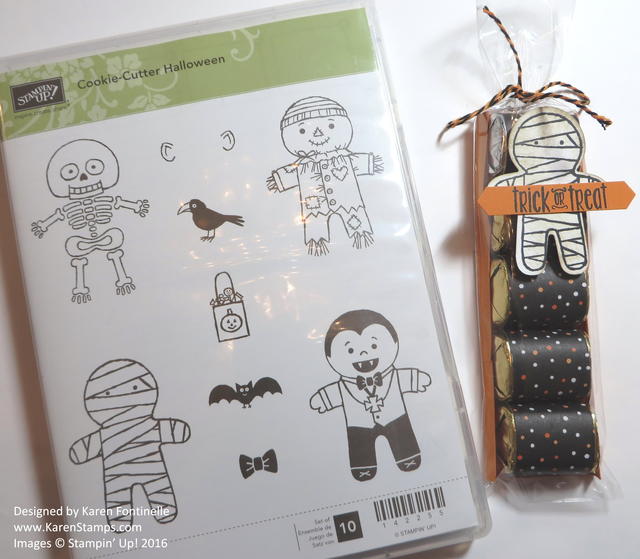
Halloween Chocolate Candy Treat Bag

Halloween Chocolate Candy Treat Bag

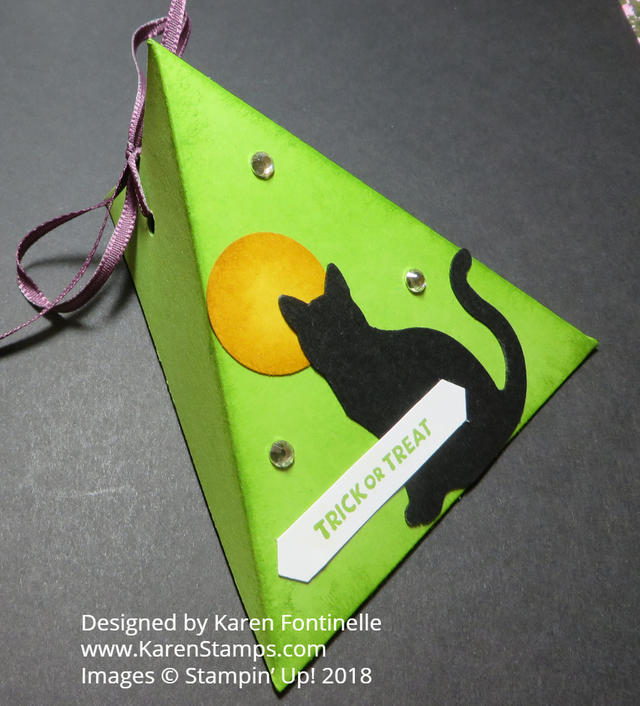
Triangle Treat Box For Halloween

Triangle Treat Box For Halloween

Halloween Night Candy Bars

Halloween Night Candy Bars

Witch’s Boots

Here’s an updated idea I made this year but I’ve made lots of these in the past!

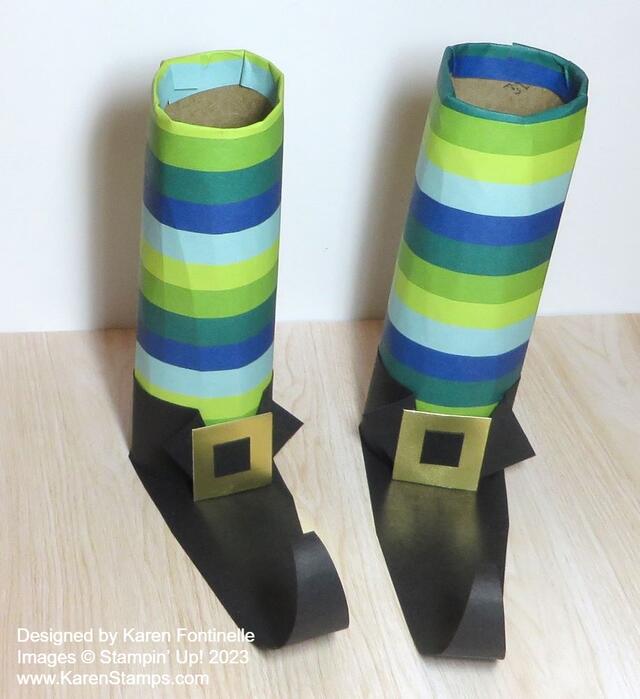
I didn’t stuff any candy in there yet but I will! The Witch’s Boots are made with a paper towel roll cut in half. Wrap the roll in designer paper or cardstock. I used the Merry Bold & Bright Designer Paper, the pattern with the stripes that look like socks! Yes, you can use Christmas paper for a Halloween project!

Take a piece of Basic Black Cardstock however high you would like it to be to wrap around the bottom of the roll to start making the “boot”. Cut it so the ends meet in the center of the front of the boot and then you can fold back the top corners. Make it tall enough to add the buckle, especially if you want a big one.

Cut a piece of Basic Black in a long triangle to make the bottom of the boot. You want it to be as wide as the roll but you can trim around it to make it rounded in the back. You can cut it longer than you want and then curl up the toe with just a pencil or something however you like it.

You can make a cheater buckle by just adhering a square of black in the center of a square of Gold Foil. Then put some candy in a cello bag or add it to the “boot” as is. Just have fun with this idea

I hope these ideas are helpful and fun for you! Each one of these is my favorite thing that I love to make! (Maybe, especially, decorating these large candy bars??!!!)

Have fun and be safe on Halloween Night!

Them Bones Skeleton Triangle Treat Box For Halloween

Them Bones Skeleton Triangle Treat Box

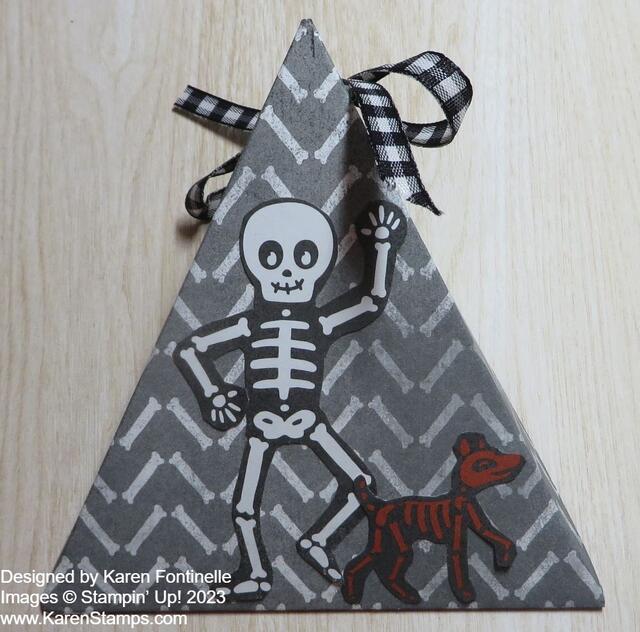
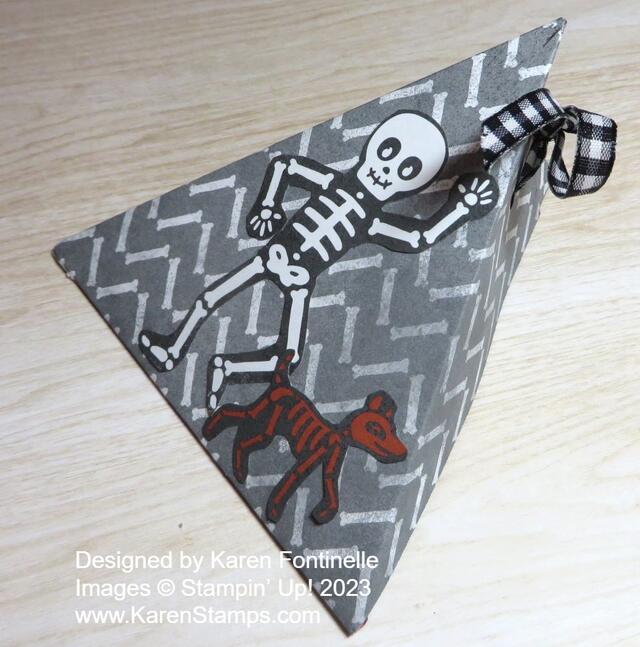
One of my favorite types of treat boxes is this triangle treat box. You can make them for any occasion such as this Them Bones Skeleton Triangle Treat Box For Halloween. This kind of treat box is really so easy to make! You will be surprised if you haven’t made one yet!

You can vary the size of these triangle boxes. All you have to do is follow the basic pattern. You can use cardstock or designer paper. You can leave the cardstock plain, stamp on it, or add designer paper or embellishments. And these boxes aren’t just for candy or food. They can hold a small gift, or even money or a gift card.

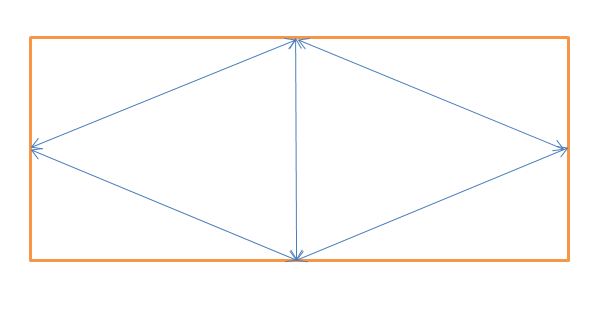
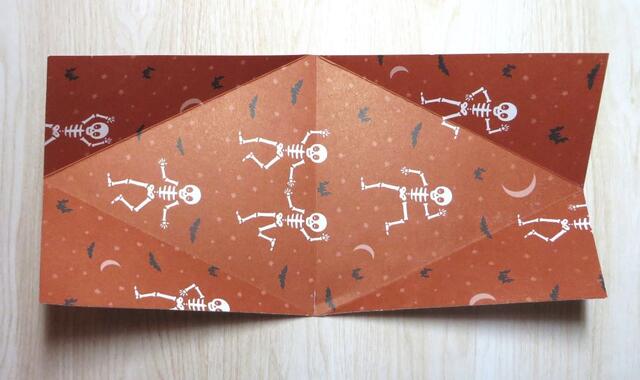
Here is the basic pattern and the size I used for this Halloween Triangle Box. I used a piece of Them Bones Designer Series Paper to make this box. Obviously, cardstock would be a little bit sturdier if you needed that. My paper is cut at 4″ x 8″. If your paper has a pattern you need to pay attention to which way you cut the paper so the pattern won’t be sideways or something.

Triangle Box Drawing

After cutting the paper to the size you want, the rest is scoring. The blue lines on the diagram above are the score lines. Score the length of the paper in half, so if your paper is 4″ x 8″, score at 4″ in the middle. Measure the mid-point on the ends (2″) and lightly mark with a pencil.

The “tricky” part is scoring on the diagonal but it is easy. In that awkward position with your Paper Trimmer, score from that 2″ middle point at one end down to the middle score line which will be on a diagonal. Do that on both sides of one end, then turn the paper and score at the other end in the same way. When you do it, you’ll see how it goes. Here you can see the other side of the paper, which I could have used instead of the bones pattern. You can see what the score lines look like, really from midline to midline. Then you’ll punch holes in each corner, preferably holding the ends together when you do it so they match up.

Triangle Treat Box Scored

After you do the scoring, crease all the score lines and fold the box together to see how it goes. Then hold the ends together on each side and use a hole punch of whatever size you like to punch holes through the two papers on each side. After you decorate your box and put the treat inside, you can tie the box together with ribbon or twine.

This box is simply decorated by cutting out the skeletons from another sheet of paper in the Them Bones DSP and adhering them to the box. You could also add a greeting or some other embellishments. I tied my box closed with the Black & White 1/4″ Gingham Ribbon.

Here is what the box looks like from the side:

Them Bones Skeleton Triangle Treat Box Side

Here’s a triangle box I turned into a Witch’s Hat for Halloween….nine years ago! Wow!

Try one and you will see how easy it is to make a triangle treat box. And you just might need one or more for Halloween night maybe for family treats or for a few special trick-or-treaters!

Happy Halloween in a few days!