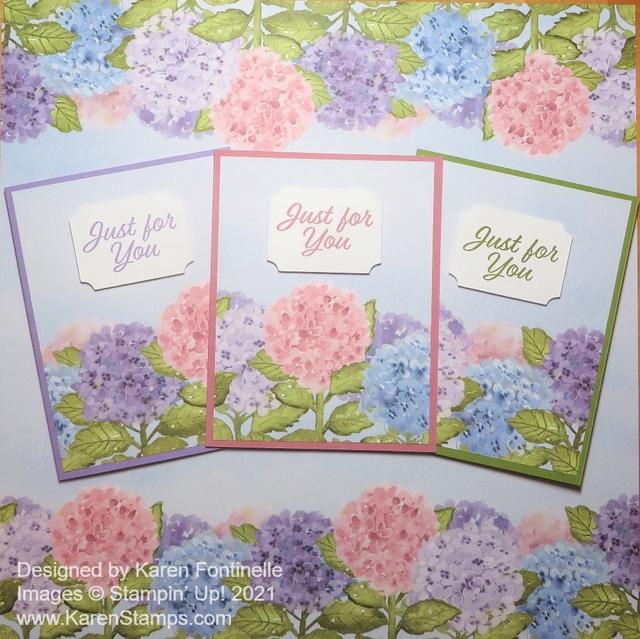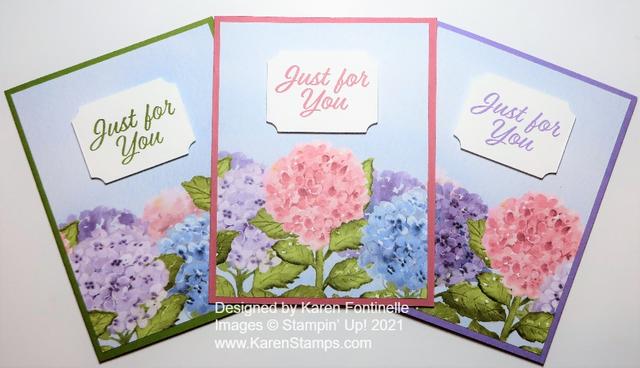
You can’t beat the beauty of the Hydrangea Hill Designer Series Paper as you can see here on these Hydrangea Hill Designer Paper Trio of Just For You Cards, with the designer paper behind them! Besides these three cards, I made something else with the rest of the designer paper that I will show you tomorrow!
This one sheet alone in the package of Hydrangea Hill Designer Series Paper makes the purchase worthwhile! If you are a scrapbooker, just think what a beautiful page you could make by just adding your photos to this already beautiful paper. And if you take a deep breath, shut your eyes, and cut into it, you can make all kinds of beautiful cards and projects with this unusual sheet with the flowers at the top and bottom.
To make these cards, I knew the dimensions of designer paper as a layer on a card base is 5 1/4″ x 4″. I just cut across the DSP at 5 1/4″ with one of the flower edges at the bottom. Make sure you pay attention which way you are placing your paper before you cut! Basically, you will cut off the bottom edge of the paper with the flowers at 5 1/4″ Then cut this 12″ x 5 1/4″ panel into three pieces at 4″ wide each.
For these cards, I used card bases of coordinating colors, such as Highland Heather, Rococo Rose, and Old Olive. Then I stamped the greeting in the matching ink color. The greeting is from the Meant To Be Stamp Set, which is in the Annual Catalog. Next, I used the die in the Tasteful Labels Dies to cut out the greeting and popped it up with Stampin’ Dimensionals. That’s all there is to these cards! You could add some little jewels or embellishments, but basically, I wanted to keep the cards simple with such pretty paper.
The Hydrangea Hill Paper is so pretty you can just use it and a greeting to make a card! It will be hard to cut into your designer paper, but after you do, you will make something even more beautiful than the paper itself. Then send your lovely card off to someone who will certainly appreciate hearing from you!
SHOP STAMPIN’ UP! ONLINE HERE!

