Tag Archives: Mini Pizza Boxes

Mini Pizza Box and Card With Golden Garden Acetate

Golden Garden Acetate Sheet Pizza Box and Card

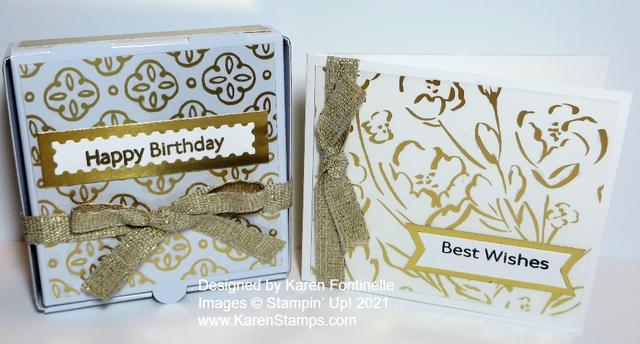
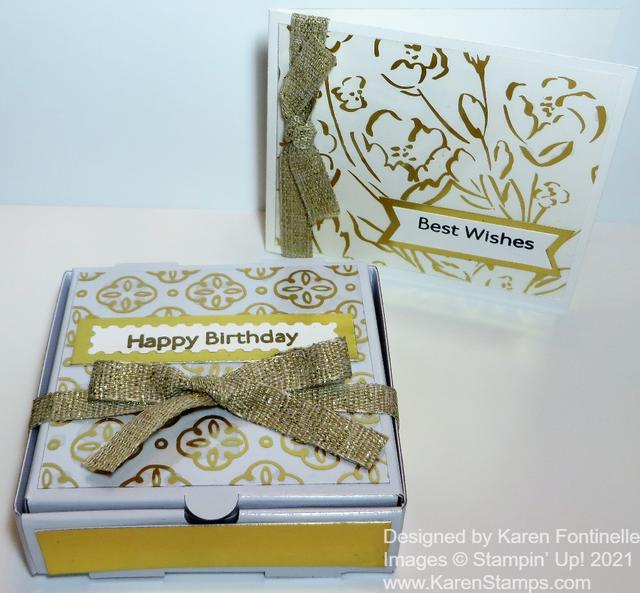
You can play around with the new Acetate Sheets in different ways for a different look to your cards and projects like on this Mini Pizza Box and Card With Golden Garden Acetate. These acetate sheets are in the Fine Art Floral Suite.

After making this card the other day, I used a scrap piece of the Golden Garden Specialty Designer Acetate Sheets on this small gift card. You don’t have to only use it with the Fine Art Floral Designer Series Paper. You can use it on its own over a piece of cardstock. For this card, I just used a piece of Basic White Cardstock for the card base and adhered the acetate sheet on the front. The greeting is in the Art Gallery Stamp Set in the Suite. It is just stamped on white and layered on a piece of Gold Foil. The ribbon tied around the side is the 3/8″ Fine Art Ribbon.

Here are some things to know about the acetate sheets! On the backside of sheet, the backside of the gold design is silver! So you can use whichever color you like. There is also a protective plastic sheet on the backside of the acetate, on the silver side, so be sure to remove that before using. As for how to adhere the sheets to your card or project, you may be able to hide the adhesive underneath some other element on your card, such as under the greeting or under the ribbon. Some people are using Mini Glue Dots and hiding them under whatever they can. I chose to use teeny tiny dots of the Multipurpose Liquid Glue. Have a piece of scrap nearby so you can squeeze out a bit of glue to make sure it won’t pour out when you are trying to use really small dots! I just put the tiny dots under the widest parts of the gold design to try to hide it.

For something different I put together a Mini Pizza Box and added a piece of the Golden Garden Acetate to the top of the box. I used the shiny side for the outside this time. As I was assembling the box, I thought it felt a lot thicker and harder to fold for some reason! Well, the reason was revealed when a second box fell apart from the one box I thought I was working with. I was trying to crease two boxes stuck together and thought I only had one!!

For the pizza box, after adhering the acetate to the top of the box with teeny tiny dots of Multipurpose Liquid Glue. I actually can see the glue that oozed out from under the spot when I placed it, but honestly, no one else will even notice it. I can see it because I’m looking for it, but it doesn’t really show. I also added strips of Gold Foil around all four sides. The greeting is also in the Art Gallery Stamp Set and is die-cut with a die in the Floral Gallery Dies, layered on a piece of Gold Foil. Then I just tied a piece of the 3/8″ Fine Art Ribbon around the box, which holds the lid closed and also is an embellishment. This is an easy way to make a little box for a gift, treat, or maybe some notecards or a cookie inside!
Mini Pizza Box and Card With Golden Garden Acetate

The Fine Art Floral Suite is a beautiful group of products for you to make lots of pretty things! Check them out in the Stampin’ Up! Online Store along with the other January-June 2021 Mini Catalog products.

Peaceful Poppies Pizza Box 3 x 3 Notecards

Peaceful Poppies 3 x 3 Notecards

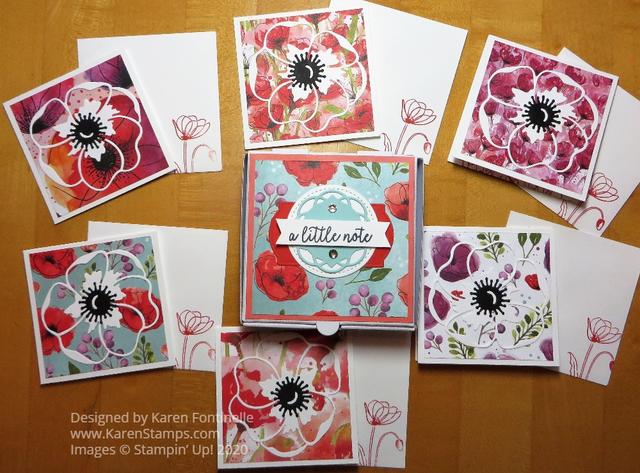
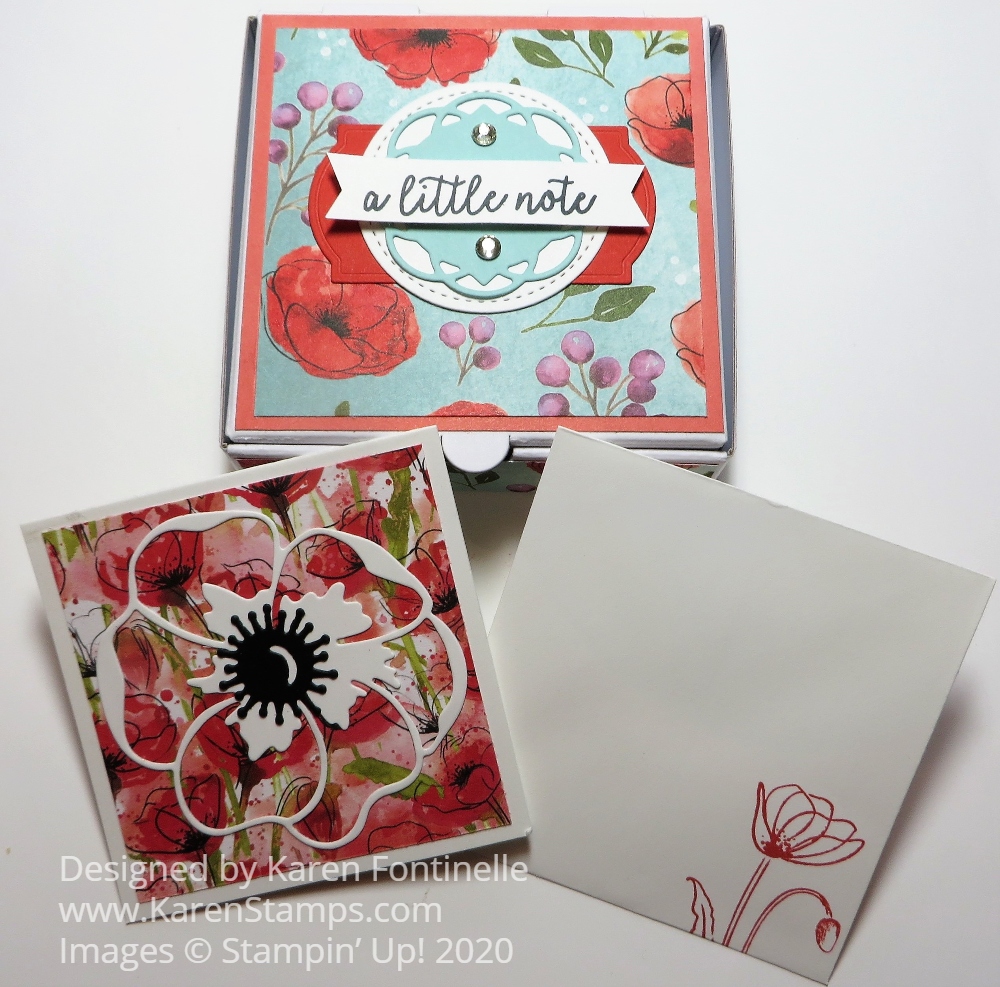
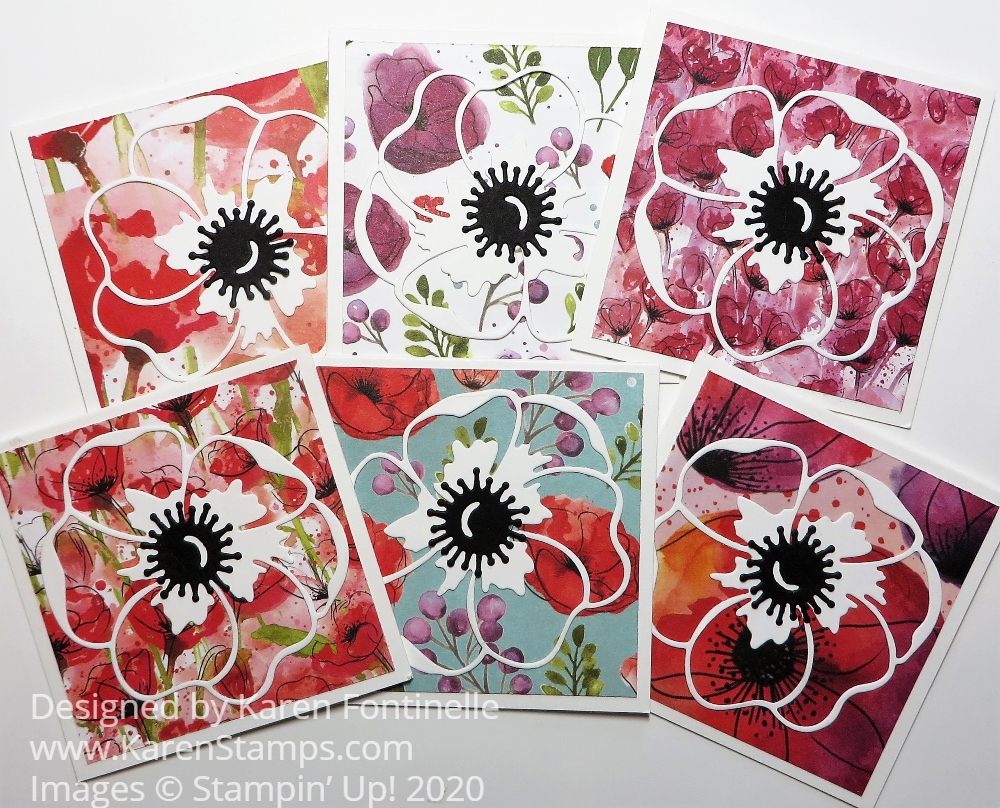
The other day I posted about decorating one of the Stampin’ Up! Mini Pizza Boxes and today I am showing you the Peaceful Poppies Pizza Box 3″ x 3″ Notecards I made to go with the box! There were really so many choices of how I could have decorated the notecards, but using a Whisper White poppy die-cut was what I ended up with.

You can make your own 3″ x 3″ cards (or you may have some old ones in your stash!) by cutting 6″ x 3″ cardstock, folded in half. You can purchase envelopes at Stampin’ Up! in the Online Store.

To make these little cards, I just cut different patterns of the Peaceful Poppies Designer Series Paper into layering pieces of 2 3/4″ x 2 3/4″. I wanted that pretty paper to show through, so I cut the large poppy die from the Poppy Moments Dies, plus the small black center die-cut for the flower. I just used tiny dots of Liquid Multipurpose Glue (I mean TINY!) to adhere the white poppies. You could even add some Peaceful Poppies Sequins if you wanted to.

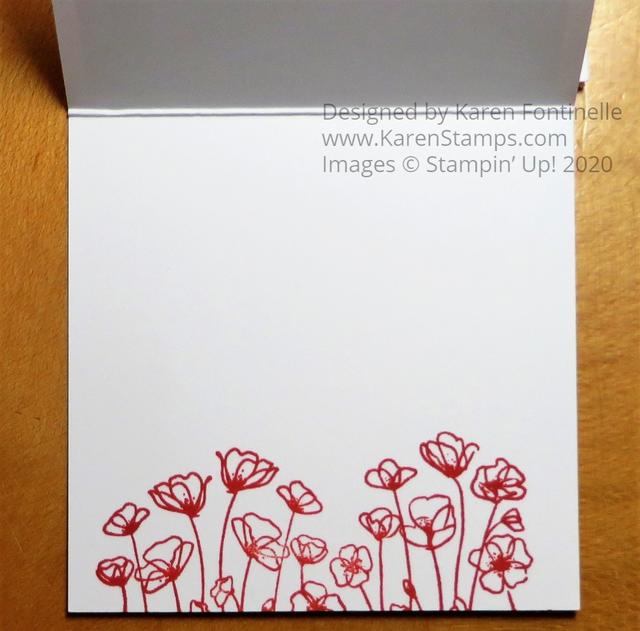
For fun, I also stamped the inside of the little notecards with a stamp in the Painted Poppies Stamp Set.

Peaceful Poppies Pizza Box Notecards Inside

And of course the envelopes!

You could even make up a few sets of these Mini Pizza Boxes and notecards and have them on hand for gifts. Who wouldn’t love to receive this little gift?!

Peaceful Poppies Pizza Box and Notecard Set

If you want details on how I decorated the Mini Pizza Box, check out my blog post HERE from the other day. You can also purchase Gold Mini Pizza Boxes. Both kinds of boxes are food safe so you can even put a cookie or brownie or candy inside! These boxes are great to have on hand. They store flat so they don’t take up any space. All you have to do it pull one out and decorate it for whatever occasion and put something inside. Use this Peaceful Poppies Pizza Box 3 x 3 Notecards idea and use it for your inspiration!

Peaceful Poppies Pizza Box

Peaceful Poppies Pizza Box

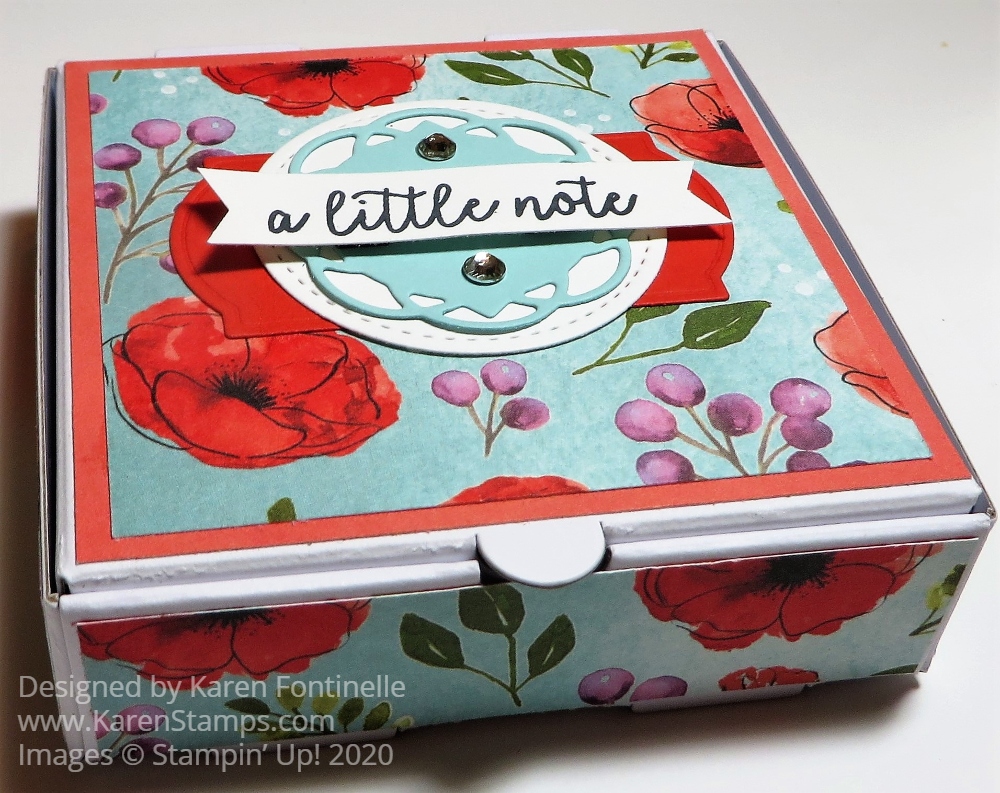
Peaceful Poppies Pizza Box! Say that ten times fast! If you are looking for a little gift idea, look no further than the Stampin’ Up! Mini Pizza Boxes! These boxes will be so cute for you to decorate, whether you are putting a set of 3″ x 3″ notecards inside, a small gift, or a cookie! They are even food safe so no worries there!

These boxes come to you flat, 8 in a package, so you don’t have to worry about a pile of boxes to store! Just take one out when you need one and fold on the scored lines and assemble it into a pizza box shape. Then the fun begins! Decorate for whatever occasion you have or personalize for the recipient of your gift.

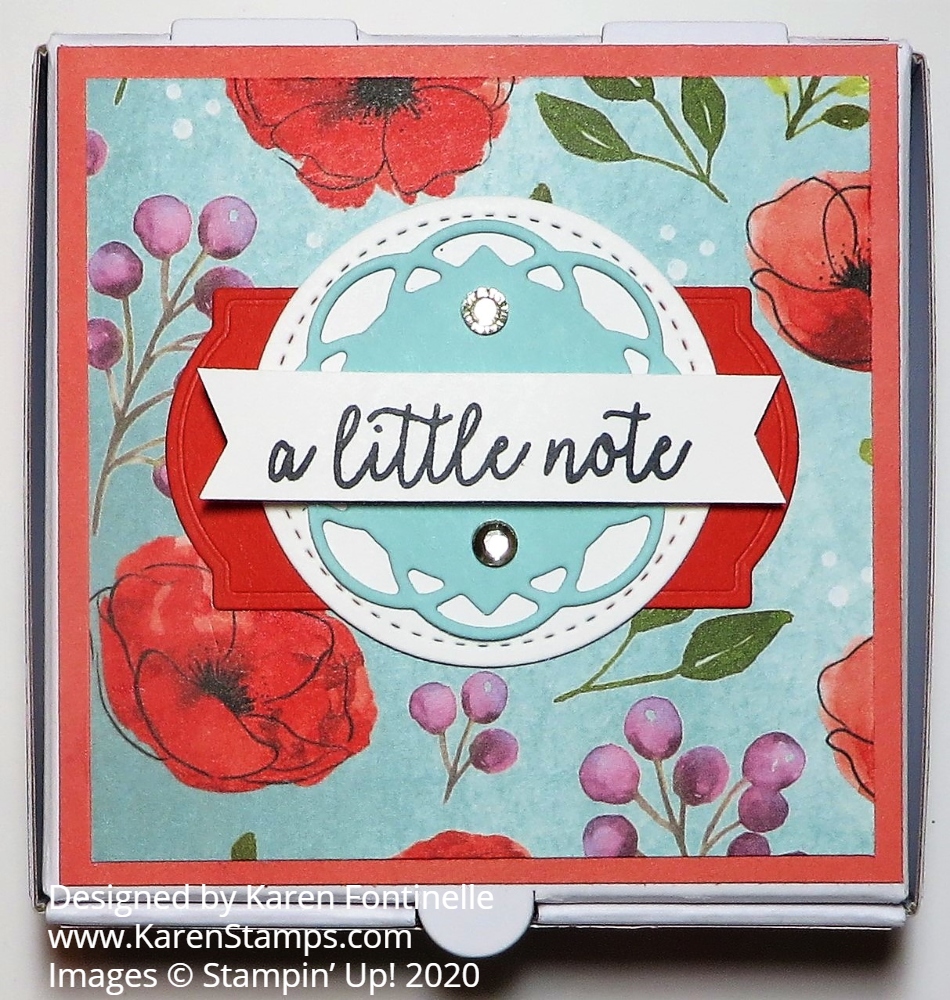
For this pizza box, I decided to use the beautiful Peaceful Poppies Designer Paper. I absolutely love the pattern that I chose on top with the poppies against that Pool Party blue color. As a layer underneath this designer paper, I used another piece of designer paper, the solid watercolor Poppy Parade color. I cut a piece 3 3/8″ square to fit the top of the box and then 3 1/8″ square of the layering designer paper.

For all four sides of the box, I used strips of the Peaceful Poppies DSP, cut 7/8″ wide and just under 3 1/2″ long. You may need to trim your papers slightly differently than mine depending on your box. You could also wrap a ribbon around the box or use a solid color of cardstock. Whatever you like!

I tried several ideas for the top of the box before settling on what you see that I came up with! I used dies from the Painted Labels Dies, the Poppy Parade Cardstock bottom layer and the Pool Party circular diecut. The Whisper White circle I felt was needed to help everything stand out. It is die cut with one of the Stitched Shapes Dies. The greeting is from the Butterfly Gala Stamp Set. It’s a small box and I didn’t want to cover up too much of the lid because I wanted the designer paper to show as much as possible. Since I am putting small notecards inside the box, I thought the greeting was perfect! You wouldn’t have to have it though or you could change it for a birthday or congratulations. The greeting is popped up on Stampin’ Dimensionals and little Basic Rhinestone Jewels added for some bling!

Here is another example using one of the Gold Mini Pizza Boxes from the Holiday Catalog with the Christmastime Is Here Designer Paper. And here is one I decorated for Valentine’s Day two years ago.

Peaceful Poppies Pizza Box Side

Put some Mini Pizza Boxes on your next order so you have them handy for a last-minute or just an extra little gift that you can quickly decorate for someone, like this Peaceful Poppies Pizza Box!