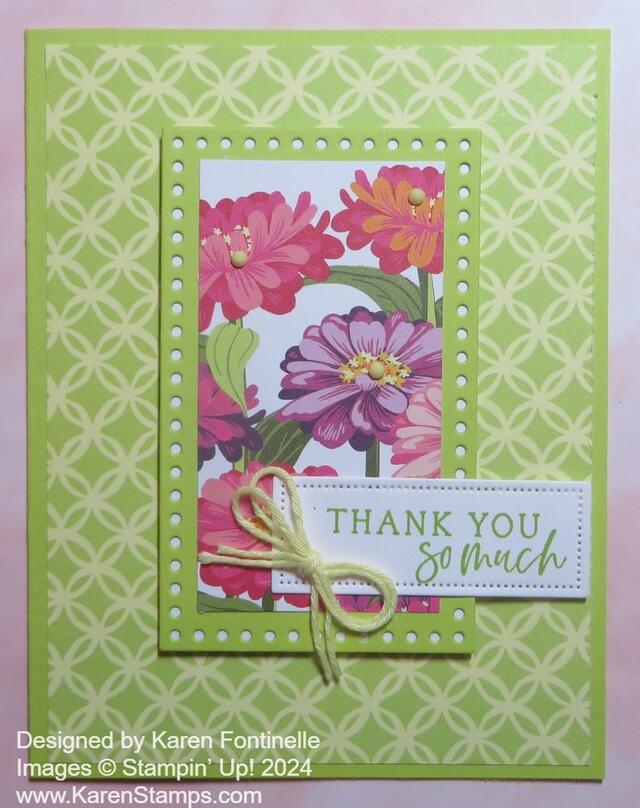
You may have heard about this brand new embossing folder in the Stampin’ Up! Annual Catalog. It is huge! I thought I would give it a try with this summery card, Simply Zinnia Dotted Circles Embossed Card.
This is the Dotted Circles 3D Embossing Folder. If you don’t own it yet, you will be amazed at the size when you compare it to your other embossing folders! I don’t even know why it is so large except maybe for scrapbooking. But the embossed cardstock can be trimmed down to any size you want. Here is a photo comparing the Dotted Circles 3D Embossing Folder to the Layered Florals 3D Embossing Folder.
In the photo, you can see the width of both folders is six inches, but the Dotted Circles Embossing Folder is 2 1/2″ longer.
To make this card, I cut the Daffodil Delight cardstock down to the size I wanted it for the card, 4″ x 5 1/4″, then embossed it with the Dotted Circles EF. I tried to center the cardstock exactly where I wanted it in the folder before running it through the Cut & Emboss Machine. I layered the embossed Daffodil Delight cardstock on a card base of Granny Apple Green Cardstock.
For the focal point of the card, I diecut a piece of Basic White using a large circle in the Everyday Details Dies. I stamped the bouquet of three zinnias from the Simply Zinnia Stamp Set in Memento ink and colored in with Stampin’ Blends markers. I mostly used Daffodil Delight for the flowers and added little areas of Peach Pie. The leaves are colored with Granny Apple Green with a little Lemon Lime Twist added. You can play around with any combination of colors you like. I love coloring with the Stampin’ Blends! This stamped diecut circle was then popped up on Stampin’ Dimensionals.
The greeting is from my new ephemera pack, Saying Something Mix & Match. We haven’t had these before, but there are four sets to choose from. If you get a couple of them at least, you can mix & match and put a couple of them together. I liked this one with all the sayings and sentiments. It’s great for a beginning stamper who doesn’t have a lot of stamps yet for greetings. I popped this sentiment up on Dimensionals. To make the ephemera pieces a little more sturdy a good tip is to add extra dimensionals or even a strip along the edge of the dimensionals. You can also use Adhesive Foam Sheets and cut a piece the size you want. Of course, you can always glue the ephemera down flat with glue. I wanted mine popped up to match the circle.
For embellishment, I tied a double strand of Linen Thread into a bow and adhered with a Mini Glue Dot. I also added three Lemon Lime Twist gems in the Tinsel Gems Four Pack.
If you are interested in purchasing any of these new products, wait until tomorrow if you will have an order of $75 or more and get FREE SHIPPING! One day only, Tuesday, May 21st!


