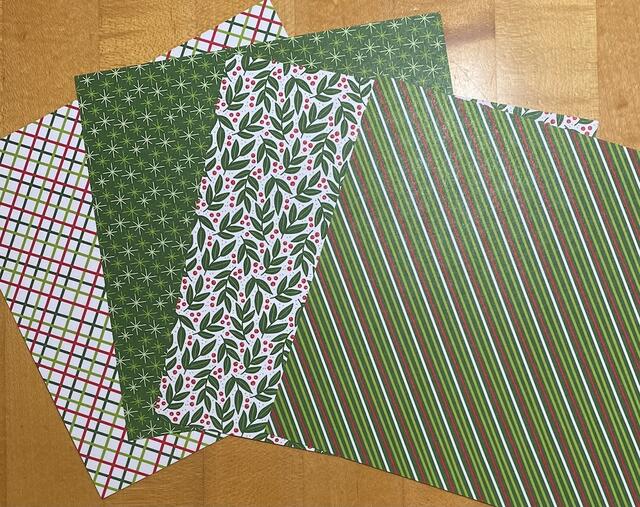
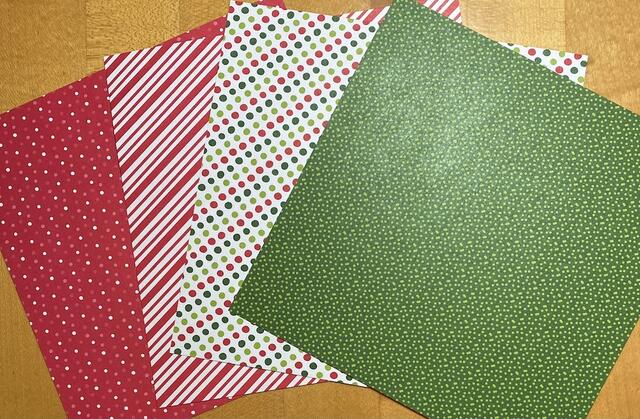
This Take a Bow Easy Christmas Card is indeed a pretty quick and easy Christmas card to make! It actually turned out different than the simple idea I had in my head. Once I turned the paper over to the other side, this design hit me! Sometimes you don’t know exactly what you will end up with when you start a creative project!
This is a package of 6″ x 6″ designer series paper called Take a Bow. It is coming in the Holiday Mini Catalog from Stampin’ Up! September 4th so mark your calendars! It is part of an interesting Bundle of this paper and some dies. The dies will cut this paper or any other into pieces to make a bow. These bows you can make are the same style you would pay money for in a store for a gift! So I don’t know if the name of this Bundle and paper is “Take a Bow” (like making a bow to decorate a package!) or “Take a Bow” (as we might often say to congratulate someone on a job well done when you mean for them to bend at the waist and ‘take a bow’!). Either way, the dies will give you a way to make your own bows for all kinds of gift wrapping!
The Take a Bow Designer Series Paper features festive designs of candy cane stripes, holly, plaids, polka dots, and stars in red and green. Perfect for Christmas cards, scrapbooks, Christmas ornaments, bows, gift packaging, and more! Some of the generic designs you will be able to use long past the holidays. You get 48 sheets, 12 each of 4 designs in colors of Garden Green, Granny Apple Green, and Real Red.


The base of this card is Real Red. I was planning to put the criss-cross pattern as the full card front, but when I turned it over, I thought how about using the green print side and just add a strip of the criss-cross pattern down the side? The green layer is 5 1/4″ x 4″ and the strip is 5 1/4″ x 1 1/2″.
The greeting is stamped from the Decorative Trees Stamp Set in Garden Green ink on Basic White. I used the Something Fancy Dies to cut out the greeting and the Real Red layer underneath. I was dying to try out the little peppermint embellishments, Real Red & White Adhesive-Backed Peppermints. You may want to purchase a couple of packs of these! I put three at the bottom of the greeting.
For a finishing touch, I thought of using an image in one of the new Ephemera Packs in the Holiday Mini Catalog. I found this poinsettia diecut in the Joyful Images Mix & Match Ephemera Pack on page 15. I just glued it down flat although you could also pop it up as well as the greeting.
When you go to make a card, look through all the patterns in a package of designer series paper and see what strikes you at that moment. I used both sides of one piece of paper for this card because they went together so well! Remember not every card has to be fancy so do not feel intimidated! Some of the simplest cards are the most elegant.
Remember to use your Bonus Coupon Codes from July to save money on your August purchase. Only about ten more days to use them!

