Tag Archives: thank you card

Garden Lane Paper Strips Thank You Card

Garden Lane Paper Strips Thank You Card

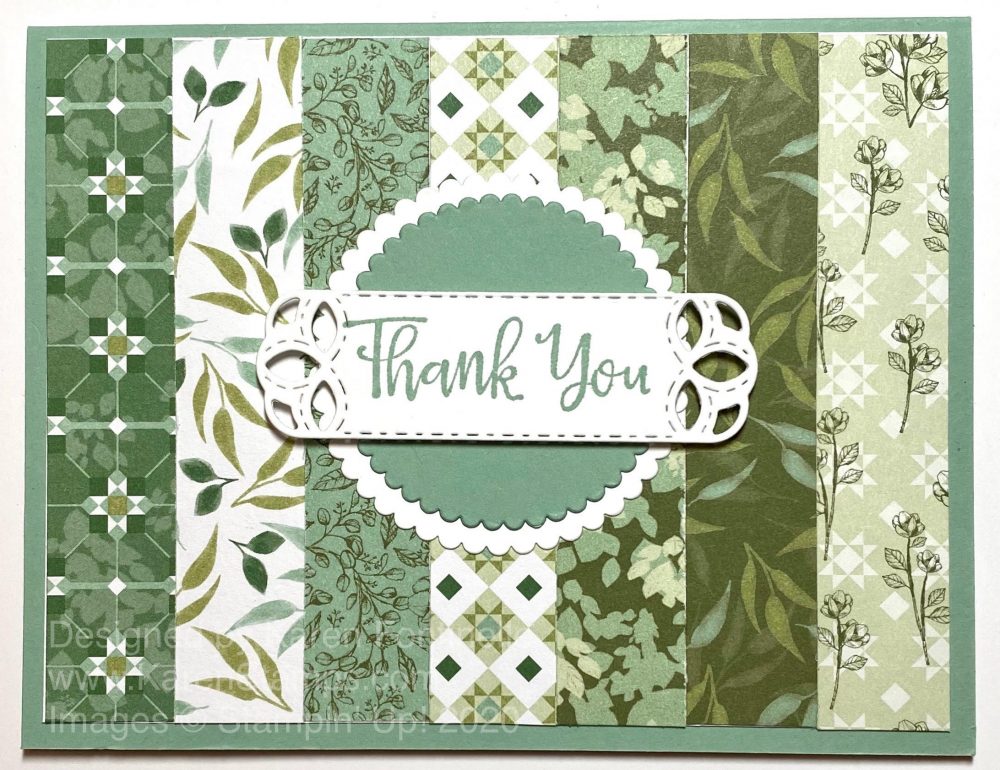
You don’t always have to know exactly what card you are going to make when you start as I didn’t know exactly when I started on this Garden Lane Paper Strips Thank You Card. I simply started looking at my designer paper choices. I had been seeing some cards made with strips of designer paper lately although they were cut on angles. I thought I would just try cutting some scrap strips and see how they would fit if I made a card.

Well, it turned out that cutting strips from the Garden Lane Designer Series Paper at 4″ x 3/4″ made a perfect fit for the top layer of the card. I chose Mint Macaron for the card base, one of the coordinating colors of the designer paper. Instead of gluing the strips right onto the Mint Macaron card base, I adhered them to a piece of Whisper White so I wouldn’t get them crooked or something! If you do this, then you can always do a little trimming if you need to before you adhere the strip piece to the card front.

Because I already had a stamped die-cut piece in my scraps I could see how it would look on the front of this card for the greeting. I played around with what to use for layers and what colors. Then I stamped “Thank You” from the Peaceful Moments Stamp Set in Mint Macaron Ink .and die-cut with a die from the Stitched Labels Dies. This greeting was then layered over Whisper White and Mint Macaron scalloped Layering Circles Dies. You could even add a bit of Whisper White ribbon or bows but I decided to stop. Sometimes you have to know when to stop when you are creating!

This was a fun Easter card I made wit the Garden Lane Paper in the background!

This Garden Lane Designer Series Paper is retiring on June 2 as are all the designer papers in the current catalogs. This one is discounted! Be sure to choose the ones you want to have before they sell out or are gone.

SHOP STAMPIN’ UP!

Thoughtful Blooms Floral Card

Thoughtful Blooms Floral Card

It’s even cold in Houston today and you may have snow where you live so here is a Thoughtful Blooms Floral Card to brighten our day! This is a stamp set you can earn FREE during Sale-A-Bration through March 31 with a $50 purchase of Stampin’ Up! products.

I was inspired by a card sample I saw in the Sale-A-Bration Brochure on page 12 for this stamp set, although mine turned out to be a fairly different design. It was fun to do some actual STAMPING on this card like in the “olden days” when we didn’t have so many die cuts and great designer paper.

This card has a base of Mossy Meadow, one of the coordinating colors in the Peaceful Poppies Designer Series Paper. Although the sample in the SAB Brochure has blues and greens, I thought brighter colors were going to be what I was going to use. That led to looking at the coordinating colors of the poppy paper. Here is a card I made using the bright poppies in this designer paper that made me think of using bright colors of the stamped flowers on this card. I used the green striped designer paper as a layer on the card and I wanted a wider margin on it under the Whisper White layer.

I stamped the Whisper White layer, starting with Calypso Coral ink for the main flowers and Old Olive for the flower stems stamp surrounding the Calypso Coral flower. This stamp set, Thoughtful Blooms, is one you can earn free with a $50 purchase, as I mentioned before. AND with a $100 purchase, you can earn the coordinating Small Bloom Punch free also! I didn’t use this punch on this card but I could have! Next time!

The tiny flowers on the card are stamped with Daffodil Delight ink and the extra little dots, another stamp in the set, are stamped in Granny Apple Green for just a little texture on the card in the blank spaces. The flower centers in the large flowers are stamped in Memento Black ink.

The “Thank You” stamp is included in the Thoughtful Blooms Stamp Set and is stamped on Whisper White in Memento Ink. I die cut that with the smallest die in the Stitched So Sweetly Dies and then that was layered on a Calypso Coral die cut rectangle in the same set.

I thought the stamped layer needed a little boost in color so I found that the backside of one of the floral sheets in the Peaceful Poppies DSP in Calypso Coral would be perfect. You could also use cardstock for this as you can barely tell this is designer paper. I don’t usually like to use paper at an angle, but today I thought it suited this card. I think the Whisper White layer is fairly straight but the designer paper is on an angle. For one more pop of color, I used the Daffodil Delight 1/4″ Ruched Ribbon underneath the greeting with a little knot off to the side.

For the inside of the card, I will add a layer of Whisper White for another greeting or personal message, probably with some little flower stamped in the corner.

Be sure to take advantage of Sale-A-Bration because we are already halfway through this promotion! Can you believe it?! Time flies when you are having fun stamping! Remember that one of the stamp sets you can earn FREE with a $50 purchase is this Thoughtful Blooms Stamp Set with which you can make this easy Thoughtful Blooms Floral Card.

Easy Pressed Petals Thank You Card

Easy Pressed Petals Thank You Card

This Easy Pressed Petals Thank You Card is simple to make and can be for almost any occasion, just change the greeting. Sometimes it is fun to try a more complicated technique or design in our cardmaking or make a card with lots of embellishments, but sometimes just a rather basic design is more than fine!

The Pressed Petals Specialty Designer Series Paper is an easy one to use on cards. This paper was designed by actually photographing real pressed petals for one side of the paper and vintage designs on the other side. One design is a sheet of individual blocks of flowers that can be cut apart to add to cards in different ways. We had something like that last catalog.

This card starts with a base of Pear Pizzazz Cardstock and then a piece of Pressed Petals Designer Paper with these leaves and ferns. So pretty on it’s own so you don’t need to add much to the card. I stamped a greeting and die cut it and some layers with the Layering Ovals Dies, one a Mossy Meadow Cardstock layer and one a Gold Glimmer Paper layer to match the ribbon.

The ribbon is the Gold 3/8″ Metallic-Edge Ribbon. I think this is one ribbon you should have in your stash because it goes well with so many cards and projects. I just tied a knot to keep it easy!

Inside the card, you can stamp something or write a personal note. If you find it difficult to write on the colored cardstock, just cut a layer of Whisper White or Very Vanilla Cardstock and adhere inside. You can first stamp something in the corner or add a strip of the same or coordinating designer paper. It makes for a nice surprise when the recipient opens the card!

The greeting is one in the Path of Petals Photopolymer Stamp Set which is part of the Pressed Petals Suite. I love how Stampin’ Up! has so many coordinating items to use in our projects and has put them together into these Suites. Of course you can always use any stamp set for a greeting or mix and match stamps and paper or whatever, but if you don’t want to think very hard about it, or you just like EVERYTHING that goes together, then it is easy to choose from a Suite….or order the whole Suite.

Enjoy the Stampin’ Up! Annual Catalog while you wait for the Holiday Catalog because once the Holiday Catalog goes live, we will all probably mostly be in holiday mode! I hear Holiday Catalogs are hitting some mailboxes already so be on the lookout!

Use this design that I used for this Easy Pressed Petals Thank You Card to make a batch of cards with different greetings and you will likely have a card ready to go for almost any occasion, especially when you are short on time.

SHOP STAMPIN’ UP!

Use your July Bonus Coupons in August! Don’t forget!!

Petal Labels Dies Thank You Card

Petal Labels Dies Thank You Card

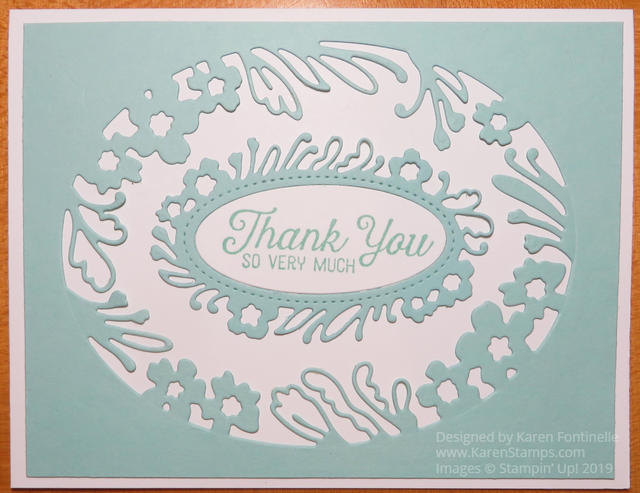
This Petal Labels Dies Thank You Card is easier to make than you might think! It’s all about the dies! I hadn’t tried these out yet, but they give you an elegant-looking card just by cutting out this flowery die.

The card base is Whisper White and the layer is Pool Party. I wasn’t even sure what I was going to make. I looked through my designer papers but didn’t see one I wanted to put underneath the die cut layer. So I just decided to keep it real simple!

The Petal Labels Dies come with the larger and smaller two dies but a single oval if you want to die cut the center of the smaller die. After die-cutting the smaller floral die, I also die cut that oval in Whisper White and replaced it in the center of the floral piece after stamping a greeting on it. I had to find something I wanted to use and that would fit inside this oval. This greeting is from the Flourishing Phrases Stamp Set. This is often my go-to stamp set for sentiments and greetings.

That’s all there is to my card! Now certainly you can do a lot of variations so you can make cards for many occasions and designs with these dies. And if you just want to keep it rather plain and simple, you can do that like this card!

Petal Labels Dies Thank You Card Closeup

Remember, now it is August, so if you earned some Bonus Coupons in July from your Stampin’ Up! order(s), you can spend them now in August! When you get your order entered, you’ll see something at the bottom that says “Manage Coupon Codes” and enter your code(s) there. Then make sure your coupons are deducted from the total. Click the photo below to view it larger.

Redeem Bonus Coupons Tutorial
Click to Enlarge

Shop Stampin’ Up! & Don’t Forget Your Bonus Coupons!

Pressed Petals Floral Thank You Card

Pressed Petals Floral Thank You Card

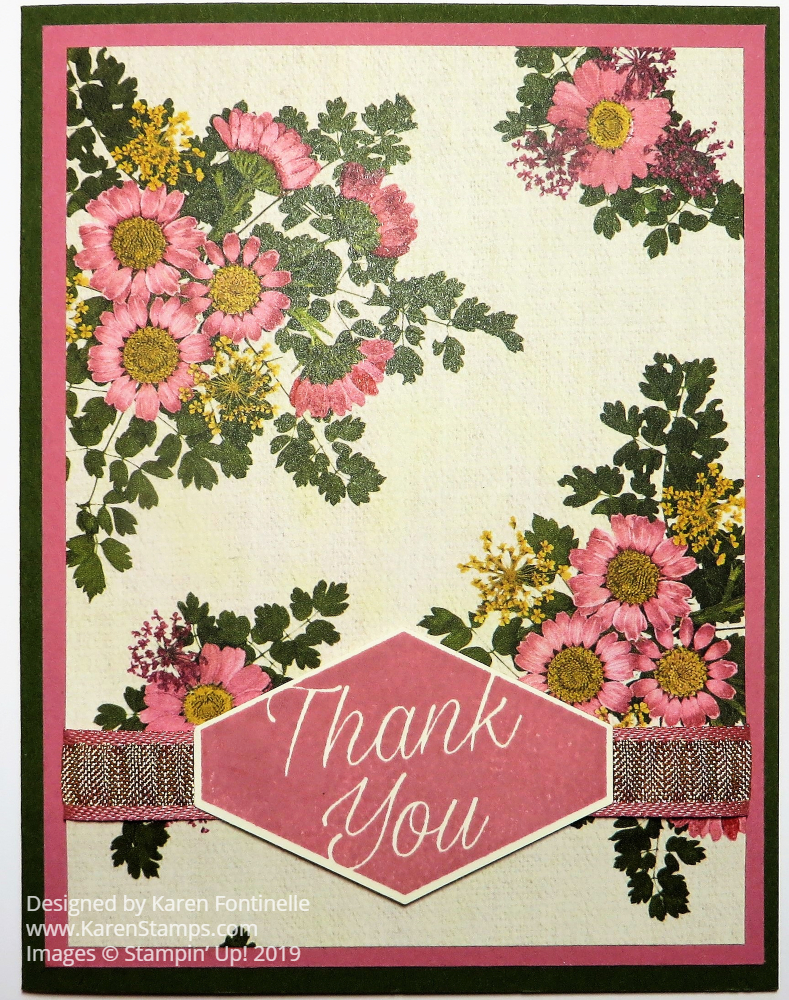
This Pressed Petals Floral Thank You Card is very simple and quick to make! This card design is certainly easy and basic and is also good to use with this beautiful Pressed Petals Specialty Designer Series Paper. The paper itself is so pretty and unusual that you want it to stand on its own. This paper was designed with actual pressed flowers that were photographed by Stampin’ Up! and then printed into paper.

The card base is Mossy Meadow Cardstock with a layer of Rococo Rose, one of the new In Colors. The ribbon adhered around the designer paper is the Rococo Rose 1/2″ Gathered Ribbon. This ribbon is two-toned, with a gold center and Rococo Rose edges.

The greeting is stamped from the Accented Blooms Stamp Set in Rococo Rose Ink. Then it is easily punched out with the Tailored Tag Punch. The greeting is then adhered to the card with Stampin’ Dimensionals at the top and bottom of the center so that it will fit on each side of the ribbon.

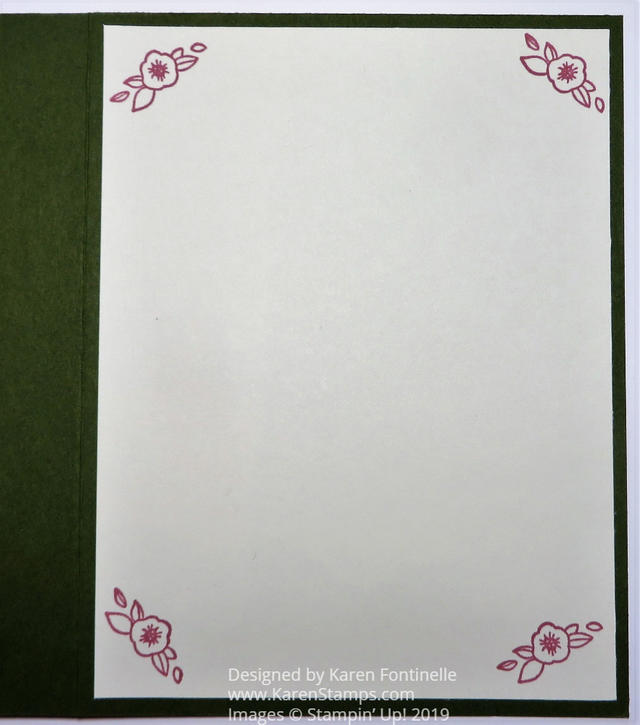
Since the Mossy Meadow Cardstock is so dark, I added a Very Vanilla layer inside the card and stamped a little flower in each corner to allow for stamping a sentiment inside or writing a personal note.

Pressed Petals Floral Thank You Card Inside

Any time you need a quick card, think about this simple design. You could even omit the ribbon if you didn’t have quite the right thing or wanted to make it even simpler. This Pressed Petals Floral Thank You Card is one you can easily make with any cardstock, designer paper, and a greeting! Try it!

Easy Bird Ballad Thank You Card

Easy Bird Ballad Thank You Card

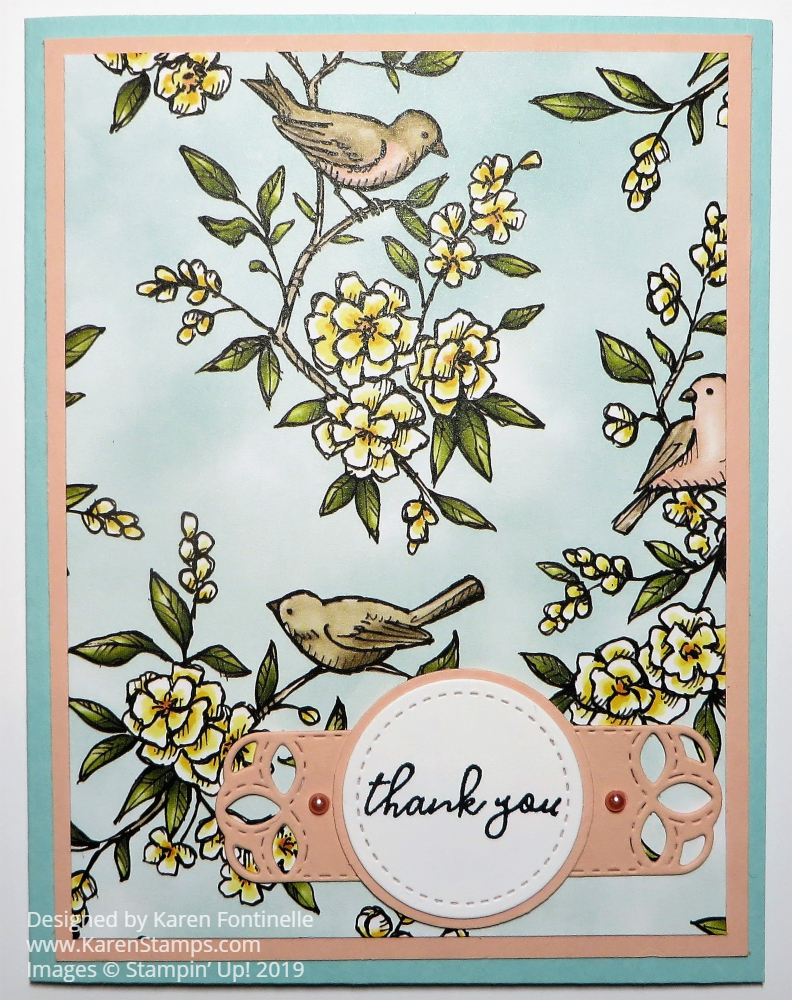
This Easy Bird Ballad Thank You Card is just that – easy! I didn’t even know what I was going to make until I pulled out the Bird Ballad Designer Series Paper. This beautiful pattern appealed to me. It is gorgeous. Such a soft background with a watercolor look and flowers and birds that look like they were colored with Stampin’ Blends markers…..which they were in the creation of this paper by the concept artist at Stampin’ Up! so that WE stampers could then color in stamped images and they would match the paper!

To make this card, I just chose colors listed on the back of the designer paper package. I always write the color names with a marker on the back large enough so I can read them without squinting. Stampin’ Up! must have tiny printing machines!! The card base is Pool Party and a layer of Petal Pink.

The die-cut piece was already in my bag of cardstock so I used it! It is from the Stitched Labels Dies. I also had that Petal Pink circle as a scrap so I die cut a Whisper White circle with the Stitched Shapes Dies. The greeting is from the Free As a Bird Stamp Set. Then I added two Artisan Pearls (retired).

This is an easy card to make with cardstock and designer paper plus a greeting. You could use this card for many occasions. If you don’t already own this Bird Ballad paper, whether you are a fan of birds or not, be sure to put it on your next order!

SHOP STAMPIN’ UP! ONLINE TODAY!

Easy Floral Thank You Card

Easy Floral Essence Thank You Card

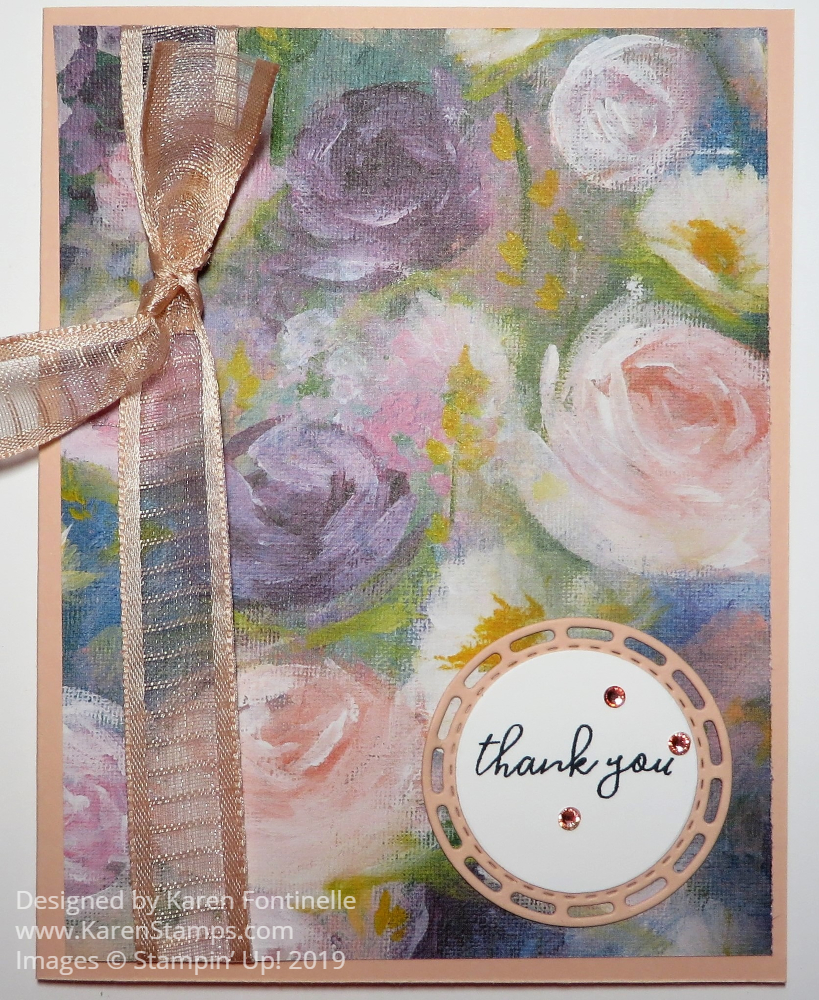
This Easy Floral Thank You Card is made, I think, with one of the most beautiful papers Stampin’ Up! has ever had. The Perennial Essence Designer Series Paper has such pretty prints on every sheet. These papers were designed from handpainted impressionistic images. There will be thousands and thousands of beautiful cards and projects made with this paper!

To make this card I simply choose one of the papers and then chose Petal Pink for the card base. I considered using a purple color as another layer, but for today I liked just the pink card base.

The ribbon around the designer paper is the beautiful Petal Pink 5/8″ Organdy Striped Ribbon. This ribbon is currently on backorder but you can put it on your order anyway and they will mail it separately when it comes in. Or wait and put it on your order as soon as you see it is available. It really is so pretty you will want it in your stash! And with paper this pretty, the sheer ribbon just adds to the design, doesn’t cover up anything.

For the greeting, I got lucky and this Petal Pink circle, die cut from the Stitched Labels Dies, was already cut out and in the bag with the full sheets of cardstock so I thought I would try and use it. It was a good size for this card because I didn’t want much of the paper covered up. Then I stamped a greeting from the Free As a Bird Stamp Set. I needed one that would fit on a fairly small piece. This small circle was die cut with the second smallest circle in the Layering Circles Dies.

And since I usually can’t leave well enough alone, I added some Rhinestone Jewels to the greeting. I wanted them to be pink, though, and I knew I could color the plain rhinestones with Stampin’ Blends markers. The same pink really didn’t show up so I tried Flirty Flamingo. On the rhinestones, it give a pinkish color to them so it was perfect.

As a note, due to the new Big Shot and die situation changing, we don’t use the terms “framelits” and “thinlits” any more, which is fine with me! It is much easier to say “dies”. And since the Big Shot has retired, while we wait for a new machine, we will just refer to any “die-cutting machine” until we get our new one. Stampin’ Up! is working on it and from past experience, they will wait until they have a really good one before putting it on the market.

If you want to hoard your beautiful Perennial Essence Paper, look at THIS CARD and see how you can use just a strip of it to make a lovely card.

After you order this paper, you will be inspired to make lots of cards like my Easy Floral Thank You Card for many different occasions!

SHOP STAMPIN’ UP! ONLINE HERE!

Daisy Delight Thank You Card

Daisy Delight Thank You Card

Memorial Day seems to signal the beginning of summer, even though the official date isn’t until later this month, but I thought a bright Daisy Delight Thank You Card was in order today!

This is the last week of the current Stampin’ Up! catalog and all the Last-Chance products. Remember, it is not just the Annual Catalog retiring but also the Occasions Catalog. Also, the Everything is Rosy Product Medley ends on May 31 so grab that if you want it!

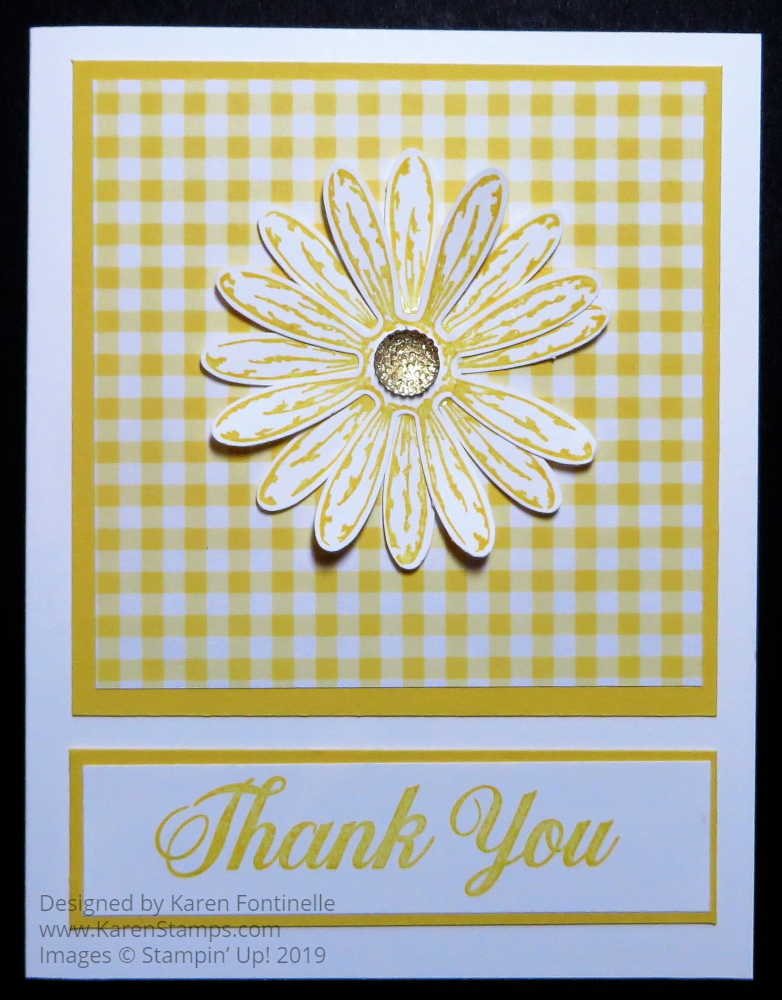
With the warm weather and sunny days, I thought about the Daisy Delight Stamp Set and the Gingham Gala Designer Paper. The Gingham Gala 6″ x 6″ paper has been very popular and sold out a few times, so I’m really surprised it is still available, as I write this. It is such “happy” paper! I’m glad the Daisy Delight Stamp Set and coordinating Daisy Punch are carrying over to the new catalog along with a new smaller Medium Daisy Punch that will be fun to use! Keep your eye out for that on page 187.

To make this card I just used a card base of Whisper White Cardstock and added a 3 3/4″ x 3 3/4″ layer of Daffodil Delight Cardstock. The Gingham Gala layer is 3 1/2″ x 3 1/2″. The two daisies are stamped and then punched out with the Dasy Punch and adhered to the gingham layer. I added a Gold Faceted Gem to the center of the daisy. I’m happy to say these are also carrying over to the new catalog!

I used the “Thank You” that comes in the Daisy Delight Stamp Set and stamped in Daffodil Delight on Whisper White, layered on Daffodil Delight Cardstock. These layers match up with the daisy piece above. Here is another card I made two years ago that is very similar but gives you a slightly different idea.

This Daisy Delight Thank You Card is sure to brighten someone’s day with it’s bright colors and pretty 3D daisy! Make one today!

Butterfly Gala Thank You Card With Floral Garden Impressions

Butterfly Gala Thank You Card With Floral Garden Impressions

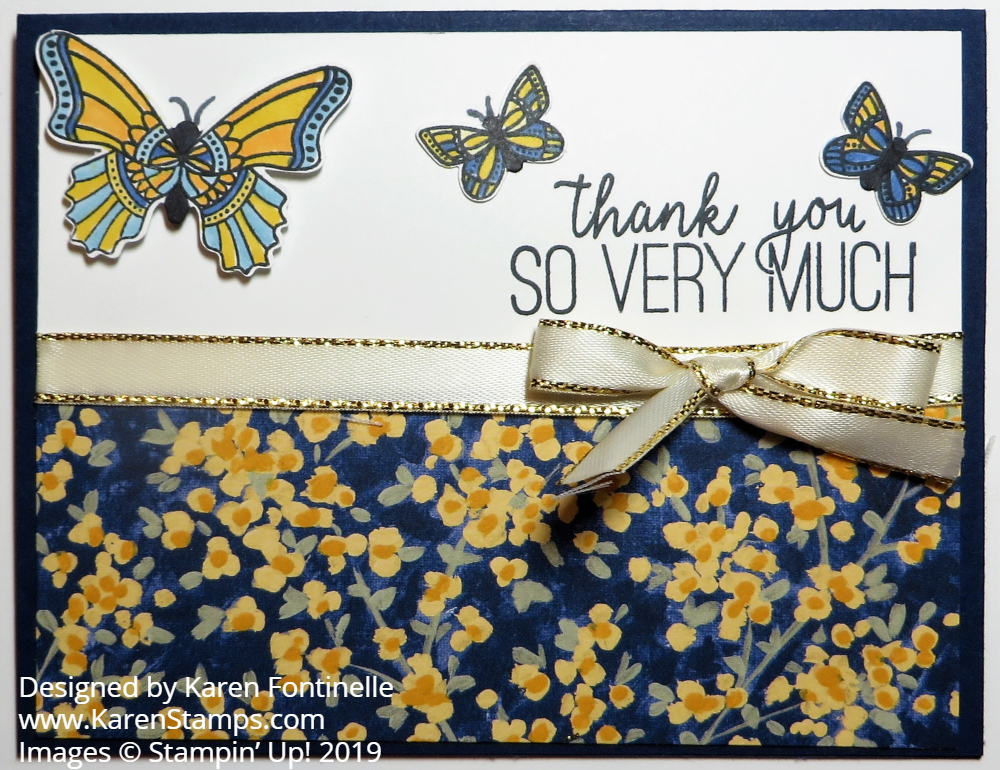
When my daughter was here for a visit last week and pulling out lots of paper and stamps, some retired, when we went to put away the Garden Impressions Designer Paper I honestly couldn’t remember if it was current or retired! I hadn’t used it in a long time! So I thought it was time to USE IT, along with the Butterfly Gala Stamp Set and the Butterfly Duet Punch to make this Butterfly Gala Thank You Card With Floral Garden Impressions.

The Garden Impressions paper is a pack of 6″ x 6″ sheets so it is a little easier to work with. So many pretty floral patterns and on the other side a more generic, plain design. This pattern with the Night of Navy background and So Saffron flowers jumped out at me so I chose to use that. The card base is Night of Navy with a Whisper White layer. The strip of designer paper is 5 1/4″ x 2″. The ribbon is the beautiful Gold 3/8″ Metallic-Edge Ribbon, so useful to have on hand.

The butterflies are stamped with the Butterfly Gala Stamp Set, colored with Stampin’ Blends markers and punched out with the Butterfly Punch. Unfortunately, at the moment, the punch is back ordered and unable to be ordered until they get more in stock.

The greeting on the card is from the same Butterfly Gala Stamp set, along with some other very nice greetings. Luckily I didn’t mess it up when I stamped it just above the ribbon. Well, somehow I did get a slight black ink smudge in the upper left corner, but I was able to cover it with the butterfly wings! The large butterfly is popped up with Stampin’ Dimensionals and the other two are just adhered flat with Glue Dots.

Remember, Sale-A-Bration is going on just one more week!! Wow, does time fly!! You can still get the Botanical Butterfly Designer Series Paper FREE with a $50 purchase, at least as I write this! I’m surprised this paper didn’t sell out early on because it is so fun with the butterflies on one side and some black and white designs on the other. If you like butterflies, you do want this paper!

If you didn’t want to take time to color in butterflies, you could simply make this same card without them! The Garden Impressions 6″ x 6″ DSP is pretty enough! Stamp a greeting, maybe add a ribbon and you’ve got a lovely card. Check out these products in the Stampin’ Up! Online Store and get your Sale-A-Bration order in before you miss out!