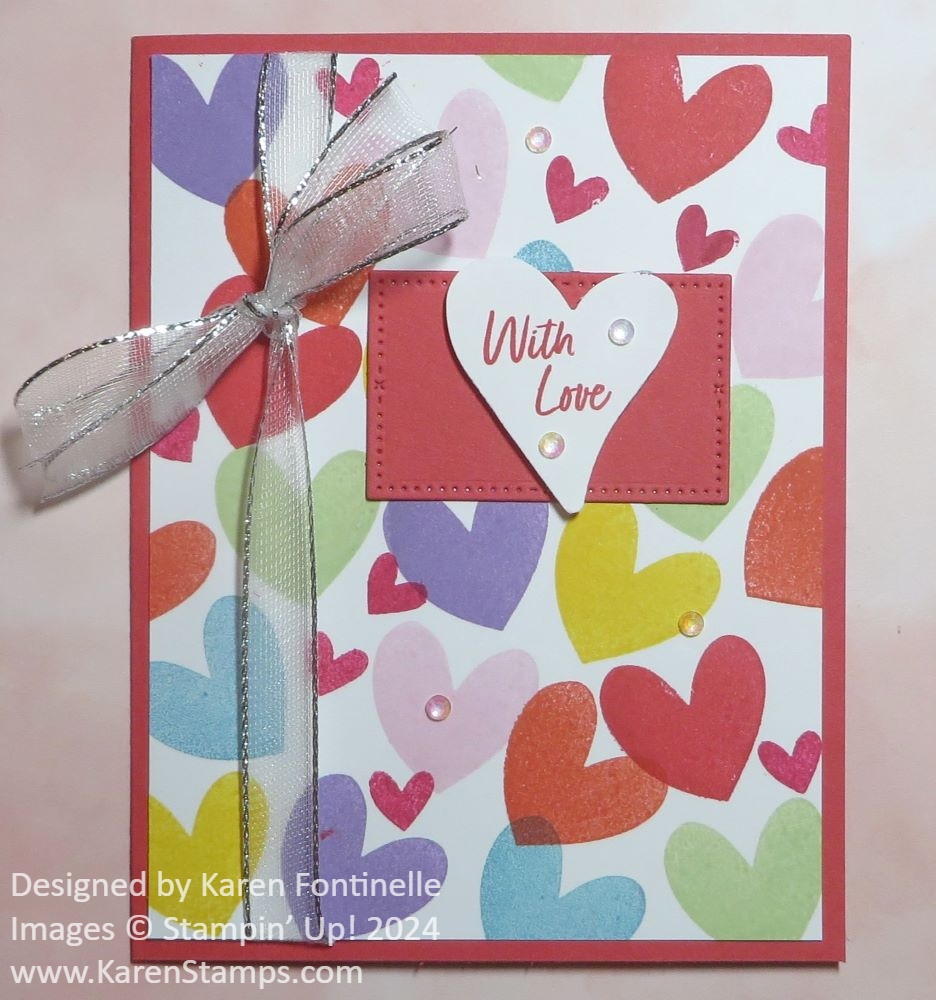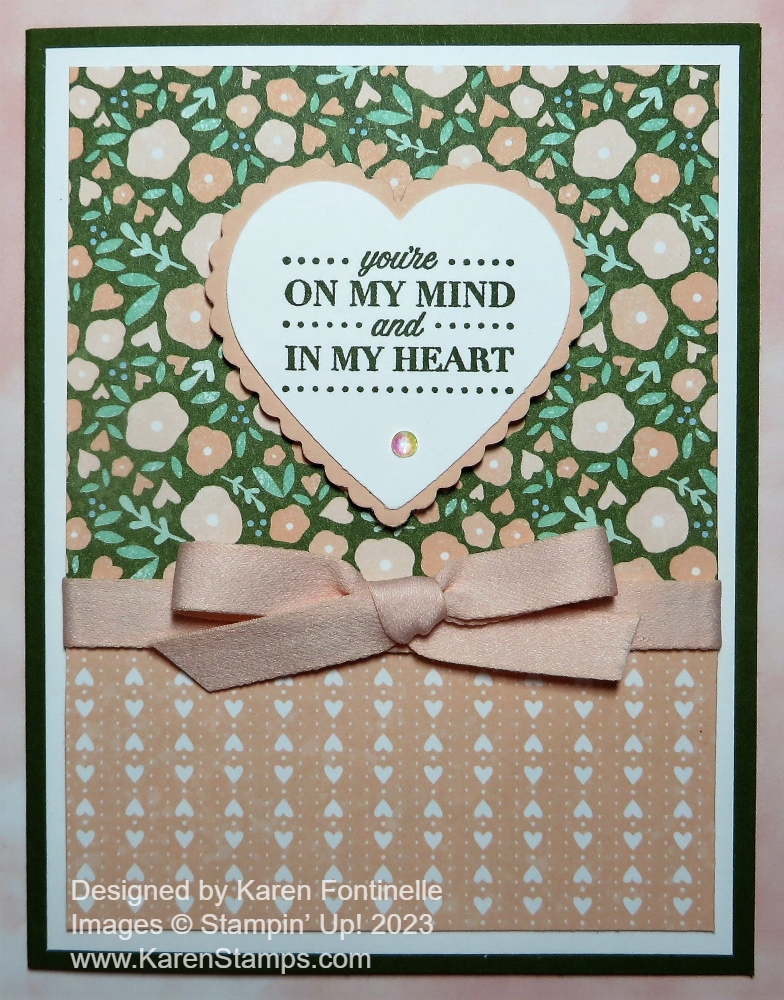
If you are looking for some last minute Valentine ideas, here are some from past years that you can make with stamps and paper in your older “stash” or update them with newer craft supplies.
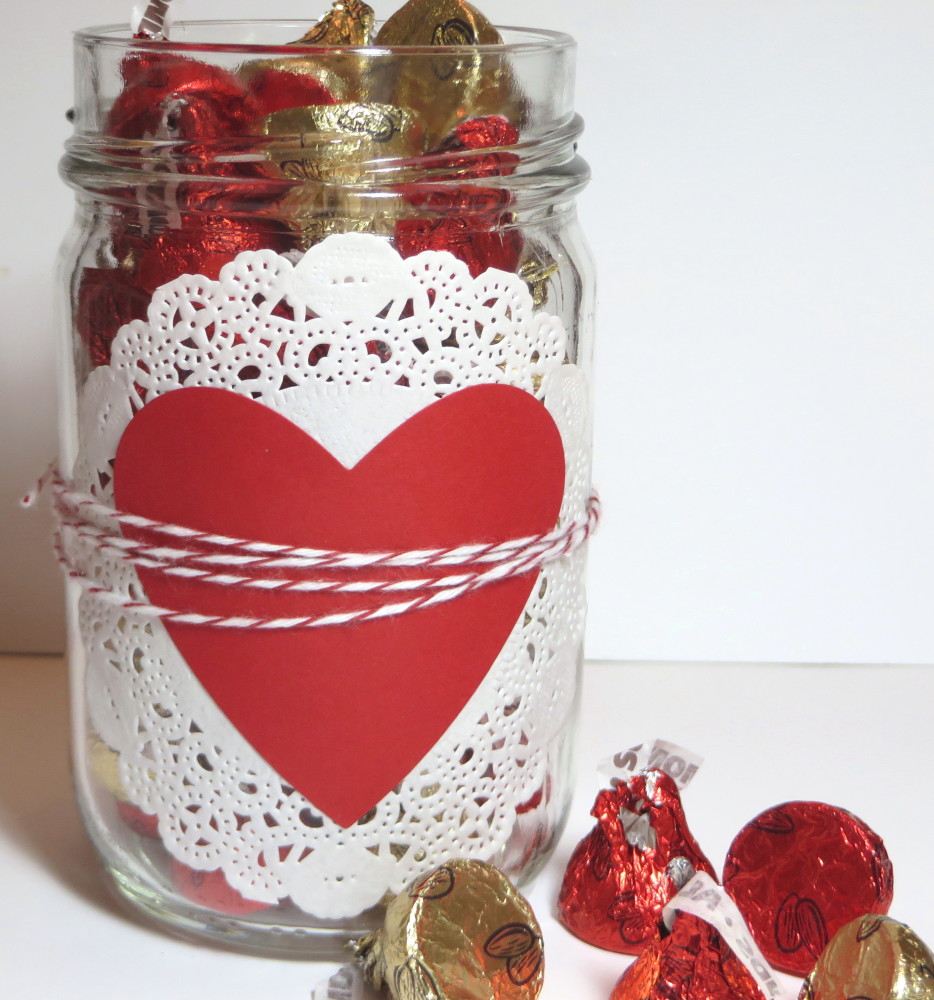
The first one you see above is super easy if you want to make a treat for someone….or put a candle inside! Just grab a jar, a doily, and a heart! Tie some ribbon or twine around, even add a greeting if you like and you have a very cute holder for some candy, a small gift, cookies, whatever you have that will fit in your jar. You don’t even have to have a lid, but if you do, you can decorate the top of the lid.
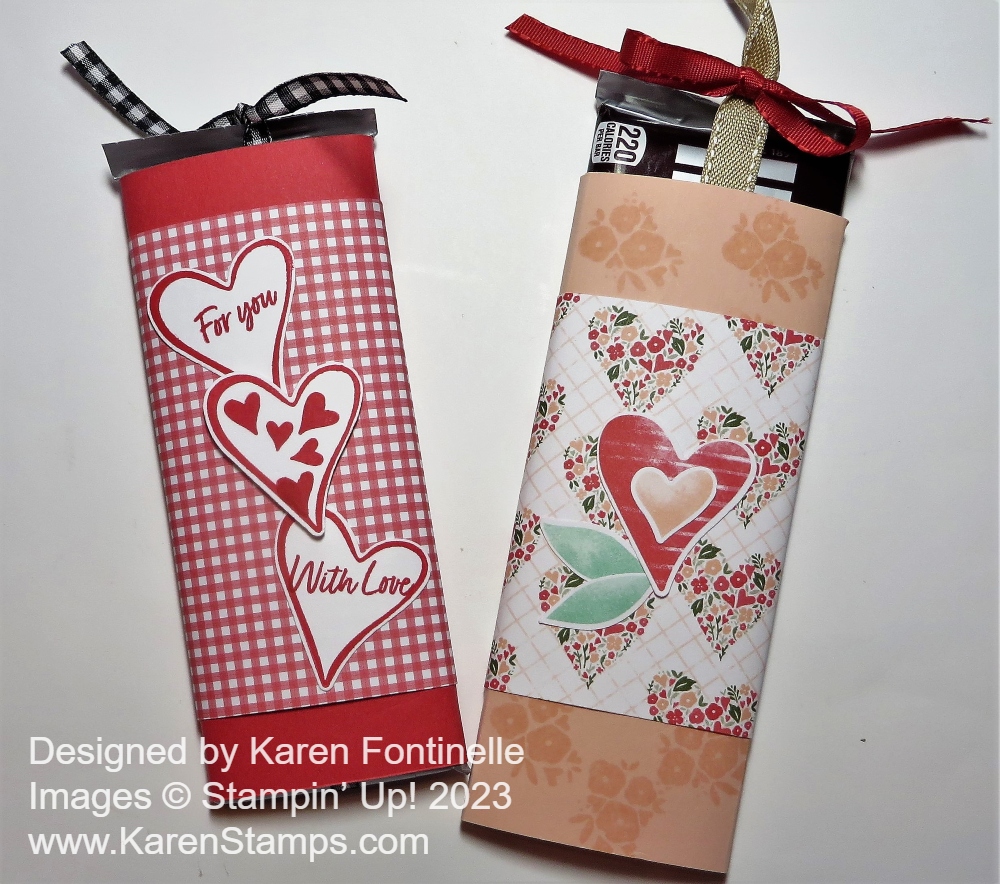
Get a regular-size chocolate candy bar (or even the gigantic ones!) and wrap it with cardstock or designer series paper and decorate. Even if you almost have no supplies, you can cut out or draw hearts for sure! If you want, tie a ribbon around the candy bar lengthwise you they can pull it out of your decorative wrapping without tearing it open!
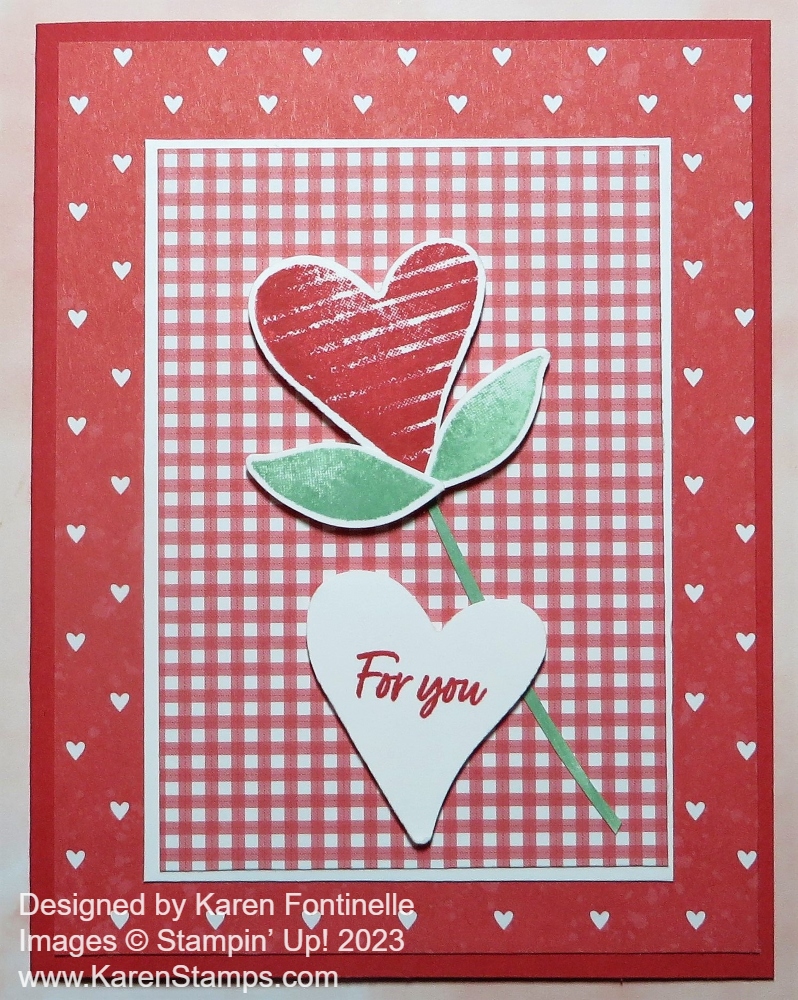
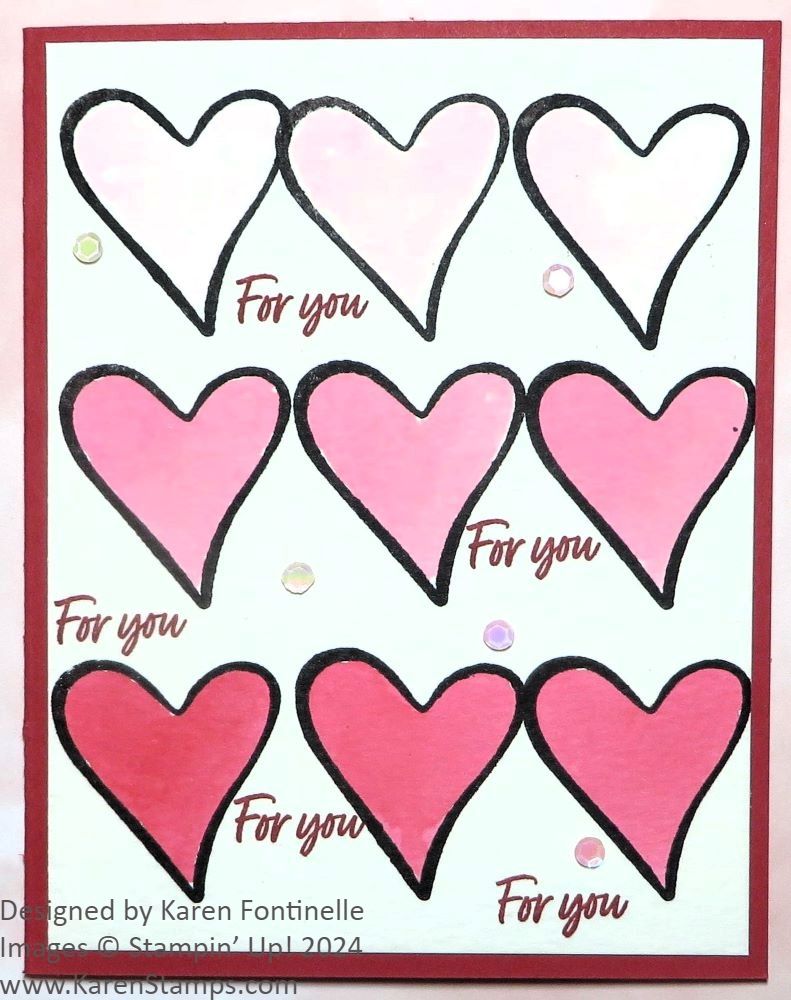
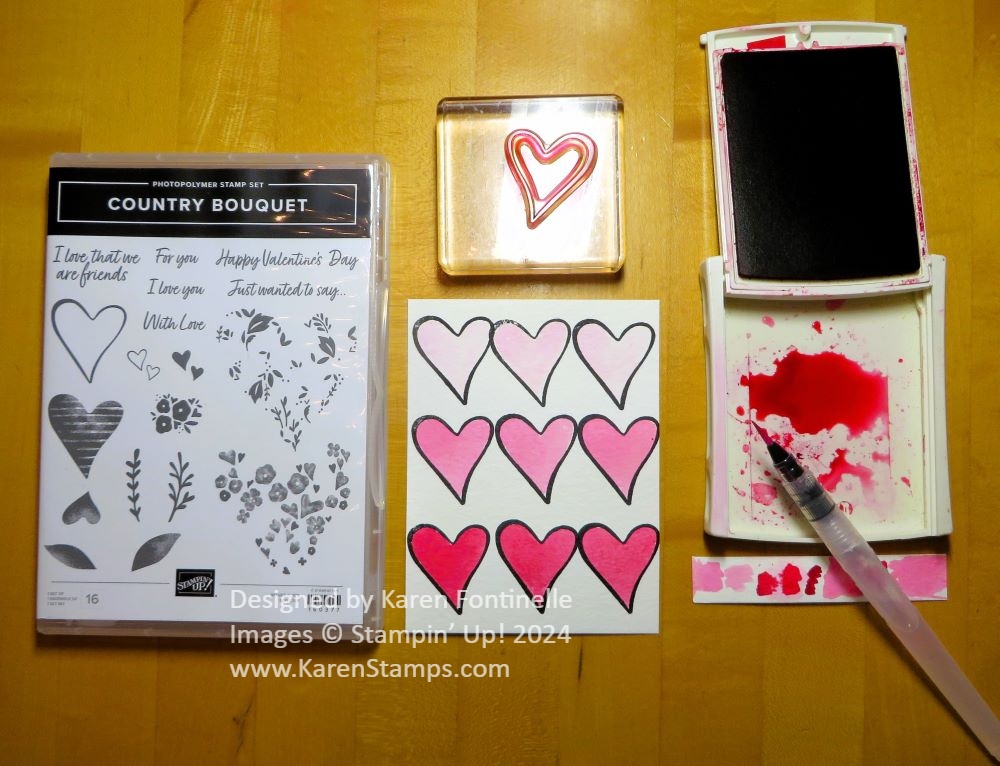
Use this card as an idea to make a flower out of a heart, a couple leaves, and a stem! While you’re at it, make two or three heart flowers! You can make a card similar to this one or decorate your Valentine jar with one.
Valentine’s Day Chocolate Candy Holders
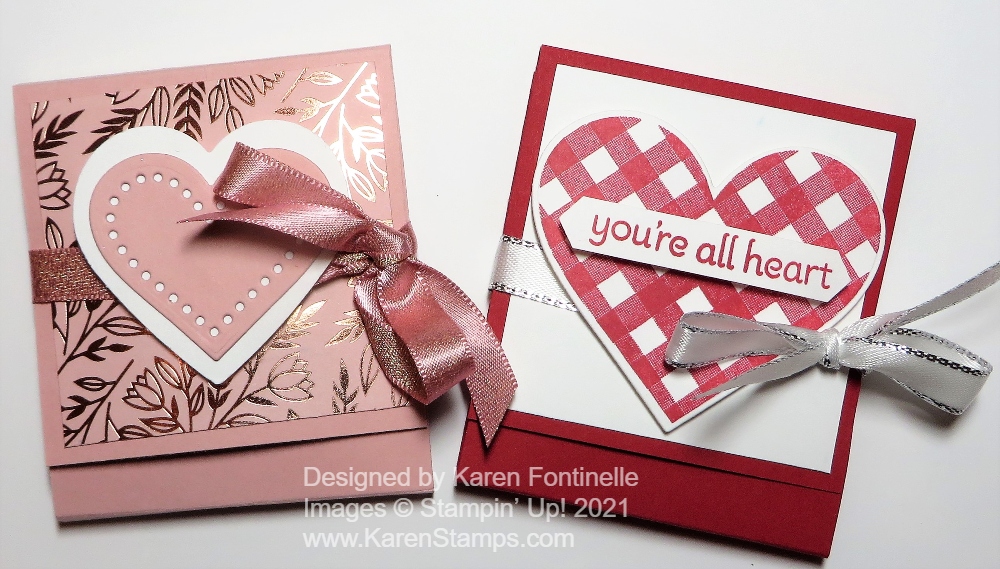
This idea is an oldie but goodie paper craft….candy holders in a matchbook design! Just fold a strip of cardstock, cut or punch a slit in the bottom section that folds up and slide a chocolate square into it. Decorate the cover and you’ve got it. Click on the title to go to the blog post for all the directions.
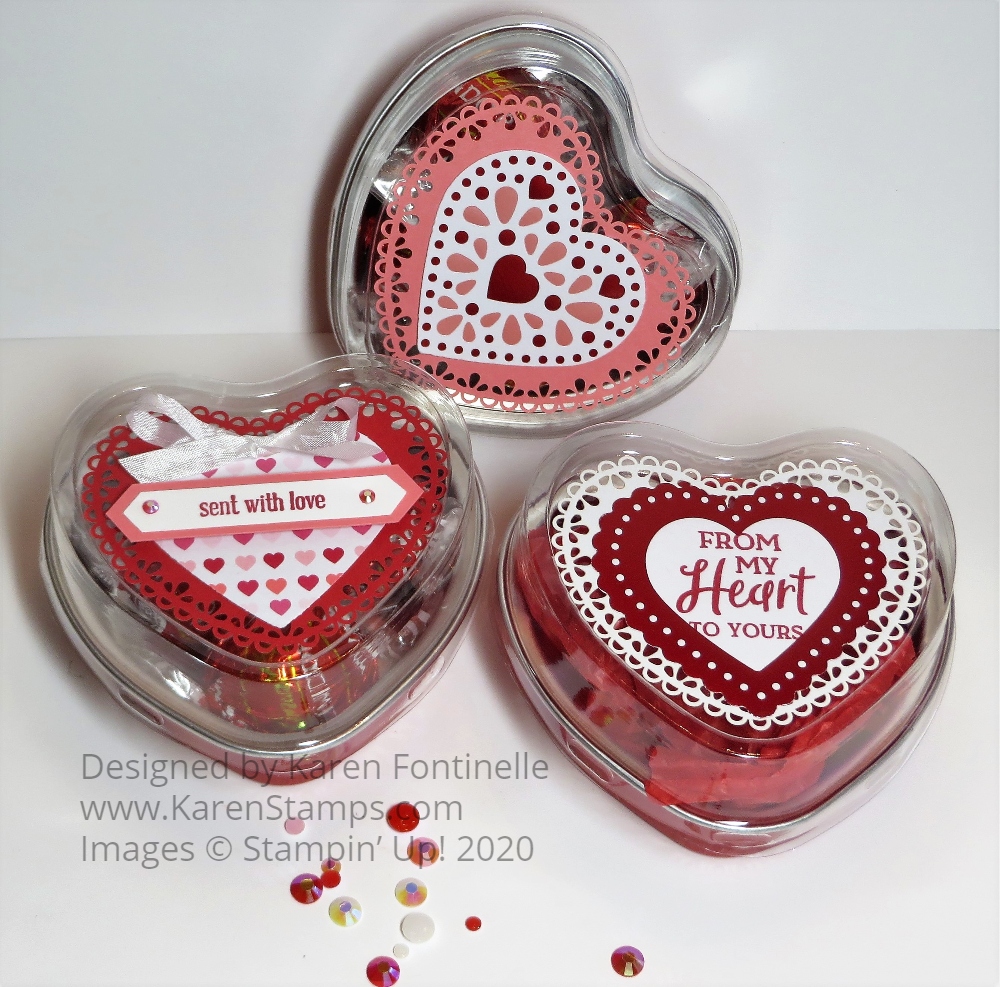
Maybe you still have a few of these Heart Foil Tins in your stash somewhere, but if not, just decorate a small box or whatever you have. Just use hearts or doilies, stamps, whatever you have to decorate your container.
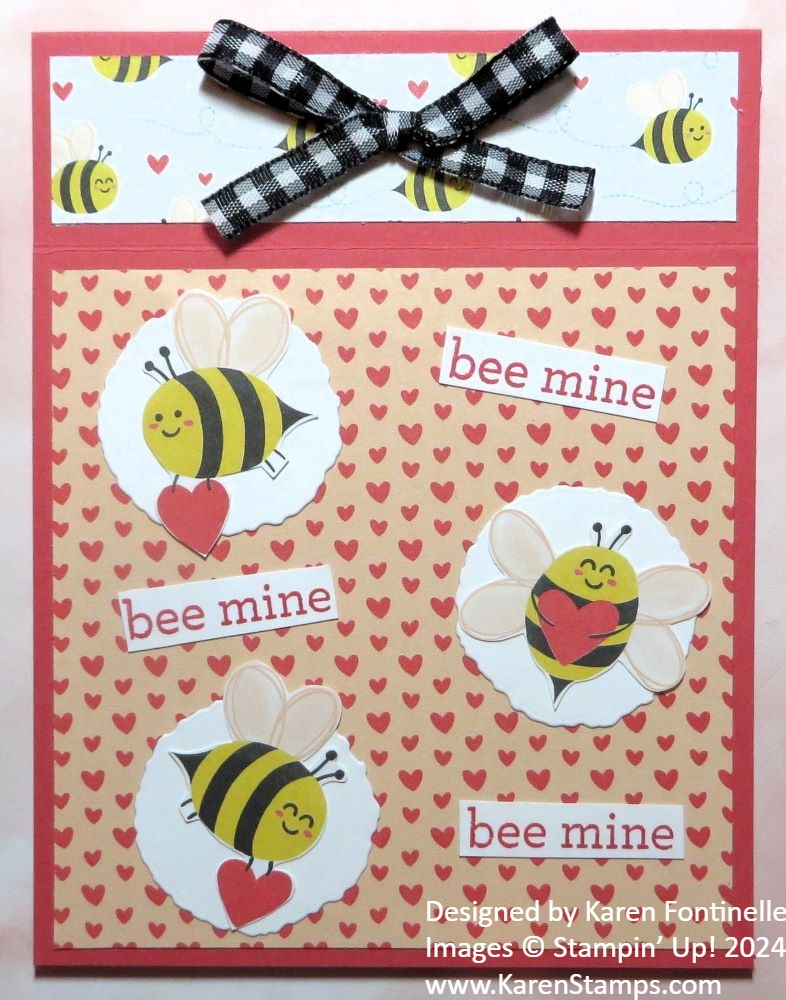
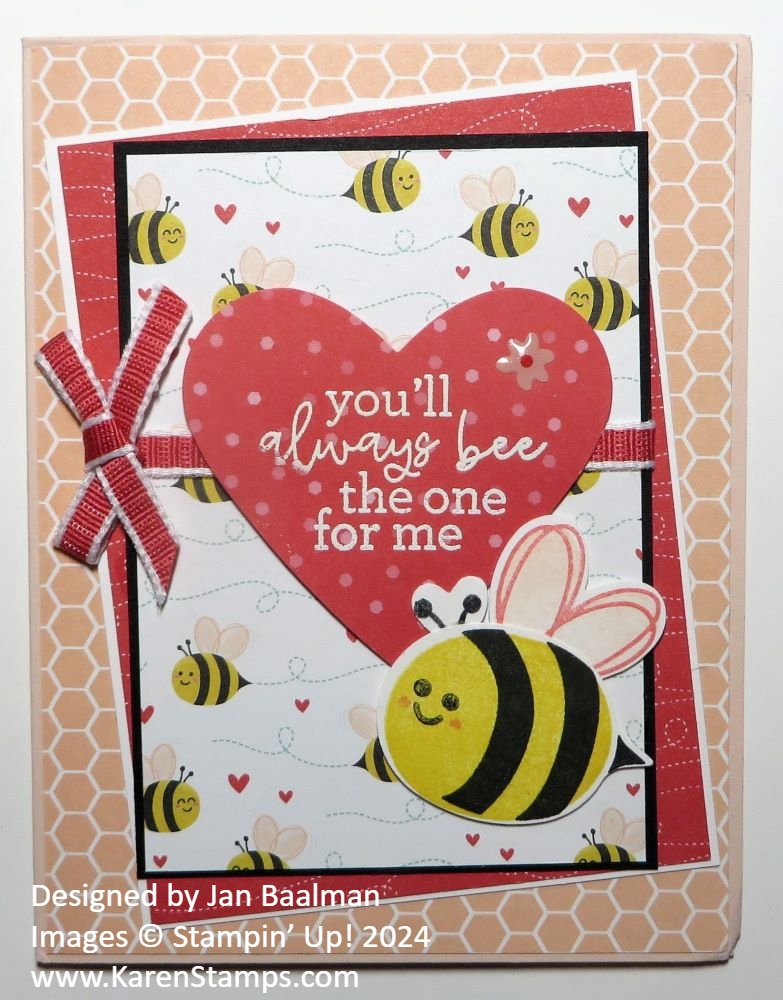
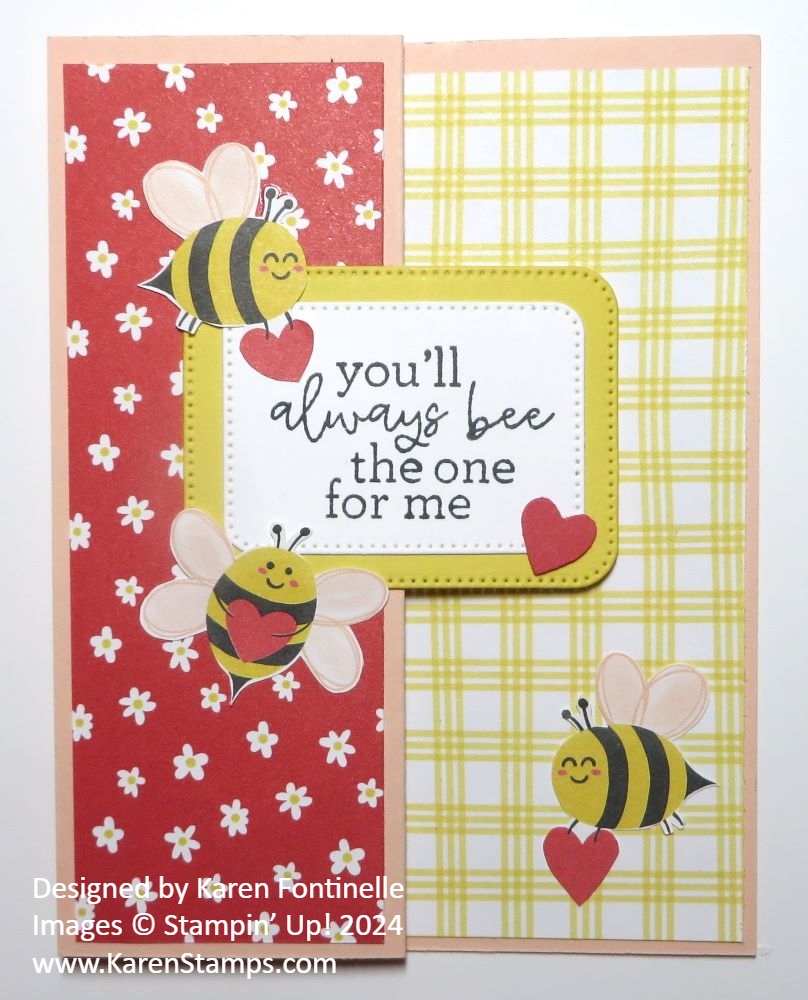
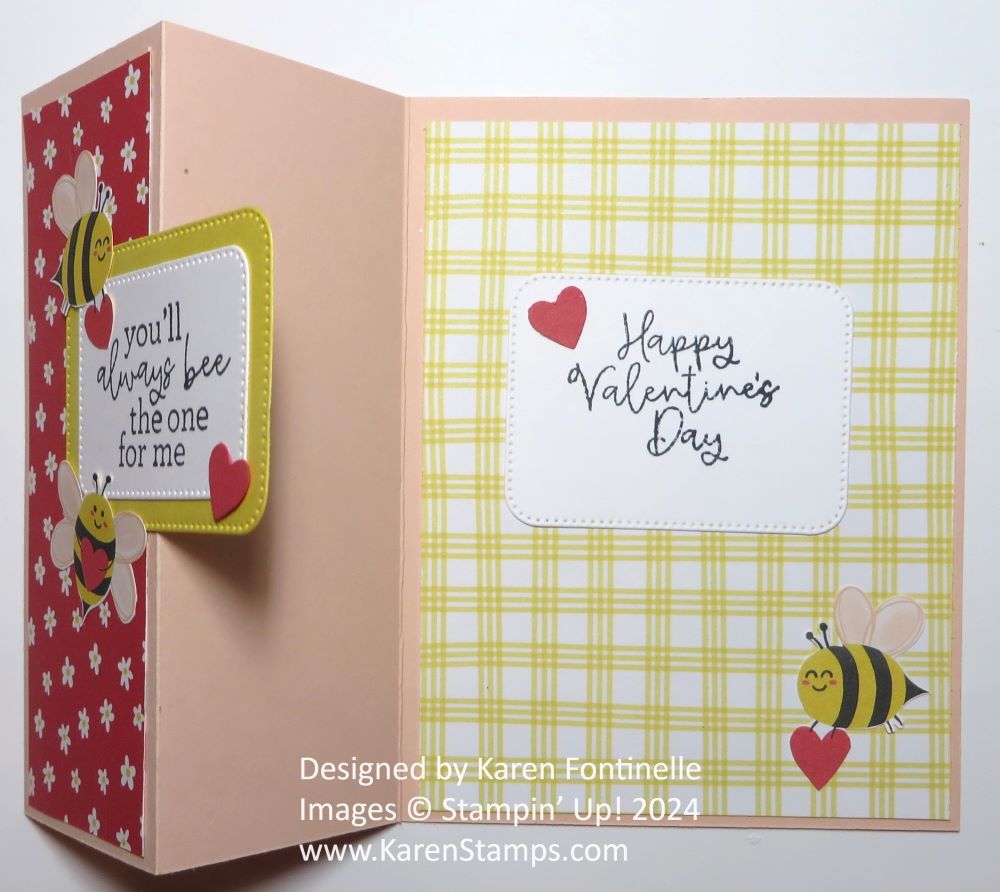
Whether you have the old Bee Mine Designer Series Paper or the newest Cute As Can Bee Designer Series Paper (which I think is almost the same designs, just different colors) you can make plenty of Valentines with any of the sheets. This card is the fun Book Fold design, with the fold at the top, which is very easy to make. Click on the title under this card for all the directions.
Hopefully these samples give you some ideas if you need to make a Valentine card or treat right away!