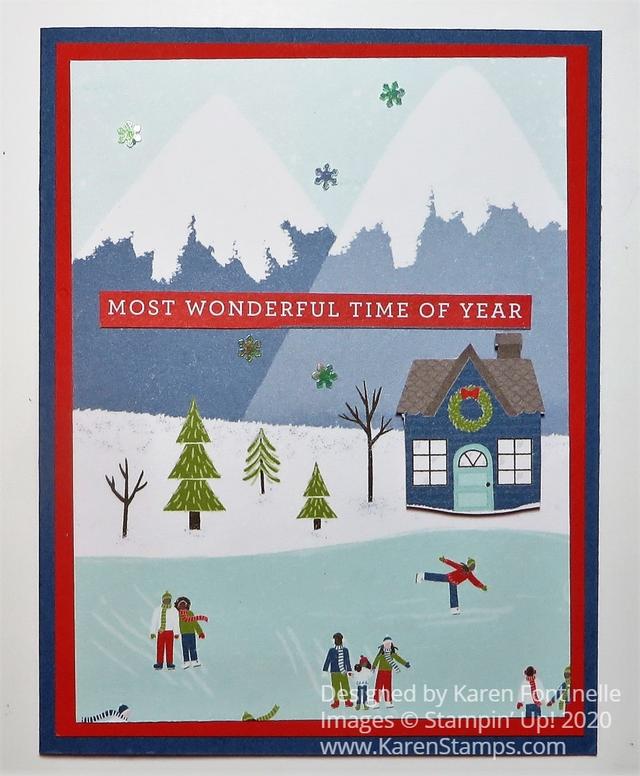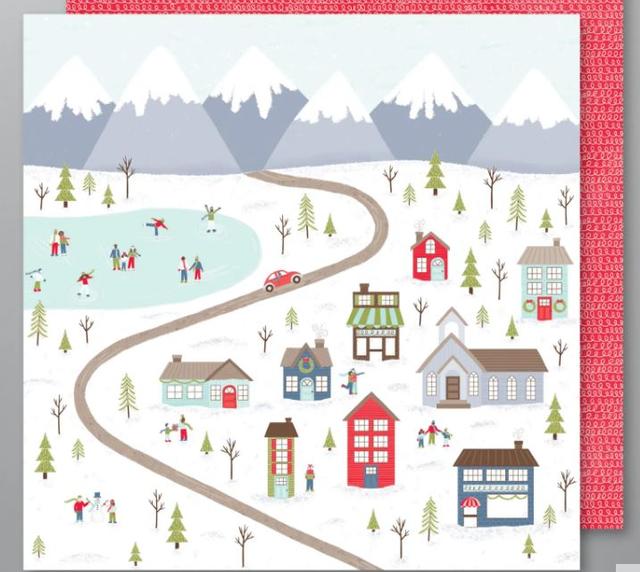
It might kill you to cut into this 12″ x 12″ paper with this snowy mountain scene, but if you do, you can make an easy Christmas card like this Trimming the Town Scene Christmas Card. The whole paper could also be used for a scrapbook page or even a framed piece that you could add some extra pieces to.
For this card, I cut out a top portion of the Trimming the Town Designer Series Paper so I could get the mountains in the scenery. I could have stopped there, really, but I also cut out a house on another piece of designer paper and popped that up on Dimensionals on the front of the card.
For a greeting, I cut out the words on another sheet of the Trimming the Town Designer Paper that has Christmas greetings of all sorts in many languages! That’s an easy way to put a greeting on your card!
For the card base, used Misty Moonlight Cardstock with a layer of Poppy Parade. Poppy Parade is the coordinating color with this Trimming The Town Designer Series Paper. I have also used Real Red, though, also. On the inside of the card I would put a layer of Whisper White on which to stamp or write my greeting since the Misty Moonlight is a dark color.
If you want to make some quick and easy Christmas or winter cards and you don’t have any other use for this large paper, you can certainly cut it up and use it for cards. Maybe add some houses or images from other pages to embellish your scene. It’s really fun to play with! Plus I added some Adhesive-backed Snowflake Sequins to the card.
Stampin’ Up! recommends ordering anything you want by Christmas by December 10th. We are already being warned on the news that shipping this holiday season may be delayed so I suggest ordering anything you want for your Christmas card assembly soon!
Here’s another card I made earlier using the Trimming The Town Designer Paper on which I made my own little scene!
If you have this designer paper, see if you can bring yourself to cut into this paper and make some cards like my Trimming the Town Scene Christmas Card.


