
I had to take some time from stamping to do some other crafty things, like make these Yarn Trees With Stampin’ Up! Embellishments! I saw these late last year during the holiday season but didn’t have time to make them, but this year I at least had the styrofoam shapes to make them!
These trees are so easy and fun to make! Even if I would have stopped working on them about five steps back, they would still look great! All you need is a styrofoam shape (mine were cone shapes with flat tops) and yarn! Of course I didn’t have any interesting yarn with which to make these! If I could have just run into a craft store, I’m sure I could have picked out all kinds of fun yarn, but during the pandemic I’m only doing online shopping so it as a lot more difficult and a lot less fun! But I did find a really thick yarn, one that was really felting (maybe?) that just looked smooth, and one that was thin but knobby.
Some videos I watched used a hot glue gun to adhere the yarn, but another just used straight pins, which don’t show at all once you push them in. And if you really wanted to, with pins you could pull the yarn off later and change the tree for the next year. I don’t think I would redo it, but I did use the straight pins.
Just pick a place near the bottom to start and start winding the yarn around and around the styrofoam cone. Pin or glue as you go. When you get near the top, just play with the yarn and get it how you like it. You can curl it around and tuck the end under. It’s a little tricky, but you can do it! I might still add some “topper” to my trees.
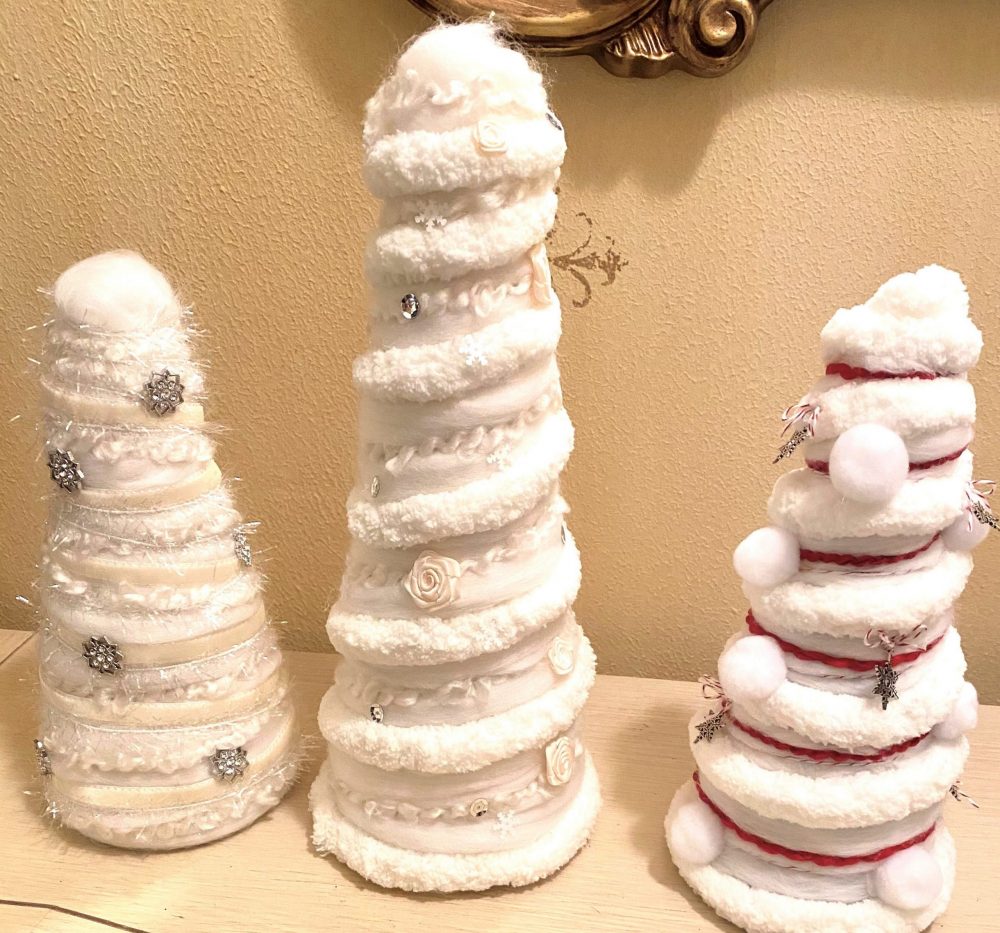
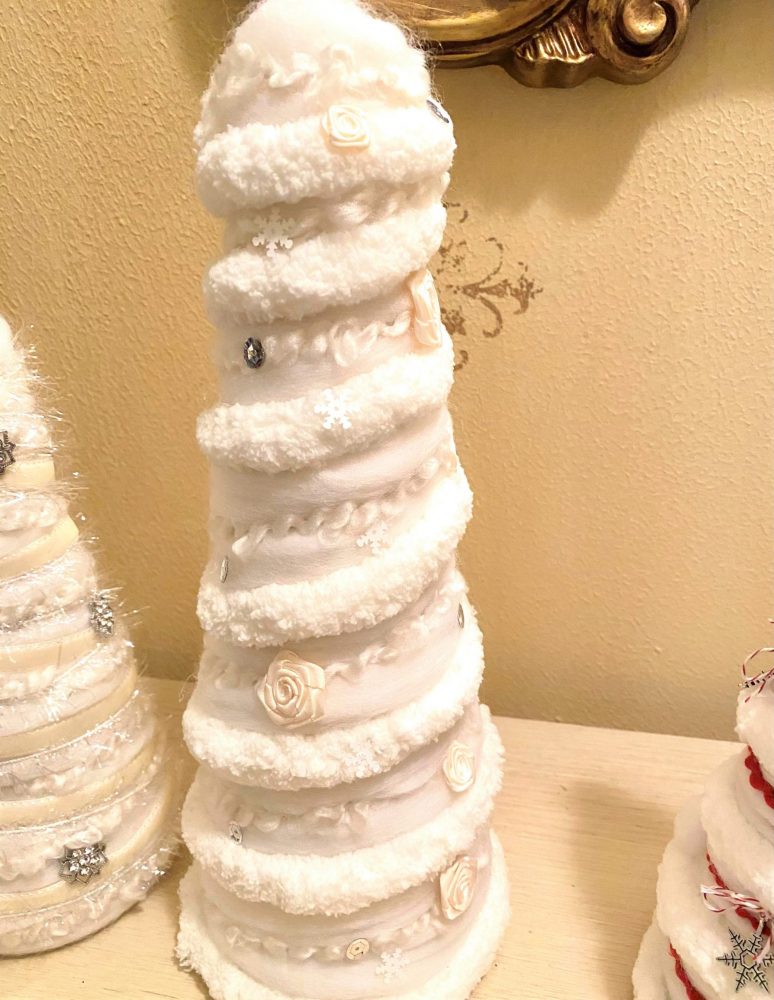
Here is the first tree I made, the largest one. I used the smoothest yarn to wrap around first. Next I used the chenille-type yarn to wrap around but spaced a couple inches apart. Again I used the straight pins to hold it in place. Then I took the thinner, more decorative yarn and wrapped that around in between the rows. I was perfectly happy with the way the tree looked at that point, but I day or two later, when I looked for the second time in my gigantic stash of retired Stampin’ Up! products, I found things I thought I could use! I added these larger and smaller ivory roses and even added just a few snowflake sequins and large silver sequins from a container from awhile back I guess! I used tiny dabs of hot glue to adhere the roses, snowflakes and sequins.
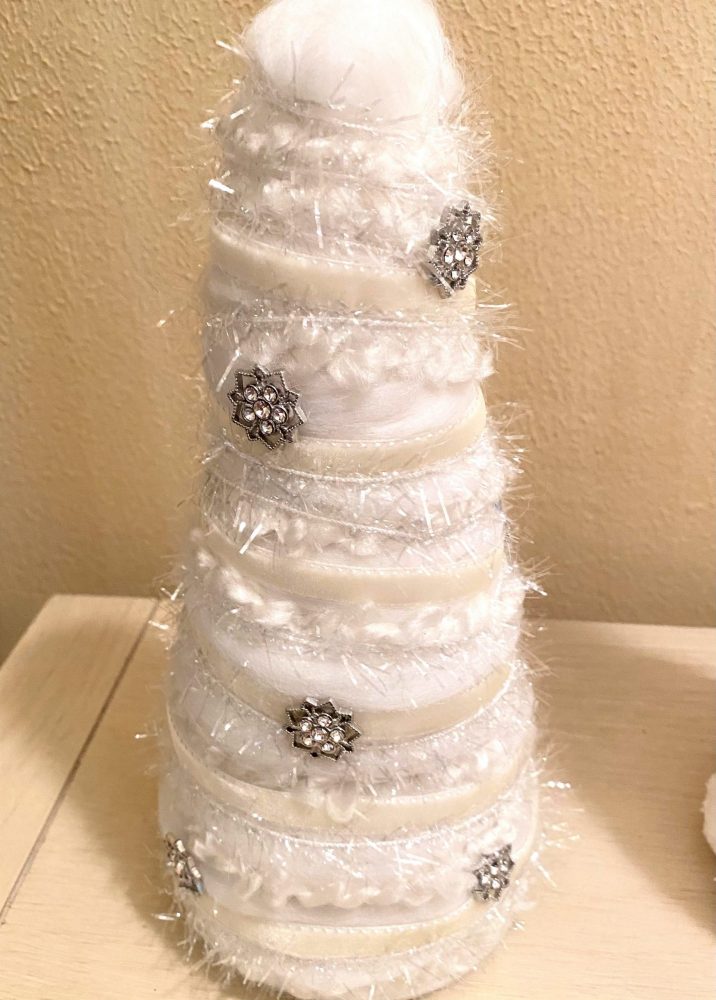
Then I worked on the two smaller trees. This one I started with the smooth yarn all around, then wrapped around the thin yarn spaced apart. In my stash I found this off-white velvet ribbon and also this Transparent Fine Garland. In another box of embellishments. I found these silver decorations with little rhinestones and they looked pretty good, so I hot glued those to the tree
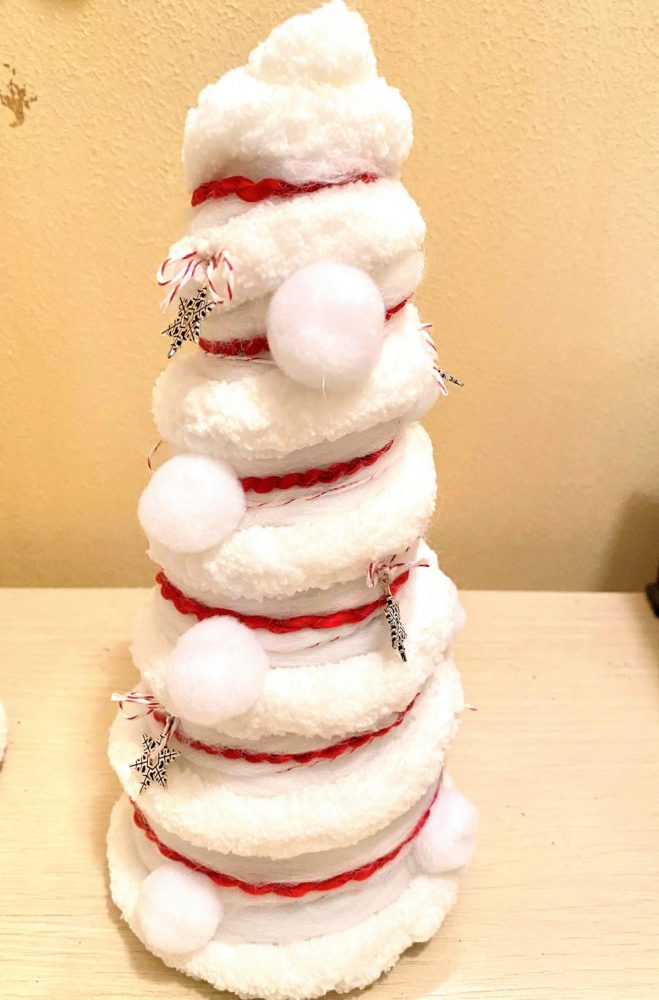
Last, but not least, I made the third tree, wrapped with every bit of leftover smooth yarn to cover the styrofoam shape. I just made it!! Then I wrapped around some rows of the thick chenille (soft!) yard and made that knot on top. I had found this skinny red trim in my Stampin’ Up! stash so I wrapped around that plus some red and white twine! I had these pom poms from Amazon, which were bigger than I’d planned, but I decided to use them anyway! I also found these silver snowflakes, only about five of them that already had red and white twine bows tied onto them! I just poked a straight pin through the tiny know and stuck them onto the tree! It’s a cozy, wintery looking tree I think with the big chenille yard and pom poms!
These yarn trees were a fun, crafty project! Easy, no directions needed! Just start with a styrofoam cone shape and wrap some fun yarn around. You don’t really need the extra embellishments I used – sometimes I think I went past the point where I should have stopped! – but I like all the trees just fine so I don’t mind if they are a bit overdone! At least I used up some of my retired extra supplies from who-knows-how-long ago! If I had more styrofoam shapes, I’d probably make some more trees with some other of my Stampin’ Up! Trims rather than yarn and just see how it would turn out!
Happy Holiday Stamping and Crafting!