Category Archives: Tools and Accessories

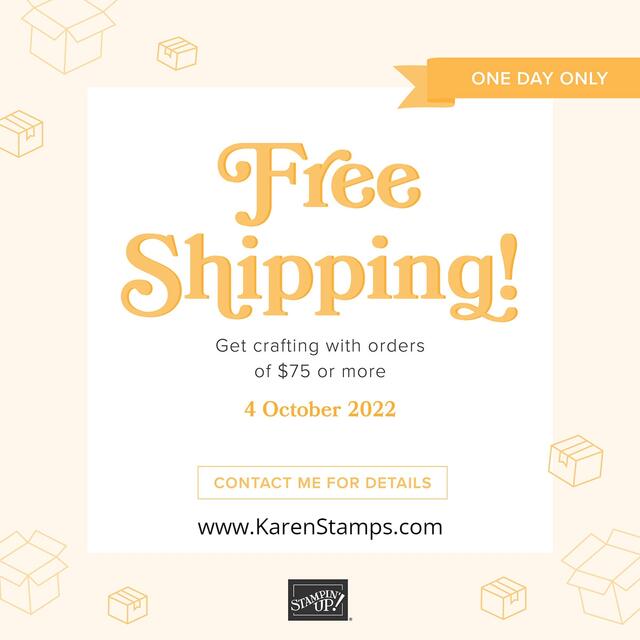
FREE SHIPPING Oct. 4th at Stampin’ Up!

If you got to watch the Stampin’ Up! Virtual Card Making Event yesterday, you found out that on Tuesday October 4th Stampin’ Up! is offering FREE SHIPPING on an order of $75 or more before tax! It’s a One Day Only deal!

If there are some items in the Holiday Catalog you need for Christmas cards or other holidays, envelopes, adhesives, cardstock, markers, ink refills……whatever you need to stock up on before we really jump into all our holiday crafting, Tuesday would be the day to order!

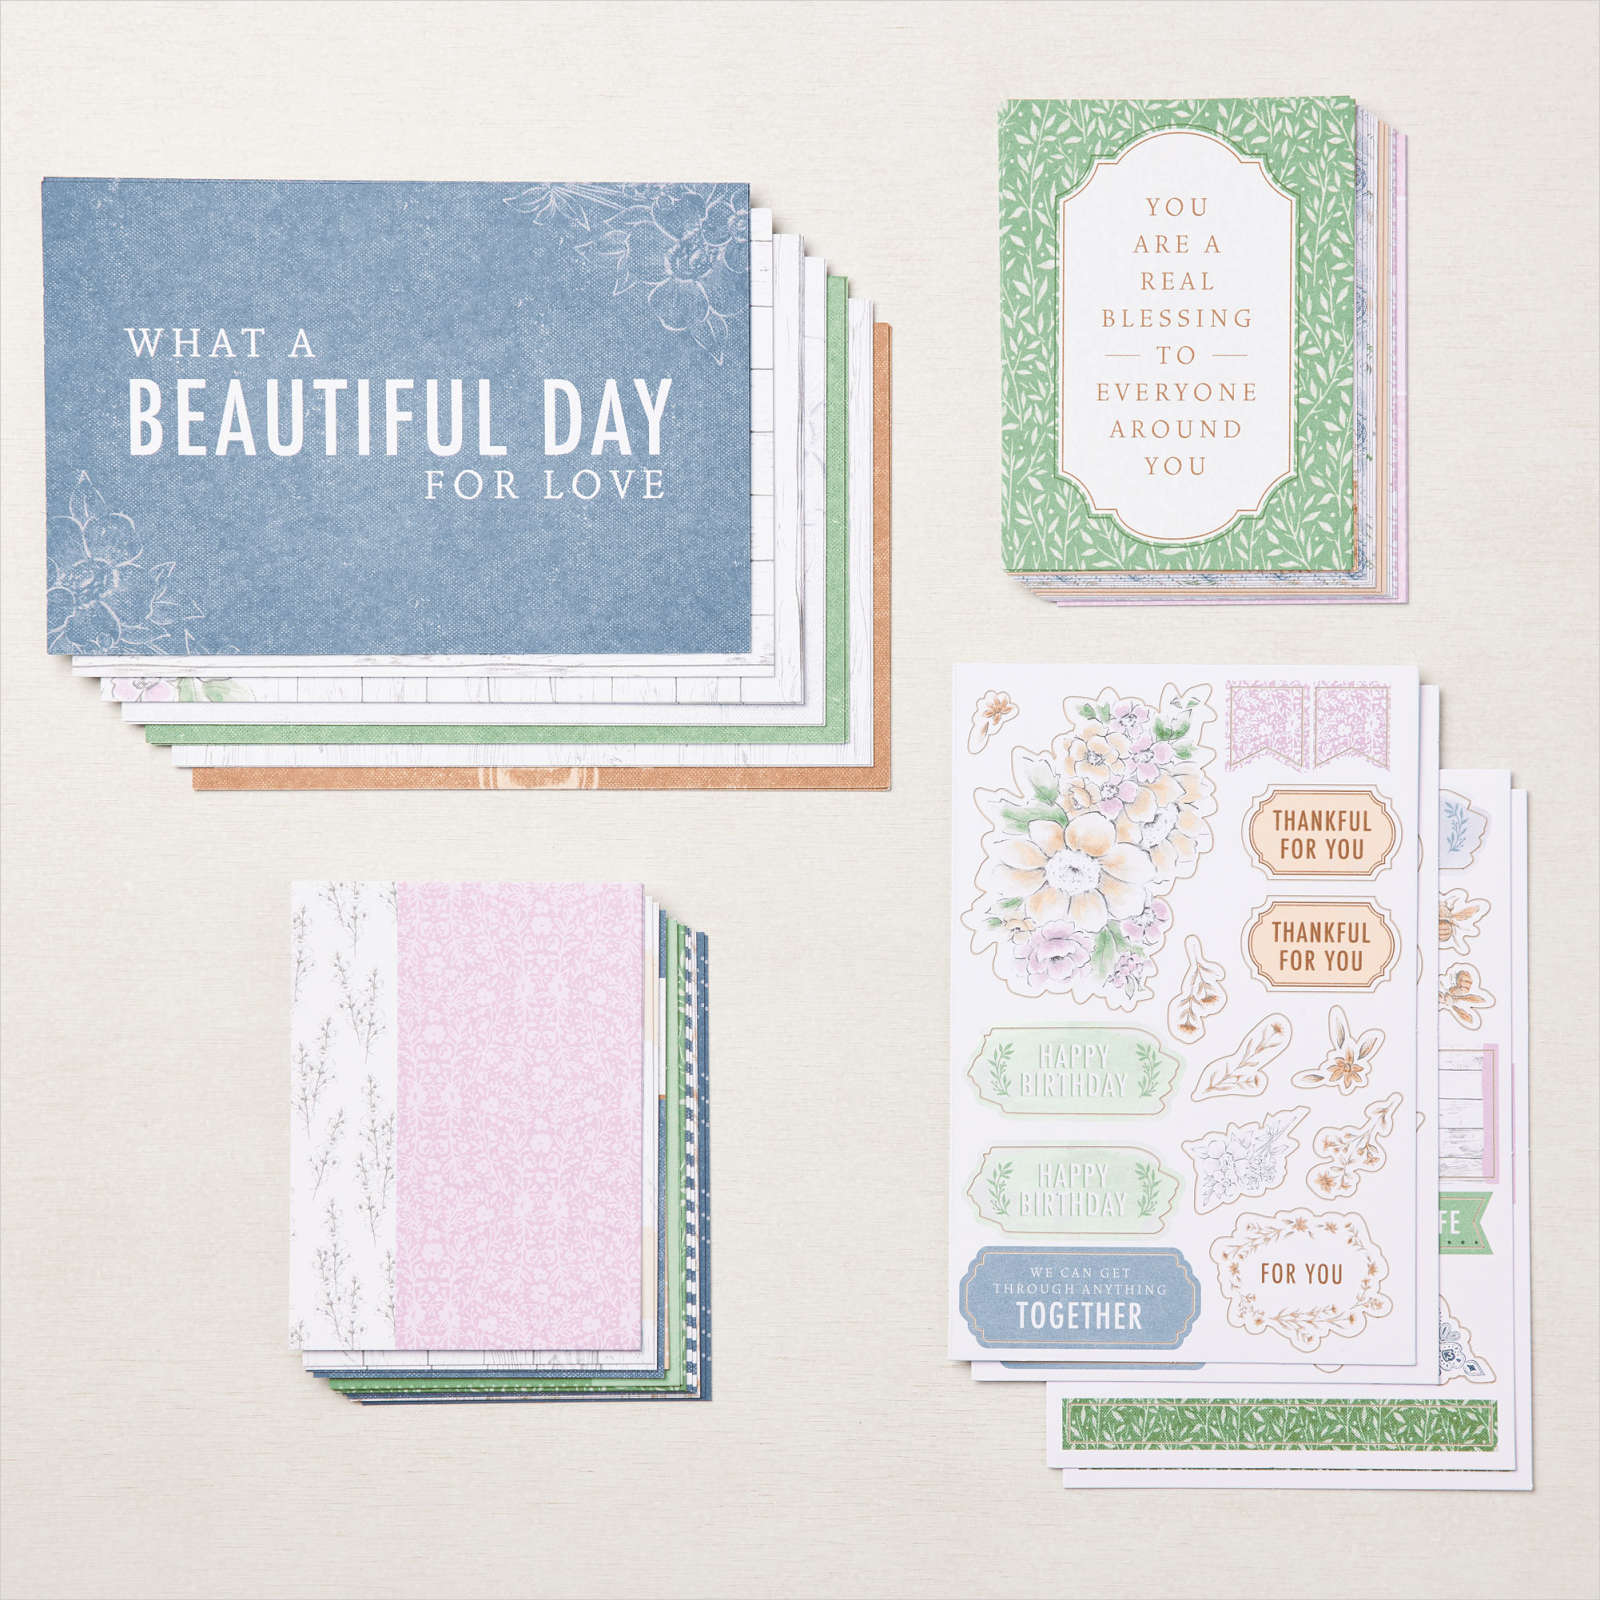
Check out the Kits Collection for a new Birthday Organizer Kit coming on Oct. 4 plus the Christmas Gifting Kit that is already out plus many more!

ORDER HERE!

And if you would like to start your own stamping business and be a part of Stampin’ Up! there is a deal on the Starter Kit as well! Choose $155 in product for your Starter Kit and pay only $99. Normally you would get $125 in your Starter Kit for $99 so you will get $30 more from October 4 -31 if you join during that time! You also get free business supplies and they ship your kit FREE! Be part of the fun of Stampin’ Up! Starts October 4!

Make out your shopping list today!

Two New Stampin’ Up! September Deals!

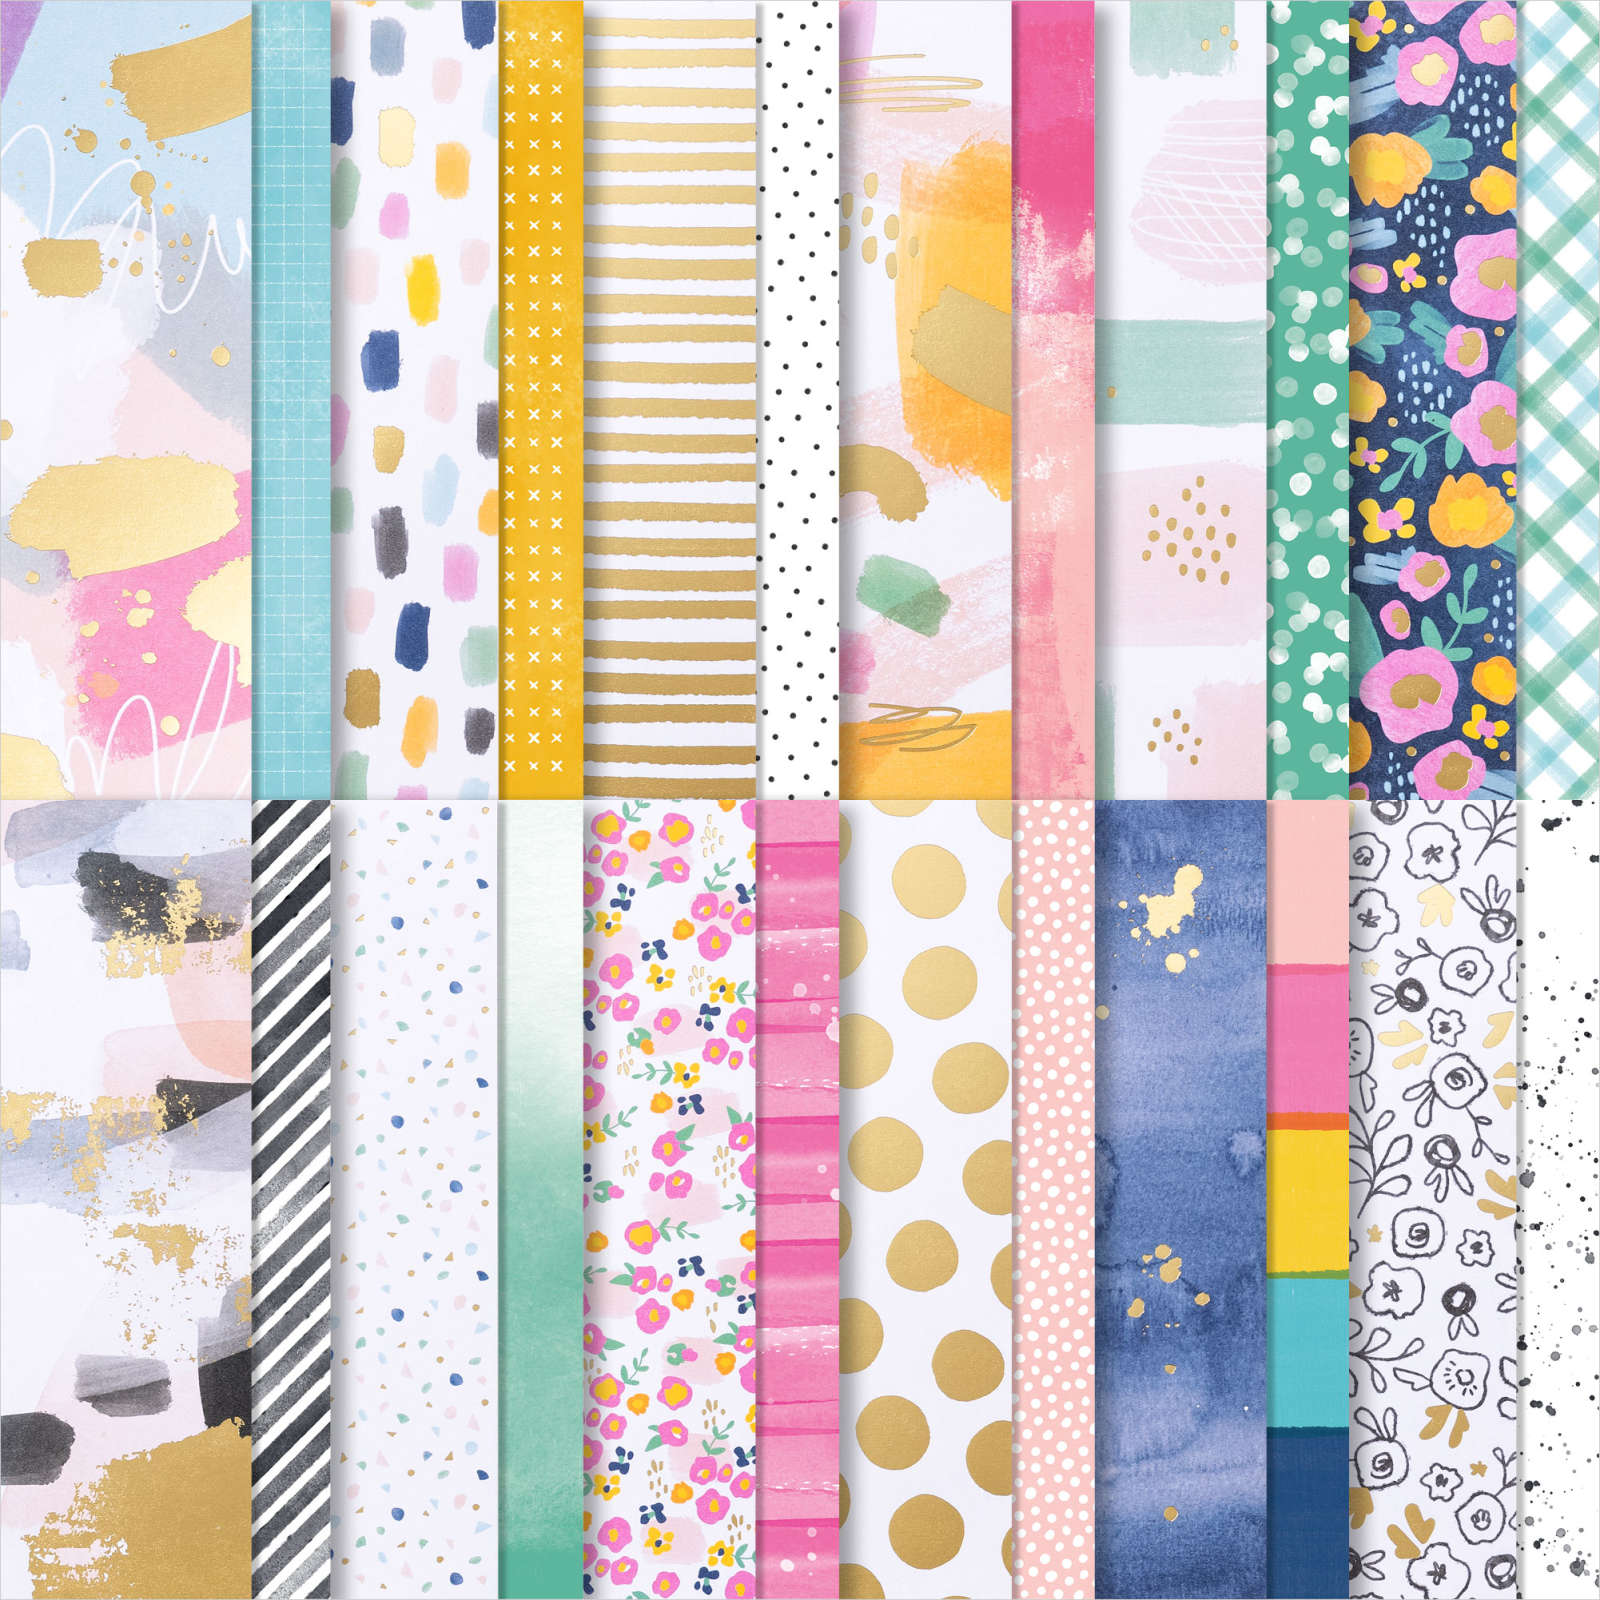
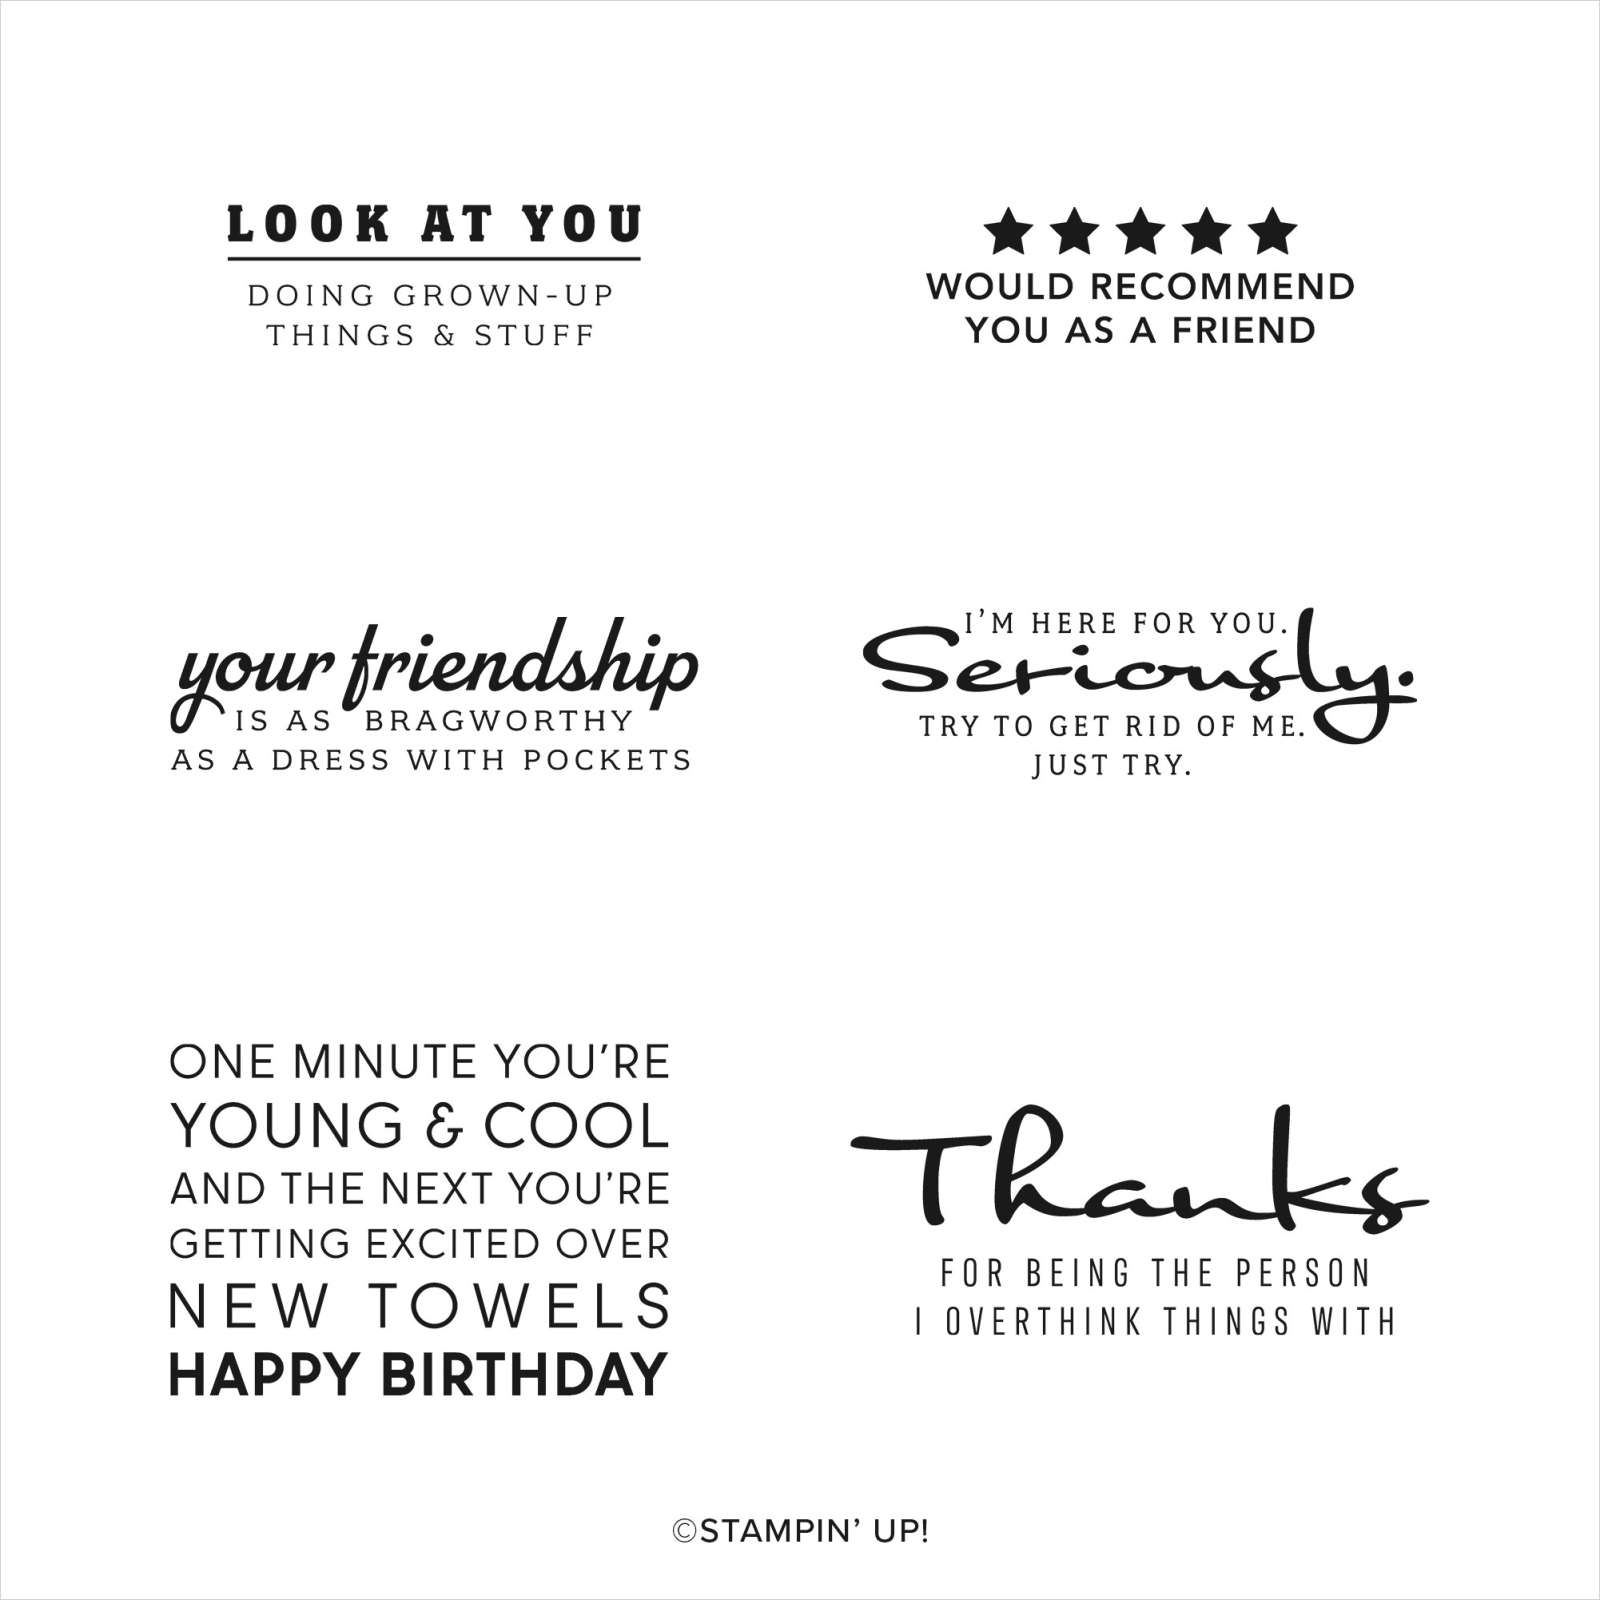
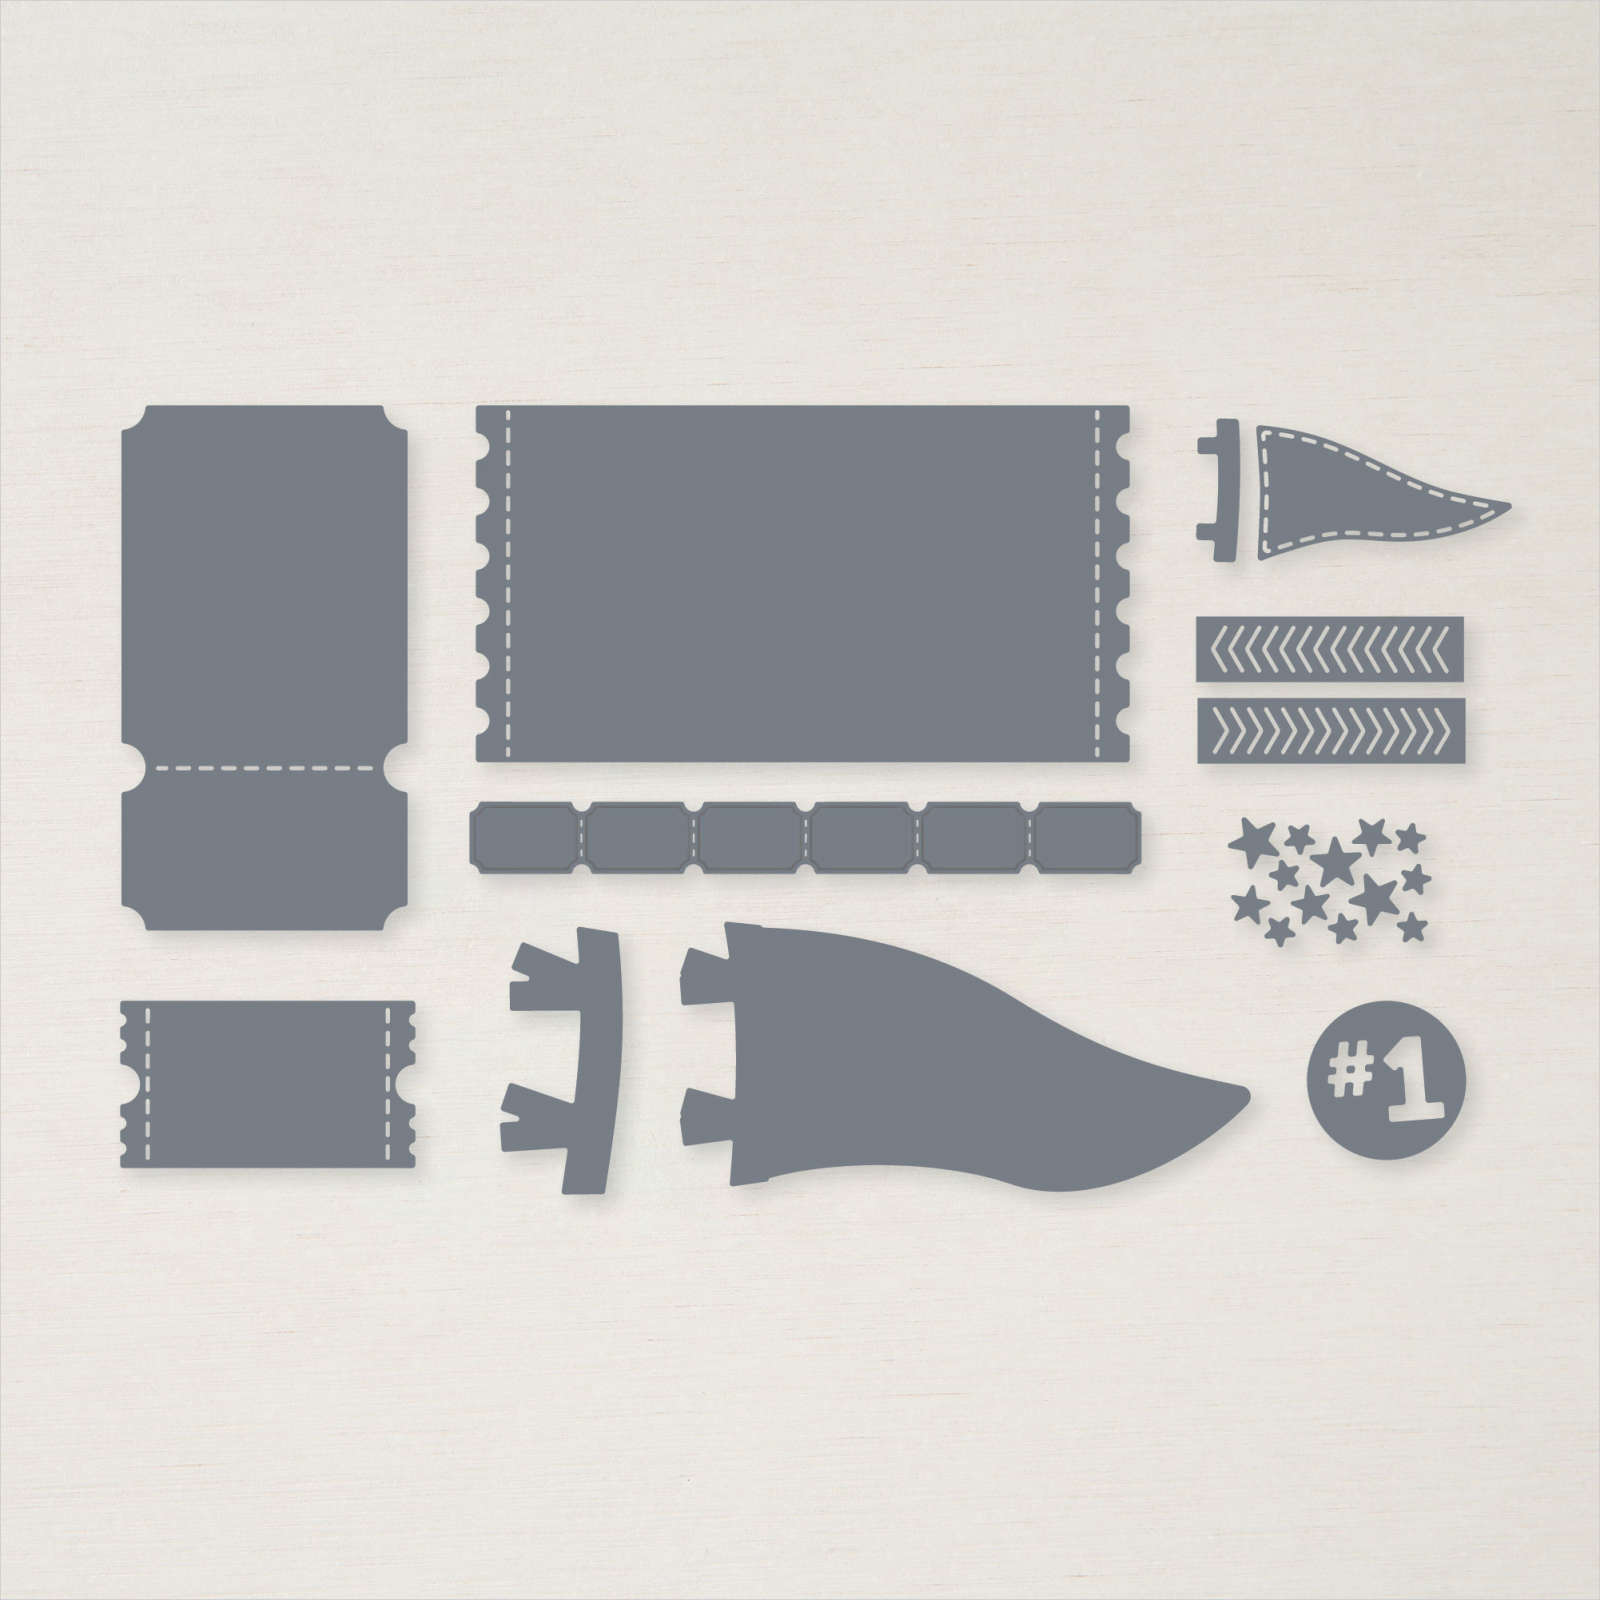
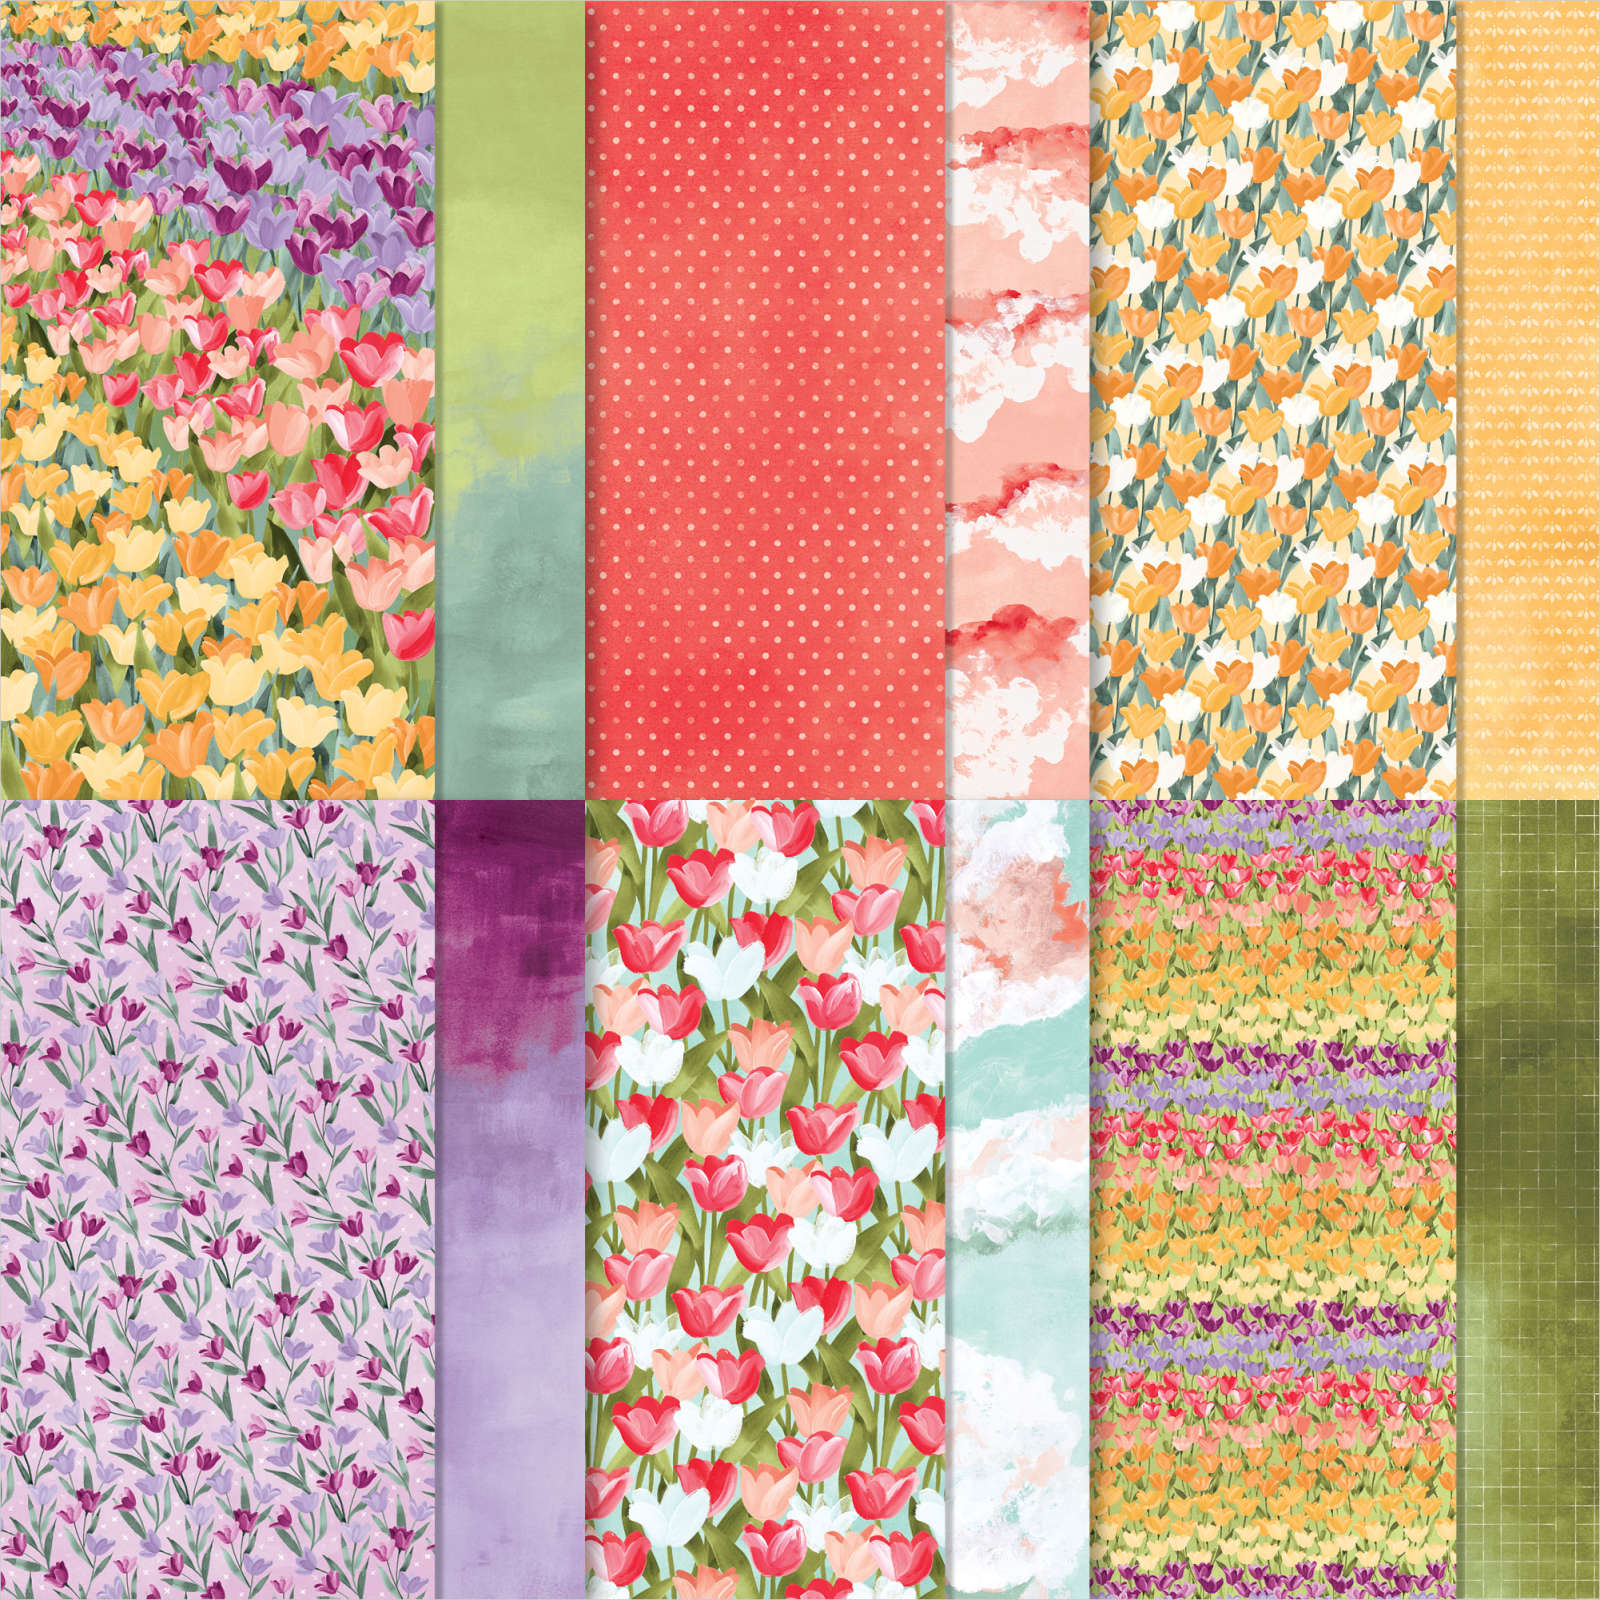
Perfect Partners Banner
Images © Stampin’ Up! 2022

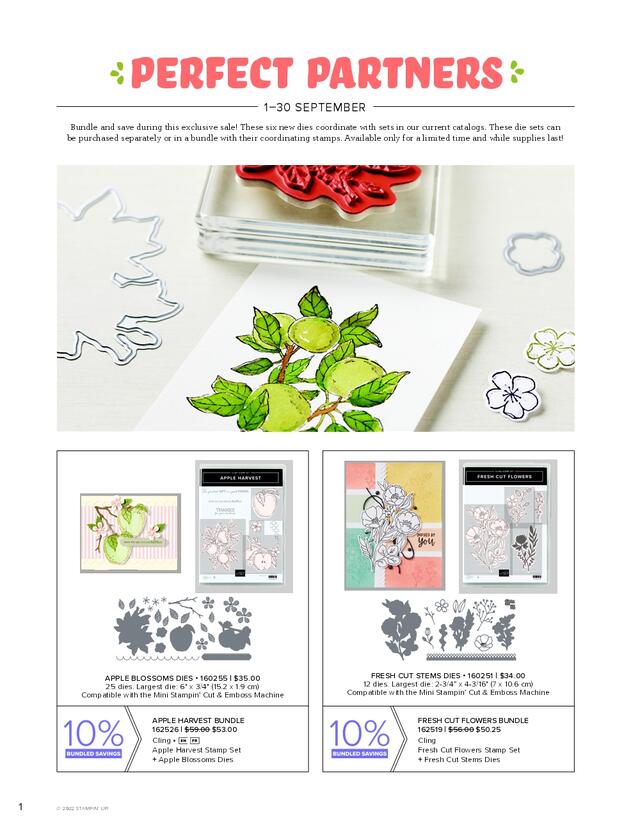
“Some things are great on their own but become epic when they are paired with something else: cereal and milk, toast and butter, Fred Astaire and Ginger Rogers. We may be biased, but our favorite combo is our stamp sets and dies—and that’s what the Perfect Partners promotion is all about!” says Stampin’ Up!

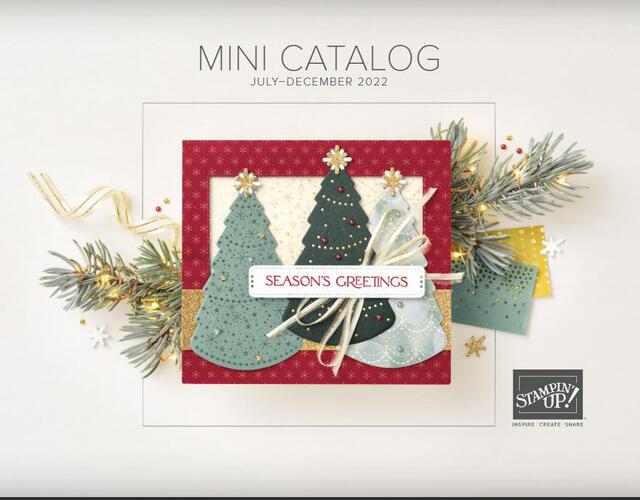
“We created six new dies that coordinate with stamp sets in the 2022–2023 Annual Catalog and the July–December 2022 Mini Catalog. These coordinating dies will only be available during this promotion and will not be offered in any catalog.” 

These stamp sets and dies are available separately or as a bundle. By buying the bundle, you will save 10% off the retail price. 

Put these wonderful stamp sets and dies together for more papercrafting fun! Order now!

Offer good September 1-30, 2022.

https://youtu.be/P2eyeyKoCNs

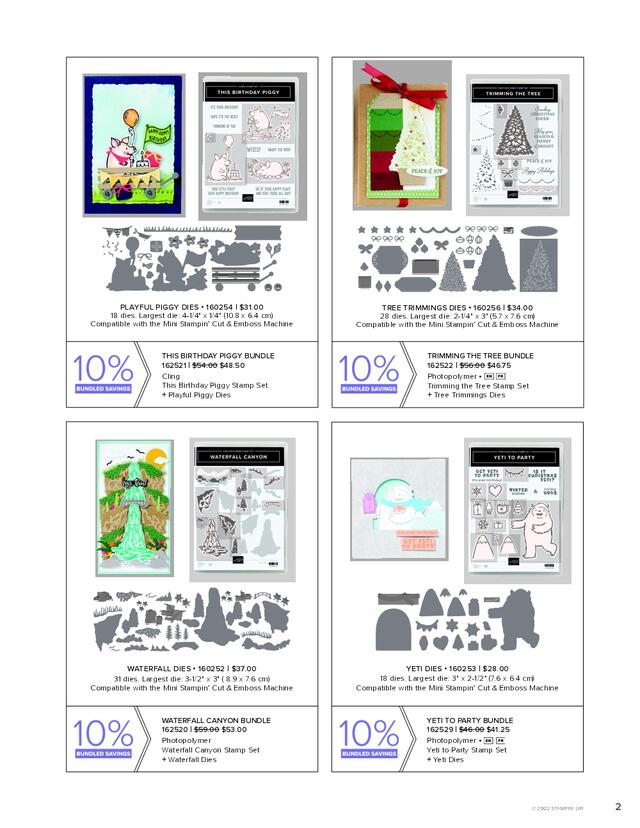
Check out all the sets and Bundles on this flyer below!

Perfect Partners Flyer
Perfect Partners Flyer pt2

Click on the photos above of the Stampin’ Up! flyer or click the link below.

Click HERE to view and print the Perfect Partners Flyer PDF.

AND

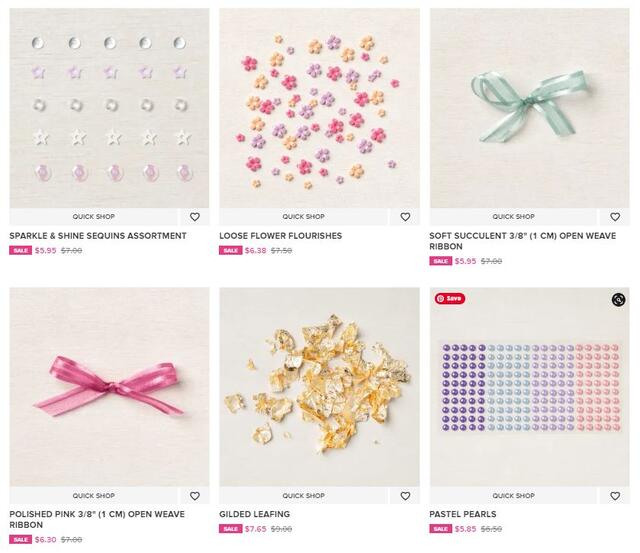
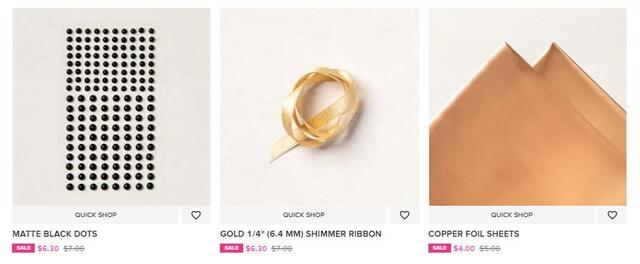
Every week in the month of September Stampin’ Up! is offering a selection of discounted products. Discounts and product selection will vary from week to week.

  • New products added each week on 1, 8, 15, and 22 September.
  • Promotion ends 28 September.
  • Product options and discounts vary based on inventory availability.
  • All order types qualify for this promotion (customer, demonstrator, workshop, and online).
  • Discounted items can be added to a Starter Kit.
  • Get the most up-to-date product information on the online store beginning 1 September.

Let’s see what the Weekly Deals are TODAY, Sept. 1st!

Back to School Tax Holidays 2022

Tax Free Tag 2022

It seems like school just got out but the other day in the drugstore I saw all the school supplies are on the shelves! Now that my children are grown, I barely know if school is in session or out. But in the past, our whole lives revolved around the school calendar! And as often as our husbands and/or kids thought our craft hobbies were just a silly thing we did and that we had too many supplies, as soon as they needed something for a school project or task around the house, they came to Mom first to see if she had a certain paint or tool or material that they needed! Right?

In recent years, certain states began having sales tax holidays on certain items that you could purchase for the new school year and not pay sales tax for certain days. I used to think it was barely worth my trouble to go shop for kids’ school clothes on those days in the crowds, but when it added up, I saved a bit! Now, some of our stamping supplies, the ones people might use in school, are eligible for the Sales Tax Holiday! So if you order these particular items, not everything, on the particular dates for your state, you can save on sales tax, at least according to your municipality on what they allow. Maybe not that big a deal, but maybe a little savings here and there!

Click this link below to go to the chart from Stampin’ Up! listing the participating states:

US Sales Tax Holidays

Eligible products according to the statute include “items normally used by students in a standard classroom for educational purposes.” You must place your order with Stampin’ Up! during the tax holiday period in order to receive these items tax-free (which is midnight on the first day to midnight on the last day of the tax holiday). Also, keep in mind that this is a state sales tax holiday; the state statute may not apply to county, city, and special jurisdiction taxes. 

How to Add Labels to Rubber Stamps Perfectly

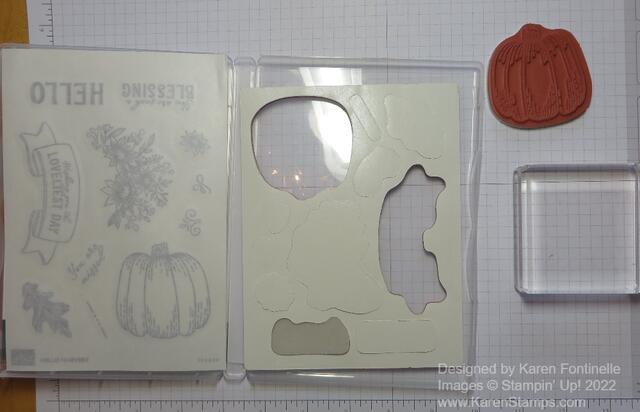
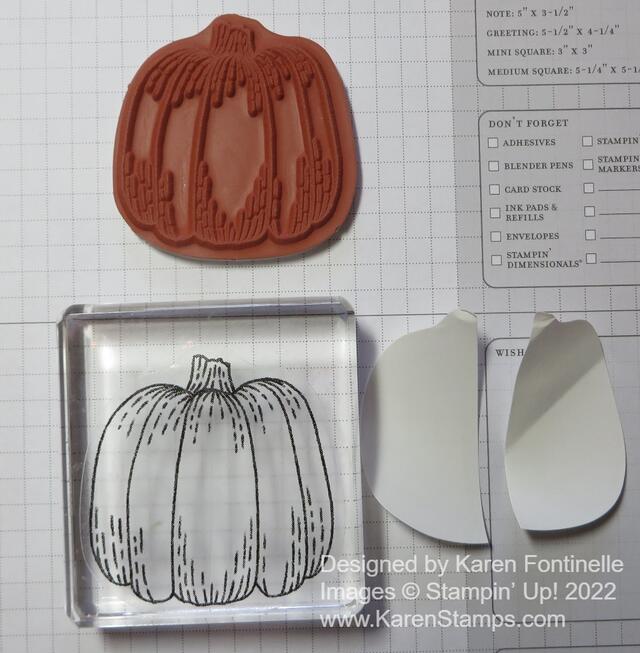
When you get a new red rubber cling stamp set from Stampin’ Up! you are eager to try it out but first, you want to know How to Add Labels to Rubber Stamps Perfectly. One way to do it is to peel off the covering from the label leaving it on the whole sheet of labels and place the stamp down on the label. That is how I have done it for years, but there is another way to do it and be able to SEE how the label and stamp line up so you can get the label on just right!

Add label to stamp

Detach the stamp from the rubber sheet, leaving the white paper over the back that protects the stamp’s cling side. We will use the pumpkin in the Hello Harvest Stamp Set, a new stamp set in the Holiday Mini Catalog.

Add label to stamp

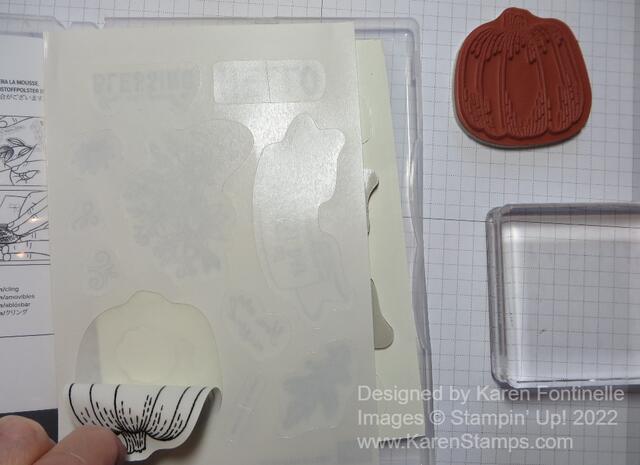
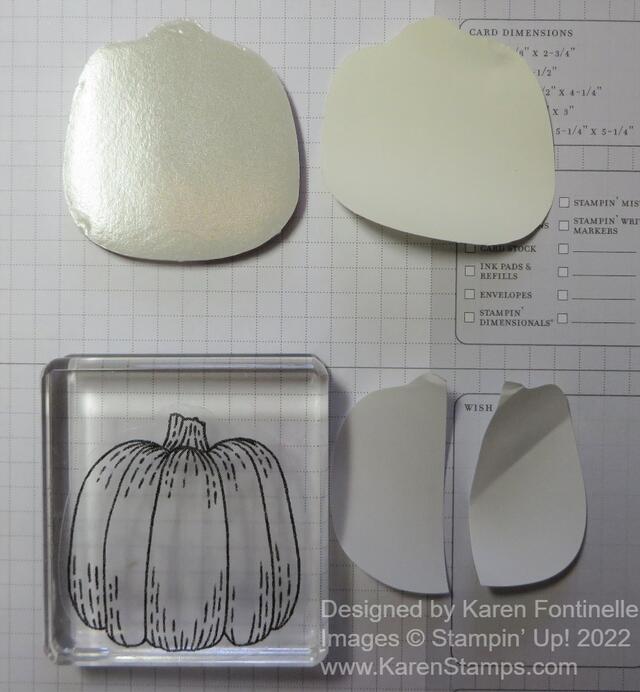
Carefully peel the label off the label sheet. Be sure you are on the side where the labels are cut around. This label will be very sticky.

Add label to stamp

Place the label on a clear acrylic block, leaving the white covering on top. You may need to use a larger block for larger stamps. The sticky label side is face down on the top of the acrylic block.

Add label to stamp

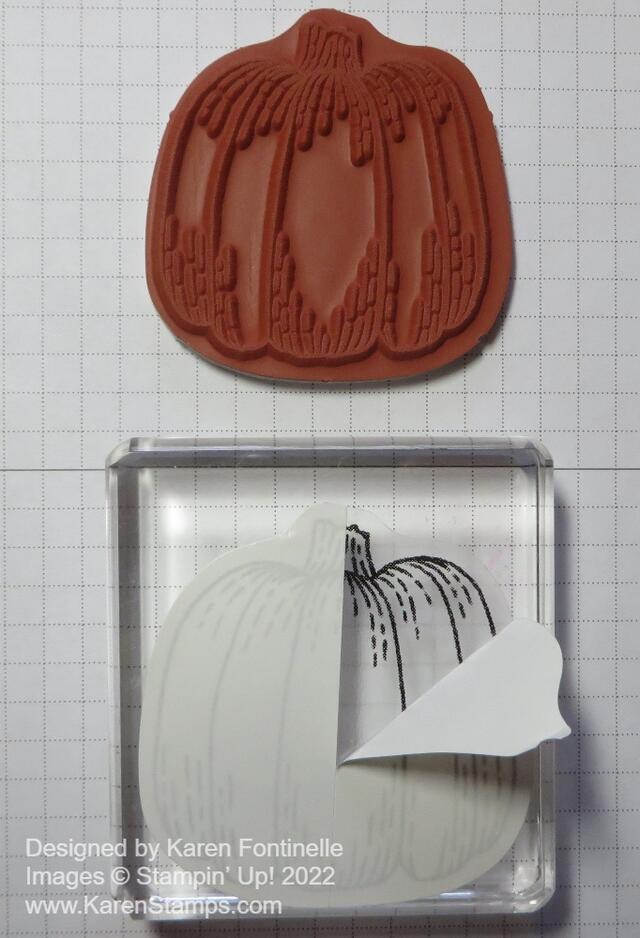
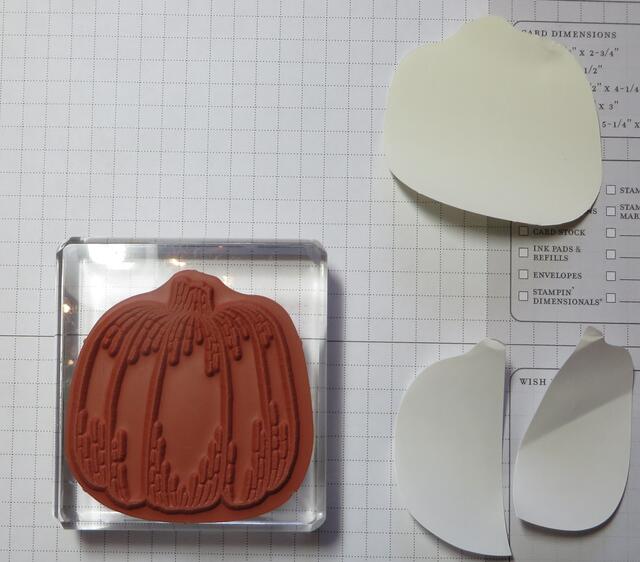
Now peel off the white covering from the label, which will likely come off in two half pieces. That’s how they are designed.

Add label to stamp

Now the clear label is on the top of the acrylic block and you can obviously see through it which will help you place the label correctly onto the stamp!

Add label to stamp

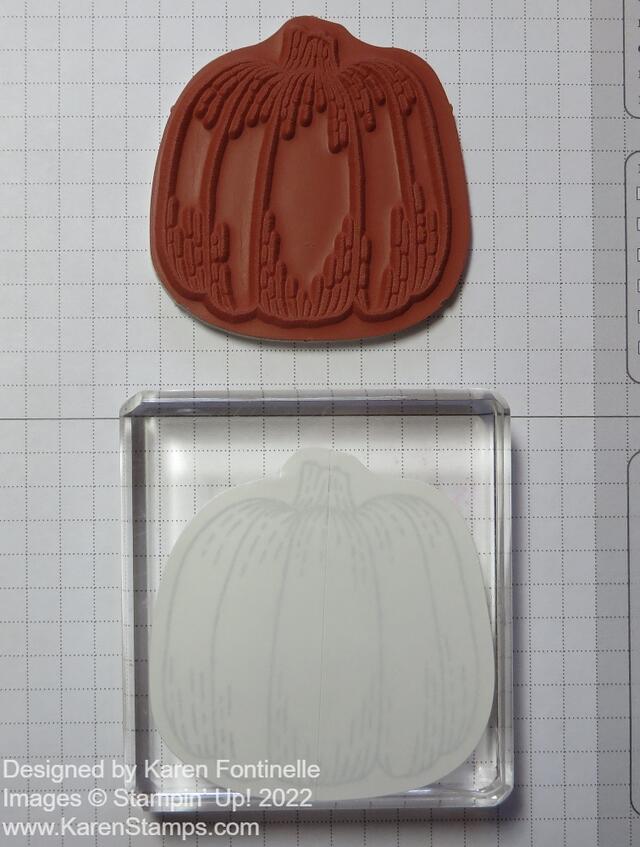
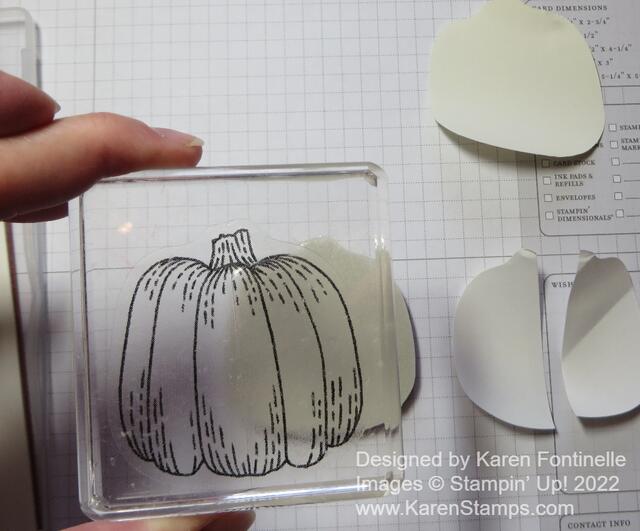
In the photo above, you can see the clear label is ready. Right above it, the pumpkin stamp has been turned face down, ready to receive the clear label. The white paper covering the cling side of the stamp is removed. Be sure to take this off!

Add label to stamp

Pick up the block with the label and hold it over the backside of the stamp (that white/gray cling side). Line it up with the edges of the label on the stamp. It will be easy to see where you are.

Add label to stamp

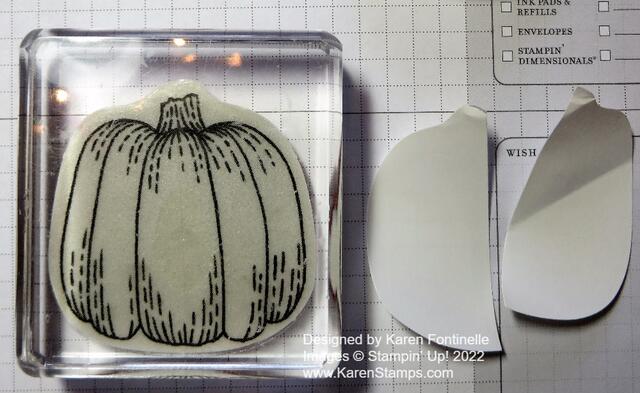
When the label is adhered to the cling side of the stamp, it will look like the photo above. The block is on top, the stamp underneath.

Add label to stamp

Turn the block over and the stamp is ready to use!

Add label to stamp

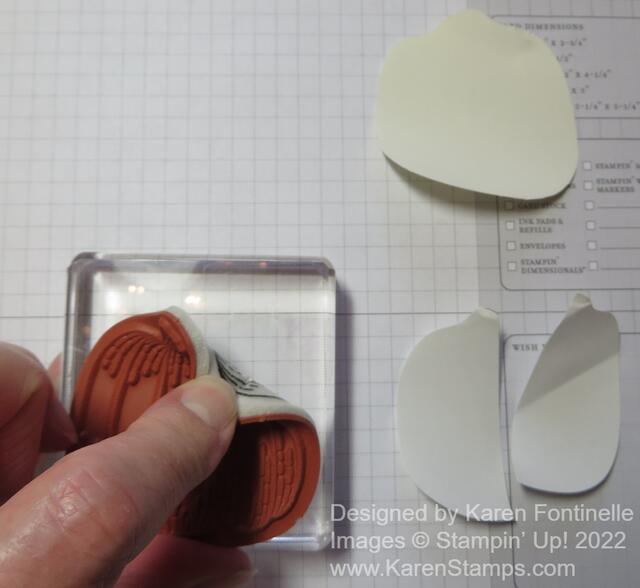
Now, just as if you had stamped with it, carefully peel the stamp off the block with your finger, being sure to get underneath the clear sticky label.

Add label to stamp

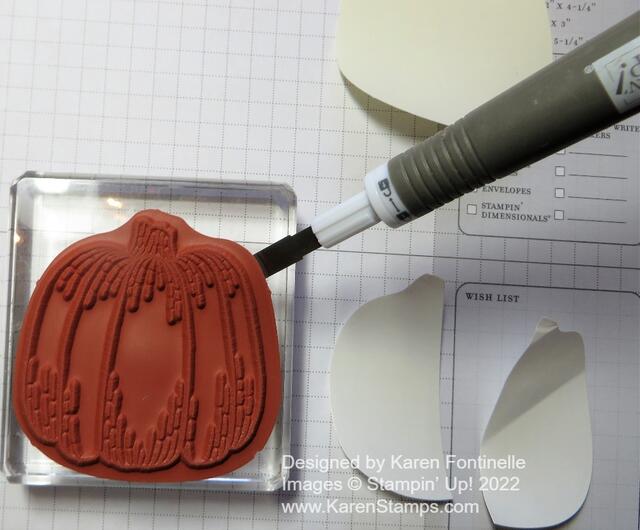
If it is difficult to get the stamp off the block with your fingers, use the Take Your Pick tool, the spatula end (unscrew the pointy end and switch), and carefully insert the flat spatula underneath the sticker.

Add label to stamp

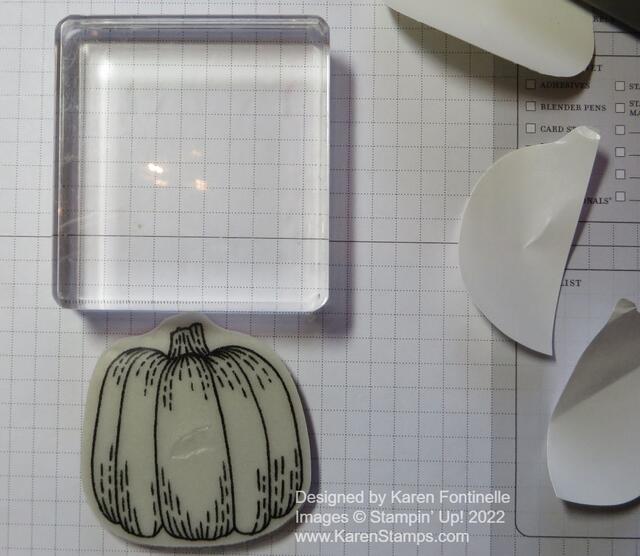
That’s it! You have the label perfectly aligned on the stamp! I know some people use their stamps without a label but I need it on my stamps!

I hope this step-by-step method of adhering labels to your red rubber cling stamps is helpful to align the label and stamp design very well which will help your stamping be aligned the way you want it to be!

Stampin’ Up! Free Shipping Today ONLY!

Today is the day to stock up and save on your favorite Stampin’ Up! products! On June 21 only, Stampin Up! is offering FREE SHIPPING on orders subtotaling $75 USD or more. This incredible deal lasts for 24 hours only, so head over to the Stampin’ Up! Online Store TODAY!

  • Free shipping only applies during the 24-hour period the promotion is live in each market; this means that the order must be opened and closed on 21 June 2022.
  • With the exception of month-to-month Paper Pumpkin subscriptions, all Stampin’ Up! products qualify for the promotion.
  • Prepaid Paper Pumpkin subscriptions are eligible for FREE shipping under the same rules as all other Stampin’ Up! items during the promotion.
  • Month-to-month Paper Pumpkin subscriptions are NOT eligible for free shipping. Subscriptions billed and shipped this month will be charged for the normal amount ($23.50 USD shipping included) + tax.
  • The free shipping promotion does not cover the additional cost of expedited shipping.

Today is great to get those Last Chance products you have been eyeing! Some are discounted up to 50%! Also, the BOGO sale on Kits is ongoing until June 30th! Be sure to check what kits are available!

HAPPY SHOPPING AND HAPPY FREE SHIPPING!

The Last Chance List & Sale For the Spring Mini Catalog!

Last Chance Banner 2022 Jan-June Spring Mini Info

It’s time to start saying goodbye to the lovely January-June 2022 Mini Catalog which will officially retire at the end of June. And with retirement, comes a sale on select products on the Last Chance List!

CLICK THIS LINK FOR THE FULL LIST OF RETIRING JANUARY-JUNE 2022 MINI CATALOG!

These products are discounted 50% off! While supplies last!

These products are discounted 30% off! While supplies last.

And other products are not discounted, but if they are not already in the new Annual Catalog, then they will be retiring June 30! If you want any Bundles, get them this month to save 10%. Even if the products are carried over in the Annual Catalog, you will not get the Bundle price.

SHOP STAMPIN’ UP! LAST CHANCE HERE!

Coloring on Perfectly Penciled Designer Paper

Coloring on Perfectly Penciled Designer Paper

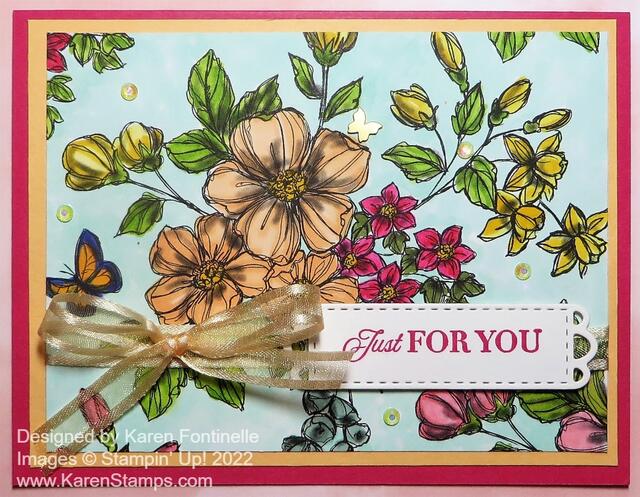
I’m not crazy but yes, I did color in this whole card front on this Coloring on Perfectly Penciled Designer Paper card! If you like coloring, you’ll understand that coloring is fun, and if you don’t like coloring, then you can stick to the beautiful black and white images on this paper!

The Perfectly Penciled Designer Series Paper has hand-drawn black and white floral images on one side of the paper that you can use beautifully as is or add color in any of many different ways. On the other side are generic graphic patterns that you can use as backgrounds on cards. It’s really great paper to use!

I simply cut the Perfectly Penciled Paper to have the floral design I wanted in the center of my card. You may have to think a little bit unless your paper has already been cut into, to get the design that you want to work with. Maybe it doesn’t matter how the images show up on your card design. Just so you are happy with it. I colored in the floral pattern and then I designed the rest of the card.

I started with the large flowers in the center and decided to color those with the Light and Dark Pale Papaya Stampin’ Blends. The leaves are mostly Granny Apple Green, some with a touch of Daffodil Delight, and a few smaller leaves colored with Old Olive Blends. The star-shaped flowers are colored with Melon Mambo, which at first I thought was too bright, but once I got the whole thing done, I liked that pop of bright color. Other flowers and buds are Daffodil Delight Blends and some Flirty Flamingo pinkish buds down in the lower-right corner. There is one little butterfly on the card which I colored with a purple and orange, but I’m not happy with it! Luckily it is off to the side and partially obstructed by the bow! I could have left the colored images as is, but I sometimes love coloring in the background, too! For this card, I used the Light Pool Party Stampin’ Blend. If you just kind of scribble around lightly, it’s not that difficult to color in the whole background. If you bear down with the point of the marker, trying to color in perfectly every nook and cranny, it will probably be an unpleasant experience…unless that is really what you want to do!

To make the actual card, I decided to layer and piece of Pale Papaya under the designer paper and then adhere that to a card base of Melon Mambo. The greeting is in the Celebrating You Stamp Set, a great set to have for sentiments for lots of occasions. It is stamped in Melon Mambo ink and then die cut with a die in the Meadow Dies. It looked like too much to layer it on Melon Mambo so I left it as is. The ribbon across the lower portion of the card is the pretty Pale Papaya Open Weave Ribbon. The bow is tied separately and adhered to the card with Mini Glue Dots. For a finishing touch, I couldn’t resist adding some Iridescent Rhinestone Basic Jewels plus one little Brushed Brass Butterfly!

This card could be for almost any occasion if you just change the greeting. Actually, this greeting is perfect for almost any occasion! It could be for a birthday, thinking of you, congratulations, wedding, anniversary, or even sympathy. Here is another card I made recently by coloring the black and white design using Blending Brushes and ink and not trying to color inside the lines at all!

You’ll find the Perfectly Penciled Designer Series Paper in the brand-new Stampin’ Up! Annual Catalog!

Perfectly Penciled Colored With Blending Brushes Card

Perfectly Penciled Colored With Blending Brushes

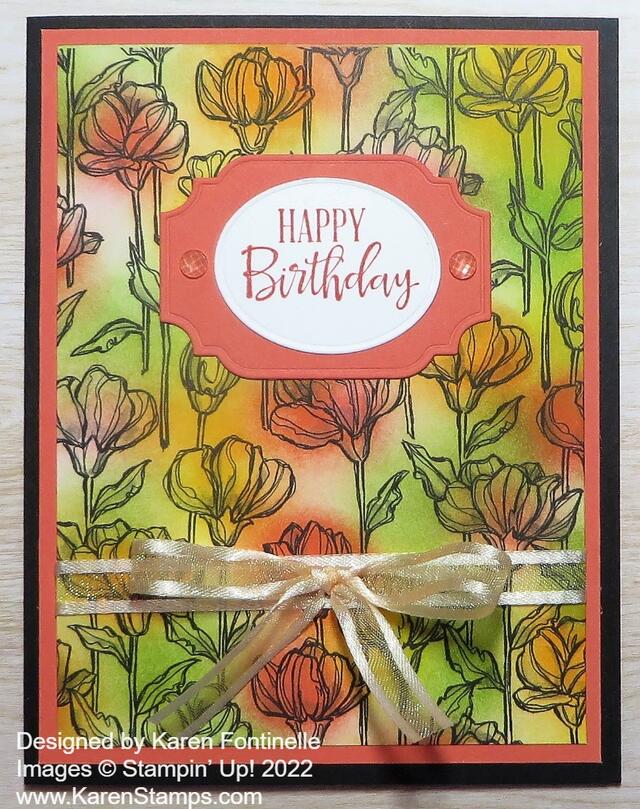
Even though I love this designer paper just in its black and white design, one of my first thoughts was one of the ways to add color would be to use Blending Brushes or some kind of sponge. It could be soft and intermittent or more precise, as far as this coloring could go.

This new black and white paper is the Perfectly Penciled Designer Series Paper. While black and white can be very stunning on their own, it also begs for the rather new trend of coloring in! Coloring takes us back to our childhood! I think of some times when my mother would sit down and color in our coloring books with my brother and me with crayons and we thought her coloring was perfection!

Stampin’ Up! has so many different ways you can color in stamped or printed images. With this designer paper, you don’t have to worry about which ink to use or if anything will smear. We have two different kinds of markers, Watercolor Pencils, ink and Blender Pens, ink and Water Painters, Pastels, and more. It’s all fun!

For this card, I colored this floral pattern of the Perfectly Penciled Designer Paper using ink pads and Blending Brushes. Blending Brushes come in a set of three. That’s all I have, at least at the moment. I have found that I can rub them on scrap paper really well after using a color and then go on to use another color. After using them, you can just wash out the ink, but if you wanted to use them over and over, you probably wouldn’t want to work with a wet blending brush. Some people like to have more so they can use a clean brush for every color.

For most of the flowers, I just rubbed the Blending Brush on the ink pad and lightly colored on the paper already cut into a layer for the card. After picking up some ink on the brush, be sure (usually) to lightly rub the brush on scrap paper so you don’t get too dark of a color on your image. After I had lightly colored some of the images, I decided to add a darker layer of color to some of the flowers. Obviously, with this method, you cannot color precisely on any image, which makes it easy because you don’t have to worry about going out of the lines! It’s all out of the lines! The colors I used for the flowers were Daffodil Delight, Calypso Coral, Mango Melody, and Granny Apple Green for the leaves. You can use any combination of colors you want. I also added a layer of Calypso Coral cardstock under the Perfectly Penciled paper. Before adhering, I added a piece of Pale Papaya Ribbon around the lower part of the paper. Even though I didn’t use Pale Papaya as a color, the ribbon looks perfect on the card. It blends in with the other colors and doesn’t compete with all the other pattern and colors happening on the card. I tied a separate bow and adhered it with a Glue Dot.

For the greeting, I stamped “Happy Birthday” in the Peaceful Moments Stamp Set in Calypso Coral ink. It is die-cut with the oval in the All That Dies set and then layered on a Calypso Coral piece also in the die set. For embellishment, I added an Elegant Faceted Gem to each side of the die-cut.

Since the card base is Basic Black, you will need to add an inside layer so you can stamp a greeting or write a personal message on the inside of the card. You could also make the card without the black card base and just use the Calypso Coral or whatever color you like.

If you want to see a card that is just left black and white, check out THIS POST of a card I made with the Perfectly Penciled Designer Series Paper.

Just play with this paper and see what you come up with as I did with this Perfectly Penciled Colored With Blending Brushes Card.

SHOP STAMPIN’ UP! ONLINE HERE!

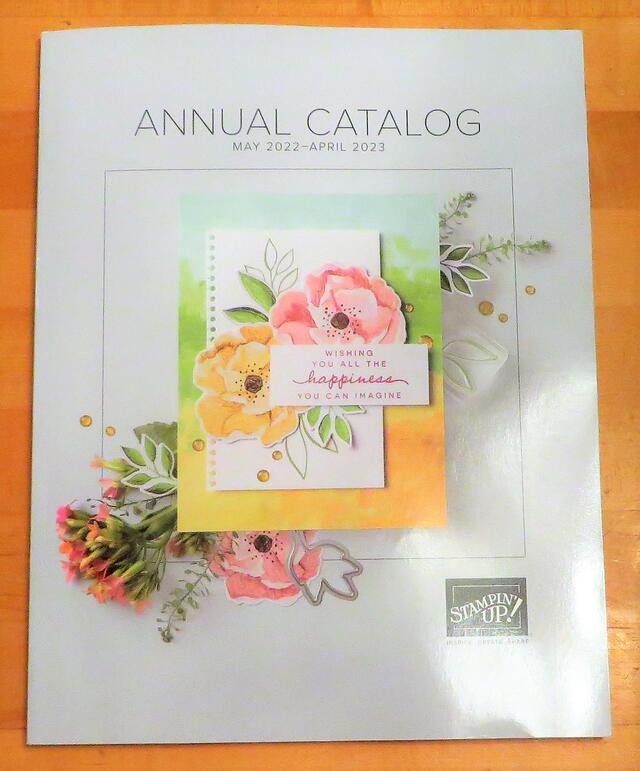
The New Stampin’ Up! Catalog Is Here!

This beautiful new Stampin’ Up! Annual Catalog is LIVE today! The day has finally arrived! It’s a somewhat sad goodbye to the old, but so much excitement for the new catalog, ideas, and products! So much fun ahead! So much creativity ahead from all of us stampers! It’s a day to celebrate!

CLICK HERE TO VIEW THE NEW CATALOG ONLINE!

Here are a few Stampin’ Up! videos to give you more information about the new catalog products!

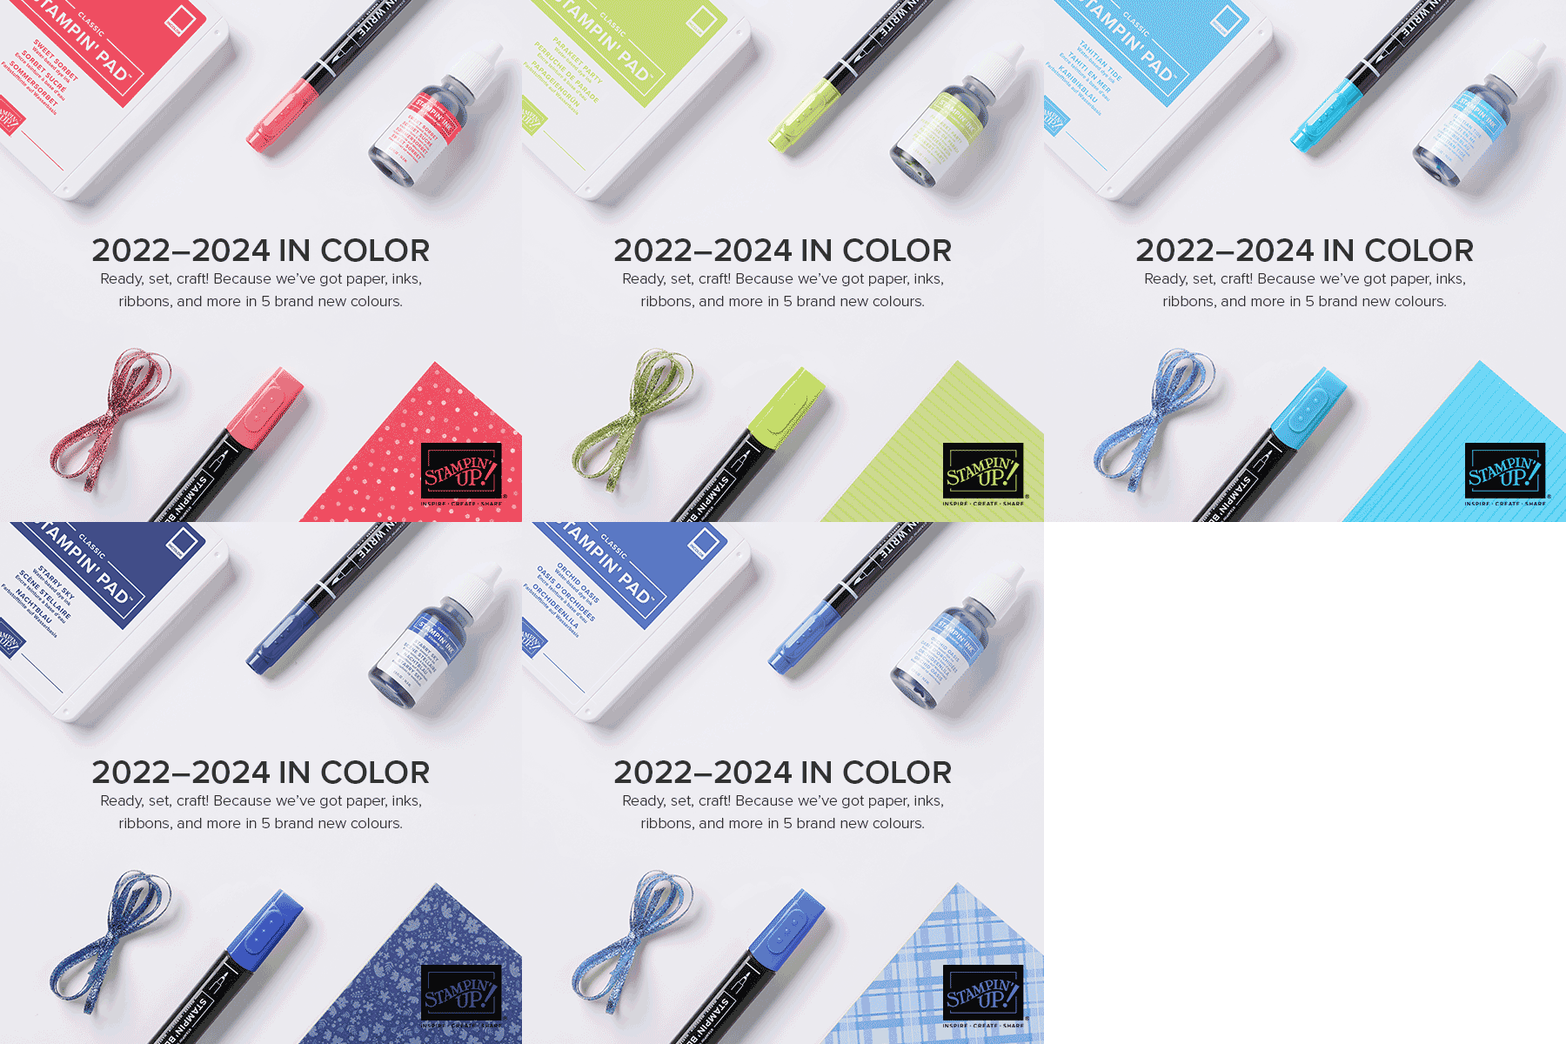
And don’t forget about the new In Colors! I love them! I suggest getting a couple of packages of the Assorted In Color cardstock (159204). That way you can try them all out and order more packages of the colors you know you will use a lot. An assortment of cardstock has 20 sheets, 4 sheets of each of the 5 In Colors. There is also a 12″ x 12″ assorted package.

CLICK HERE TO VIEW ALL THE NEW IN COLOR PRODUCTS!

HAPPY NEW CATALOG DAY!

ENJOY THE BEST SHOPPING DAY OF THE YEAR! GO SHOP!

Free Shipping at Stampin’ Up! TODAY!

Today, Thursday, April 21, Stampin’ Up! is offering FREE SHIPPING

on all orders of $75 or more!

 It’s a great opportunity to stock up on basics like cardstock, adhesives, and embellishments not to mention any of the Last Chance products that will be retiring in less than two weeks!

Prices have increased in the new upcoming Stampin’ Up! Annual Catalog so get the current price on the basics plus free shipping! For example, cardstock has increased from $8.75 to $9.25; ink pads from $7.50 to $8.00; ink refills from $3.75 to $4.00; and Basic White cardstock from $9.75 to $10.25. Nothing too earth-shattering, but all those little bits add up if you need to replenish your supplies!

Here are the details:

ORDERING INFORMATION:
  • Free shipping applies after the qualifying amount (per market) has been met.
  • The minimum qualifying amount to receive free shipping is $75 USD | $100 CAD or more (before tax).
  • If you are using a coupon code or product credit, please remember that they are non-commissionable and will lower the order’s retail amount. The order must still meet the qualifying threshold to be eligible for free shipping.
  • Free shipping only applies during the 24-hour period the promotion is live in each market; this means that the order must be opened and closed on 21 April 2022.
  • With the exception of month-to-month Paper Pumpkin subscriptions, all Stampin’ Up! products qualify for the promotion. 
  • Prepaid Paper Pumpkin subscriptions are eligible for FREE shipping under the same rules as all other Stampin’ Up! items during the promotion.
  • Month-to-month Paper Pumpkin subscriptions are NOT eligible for free shipping. Subscriptions billed and shipped this month will be charged for the normal amount ($23.50 USD shipping included) + tax.
  • The free shipping promotion does not cover the additional cost of expedited shipping.

One Day Only, and a Minimum order of $75! SHOP HERE!

Mini Stampin’ Cut & Emboss Machine and Bundles Offer Ends Soon!

THIS OFFER ENDS THURSDAY, MARCH 31!

Why are smaller things so cute?! I don’t know but it applies to the Stampin’ Mini Cut & Emboss Machine! Ever since the original Big Shot Machine came out at a Stampin’ Up! Convention I attended YEARS ago I’ve done lots of die-cutting and embossing and think it’s a great addition to our stamping and papercrafting. Then, not too long ago, we got the new Stampin’ Cut & Emboss Machine. This machine works even better, in my opinion, and has the advantage of the platform folding up on both sides if you want to tidy up a bit or carry it somewhere. But if you like the convenience of a smaller machine, taking up less space, easy to travel with, then the Stampin’ Mini Cut & Emboss Machine is for you! Especially when you can save some money! It retails for $60 but with 20% off you can buy it for only $48!

This mini—but mighty—machine is durable, portable, and easy to use. It’s the perfect pick for budding beginners who want to branch out, papercrafting pros who want to craft on the go, or those who are short on storage space! With this trusty tool, any crafter can make precise cuts and embossed designs for their projects with one pass.

During the month of March, you can snag the Mini Stampin’ Cut & Emboss Machine at a 20% discount! This miniature machine is compatible with a large selection of Stampin’ Up! embossing folders and dies. Build your craft collection and combine the Mini Stampin’ Cut & Emboss Machine with any (or all!) of the select stamp-and-die bundles that are also available for 20% off during the month of March!

CHECK OUT THE FLYER HERE!

(Be sure to scroll down to read the entire flyer about the machine AND the Bundles on sale!!)

Details

  • The Mini Stampin’ Cut & Emboss Machine will be available for purchase at a 20% discount.
  • A number of select stamp-and-die bundles that are compatible with the Mini Stampin’ Cut & Emboss Machine will also be available for purchase at a 20% discount.
  • For this promotion only, we’ve brought back the previously popular Art GalleryCelebrate Sunflowers, and Garden Wishes bundles. They will only be available in their bundle form during this promotion, so make sure to snag ‘em while you still can!
  • The Mini Stampin’ Cut & Emboss Machine and select compatible bundles can be bought together or separately.
  • There is no limit on the number of Mini Stampin’ Cut & Emboss Machines you can purchase during this promotion. In fact, having more than one machine is ideal for workshops, classes, and other events!
  • Products are available in all markets while supplies last. Offer may vary from market to market based on product availability. No backorders or substitutions will be allowed.
  • The stamp-and-die bundles that can be found in a current catalog will be replenished until they retire. When they do retire, the bundles will be added to the Retiring List.
  • Due to supply chain challenges, this promotion may be altered or ended early. We will post a Current Update with further information if this is anticipated.
  • Discount applies on Stampin’ Rewards.

Take your crafting to the next level with the Stampin’ Mini Cut & Emboss Machine at a discount!

Offer available March 1-31, 2022!

The All Together Collection Is Here!

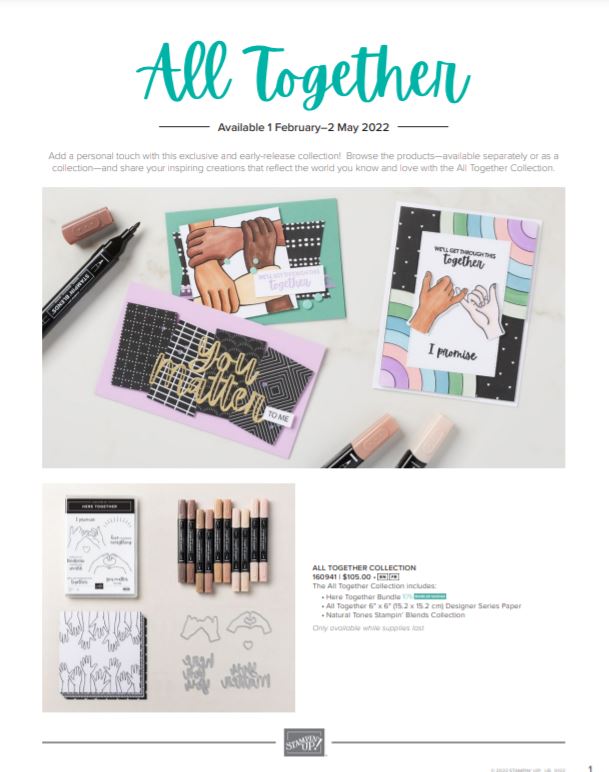
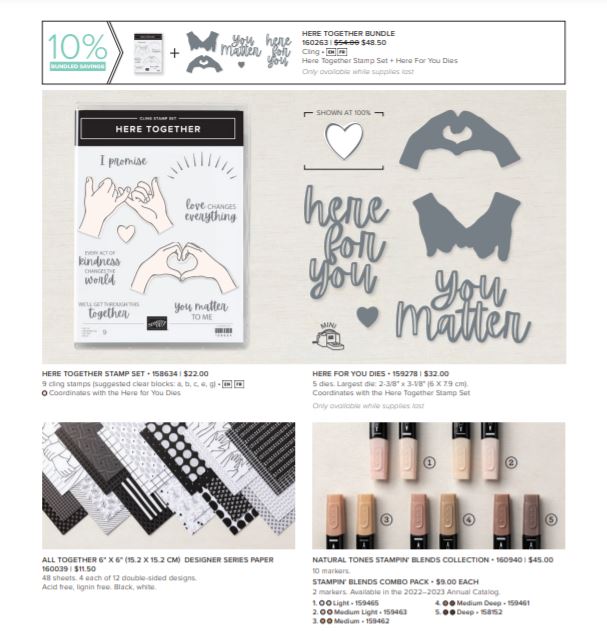
Loving hands and heartfelt words are the best way to show you care. With hand designs that illustrate coming together in friendship and solidarity, the All Together Collection will help you create cardmaking and paper crafting projects that reflect the people you know and love. 

The All Together Collection includes early-release products from the 2022–2023 Annual Catalog—an exciting new range of natural Stampin’ Blends—and exclusive products you can’t get anywhere else! Come together to create projects inspired by you.  

CLICK HERE to READ the FULL FLYER.

Watch this video to see all the products!

  • The Here Together Stamp Set, Here for You Dies, Here Together, and the All Together Collection are available in English and French.
  • Qualifying orders are eligible for Stampin’ Rewards. (Except for the All Together Collection)
  • All Together items can be added to a starter kit.
  • The following exclusive products are only available while supplies last:
    • Here for You Dies
    • Here Together Bundle
    • All Together Collection

SHOP STAMPIN’ UP! ONLINE!

Wine Tag To Celebrate the New Year 2022

New Year 2022 Wine Tag on Bottle

If you are going to a party or just celebrating at home, you might have fun making something like this Wine Tag To Celebrate the New Year 2022. It is so easy to make and if you are taking a gift of a bottle of bubbly, really any time, to take to a host, you can decorate it with a tag like this one. It is as easy as can be!

For this one, the base is Basic Black, cut at 9″ x 3″. The gold striped paper is one of the patterns in the Expressions In Ink Specialty Designer Series Paper in the Stampin’ Up! Annual Catalog. I cut the designer paper at 8 3/4″ x 2 3/4″ to fit on the Basic Black. After adhering the designer paper, score the top at 2 1/2″. Then punch or die cut a hole in the top to go over the bottle. I used a Layering Circles Die that was about 1 3/8″ wide. In THIS POST where I made a Thanksgiving bottle tag, I pulled out my retired 1 3/8″ Circle Punch.

To decorate the front, I die cut a piece of Basic Black with one of the Tasteful Labels Dies. I cut out letters and numbers from Gold Foil with the Playful Alphabet Dies. I admit I didn’t get the letters and numbers placed very well on the die cut piece! But I balanced it out a little bit by putting some gems on the “empty” side! I should have looked for my glasses before glueing!
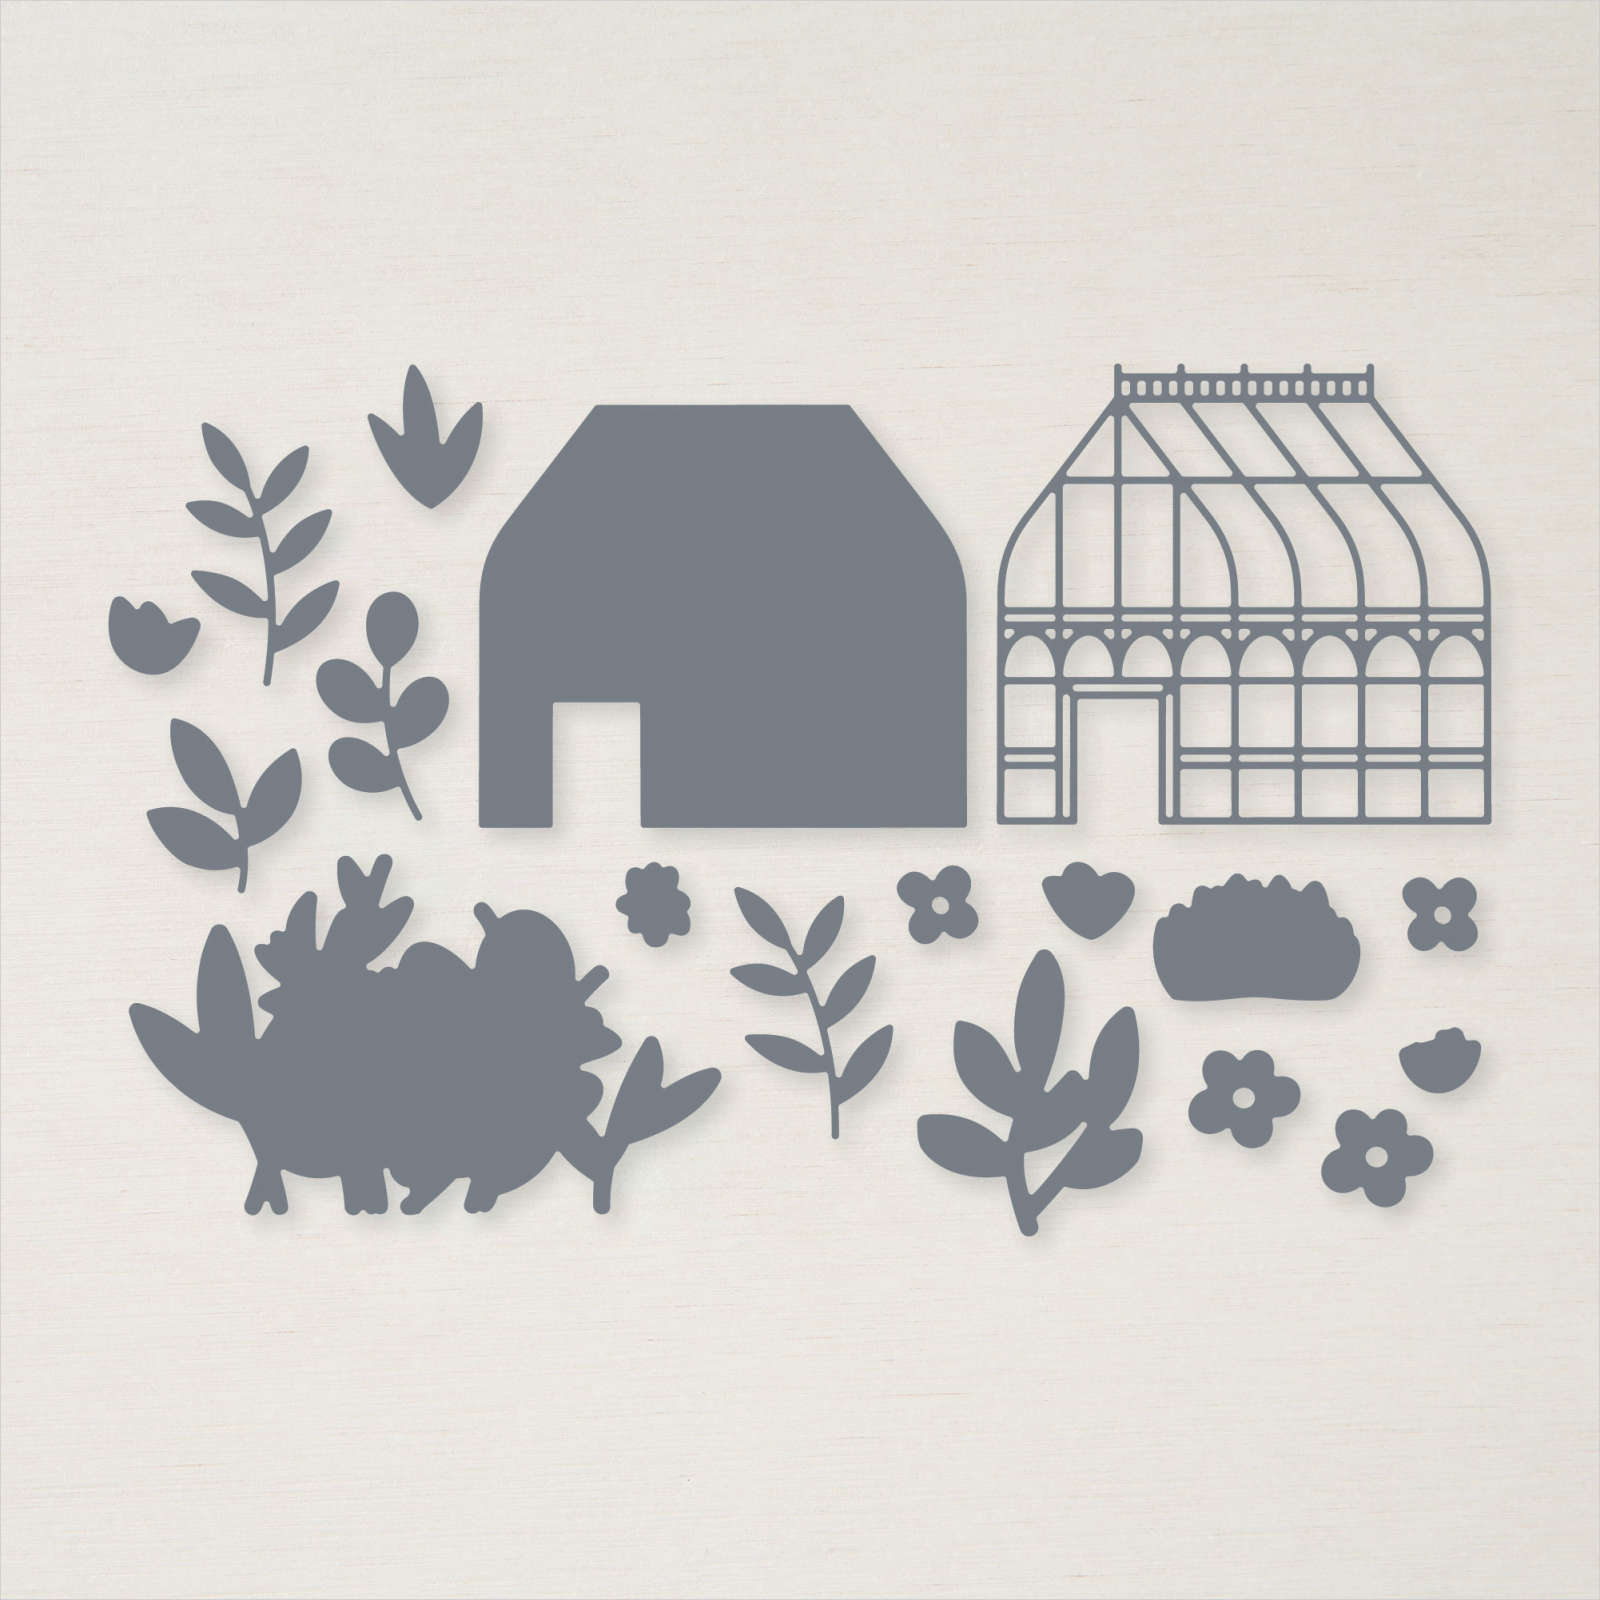
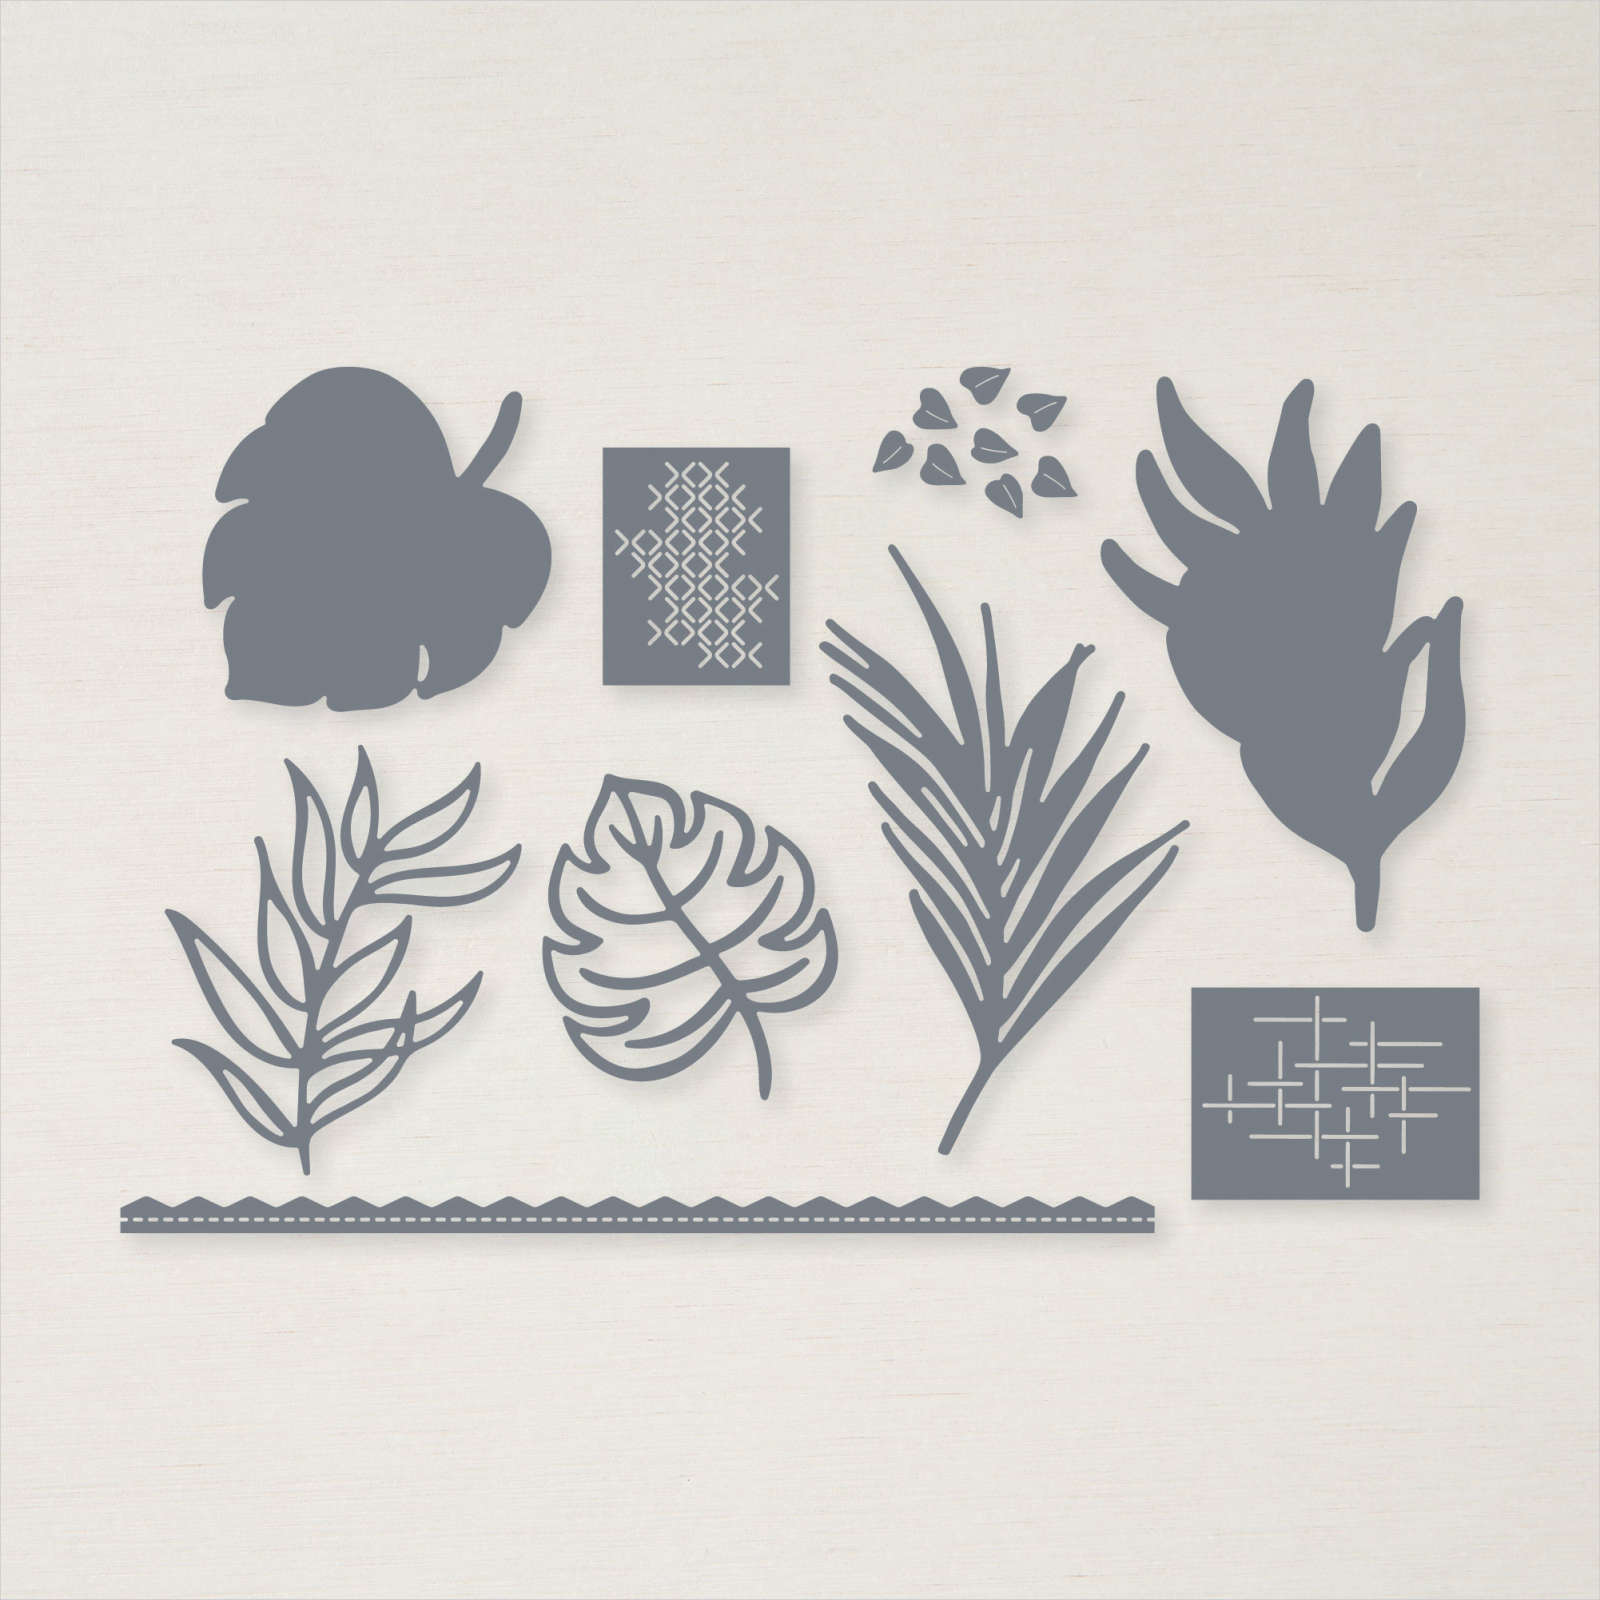
The die cut piece is popped up on Stampin’ Dimensionals®. I adhered a piece of Gold 3/8″ Shimmer Ribbon because you can’t have too much gold or shimmer for New Year’s Eve and New Year’s Day!

New Year 2022 Wine Tag

That’s it! These tags that hang on bottles (could be water bottles, too!) are so easy to make, you have to try one! It’s a quick little project unless you make a super fancy decoration on the front of the tag! Since people often take a bottle of wine (or something!) as a host gift to a party or dinner, this is a fun way to put your own personal touch on the gift!

Have a Safe, Healthy, and Happy New Year!!

Using the Stamparatus at Christmas

Using the Stamparatus

If you don’t own a Stamparatus yet, you need one! When you are making a lot of Christmas cards, you definitely need a Stamparatus! I keep mine handy and use it often but using it at Christmas is really the big time!

I like to make many different card designs and make several cards of that design, maybe five, maybe 10, whatever I feel like at the time. When you are stamping the same greeting over and over again for the inside of the card, if you spend a moment getting it straight and centered or however you want it on the inside of the card, then the stamp stays in the same place and you get perfect stamping every time.

As you can see in the photo, up above the Stamparatus, you can see I stamped at least six inside card layers. Next, I worked on stamping on die cuts I had made for the front of the card. Instead of hoping I stamped the greeting on the die cut centered and straight, I used the Stamparatus PLUS the negative of the die cut. I placed the negative in the corner of the Stamparatus and then made sure the stamp was in the right place to stamp right in the center of that die cut. Then leaving the negative in place, I could place a new die cut into that negative and then stamp. That made it quicker and easier to stamp the die cuts rather than stamping all over the cardstock and trying to line up the die to fit the stamped greeting properly. It worked great!

In my messy, real-life stamping photo above, you can see the used Grid Paper inside the open Stamparatus and the messy stamped large Grid Paper on my kitchen table. You can see the Merry Christmas stamp stuck on the plastic plate of the Stamparatus, ready to be inked up on the right.

Usually, when I am trying to make sure I have the stamp lined up exactly where I want it, I place a window sheet over the card stock and stamp on that first to make sure the words are straight and everything is centered. That way I can alter the stamp position and just wipe off the window sheet until I have it just right and THEN I’m ready to stamp right on the cardstock.

The Stampin’ Up! Stamparatus has a lot of features that I don’t think others on the market have. If you mess up and your image doesn’t stamp as well as you want, just reink and stamp again because the paper hasn’t moved. Use one of the magnets to hold your paper in place. Just be careful not to get those two magnets anywhere near each other!! I found that out the first time I used my Stamparatus!

It might be a good gift to ask Santa for this year to use next year! But if you want it right away, use the Expedited 2-day shipping for an extra $20 and hopefully, that will do it!

Stamparatus
Stampin’ Up! Stamparatus (146276) $49.00

SHOP FOR THE STAMPIN’ UP! STAMPARATUS!