Category Archives: Tools and Accessories

First Day of Fall Pumpkin Thinking of You Card

First Day of Fall Pumpkin Thinking of You Card

Today is the Autumnal Equinox so here is a First Day of Fall Pumpkin Thinking of You Card to celebrate!  Equinox means equal light so most places will see equal amounts of daylight and night. I was hoping the Autumn Equinox would mean Houston, Texas would cool off to comfortable temperatures with low humidity, but I don’t think that’s what it means!  In fact, it means the opposite! It’s not going to feel like fall here for a long time yet!

My card is one that came out of nowhere. I couldn’t really think of what to make but I knew I wanted to use the pumpkins on the paper in Toil & Trouble.  Eventually, I chose another paper in the package for the background on the card that would go with a few of the cut-out pumpkins. I just cut out a few pumpkins with my Paper Snips.  I chose the Crumb Cake 3/8″ Classic Weave Ribbon to tie around the front of the card. I chose the greeting from the Rooted in Nature Stamp Set because I didn’t want it to be a Halloween card.

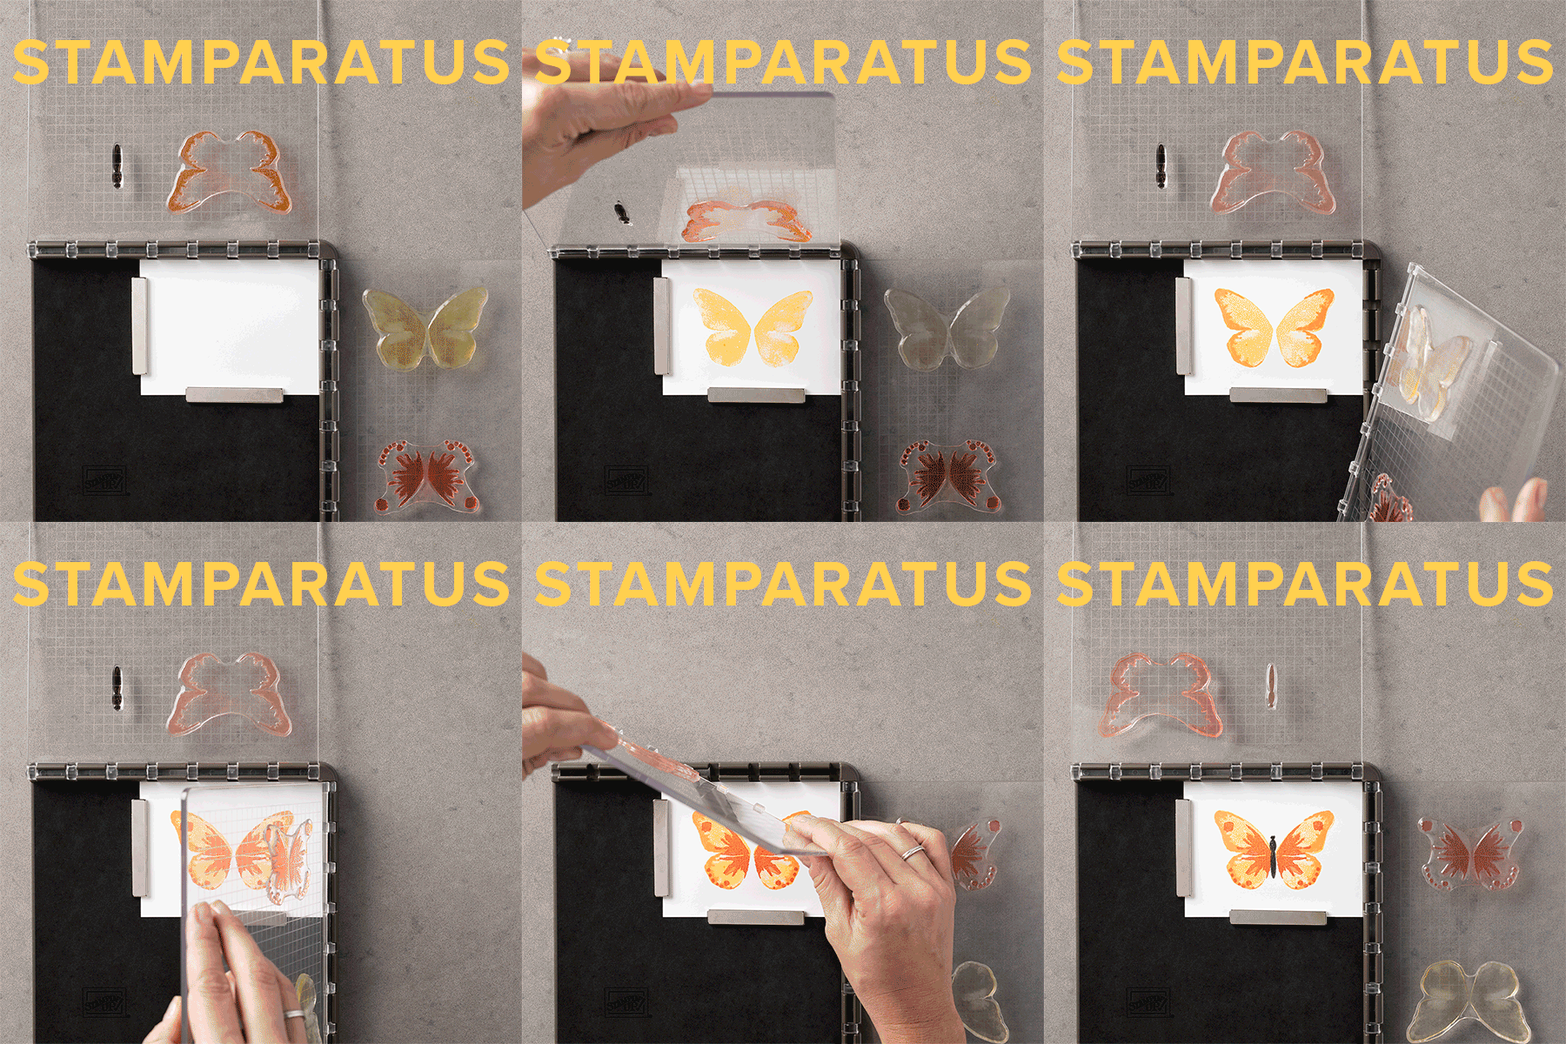
Just to make sure I stamped the greeting just right on the designer paper, I used my Stamparatus! I used a piece of vellum over the paper on which I was going to stamp so that I could “test” the stamp to make sure I had it positioned correctly. When it looked okay, I removed the vellum and stamped right on the designer paper.  I wasn’t sure the ink was dark enough, so I just reinked the stamp and stamped again!  You can’t do that without a Stamparatus!  If you don’t have a Stamparatus yet, you might want to get one for yourself!

I hope you will have a lovely first day of fall!  I wish I was going to be seeing colored leaves and wearing a warm flannel shirt and jacket tomorrow!  But I will be starting to think about pumpkins and fall and Halloween decorations that will be coming soon!  I hope this First Day of Fall Pumpkin Thinking of You Card gets you in the mood for a lovely fall season!

SHOP STAMPIN’ UP! ONLINE!

(Be sure to use your Bonus Coupon Codes from August if you earned some!)

New Items Added to the Stampin’ Up! Clearance Rack!

Clearance Sign with Confetti

New items have been added to the Clearance Rack in the

Stampin’ Up! Online Store!

Supplies are limited, and with discounts up to 60%, products will go quickly. Shop now and stock up.

If you were a fan of Fast Fuse Adhesive or would like to try it, Fast Fuse is back temporarily, while supplies last, on the Clearance Rack.  Stampin’ Up! had retired it and everything, but then the vendor contacted them because they had manufactured a surplus of Fast Fuse applicators and Fast Fuse refills and offered to sell it to Stampin’ Up!  Since Stampin’ Up! had heard from a lot of Demonstrators that we liked it (it’s a good, strong adhesive), they purchased the Fast Fuse and are offering it on the Clearance Rack at a discount

I like to use Fast Fuse. I would say it has a bit of learning curve to get the hang of using it, but there are plenty of tips out there for applying it. But it is a strong adhesive that works well so I would advise that you try it!  Only available while supplies last so don’t delay, just in case!

Remember, stock will change by the minute so whatever is available at the time is what is available!  You can use your Bonus Codes you earned in August on your purchase as well.  Be sure to use them before the end of September. Read HERE how to apply the codes to your order and get your discount.

You can shop from the Holiday Catalog and Annual Catalog plus add Clearance Rack items to your order!

CHECK OUT ALL THE ITEMS AVAILABLE ON THE CLEARANCE RACK TODAY!


Today Is the Day! The Holiday Catalog Is Here!

Today marks the official start of the holiday season (for crafters!) with the release of the Stampin’ Up! Holiday Catalog 2018!

You can view the Holiday Catalog Online HERE!

Enjoy a few Stampin’ Up! videos that will really get you “in the mood” if you aren’t already!

SHOP THE HOLIDAY CATALOG ONLINE TODAY! USE YOUR BONUS COUPON CODES!

Stampin' Up! Holiday Catalog 2018 Cover

Coloring With the Stampin’ Up! New Watercolor Pencils

Coloring With Watercolor Pencils 3

One of my favorite things to do since I first learned about Stampin’ Up! and stamping was coloring with Watercolor Pencils. We had a set of Watercolor Pencils back 16 years ago or so when I started stamping as a customer, but they were not the exact Stampin’ Up! colors.  They went away for years, then they were brought back in an assortment of Stampin’ Up! colors. Of course, for us stampers, one assortment is not enough!  We need more colors!  So during the month of August, you can buy a second assortment of colors of Watercolor Pencils! These pencils will likely be in a future catalog, but if you want them now, you better purchase them in August so you don’t have to wait!

I decided to make my card using the Oh So Eclectic Stamp Set and Stazon Ink to stamp three flowers to later color.  The leaves are stamped in Granny Apple Green, stamped off once first.  The card base is Flirty Flamingo Cardstock with a layer of Whisper White. When I was finished, I stamped the little images around in the empty spaces of the card with Flirty Flamingo Ink. Then I tied on a piece of Crumb Cake Twine from the Nature’s Twine assortment to embellish the card.  The greeting is from the same Oh So Eclectic Stamp Set.

I love the Watercolor Pencils because you don’t have to be really precise.  Notice how I colored in the flowers rather sloppily in the photo below!  Just lay down some color.  You can always go back and add more or mix two colors, whatever you like.

Coloring with Watercolor Pencils 1

Then, use a Blender Pen or Aqua Painter to smooth out the coloring. On Whisper White Cardstock I prefer the Blender Pen (used lightly) so that the paper doesn’t pill from too much moisture. For more serious watercoloring, use Shimmery White Cardstock or even better, Watercolor Paper.

Here is a closer look AFTER I used the Blender Pen to smooth out the colors.

Coloring with Watercolor Pencils BlendedThe original set of Watercolor Pencils has 13 colors:  Basic Black, Basic Gray, Bermuda Bay, Calypso Coral, Daffodil Delight, Early Espresso, Melon Mambo, Old Olive, Pacific Point, Pumpkin Pie, Real Red, Rich Razzleberry, Whisper White.

The second assortment, Watercolor Pencils Assortment 2have 10 colors:  Balmy Blue, Cajun Craze, Cherry Cobbler, Coastal Cabana, Crushed Curry, Flirty Flamingo, Garden Green, Gorgeous Grape, Granny Apple Green, Night of Navy.

Watercolor Pencils are a great inexpensive way to have a lot of colors at hand for coloring. Be sure to pick up this second assortment during August to avoid a wait! Also check out the Limited Time Blended Seasons Bundle and save 10% on both the stamps and dies. (The Watercolor Pencils are not included in this Bundle.)

I know you will have fun coloring with the new Watercolor Pencils and trying different techniques!

SHOP STAMPIN’ UP! ONLINE TODAY! 

BONUS DAYS with every $50 purchase!


What Is the Simply Shammy?

Simply ShammyWhat is the Simply Shammy?  It may be a new product that you overlooked in the catalog or you wondered how in the world would it clean my stamps?  The Simply Shammy is a new way to clean our stamps and it works VERY well!  It starts out as this beautiful purple, unblemished!  And then you use it, and that’s it! Its pretty purpleness is ruined forever!

Simply Shammy Used

This picture is after the first time I used it. I forget what I was stamping, I think trying out new colors or something.  It’s kind of like when you get a Big Shot and die cut with it the first time and almost die when you see it has etched your brand new shiny clear cutting pad!  But that’s how it works.  Same with the Shammy.  Use it and don’t worry about it!

This is how it works:  Wet the Simply Shammy with water at your sink, getting it completely wet. Wring it out. Wipe or tap your stamp on the Shammy after stamping. That’s it!  The stamp is clean!  Stamp with the cleaned stamp on scrap paper.  You won’t see any remaining ink on the paper like we sometimes get with the Stampin’ Scrub because the pads have collected a lot of ink and when you stamp on scrap paper you can almost see a reddish brown stamp impression. (Unless you clean the pads really often! And who among us does that??!)

The Simply Shammy fits nicely in the Clear-Mount Stamp Cases so you might want to order a set of 4 of the empty cases, use one for the Shammy and use the others for something else, like paper scraps or embellishments. Or boot a very old stamp set out of its case and use that!

When you are finished stamping, be sure to leave the Shammy out so it will dry.  Do not close the stamp case unless you are coming back to it in a little while. People have said they start to smell funky if you leave them in a closed case or closed plastic bag.

When you leave the Shammy to dry, it will get hard and maybe even a little out of shape and you may think it has been ruined.  Do not fear, just take it to the sink again and wet it thoroughly (It takes a second for the water to start absorbing) and it will be good as new.

Now the ink stains will remain on the Simply Shammy, but will not transfer to your fingers or stamps. It’s just a fact of life. It will look messy and ugly after your first use.  But it cleans stamps like a gem, very easily, and like I said, the stamp don’t have that “dirty ink” on it afterward.  I have a second one on the way that I plan to cut into smaller pieces, maybe fourths, and see if I think that is handier, like perhaps wiping off a stamp on the Stamparatus.  But for general stamping at the table, the large size is good.  And you can turn it over to the other side, too!

So what about the Stampin’ Scrub??  Well, I still keep mine handy and find it quicker to use if I am just stamping one card or using just one stamp.  I can just spritz the Stampin’ Scrub quickly with the Stampin’ Mist and clean my stamp. If I am doing more stamping, then it’s easier to wet the Simply Shammy and have it on the table.  Just don’t let any of your paper or card touch the surface and get wet! (Don’t ask how I came up with that tip!)

I hope you will try the new Simply Shammy!  Put it on your next order!  I feel sure you will like it a lot!  You will find it in the new catalog on page 206 in the Accessories.

SHOP STAMPIN’ UP!

New Stampin’ Blends Colors Are Here!

Stampin Blends Banner

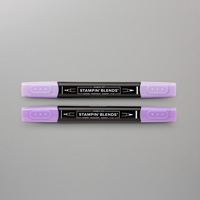
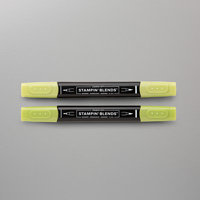
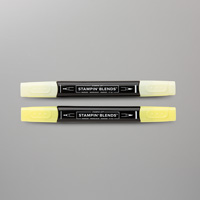
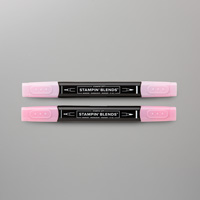
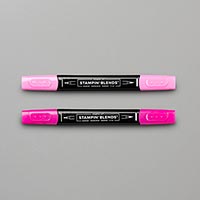
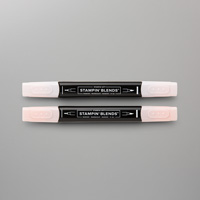
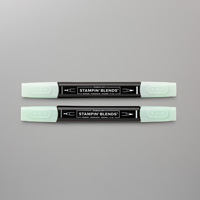
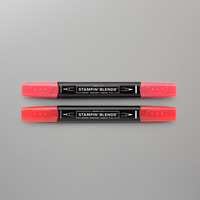
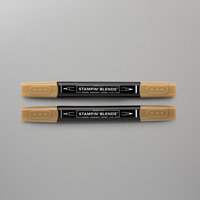
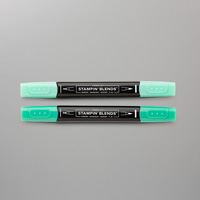
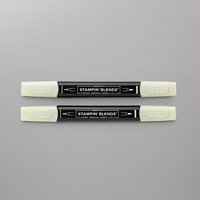
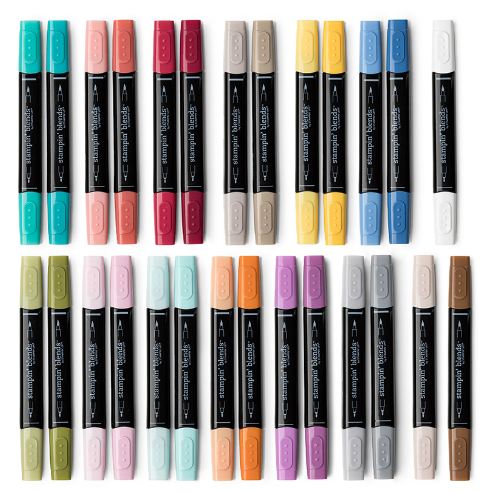
The Stampin’ Blends alcohol markers in the new colors have arrived in the Stampin’ Up! Online Store!  Yesterday afternoon they quietly slipped in there and word started to spread! Now all the Stampin’ Blends are in stock!  If you recall, the original colors of Stampin’ Blends sold out and it took Stampin’ Up! some time to restock.  But ALL the colors are back right now!

Pictured above are the newest colors added to the line.  You will find them all on page 205 in the catalog.  You can also purchase each marker separately, but I think you really will want the two markers in the Combo Packs so you can blend the light and the dark. There is no price difference if you buy them separately or in the Combo pack.  There is no big collection of all colors, so if you want to save typing time, order the Combos!

These markers are really wonderful to color with,  I can tell you from personal experience!  I love to sit down and color with these markers. If you like to color with markers, I would say these are better, in some ways, than the Stampin’ Write markers because they are not as dark and solid as some of the Stampin’ Write markers. But of course, I love the Stampin’ Write markers for coloring with the lighter colors and for many other techniques.

Stampin Blends Catalog Photo

Check out the new Stampin’ Blends colors.  You can click on the photos above in this blog post OR search in the Online Store for “blends” OR look under “Ink” category and then click on the Stampin’ Blends photo.

Shop Stampin’ Up! Online For All the Stampin’ Blends!

A Hello Card with Accented Blooms to Welcome the New Stampin’ Up! Catalog Today!

Hello Card Accented Blooms

Today is the day we’ve been excited about – the launch of the new Stampin’ Up! 2018-2019 Annual Catalog! To welcome the new catalog, I made a Hello Card with the Accented Blooms Stamp Set!  I think it is a bright and happy card  which reflects the way we feel today about a new catalog available to us!

Perhaps you have received your own copy of the new Stampin’ Up! catalog or seen new products used online. In just a few more hours, you will finally be able to order those new products you have been longing for!

The Stampin’ Up! ordering website is currently unavailable online while they transition to the new products. Ordering should begin by Noon (MT) – I always say “Stampin’ Up! Time” because they are located in Utah, in the Mountain Time Zone.  That will be 1:00 PM Central, 2:00 PM Eastern and 11:00 AM Pacific. This is a day for patience as a higher number of customers may be ordering!

To make this card, I used a new stamp set, Accented Blooms, available to Demonstrators during our pre-order period. It’s unique in that a couple of the greetings in the set FIT into a space created by the stamp – which also fits the Tailored Tag Punch.  I decided to make a 4 1/4″ x 4 1/4″ sized card using the bright and happy new In Color Pineapple Punch!

Instead of using Whisper White cardstock for the card layer, I used Shimmery White Cardstock so I could do some coloring.  The flowers are stamped with Stazon ink, making a comeback in the new catalog!  I’m thrilled!  If we are watercoloring, we need to use Stazon ink, not Memento. Then, for a change of pace, I used my Watercolor Pencils and an Aqua Painter to color the flowers and leaves.  You just apply a little bit of color with the pencils and blend it with either the Aqua Painter or Blender Pen.

The Hello greeting is stamped in Pineapple Punch Ink.  I punched it out with the Tailored Tag Punch, but then I trimmed it a bit along the edges so I could layer it on a Tailored Tag in Basic Black.  Then this is popped up in the open space with Stampin’ Dimensionals. For a finishing touch, I added the new 5/8″ Polka Dot Tulle Ribbon around the bottom and just tied a knot.  A bow was too much.

It’s like the world has stopped this morning while we await the new catalog transition at Stampin’ Up! and can begin ordering from the new catalog!  If you are interested in Stampin’ Up! products and do not have a Demonstrator you are currently working with, I would be happy to help you and mail you a complimentary catalog if you would like one.  The catalog will also be available online in a few hours!  Just email me with your contact information at Karen@Karenstamps.com.

Enjoy the NEW CATALOG DEBUT DAY!

Shop Stampin’ Up! Online today at Noon MT!

To Do Checklist For Last Two Days of Stampin’ Up! Catalog!

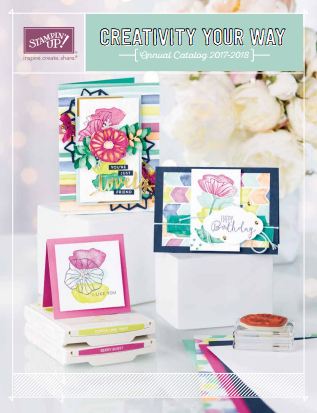
Stampin Up Catalog Cover 2017 18

Today and tomorrow are the last two days of the current Stampin’ Up! Catalog!  Remember how excited we were when this catalog came out??! There were such happy colors on the cover with the Naturally Eclectic Suite of stamps, paper and dies. And now a year has passed and we are ready for a brand new catalog!

Occasions 2018 Catalog Cover

Don’t forget!  The Occasions Catalog ends on the same day, May 31!  Some products, of course, are carrying over to the new catalog.

Discounts on Last Chance Products Banner 2018

Stampin’ Up! discounted a few retiring products, so check the list!

Clearance Rack Banner 2018

As long as you are ordering, always check the Clearance Rack just in case there is a great bargain that you want!

Share What You Love Suite Bundles

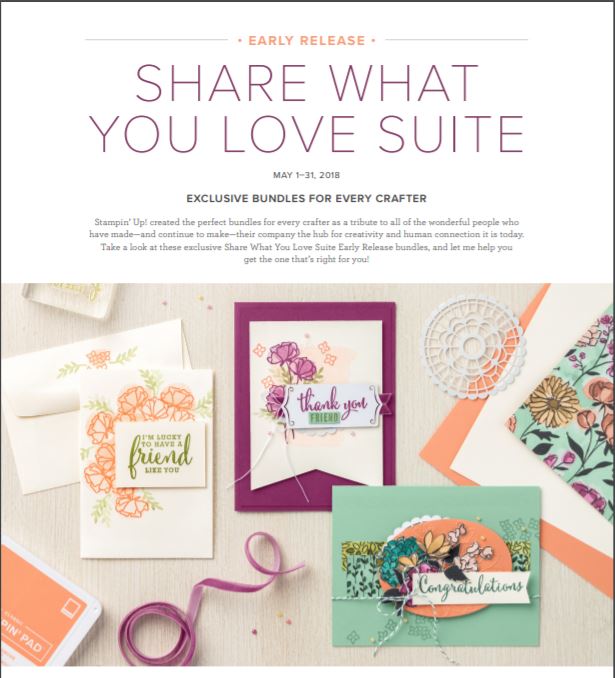
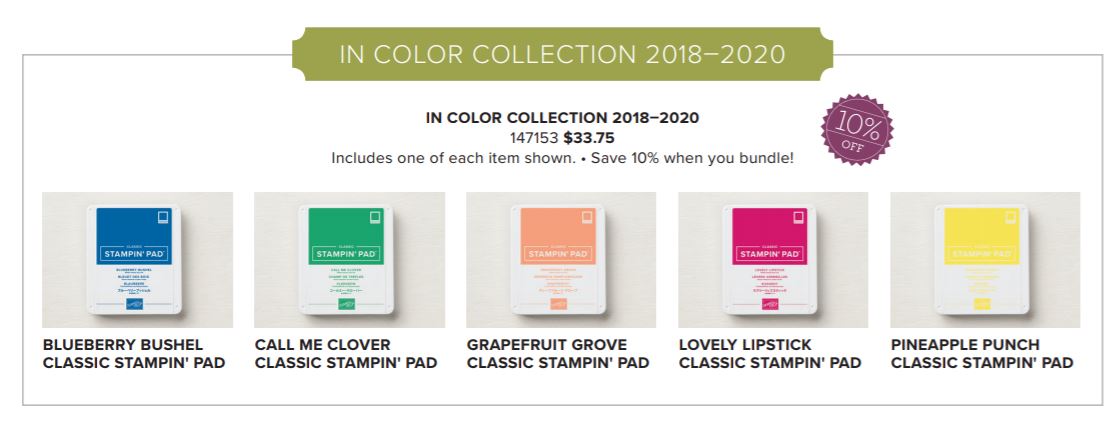
The Share What You Love Suite is in the new catalog but the products are not bundled together like they are now during May!  Each Bundle has at least one free gift.  If you want these products, check out the Bundles before May 31 and get free gift(s).In Color Collection Ink Pads 2018-2020

You can order the new In Color Ink Pads right now in the new style of ink pad!

Paper Pumpkin Stealing the Show Banner 2018

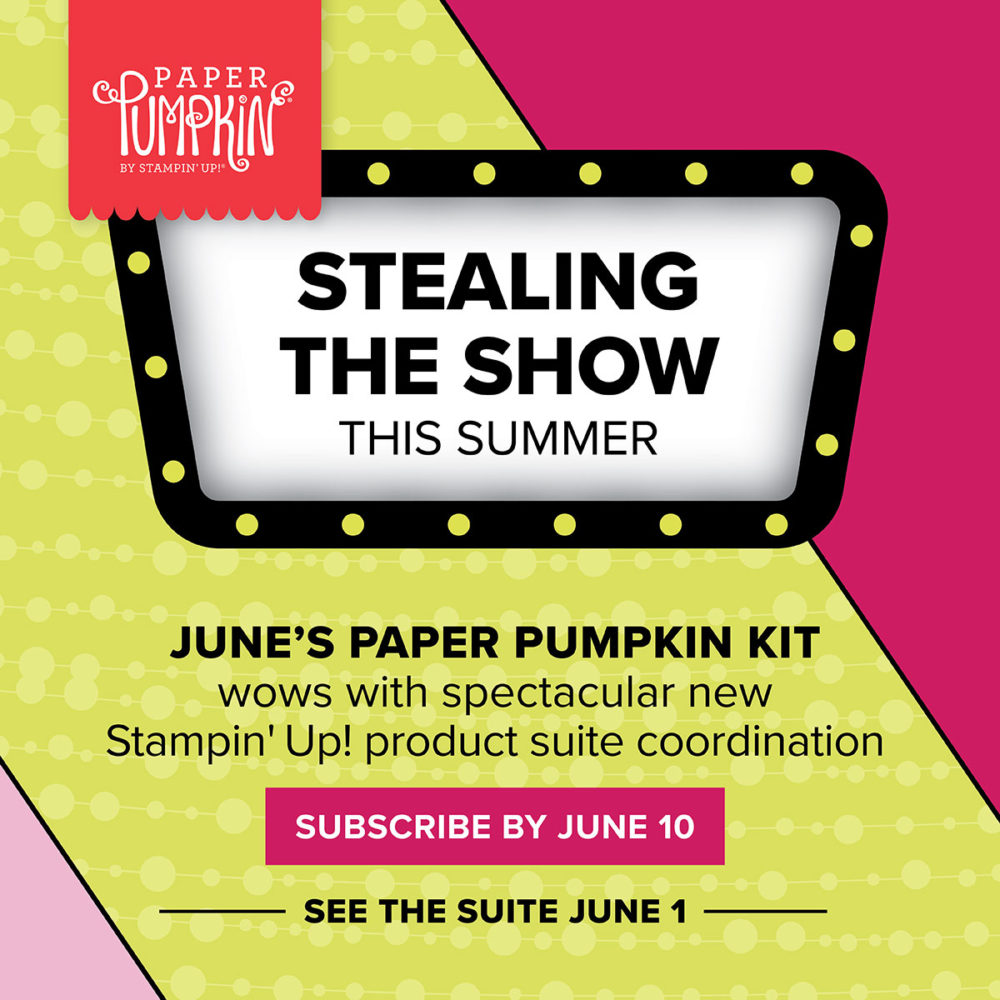
Join Paper Pumpkin by June 10th, just because!  Just because it’s fun to get the box in the mail and have a project ready to make! In June, Stampin’ Up! is coordinating the kit with a new Suite  that you might like to purchase from the new catalog to make even more projects! (Notice the theme??) The Suite will be revealed June 1st.

Stampin' Blends Markers

Stampin’ Blends (in CURRENT COLORS ONLY) are now restocked in the Online Store! Type Blends in the Search Box to get to the page or click HERE.  The whole Collection in one set is not available so you will have to type in the numbers, but there is no price difference! New colors will probably not be available until mid-June in the new catalog.

StampsWe are past the date that Stampin’ Up! will make MORE stamps if they sell out, so check the retiring stamps for a true last-chance!

Retiring Bundles

All BUNDLES are retiring from the old catalog because new Bundles are coming in the new catalog! Some products in the Bundles now will carry over to the new catalog but will not be bundled and discounted, so if you want the 10% discount on any current Bundles, order them now.

CHECKLIST!

☐ Stampin’ Up! Catalog retiring Thursday, May 31.

☐ Occasions Catalog retiring May 31.

☐ Some Last-Chance products discounted.

☐ Clearance Rack bargains.

☐ Share What You Love Suite Bundles end May 31.

☐ New In Color Ink Pads available now.

☐ Join Paper Pumpkin by June 10th.

☐ Current Stampin’Blends alcohol markers are restocked.

☐ Retiring Stamps only while supplies last.

☐ Retiring Bundles discounts available until May 31.

Discounts on Select Last Chance Products!

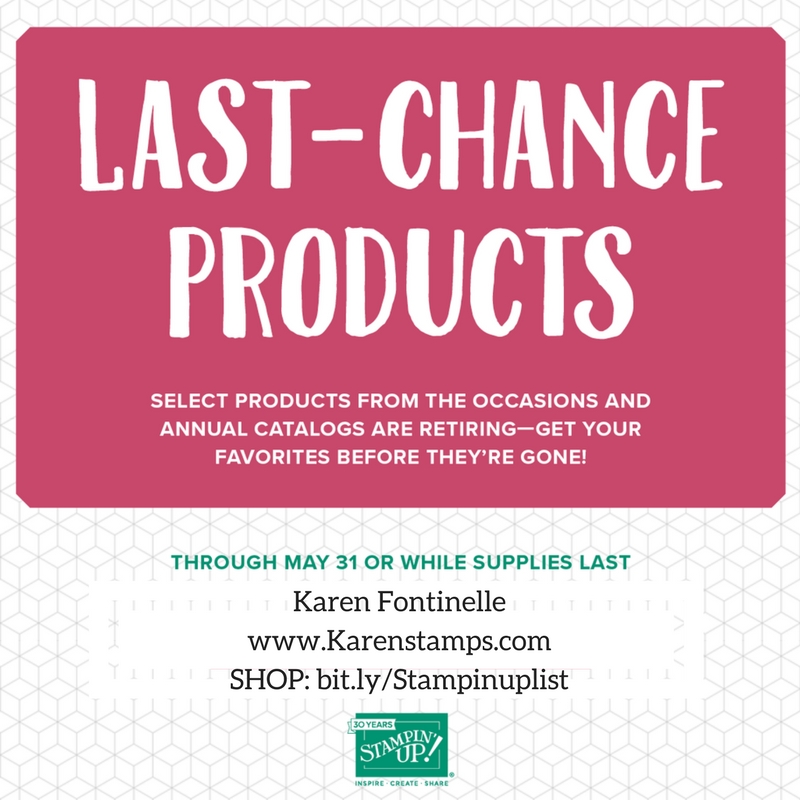
Discounts on Last Chance Products Banner 2018What a fun surprise to wake up this morning and find out that Stampin’ Up! has discounted some of the Last-Chance retiring products!

Look through the Stampin’ Up! Online Store under Last Chance products, especially under “Everything Else” to find the discounted items.  If anything is sold out, it won’t be there any longer, so checking the store is better than a list!

Here is a PDF list of the discounted products if you’d like to check the entire list.  Remember, everything is “while supplies last” except for stamps which will be available until May 25 at least.

Last-Chance Discounted Products List

Have fun shopping and finding some bargains!


Check out the Stampin’ Up! Last-Chance Retiring Products!

Stampin' Up! Retiring List Logo 2018

It’s time to shop for the Stampin’ Up! Last Chance Retiring Products!  This includes products from both the Annual Catalog AND the Occasions Catalog!

If it is a lazy, rainy Saturday (or a bright, sunshiney one!) and your taxes are done, take some time to peruse your Stampin’ Up! Annual Catalog and Occasions Catalog and make up your order of retiring (and other!) products that you want before they are gone!

If you don’t have those catalogs and don’t have a Demonstrator you work with and want the hard copies in your hands, please email me at Karen@Karenstamps.com and I’ll put them in the mail to you for your last minute shopping!

Click HERE!  Check out the products in my Stampin’ Up! Online Store!

See things you want?  Don’t hesitate or they might be gone!

Click HERE for the PDF of Annual Catalog Retiring Products!

Click HERE for the PDF of Occasions Catalog Retiring Products!


Relax this weekend and check out the Stampin’ Up! Last-Chance Retiring Products!

The Stampin’ Up! Last Chance List of Retiring Products Is Here!

Stampin' Up! Retiring List Logo 2018

It’s time to shop for the Stampin’ Up! Last Chance Retiring Products!  This includes products from both the Annual Catalog AND the Occasions Catalog!

Click HERE!  Check out the products in my Stampin’ Up! Online Store!

See things you want?  Don’t hesitate or they might be gone!

Click HERE for the PDF of Annual Catalog Retiring Products!

Click HERE for the PDF of Occasions Catalog Retiring Products!

Sadness and fun at the same time!  I hate to see some of my favorite products leave, but Stampin’ Up! never disappoints!  There are always great new products on the horizon!

Leave a comment below if if you have any questions or opinions of the list! Or email me at Karen@Karenstamps.com.


It’s Tutorial Time For the Stamparatus Stamp Positioning Tool

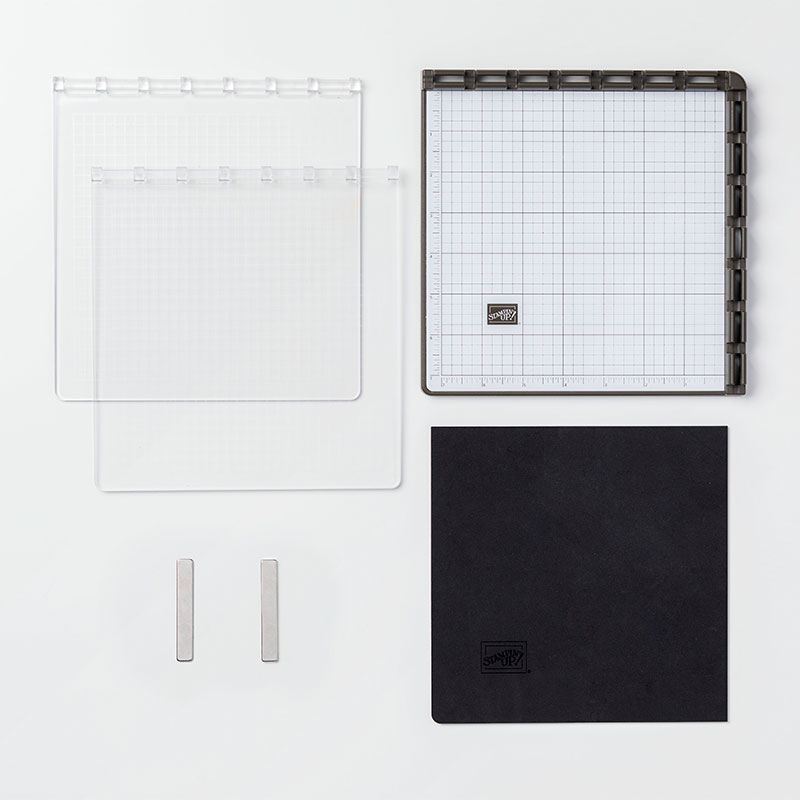
Since some Stampin’ Up! customers are getting to order their Stamparatus stamp positioning tool recently once Stampin’ Up! received the early reservations and placed them in their shopping carts, I thought it was a good time to put the Stampin’ Up! videos up for you tutorial viewing pleasure!  You may have seen some of these but Video #4 is a new one.  Enjoy!

I might suggest wrapping some washi tape or similar type take around each magnet and leaving a couple inches of tail.  This will help you have something with which to pull two stuck magnets apart or even just pick them up off the Stamparatus. Those are strong magnets to be sure! Don’t let them near your scissors either!

Also be sure not to store the Stamparatus with both plates still attached.  When you fold them over they will not lie flat and may damage the hinges.  Just pull them straight up and out and lay on top.

This Stamparatus tool will be in the new Stampin’ Up! Annual Catalog so you won’t have too long to wait if you missed the early reservation windows!  In the mean time, the rest of us will come up with the expertise to help you when you order yours!  I think it is a tool everyone will use and will want!

Stamparatus pieces

Stampin’ Blends Springtime Foils Coloring On a Card

Stampin' Blends Springtime Foils Coloring

Today I am playing with two WONDERFUL Stampin’ Up! products, coloring on the Springtime Foils Paper with the Stampin’ Blends markers to make an all-occasion card. I was just experimenting with the actual coloring and trying different colors of makers, not trying to make the perfect card.

I love coloring with the Stampin’ Blends markers. There is just a certain feel to them that I like and that feels calming while you color! LOTS of people have loved the Stampin’ Blends, especially in recent months, which is causing a backorder situation at Stampin’ Up!, coupled with Chinese New Year in China where factories shut down for a period of time and causes delays in getting products to the market.

Here are the markers that are on backorder:

  • Bermuda Bay (Light and Dark)
  • Bronze
  • Calypso Coral (Dark)
  • Crumb Cake (Light and Dark)
  • Ivory
  • Pink Pirouette (Light and Dark)
  • Pool Party (Light and Dark – currently on backorder)
  • Pumpkin Pie (Dark)
  • Smoky Slate (Light and Dark)

I was told by Stampin’ Up! that if a customer ordered the whole Stampin’ Blends Collection, they would go ahead and ship the colors that are available now and send the backordered ones as soon as they are available. Now there is no price break for ordering the entire batch of markers, so if you only want individual markers, you aren’t missing out on anything. I would suggest ordering whatever markers you want as soon as possible because there might be more of rush on the markers when people find out they are getting scarce! It may be the end of April before Stampin’ Up! is re-supplied. If you want to take advantage of Sale-A-Bration, go ahead and order the Collection or any backordered markers so you can get your FREE Sale-A-Bration products!  That will put you at the front of the line when the backordered ones come in rather than waiting until they are back in stock to order.

Stampin' Blends Springtime Foils Coloring Closeup

Here is a closeup of the coloring with the Stampin’ Blends markers. Since the Springtime Foils Specialty Designer Series Paper (FREE during Sale-A-Bration with a $50 order!!) has a glossy finish as well as the foil outlines, the markers color a little differently than on other paper. They do blend but I would say the colors maybe almost pool at times, sort of like watercoloring. So I’m seeing that they give a little bit different variation in blending and I’m not sure you can totally control it. So just go with it and enjoy the different look!  You can also use regular Stampin’ Write Markers or sponge or brayer on ink.  Lots of different techniques to try with this beautiful paper!  Be sure to consider choosing it for your Sale-A-Bration gift.

Stampin' Blends Springtime Foils Coloring For a Card

And here I have assembled the card on a base of Pool Party with strips of the Copper Foil along the sides.  This card has the fold at the top to the panel goes all the way from the top to the bottom.

The greeting is from Petal Palette Stamp Set and then layered on a die cut piece of Copper Foil with a die from the Petals & More Thinlits Dies.  For the copper piece underneath, I simply cut it in half so just the ends would look layered.

Order your markers soon! And earn your FREE Sale-A-Bration products with every $50 purchase.  I know you will enjoy coloring on various papers with the new Stampin’ Blends like I did on this Stampin’ Blends coloring on the Springtime Foils Designer Paper to make this any-occasion card.

How to Make an Easy Paper Easter Basket With Punch Art Bunny

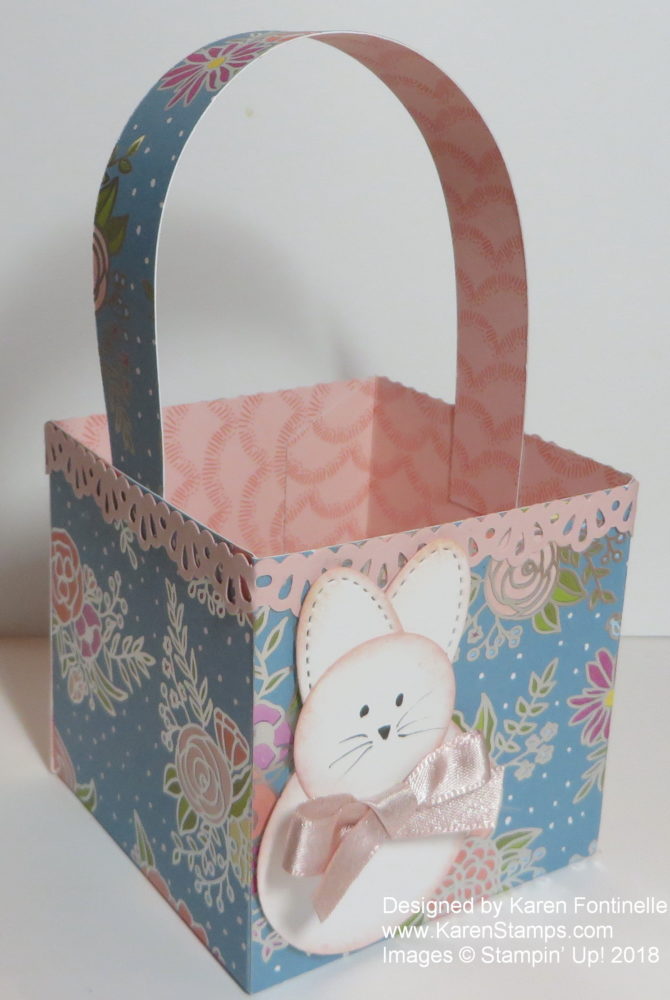
Sweet Soiree Easter Basket With Punch Art Bunny

Easter is on its way, so let’s learn how to make an easy paper Easter basket with a punch art bunny using the Sweet Soiree Designer Paper.  When I saw this paper, I knew it would make a beautiful gift box, but somewhere along the way it turned into an Easter basket!  And what better decoration for an Easter basket than a cute punch art bunny!

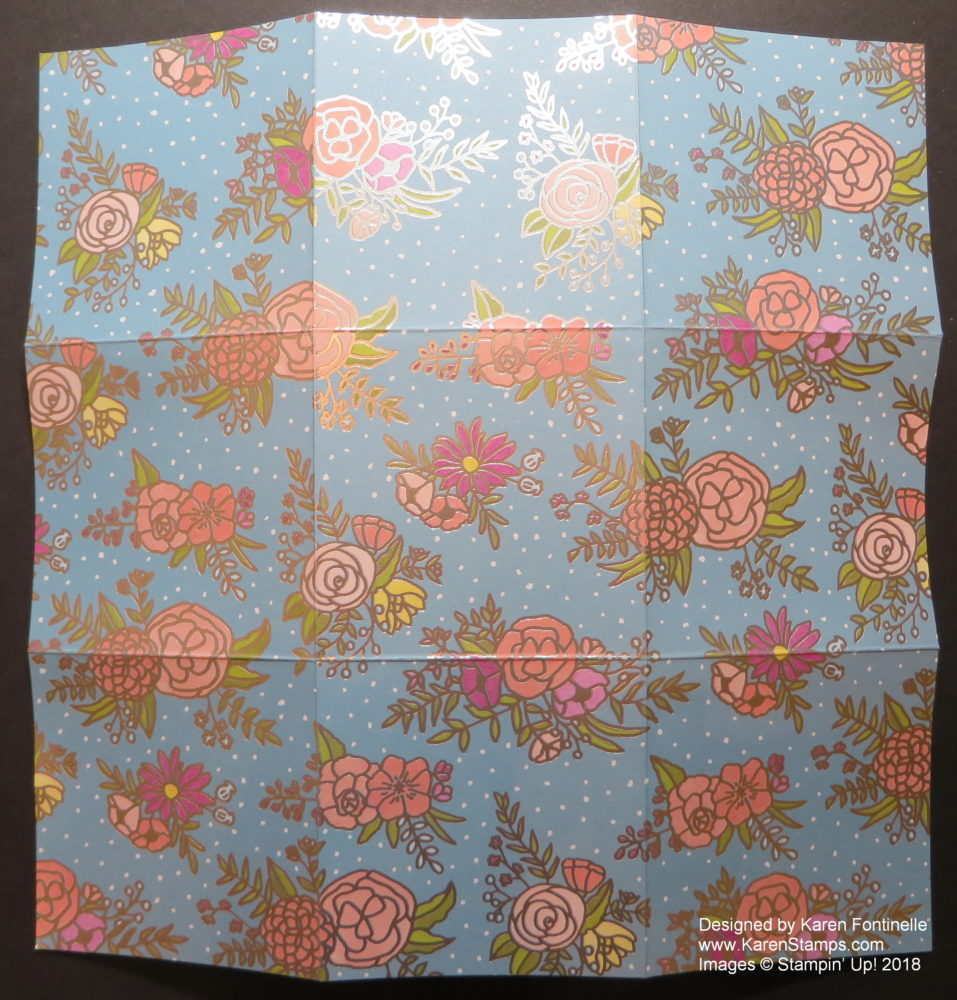
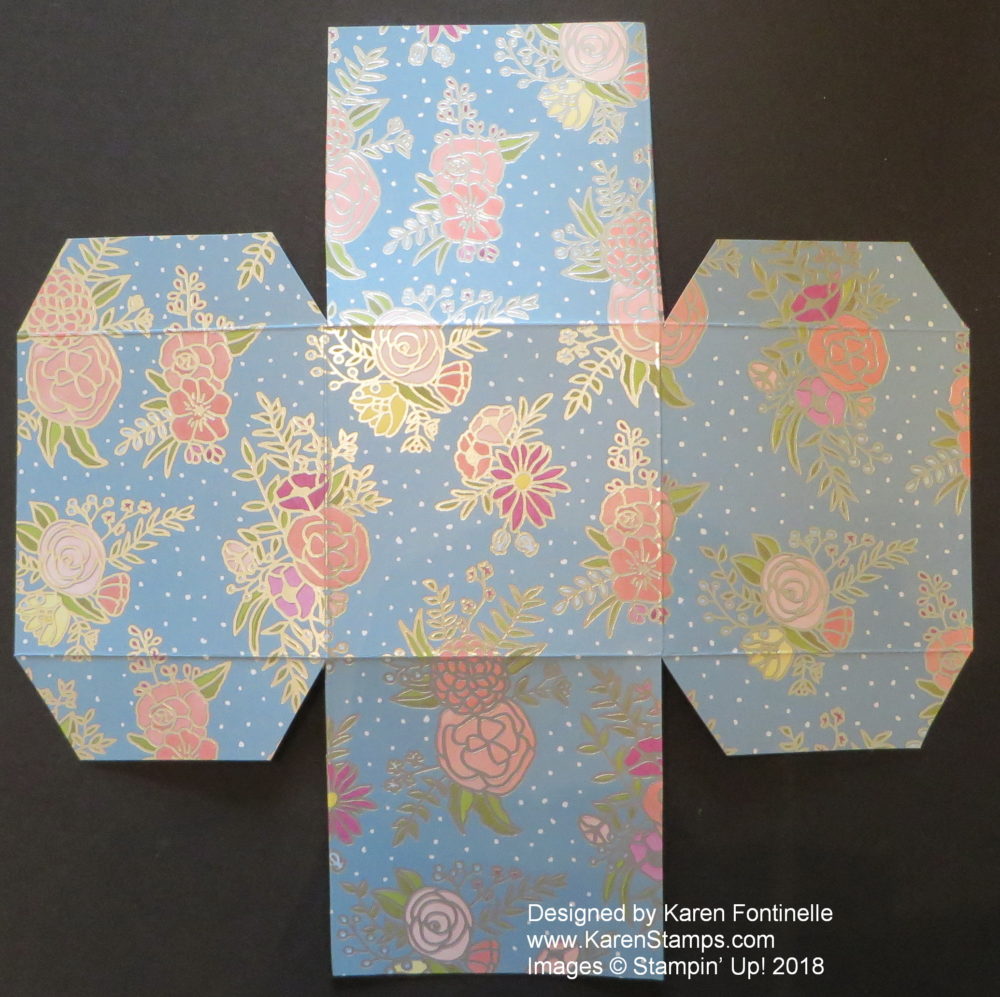
You can decide what size you want your basket to be, but I chose 3″ wide on each side, which meant I needed to start with a 9″ x 9″ piece of the Sweet Soiree Specialty Designer Series Paper.  I just scored it at 3″ and 6″ on each of the two sides so that it looks like a tic-tac-toe board.

Sweet Soiree Designer Paper Scored For Basket

At this point, you can cut on the vertical score lines from the bottom up to the horizontal score line and down the same way from the top.  Then you can crease all the score lines, fold in all the tabs, and make your basket.

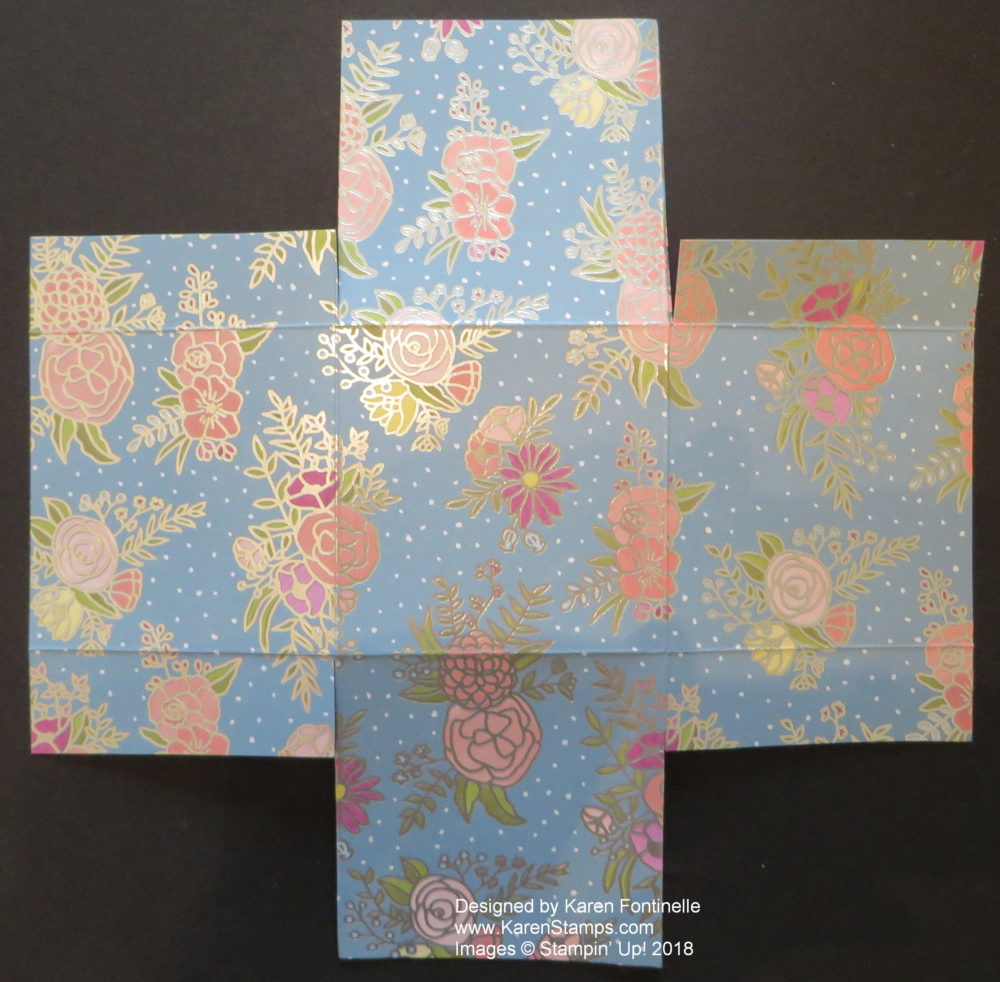
To eliminate the bulk of all that paper, after I cut up to the score lines as above,  I cut in from the sides as you see below in the photo.  This makes “tabs” to adhere to the sides.  The tabs do not have to be cut exactly straight. I just eyeballed that part. Then you can use Fast Fuse, or I used Tear & Tape Adhesive on the tabs.

Sweet Soiree Designer Paper Scoring and Cutting For Basket

Just for an extra tip, I cut the little angles on the tabs, just to keep them out of the way on the edges. Nothing special, just eyeballed it.

Sweet Soiree Designer Paper Cut For Basket

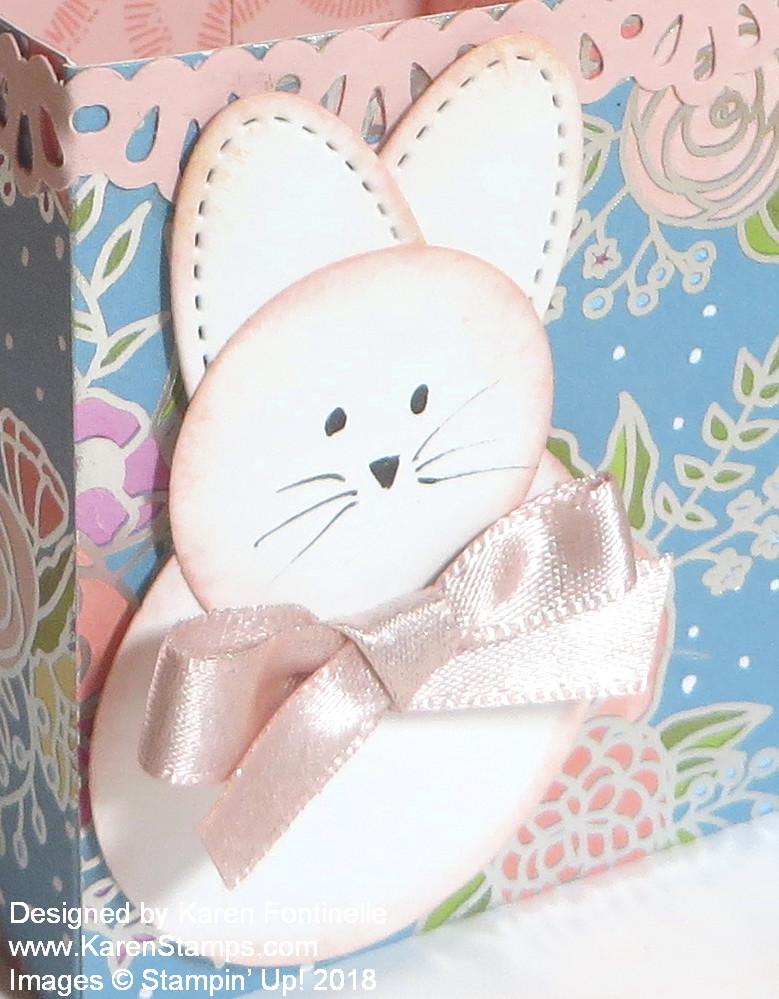
The handle for the basket is just a 3/4″ strip of paper, adhered inside the basket again with Tear & Tape. You could use brads or staples if you wanted to, or ribbon. For a little embellishment, I punched strips of Powder Pink Cardstock with the Decorative Ribbon Border Punch to decorate the top edge of the basket.  I also made this 3/4″ wide but if I did it over I probably would make it wider.

Punch Art Easter Bunny For Paper Basket

The punch art Easter Bunny is fun to make!  You can experiment with whatever punches you have.  For this bunny I used the 1 3/4″ Circle Punch for the body, the 1 1/4″ Circle Punch for his head, and a small oval from the Stitched Shapes Framelit Dies for his ears.  If you have a retired Oval Punch you can use that. I only needed one die cut because I just cut it in half for the ears. For the face, I just drew it in.  Before adhering the bunny, I sponged the edges of the pieces lightly with Powder Pink Ink. I meant to color the inside of the ears with Stampin’ Blends in pink but I forgot!  The bunny is popped up on Stampin’ Dimensionals on the front of the Easter basket.  He/She still needed a bit of something so I tied a bow with Powder Pink 3/8″ Shimmer Ribbon.

The Sweet Soiree Specialty Designer Series Paper is so pretty by itself you can make bags, baskets, or boxes easily without having to do much else!  The silver foil and colorful handpainted design of the flowers don’t require much embellishment.  If you learn how to make an easy paper Easter basket with a punch art bunny with the Sweet Soiree paper, you will have a beautiful little gift or treat for someone special.

Adhesive Sale! Get a Special Deal on Fast Fuse Feb. 8 – 12

Fast Fuse Sold Out

Unfortunately, this offer sold out very early! It was supposed to be available for 5 days, but it didn’t make it to lunch on the first day! It was stated “while supplies last” but we expected supplies to last a little bit longer! 

You CAN still purchase Fast Fuse, but it will not be the special offer.  Sorry for the inconvenience.

 It’s an Adhesive Sale starting tomorrow, February 8 for 5 days only! Get a special deal on Fast Fuse Adhesive!

Buy 1 Fast Fuse, Get 2 Fast Fuse Refills FREE!

Check out the Fast Fuse Adhesive HERE!

I LOVE the Fast Fuse Adhesive, but I have to admit I didn’t in the beginning! Finally I got the hang of it and now I think it is a great adhesive to use. It’s stronger than SNAIL and that is an advantage on some projects, especially 3D projects! The trick seems to be not pressing hard when you use it. There are videos galore with tips online!

From Stampin’ Up!:

As you may remember, the response to our Fast Fuse promotion last fall was phenomenal. In fact, your enthusiasm was so overwhelming we simply didn’t have the inventory to keep the deal running! So, as promised, we’re bringing back the Fast Fuse Adhesive deal for five days only—while supplies last! For those of you who are unfamiliar with this promotion, here’s how it works: When you buy ONE Fast Fuse Adhesive, you’ll get TWO Fast Fuse Adhesive refills for FREE!

This deal will start on February 8 and end on February 12. Remember, that’s five days only—while supplies last!

Be sure to mark your calendars and prepare to stock up and save with this fabulous deal!

Check out this gift bag I made last year which is the type of project Fast Fuse is really good for!  Of course you can even use it on cards, too!

Watch this video from Stampin’ Up! with good tips on using Fast Fuse!  Some people even think the secret to a light touch is to not even put your index finger on the top of the applicator! And like she says, sometimes you will have to get the adhesive going again and you will need to clean off the adhesive that accumulates sometimes on the case. But the adhesive is worth a little bit of effort!

If you want to TRY Fast Fuse or you want to stock up, I would order as soon as possible tomorrow, if you can, just in case there is a mad rush on the adhesive sale right off the bat!  Hopefully they have FILLED the warehouse from floor to ceiling with Fast Fuse!!

Keep Sale-A-Bration in mind!  Whether you want to stock up on Fast Fuse to spend your $50 or whether you get some Fast Fuse and maybe some other adhesives you need or cardstock or new stamp sets, remember that with every $50 increment, you can choose a FREE Sale-A-Bration product!

Look over the Sale-A-Bration choices HERE!

DO NOT begin your order today or you may have trouble with the special deal showing up on your order tomorrow!  Just have your order and numbers all written out and ready to put in tomorrow!  Or let me know and I can do it for you.

Try the Fast Fuse Adhesive tomorrow on the Adhesive Sale tomorrow and see how useful it is when you want a strong hold for your projects!