Category Archives: Tools and Accessories
Stampin’ Up! Clearance Rack Updated Today! Get Some Bargains!
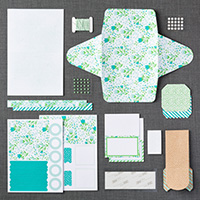
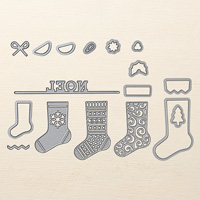
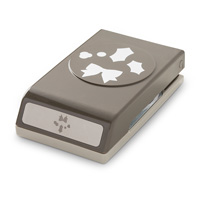
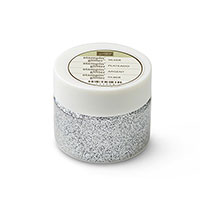
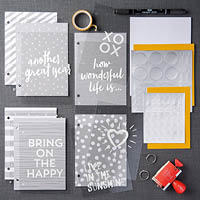
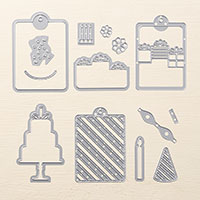
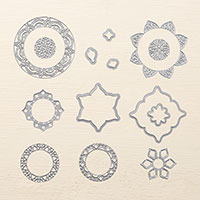
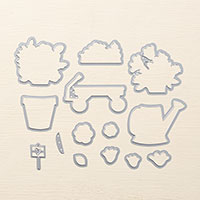
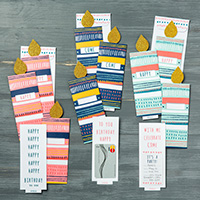
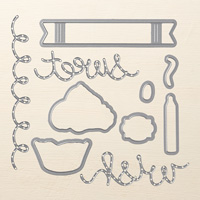
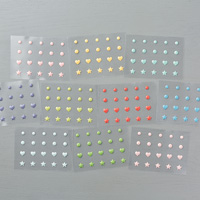
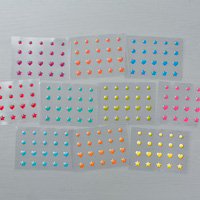
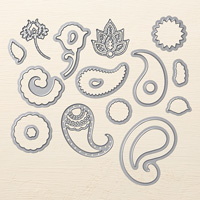
SURPRISE! The Stampin’ Up! Clearance Rack has been updated! New items have been added to the Clearance Rack in the online store! Supplies are limited, and with discounts up to 70%, products will go quickly. Shop now and stock up.
You will find cardstock, dies, ribbons, embellishments, designer paper, punches, and more! Of course it’s all “while supplies last”! Check it out right now! The Early Bird gets the worm!
Don’t forget the Year-End Sales Event going on, too!
This sale has surplus inventory at reduced prices and retiring products from the Holiday Catalog!
Don’t forget! Last day to order from the Holiday Catalog is January 2, 2018.
Last day to order from the Year-End Sales Event is January 2, 2018.
AND: You can “reserve” your Stamparatus, the new stamp positioning tool until December 30, 2017. This is an earlier way to receive your tool before it appears in the next annual Stampin’ Up! catalog!
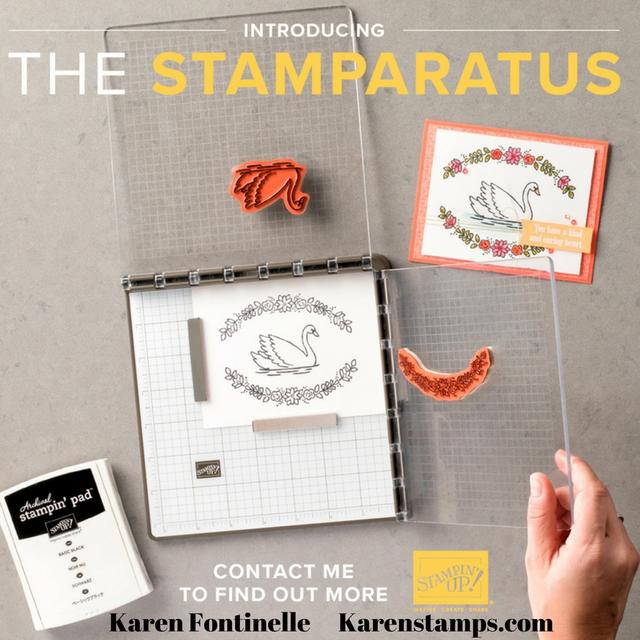
- Just go to my Online Store, sign in to your account, scroll down until you see the Stamparatus.
- You will see a link to click to go through the reservation process. Just put in your name and credit card number.
- Your credit card will NOT be charged until the Stamparatus has been received by Stampin’ Up! and put in your Shopping Cart.
- At that point, you can go ahead and add to your order, if you choose, or just complete your order as always.
- You will want to be the first kid on the block to own the Stamparatus! First reservations in, first Stamparatus out! Reserve yours today before time slips away. You can always cancel if you change your mind.
Go check out all these Stampin’ Up! bargains and deals!
Want a Stamparatus? Pre-Order One Today & During December!
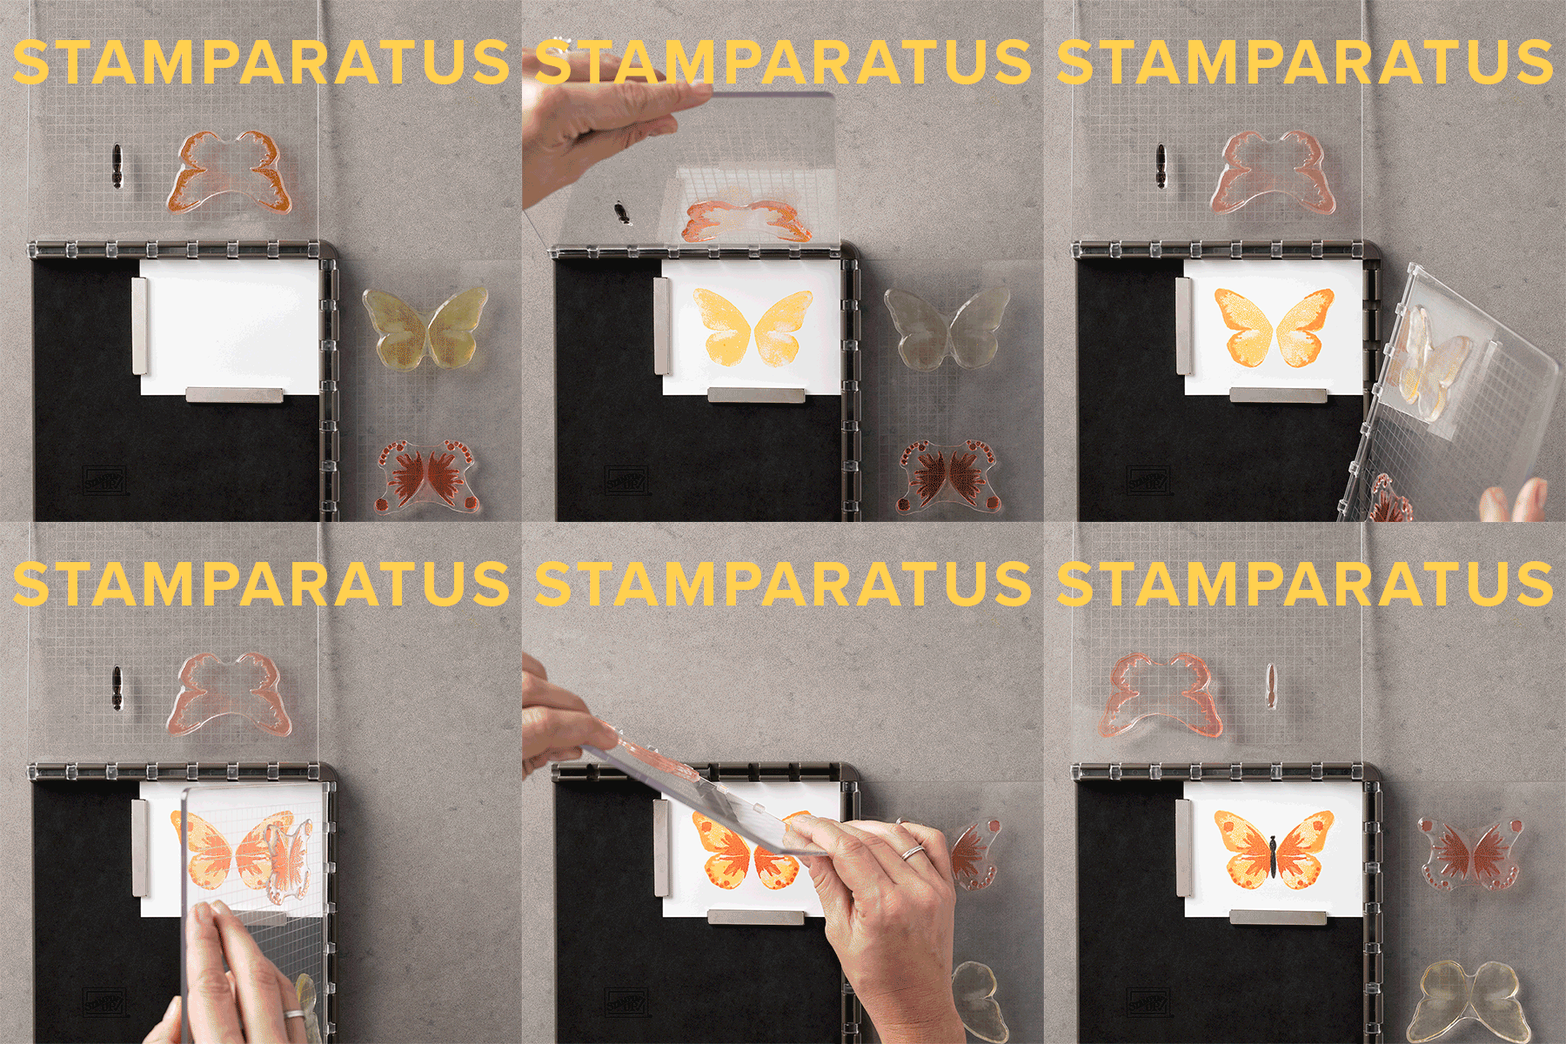
Have you heard about the new Stamparatus from Stampin’ Up! Although there are similar products on the market, Stampin’ Up! has made a stamp positioner with some unique features to make this an innovative stamp placement tool. You have to watch the video in its entirety to gather all the information and see all the features! I can’t wait to get one!
In order to get one, Stampin’ Up! is offering this different pre-order/reservation process. We already had one opportunity but the number of products they had available were reserved in minutes and the window closed. THIS time, the reservation window will stay open from today through December 30 no matter how many Stamparatuses (?) (plural??) are reserved! You CAN reserve one today beginning at 2:00 pm Mountain Time but there really is no rush – you have all month! However, orders will be fulfilled “first come, first served”. So if you reserve yours today, you will receive yours sooner than the person who reserves on December 30. These should be delivered beginning around mid-March. After this, you will be able to purchase one in the normal way when the new Stampin’ Up! Annual Catalog comes out next summer.
I need product details!
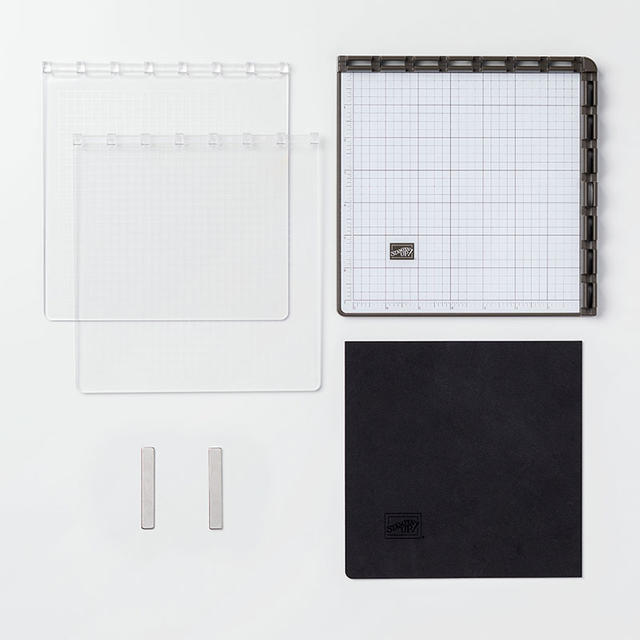
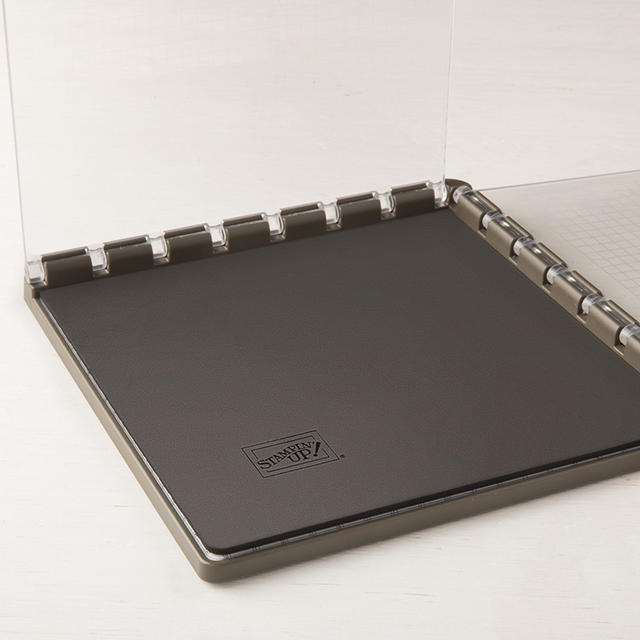
- Compatible with Stampin’ Up!’s red rubber and photopolymer stamp
- Foam mat to use with photopolymer stamps
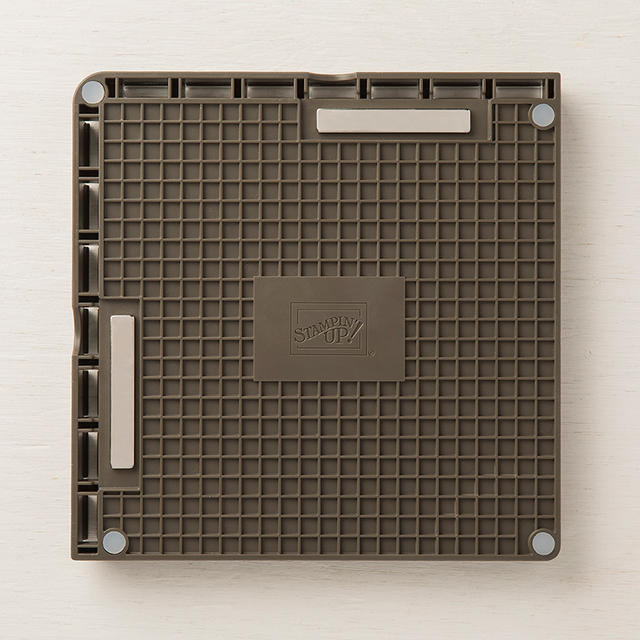
- Rulers and gridlines for quick measuring
- 2 open sides so you can stamp on larger paper
- 2 reversible plates: a total of 4 surfaces to work with
- 2 magnets to hold the paper in place
- Magnet storage areas
- Product dimensions are 8″ x 8″ x 7/8″.
- Retail Price–$49.00 USD
It’s big news when something breaks the mold and changes everything. The Stamparatus will change the way you stamp, and before long, you’ll wonder how you crafted without it!
Why do YOU need one? You’ll fall in love with stamping all over again when you learn everything you can do with it!
- Make multiples with ease
- Consistently stamp crisp, clean images
- If you want a darker impression, apply more ink and restamp—no need to start over
- Make fewer mistakes, saving time and money
- Easily create 2-step, 3-step, and 4-step stamped images using reversible plates
- Develop new and specialized stamping techniques with adjustable stamping plates and precision placement
How to Reserve a Stamparatus
- Go to my Stampin’ Up! Online Store HERE anytime from 2:00 pm MT (3:00 PM Central Time) on through December 30. If you already are my customer, just sign in to your Account like usual. If you are new, just take a minute (maybe ahead of time) to set up your account!

- At the proper time, go to my Online Store and you should see a banner for reserving the Stamparatus. Click on that and follow the steps.
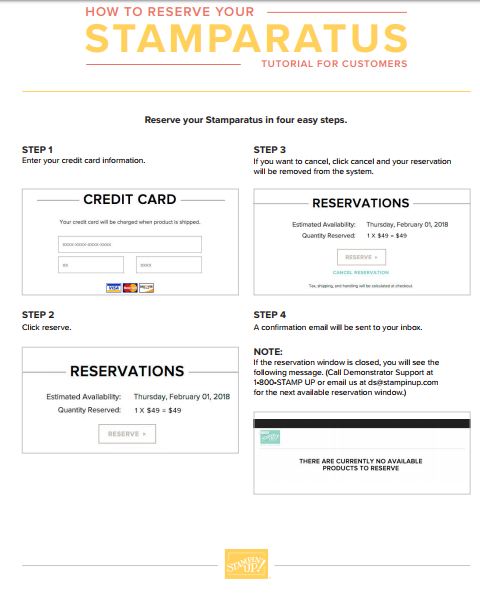
- There is a limit of ONE tool per customer. If you already reserved one in the first window back in November, you can reserve one in this window.
- Although you must enter your credit card information, you will NOT be charged until the tool is in your shopping cart and you finalize your order, when they are ready for delivery.
- You will receive an email from Stampin’ Up! saying they received your reservation (might take a few minutes) and another when Stampin’ Up! has received your product and put it in your shopping cart. Be sure you don’t delete it accidentally from your cart! But you can cancel your reservation at any time. Once it is in your shopping cart (March?), you can add other Stampin’ Up! items like usual and finalize your order like any order (might still be Sale-A-Bration!). Please make sure at that time that if you’ve had an address change or credit card change that all your information is up-to-date.
- That’s it! Enjoy your Stamparatus when it arrives!! Can’t wait!!!
Click HERE for Customer Q & A’s!
Download the Stamparatus Flyer HERE!
RESERVE YOUR STAMPARATUS HERE BEGINNING DEC. 5 at 2:00 PM MT!
EMAIL ME with any questions about the new Stamparatus and ordering process at Karen@Karenstamps.com!
It’s Black Friday! Shop the Stampin’ Up! Online Extravaganza!
Stampin’ Up! Online Extravaganza Is Here! 24-Hour Stamp Sale Today!
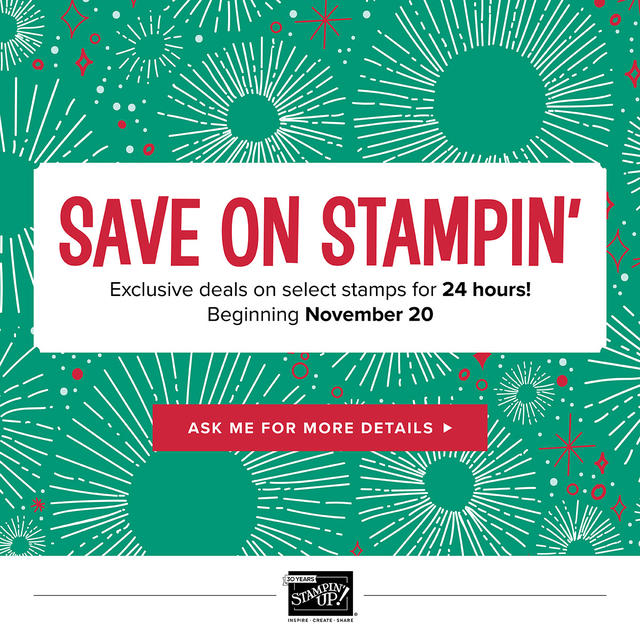
Today is the day! The Stampin’ Up! Online Extravaganza begins! Check out all these sales! And today, for 24 hours only, these select stamp sets are 20% off! Stamp Sale starts November 20 12:00 AM and ends November 20 11:59 PM.
These are the regular catalog prices show here. Take off 20% for the sale price! Or click any stamp set to see the sale price in the Online Store.
Shop the Online Extravaganza at Stampin’ Up! HERE!
Stampin’ Up! Online Extravaganza Begins Monday, November 20!
Beginning tomorrow, Monday November 20, 2017 Stampin’ Up! begins their Online Extravaganza! On Monday only, there is a 24-hour sale on select stamp sets! Stamp Sale starts November 20 12:00 AM and ends November 20 11:59 PM. Don’t delay! Choose the stamp sets from the list that you want!
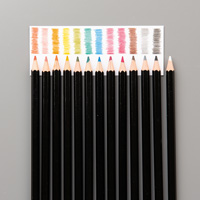
In addition, beginning Monday Nov. 20 – 26, you can choose other items that are on sale! There are ribbons, thinlits, framelits, embellishments, Watercolor Pencils, In Color markers, punches, and more! Check the list! Click on the PDF below to print out the list. Tomorrow you will be able to go to my Online Store and see the sale items in the store.
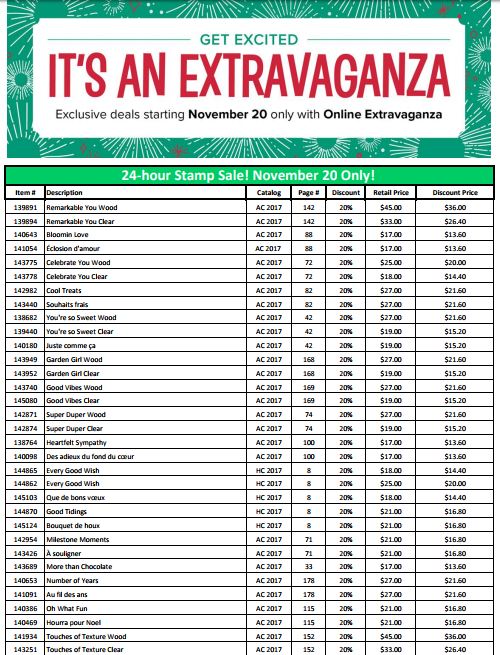

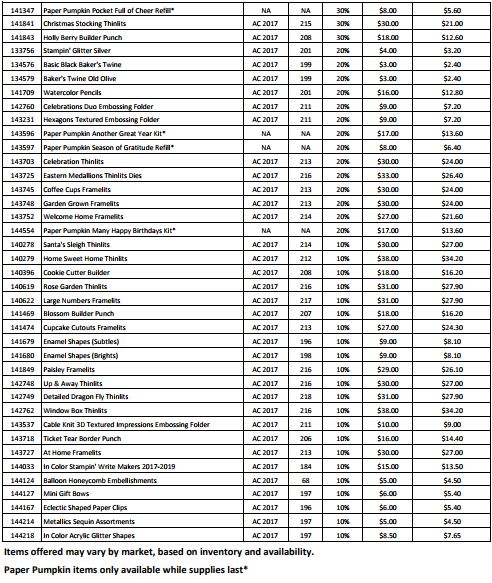 Today you can look over the list and be prepared to order tomorrow if you want the stamp sale and other things or any other day if you don’t want to take advantage of the stamp sale.
AND – Once this sale ends on November 26, there will be some sort of FLASH SALE on Monday, November 27! Stay tuned to find out what that flash sale will be! Stampin’ Up! has not unveiled it yet!
Tomorrow, Monday November 20 check my Stampin’ Up! Online Store to see all the items on the Online Extravaganza Sale! Remember, the stamp sale is ONLY Monday, Nov. 20, but the other items will be on sale all week through Nov. 26.
It’s the Day to Reserve Your Stamparatus, the New Stampin’ Up! Stamp Positioner
Today, November 16, is the first day that we can all “reserve” the new Stamparatus, the Stampin’ Up! stamp positioning tool! Beginning this afternoon, the first “window” to “preorder” your Stamparatus, will open at 2:00 pm MT.
- 1:00 PM Pacific Time
- 2:00 PM Mountain Time
- 3:00 PM Central Time
- 4:00 PM Eastern Time
Here’s how to reserve your Stamparatus! You know you want one!
- Go to my Online Store as if you were placing an order. You must have an account, which you do if you have ordered online from me before. Make sure you see my name and information on the top right corner of the Account page. If you don’t have an account, just look on the left side, under the Stampin’ Up! logo and click “Create Account”.
- You will surely see some big banner about the Stamparatus! It is not there now as I write this. Click that and it will take you to a reservation page. Or here is the link to the Reservation Page (which is not “live” yet).
- Fill out the form with your name and credit card number. Your credit card will not be charged today! It is just a “reservation”.
- In early February, you will receive an email from Stampin’ Up! saying the Stamparatus is in your Shopping Cart! Be sure not to accidentally delete it or it will be gone!
- Now you can add other products to your order like usual, at any time, or simply order the Stamparatus. Remember, in February it will be Sale-A-Bration (spend $50, get a Sale-A-Bration product FREE!) so it will almost be like getting a bonus for ordering the Stamparatus! The cost of the Stamparatus is $49.
- If you miss the November 16 -30 window, there will be two more “windows” during which you can reserve the Stamparatus. This November window will have expected delivery of the Stamparatus around February 1st. Reservations will be taken in each window only as long as supplies last. If you think you are interested, I would go ahead and try to do this November window. You can always delete your reservation.

Here’s how to reserve your Stamparatus!
And if you missed the video from Stampin’ Up!, here is Carrie explaining all about it!
I know this is a busy time for everyone, including me, but if you are excited about the Stamparatus, I would try to put in your reservation TODAY or very soon. That way it will be done before Thanksgiving and hopefully they will not fill all the spaces! I would guess the website will be VERY busy right at the time it opens so just be patient. We often crash the website when something big is happening!!
If you have any questions, please let me know! Remember, this is just reserving the tool so you can get your hands on one around February 1st when Stampin’ Up! gets them in stock! I’m sure there will be heavy demand. Eventually it will be available in the new 2018-19 Annual Catalog and ordering will be as usual. This method is just to get it available to us as soon as possible!
Reserve Your Stamparatus TODAY or Soon!!!
What Is a Stamparatus?
A new tool from Stampin’ Up! that positions your stamps precisely, stamps multiples with ease, easily creates 2-step, 3-step, and 4-step stamped images, compatible with red rubber and photopolymer stamps, and more!
I feel like we should play “Jeopardy”! “What is the STAMPARATUS, Alex!”
Yes, we are getting a new stamp positioning tool called the Stamparatus! How about that name??! As you probably know, there are other similar products out there on the market, but Stampin’ Up! has stepped up all the features in order to be the BEST stamp placement tool on the market!
Watch the video below from Stampin’ Up! to hear and see Carrie explain how to use this new tool coming SOON!
Since this tool is brand new, first announced at the Stampin’ Up! OnStage event over the weekend and announced to the public yesterday, there is going to be a new way to order your Stamparatus! Sort of like a preorder! You will reserve your spot and Stampin’ Up! guarantees shipment as soon as the product arrives in the warehouse.
This is how it will work:
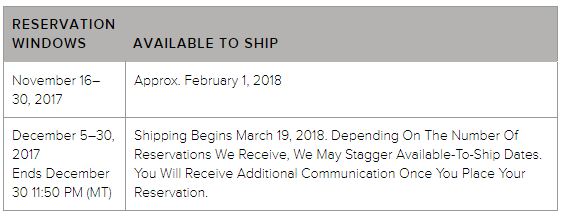
From Nov. 16-30, 2017 you can RESERVE your Stamparatus. There will be a limit of 1. Reservation quantities are while supplies last. I suggest you plan to reserve yours as soon as possible. You will be required to provide your credit card information, but it will not be charged until the product ships from Stampin’ Up! During this reservation window, the Stamparatus will likely ship around February 1st, 2018.
You will go HERE to my Stampin’ Up! Online Store on Nov. 16 (or after) beginning at 2:00 PM Mountain Time. You will click on the banner for the Stamparatus and follow the instructions. These are the steps you will take on the day you RESERVE your Stamparatus HERE.
You will need to have your own Stampin’ Up! online account set up, which is easy to do, if you haven’t ordered from me as yet. Just click HERE to go to my Online Store, then under the Stampin’ Up! logo on the left side of the page, you will click on “Create Account”. That’s all there is to it!
It’s a lot of information to take it all at once, but I think we will all figure it out! Basically, you can order/reserve a Stamparatus beginning Nov. 16 at 2:00 pm MT and it will ship around the first of February. This gives Stampin’ Up! a better way to control inventory since it is a new product.
If you aren’t ready to reserve the Stamparatus Nov. 16-30, the second window is Dec. 5-30 with availability approximately March 19, 2018. The third window to reserve will be January 15-30, 2018 with estimated availability April 15, 2018. The Stamparatus will be available in the new annual Stampin’ Up! catalog for 2018-19 and ordering will be as usual at that point.
When the Stamparatus is available after you have reserved one, the reservation will be put into your shopping cart in your account. At that time, whenever you are ready, you can add other products to your order if you like, just don’t delete the Stamparatus reservation from your account or you lose it! Then you just complete your order as usual and your order will be shipped to you.
Just circle November 16 2:00 PM on your calendar and check it out! If you really want to reserve a Stamparatus, go ahead and do it as soon as you can in that window of Nov. 16-30. Be patient with the website early on, I suspect a lot of people will be on it! I will be one of them!
Let me know if you have any questions! I will TRY to answer them! Watch the video, especially to the end to see the extra special features of the new Stamparatus, the new stamp positioning tool!
How to Use the New Stampin’ Blends Alcohol Markers by Stampin’ Up!
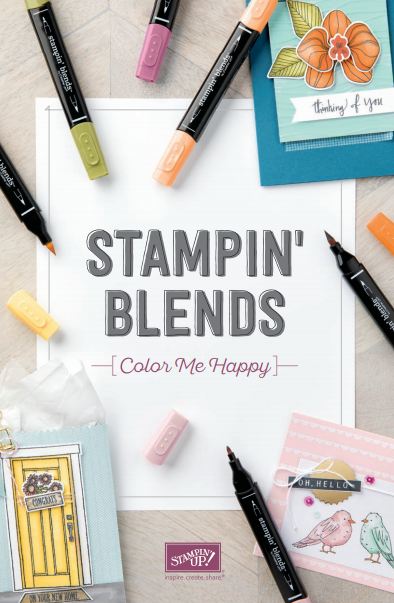
The new alcohol markers from Stampin’ Up!, Stampin’ Blends, are here and ready for purchase! These markers will take your coloring to new heights! Everyone can look like an artist!
The markers have dual-tips and each color has a light and dark shade. You can buy the markers individually or in a complete collection. The Memento ink is recommended to use with the alcohol markers. You can use Whisper White Cardstock, but it is recommended to use the Thick Whisper White Cardstock. The Shimmery White Cardstock also works well and is pretty as well! The ink from the markers is likely to bleed through the paper so you always want to have a scrap piece of paper of some kind underneath your work.
Watch these videos to learn more about the Stampin’ Blends Markers and how to use them! They really have a delightful feel to them when you color!
As you can see in the videos, you can start with the most basic coloring just to get used to the feel of the markers. Then add in blending and even blending different colors together rather than just the light and dark shades of one color. As Brandi showed at the end of her video, she used various colored markers to make different skin tone colors. You can be as basic or as stepped-up as you want! They are your markers to use!
I think you will find the Stampin’ Blends have a really nice feel to them when you color. And we know coloring is good for the soul! Just sit and color and relax, forget everything else for awhile! I remember how I used to love it when I was young if my mother would sit down and color with me because, of course, I thought she did the best coloring in the world! Now you can do the best coloring in the world with the Stampin’ Blends Markers!
New Stampin’ Blends Coming Soon!
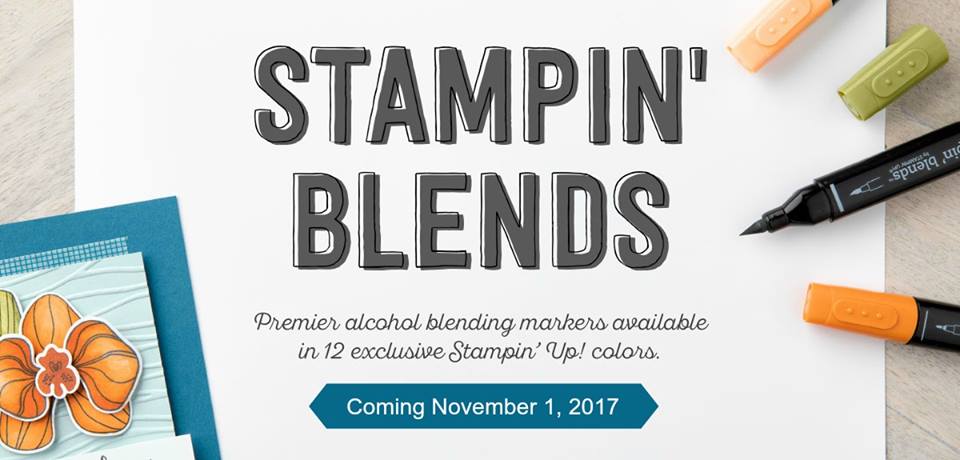
Stampin’ Blends, the new alcohol markers from Stampin’ Up! will be released for customers to purchase on Wednesday, November 1, 2017! They have been available for Demonstrators to order for a short time, but soon they will be available for customers, sooner than I expected!
Alcohol markers allow you to color and blend easily, making everyone look like an artist! These Stampin’ Blends come in 12 exclusive Stampin’ Up! colors. Each color comes in two shades. They are dual-tipped markers, one end a brush tip and one end a narrow tip. There is also a Color Lifter in case you want to remove some color to make something lighter. Two other markers that will be available are Bronze and Ivory.
While supplies last, there will be a limited-time stamp set called Color Me Happy plus a Color Me Happy Project Kit to make cards. These two items will get you started with the Stampin’ Blends!
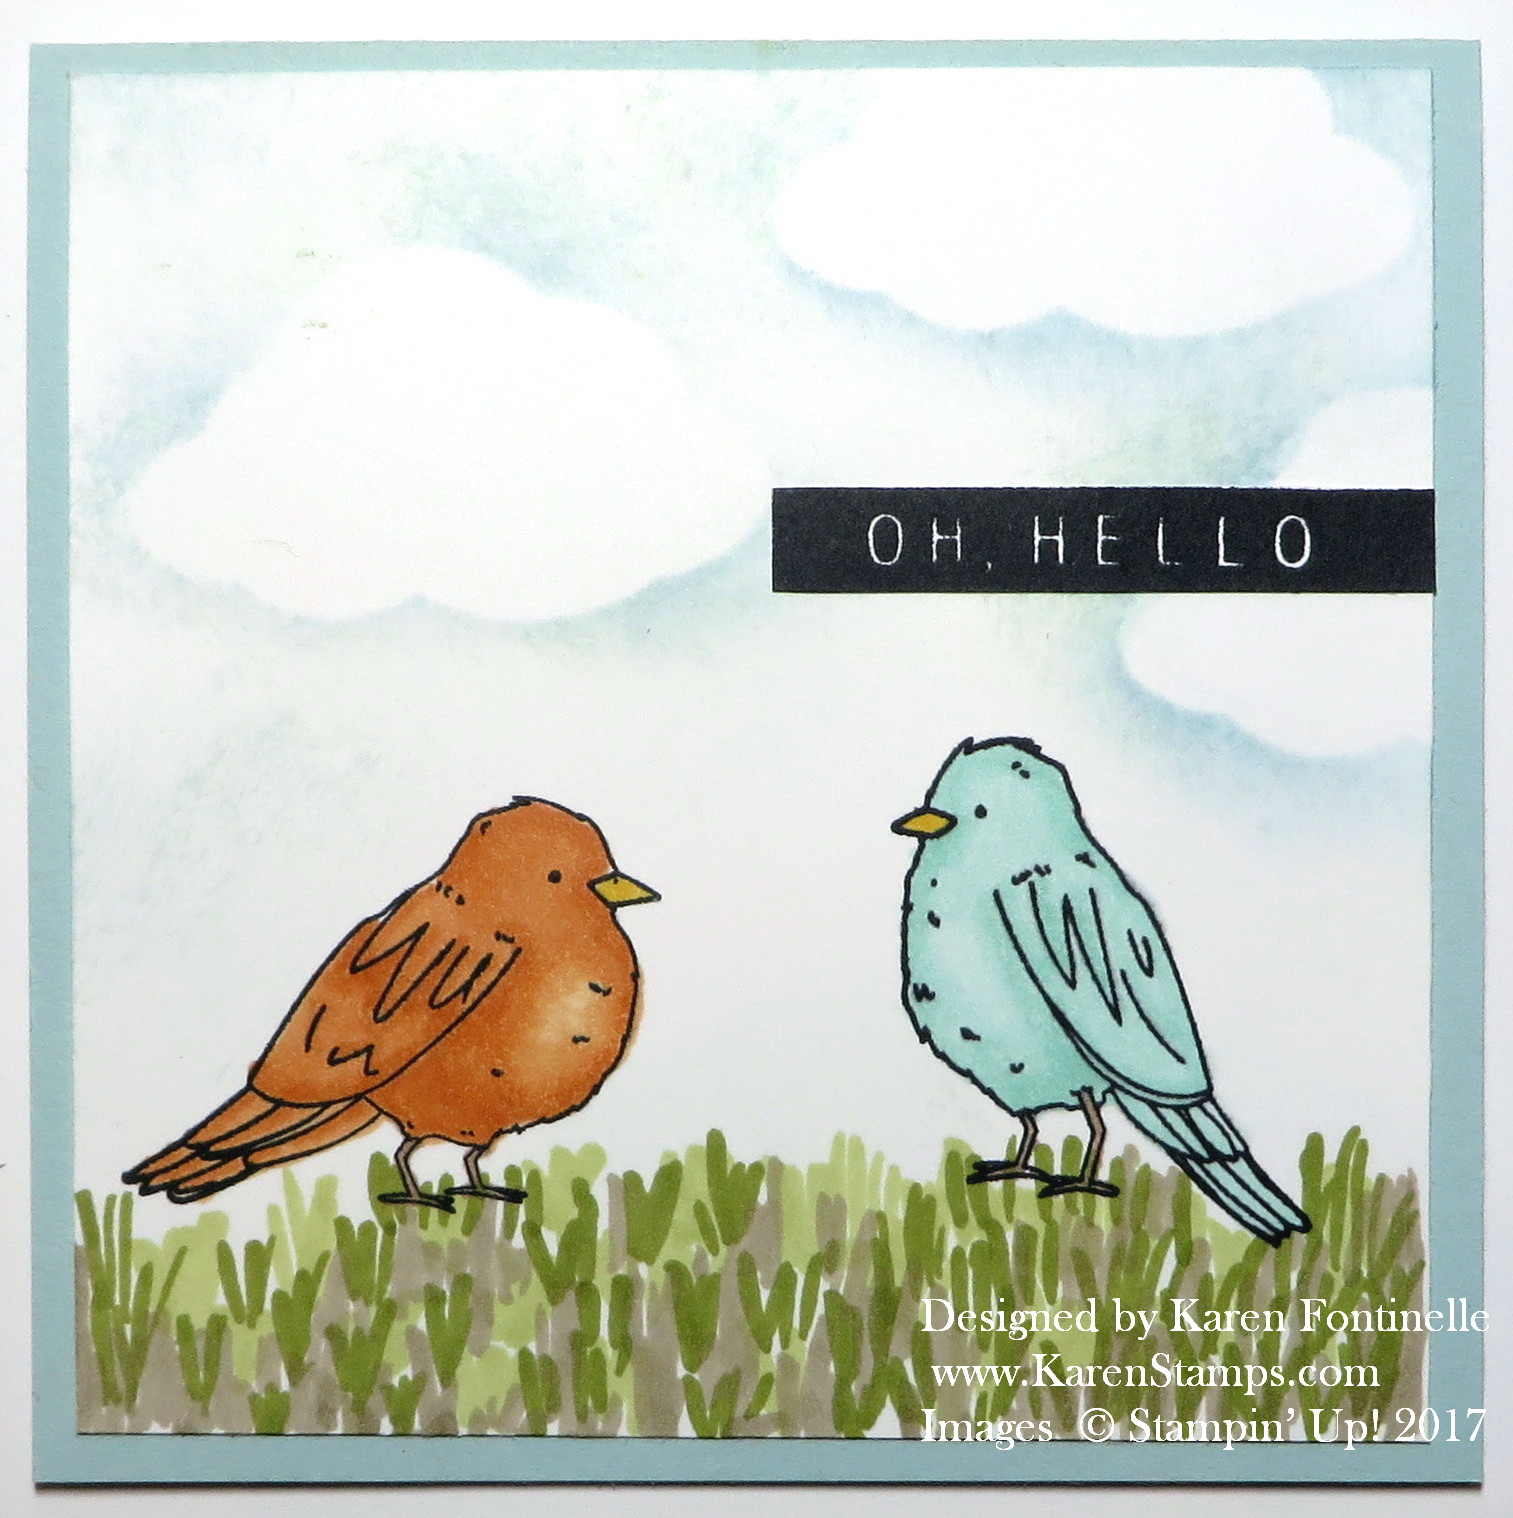
Here is a card I made by stamping the two birds in the Color Me Happy Stamp Set. It sort of copies one of the cards in the project kit, but without the extra embellishments.
This card is a 4 1/4″ square card with the fold at the top. The birds are stamped on a piece of Whisper White Cardstock. The Thick cardstock is recommended, as well as Memento Ink, which is what works well with alcohol markers. The birds are stamped and then colored with the Stampin’ Blends in Pool Party and Pumpkin Pie, plus Daffodil Delight for the little beaks and a touch of Crumb Cake for the legs. I decided to add some grass for the birds, so I just drew in the blades of grass willy-nilly with the Old Olive markers and kind of filled in with some light Crumb Cake. Next I sponged in the sky, with masked clouds, with Soft Sky Ink. The greeting is from the Color Me Happy Stamp Set and I stamped on a scrap, cut it out and adhered it to the front of the card. The card base is Soft Sky. That’s it!
While I haven’t done a tremendous amount of coloring yet, I have found the markers to be really easy to color with, very smooth, and very fun and relaxing! You can use just one shade for basic coloring. You can use both light and dark shades of one color and blend to soften the edge. Or you can use different colors together and blend and see how it looks! Just play!
The lids at each end are pretty tight to take off and put back on. Just make sure you hear it snap when you put the lid back on. That means it is sealed properly to keep the air out. The marker shape is square so no rolling off the table!
Stampin’ Up! has spent time testing these Stampin’ Blends for evaporation and life testing, and they feel confident with the results. There will be videos to help you learn to use these markers the best way.
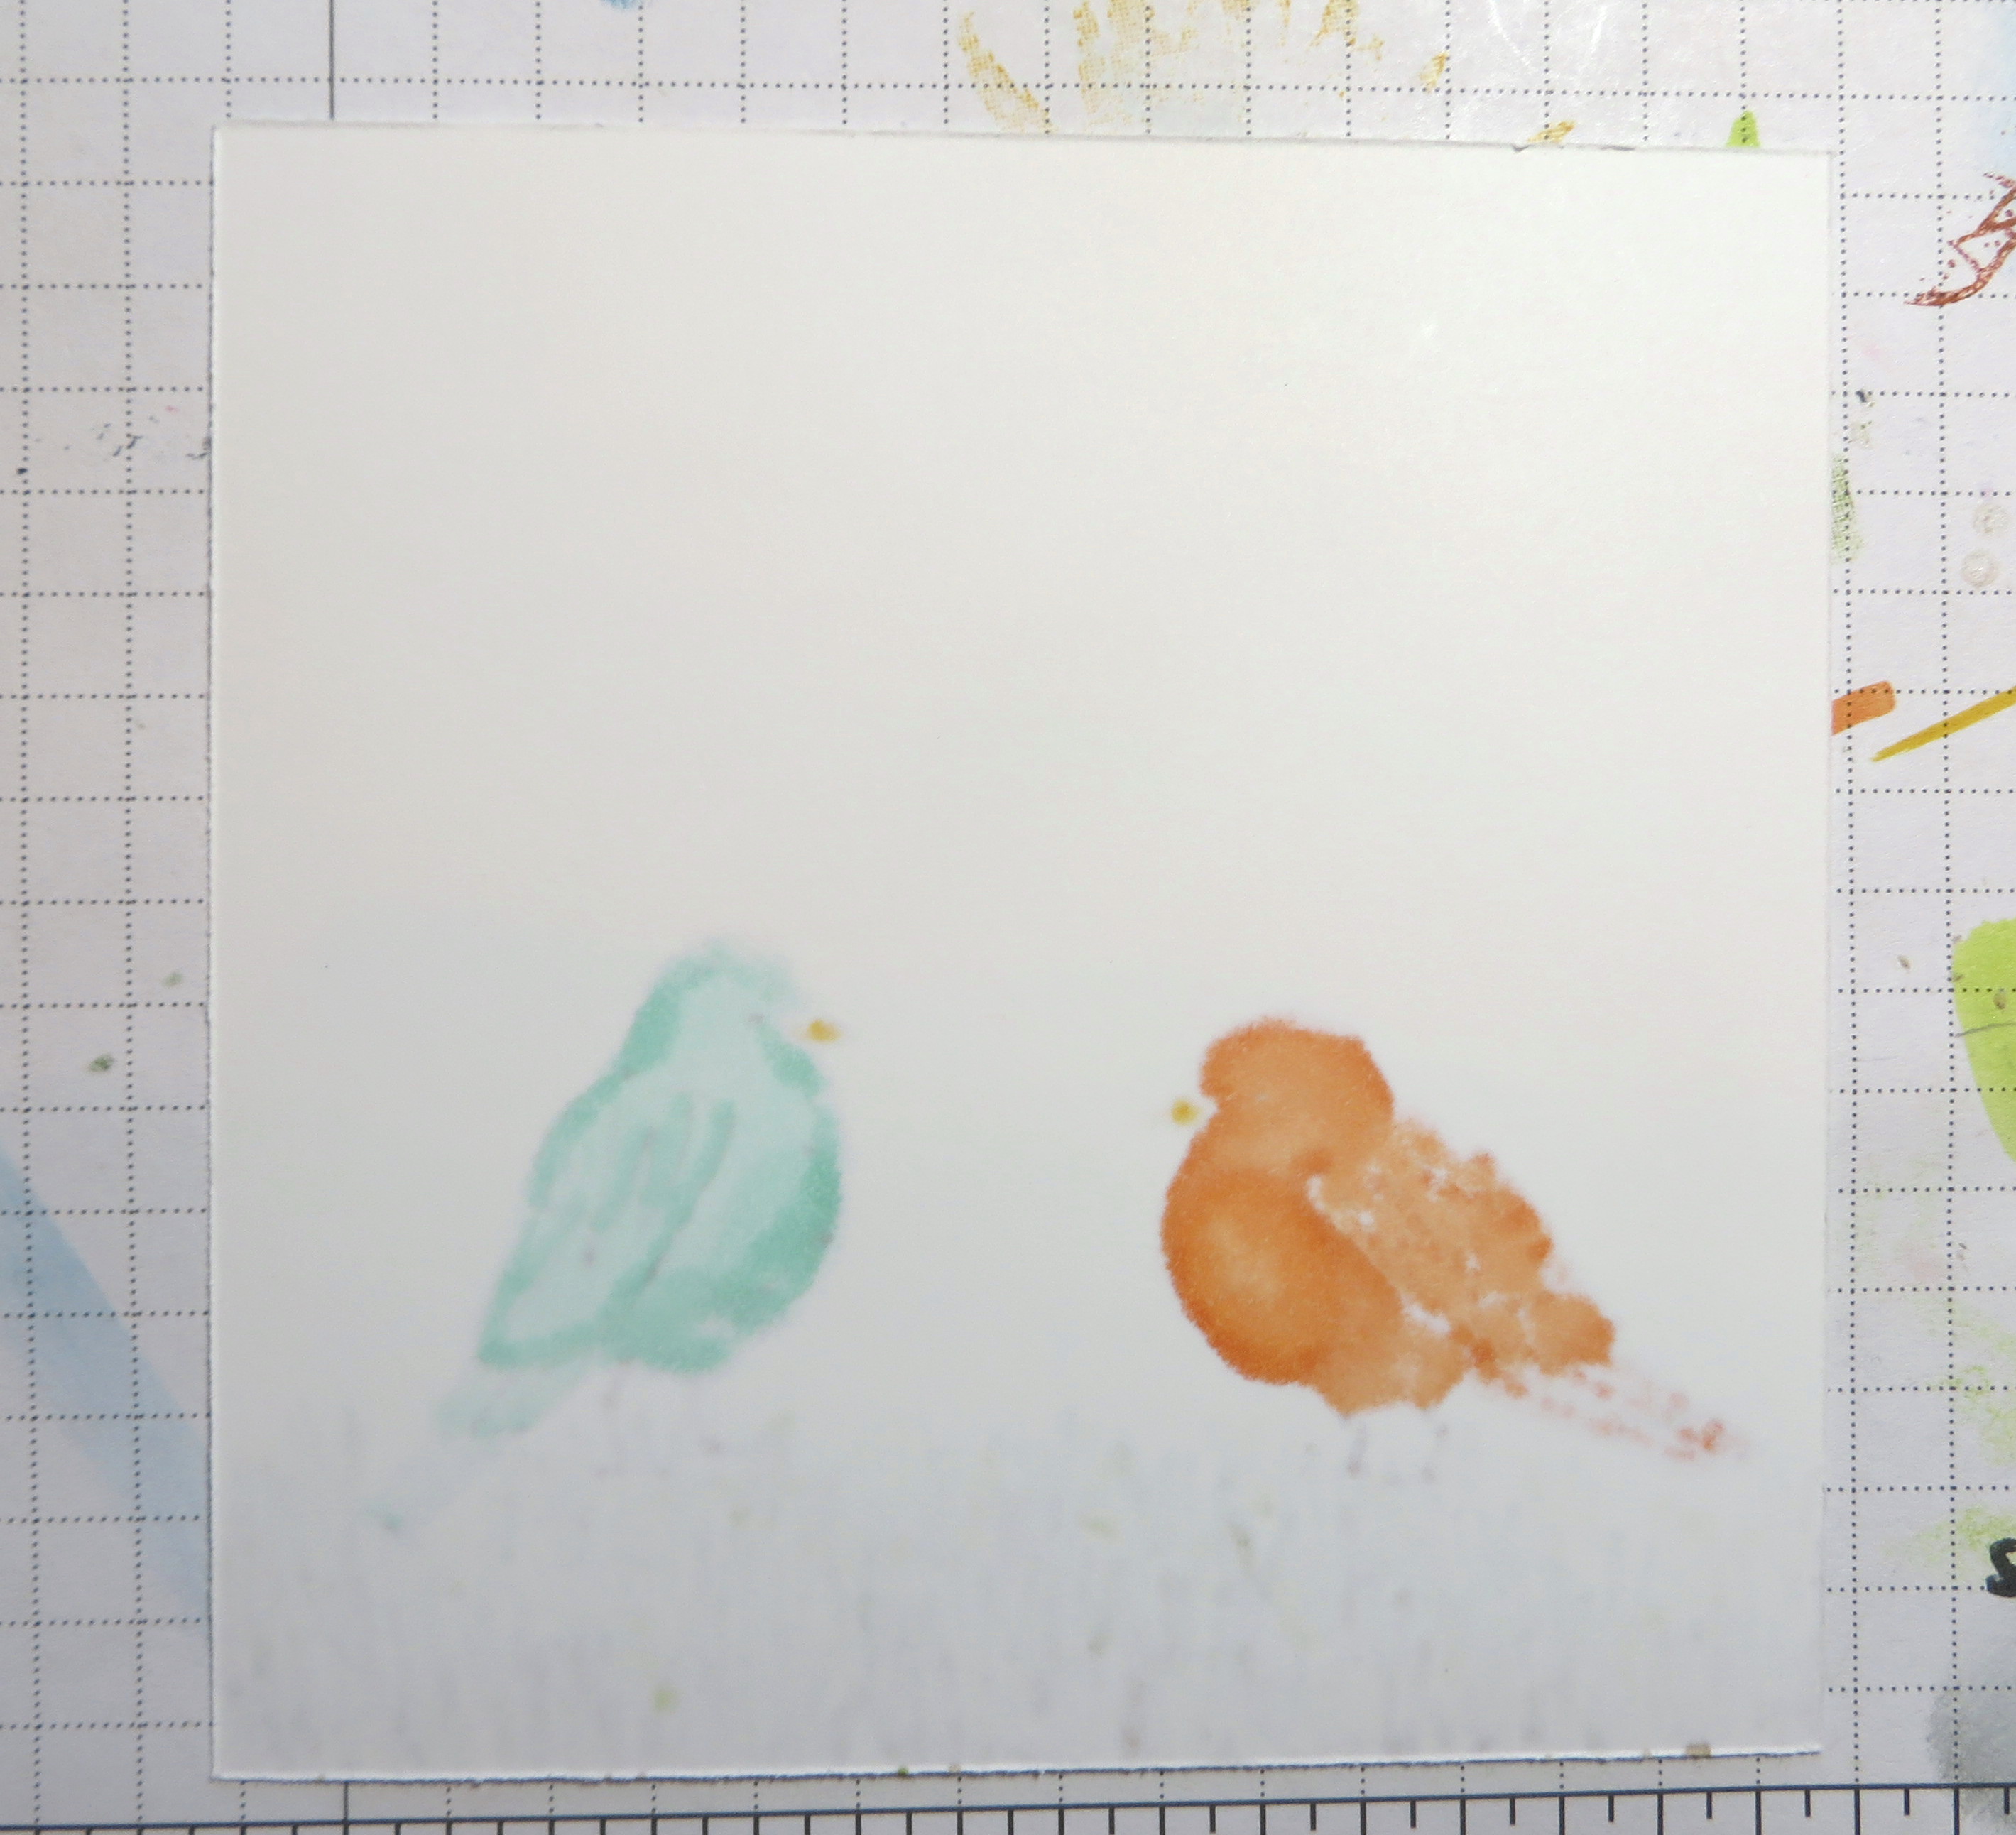
You will want to have a scrap piece or two of paper underneath when you color as the color does bleed through to the other side. Here is the back side of my birds which I colored on my Grid Paper. The markers haven’t bled through my Grid Paper, but if you want to be extra careful, just use a couple sheets of paper underneath.
 It won’t be long and these Stampin’ Blends Markers will be available to purchase! Mark the date on your calendar! I’m sure you will hear even more about the markers as the time gets closer!
Check out the Stampin’ Blends Giveaway by Stampin’ Up! on the Stampin’ Up! Facebook page HERE!
Two Tips For Making a Be Merry Quick and Easy Christmas Card
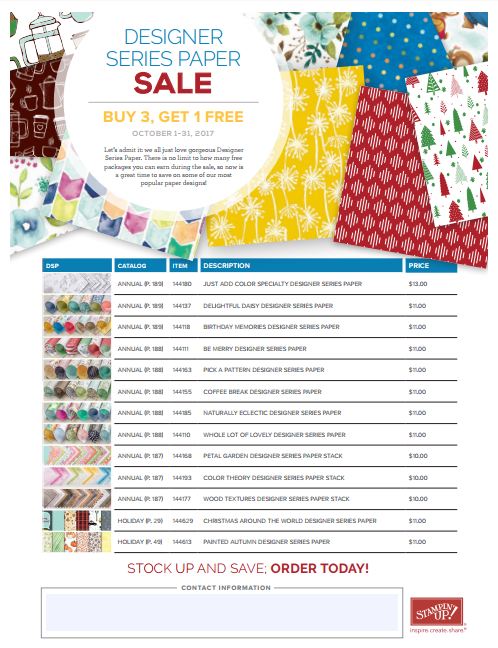
I wanted to make a quick and easy Christmas card with the Be Merry Designer Series Paper, and as I went along I realized I had several tips to share with you. I like this Be Merry Paper. It seems like a traditional, nice little unassuming Christmas paper that will do the job! It’s mixed in with all the designer papers in the Stampin’ Up! Annual Catalog on page 188 so you might have overlooked it. When the catalog came out, none of us were thinking about Christmas just as summer was coming on. If you like this paper (and some of the patterns can be used any time of year, not just the holidays) take advantage of the Designer Series Paper Buy 3 Get 1 Free Sale going on right now!
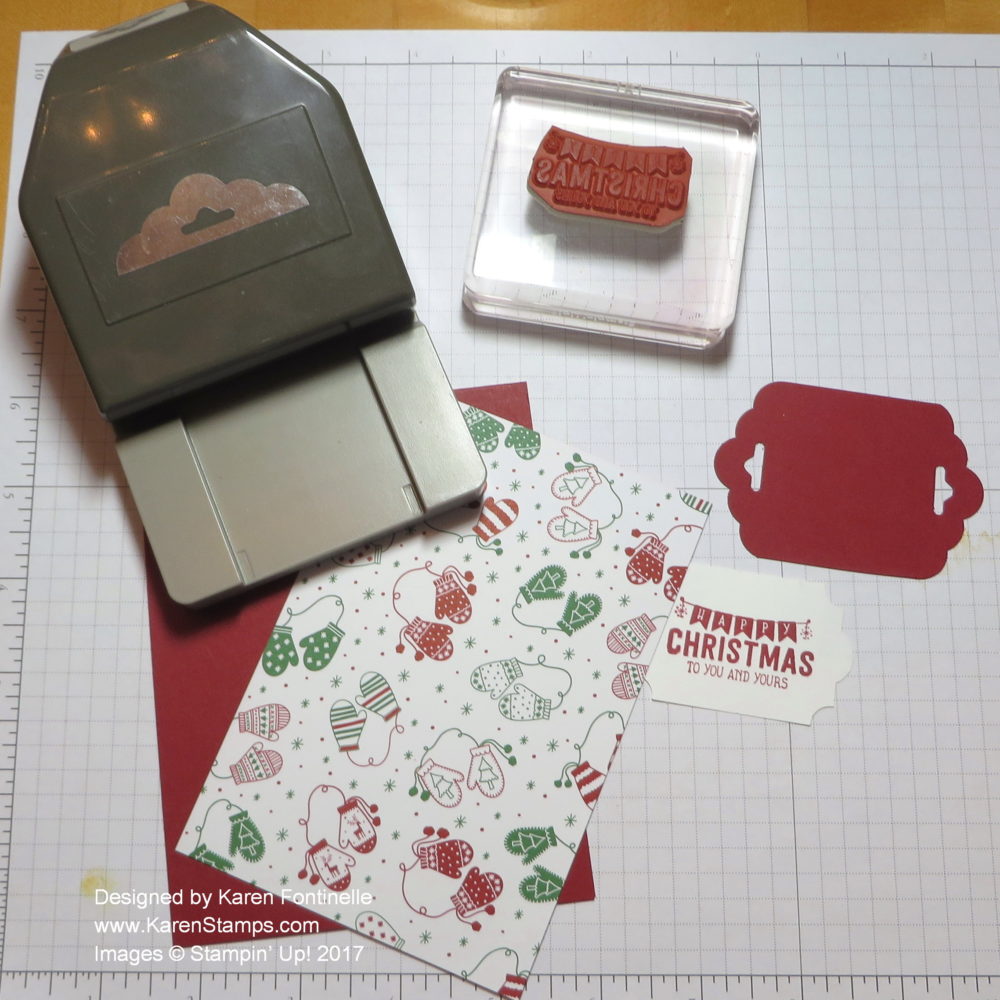
Back to the card. The card base is Cherry Cobbler, cut at 11″ x 4 1/4″ so the fold will be at the top. The patterned paper is cut at 5 1/2″ x 3 3/4″. The greeting from the Labels to Love Stamp Set is stamped on Whisper White with Cherry Cobbler ink and punched with the Everyday Label Punch.
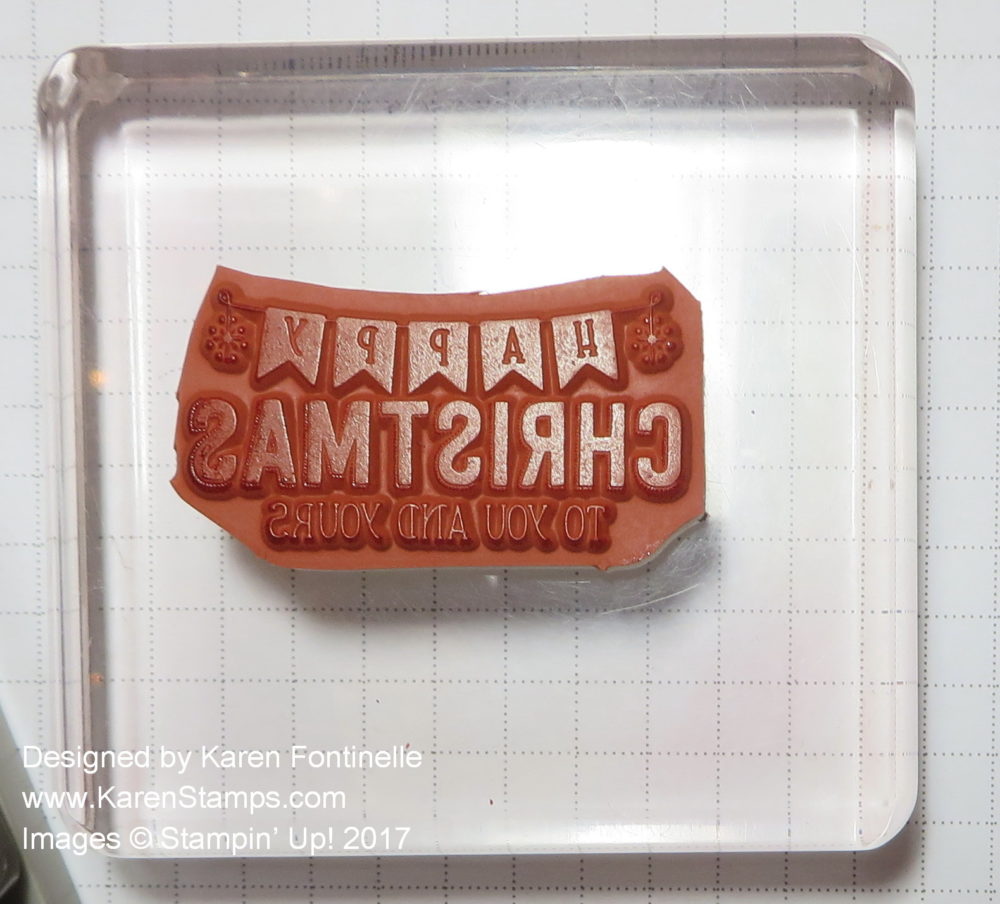
Tip #1: I was catching the edge of the greeting stamp every time when I stamped, so I just trimmed the rubber around the words carefully, like we used to have to do in the “olden days” with our little Craft & Rubber Scissors or whatever they were called. Just be careful you don’t cut into the image. I don’t normally do this but this stamp just seemed to have quite a large border around the edge, and since I was having trouble stamping, I just trimmed it.
Tip #2: Somewhere online I saw something about using the Scalloped Tag Topper Punch as a layer for the Everyday Label Punch. I didn’t even find out about all the details, but I thought I would try it today. I cut a piece of Cherry Cobbler Cardstock 2″ wide and punched one end, then estimated where I wanted the other end, cut it, then punched that opposite end. You can see that tag in my first photo. It’s not an exact match with the Everyday Label Punch but the curved ends so match up nicely and I think it provides an easy way to layer this punched piece!
Next I wondered how to use the Cherry Cobbler 1/4″ Double-Stitched Ribbon. I’d already glued down the patterned paper onto the card front, so I would have had to wrap the ribbon around the inside of the card, which would be okay. But then I got the idea to punch a hole in each end of the greeting and just tie some ribbon through those holes. Then the greeting is popped up with Stampin’ Dimensionals.
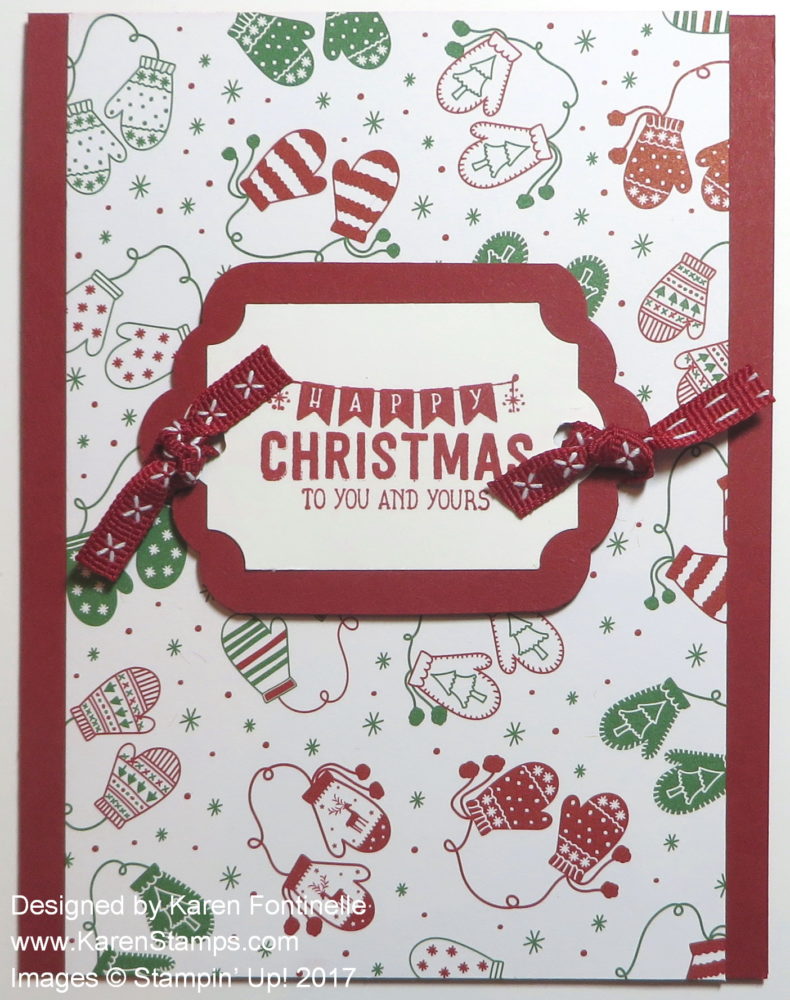 Really, if you have the materials and tools handy, this card takes no more than a couple minutes to make! And there are other variations you could try as well!
Designer Series Paper Buy 3 Get 1 Free Special Offer
Stock up on some of your favorite designer series papers during the month of October! ONLY THESE SELECT PAPERS ARE INCLUDED IN THE OFFER! Purchase 3 packages of paper and THEN choose the 4th package that you want to get FREE. When entering your order, enter the 3 packages you want to pay for and then the 4th package will come up as $0.00. In other words, don’t order the more expensive one first and expect to get that free.
WORLD CARD MAKING DAY SPECIAL OFFERS
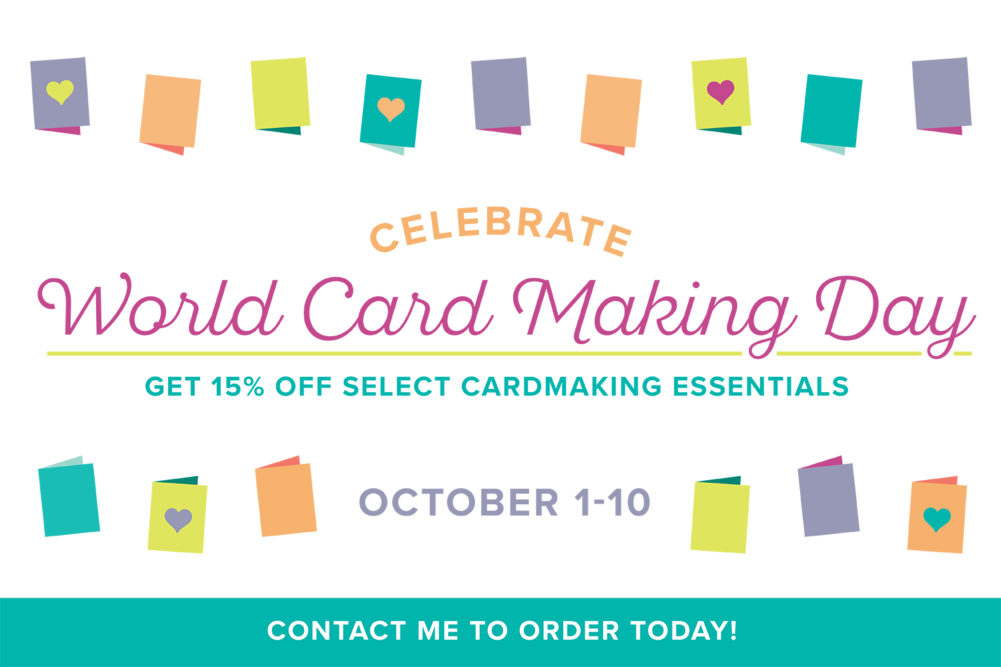 Check out the flyer for World Card Making Day with select stamp sets and Note Cards & Envelopes on sale for 15% off just for the first 10 days of October! These stamp sets coordinate with the designer series papers offered for sale. Note that Fast Fuse is no longer available on this sale, but will be offered again when Stampin’ Up! replenishes their stock. It sold out faster than they ever could have predicted!
SHOP THE SALES AT STAMPIN’ UP!
Learn New Embossing Techniques
You will enjoy this video from the Stampin’ Up! Home Office about embossing techniques and learn new things! Embossing with the Heat Tool is one of the things that really amazes new people to our craft when they see it demonstrated! I think heat embossing remains magical even to us experienced stampers every time we do it, especially with the metallic embossing powders!
After stamping and applying the embossing powder, the Heat Tool melts the powder and leaves a raised, stamped image that really adds some pizzazz to your stamping repertoire.
You do need the Stampin’ Up! Heat Tool in order to do this kind of heat embossing. Ours has the metal tip that gets hot while in use that is protected by a plastic cover. This makes it safer to use. I recommend always unplugging the heat tool when not in use, just so it doesn’t fall off the shelf or get bumped and accidentally turn on. I also generally recommend letting the tool heat up for a moment or two before aiming it at the embossing powder.
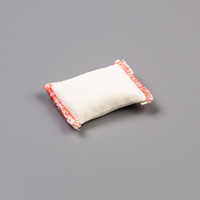
Be sure to use the Embossing Buddy by rubbing across your paper before stamping. This eliminates some of the static and keeps the embossing powder from sticking outside the area you are going to emboss. After applying the embossing powder and dumping off the excess, be sure to look over your piece and try to wipe off any stray specks of embossing powder. I like to keep a small watercolor brush handy to wipe off any stray powder.
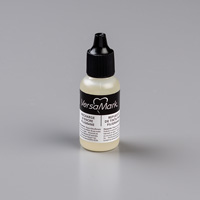
We used to have separate Craft Ink pads that were good to use when embossing. However, as you see in this video, if you work quickly, you can use our current ink pads before the ink dries. It is worth your while for many other reasons to own the Versamark Ink Pad and surely every stamper has one! This works great for embossing and is mostly what everyone uses. Be sure to have the Versamark Refill because you will definitely need it.
I love this gold embossed Definitely Dahlia card I made that you can see HERE.
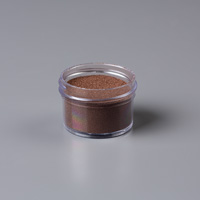
If you haven’t already tried heat embossing, you might want to after watching this Stampin’ Up! video! Try it, I think you will like it! It certainly is impressive on cards and projects and will stun the recipients! They will think you are a highly talented professional (which, of course, you are!). You can choose various embossing powders to use. I recommend gold or silver to begin with just for their stunning beauty!
SHOP STAMPIN’ UP! FOR EMBOSSING SUPPLIES!
The Stampin’ Up! Holiday Catalog is Live Today! Sept. 1st!
The new Stampin’ Up! Holiday 2017 Catalog is LIVE today! Finally the day is here! Can you believe it? Time for stampers and papercrafters to get going to get ready for the holidays!
Click on Photo to View Catalog!Click HERE to View the Stampin’ Up! Holiday Catalog!
Click HERE to See the Holiday Catalog Products Online in the Store!
If you are interested in Stampin’ Up! products and want a Holiday Catalog, email me your contact information at Karen@KarenStamps.com. As of this moment, I don’t know when our regular mail service will be restored after Hurricane Harvey so it might take me until next week to find an open post office and know that it will get out of Houston! The airports opened yesterday so maybe mail will start coming in and out as far as planes are concerned, and by truck as more and more roads completely open up!
And during September and October, Stampin’ Up! has this special Host Promotion! If you have your own large order or gather some orders from friends, if your workshop or order total reaches $300 or more, you will receive this FREE exclusive stamp set, Merry Patterns! This is in addition to your normal Hostess Rewards benefits!
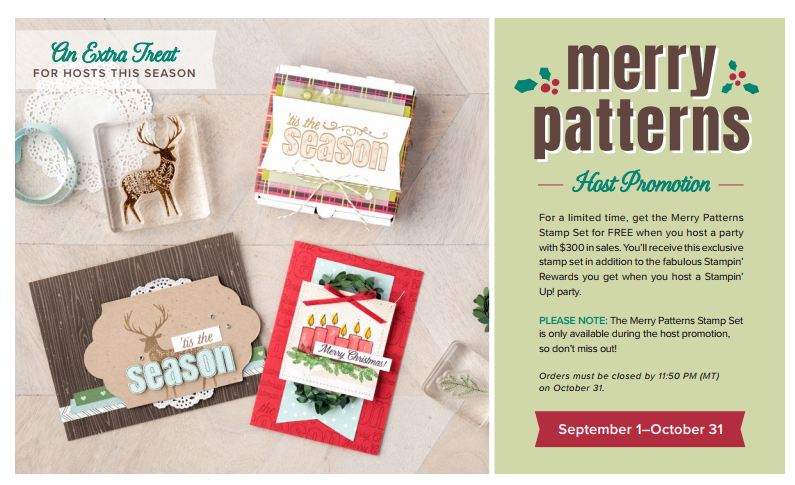 More information on my blog post yesterday HERE.
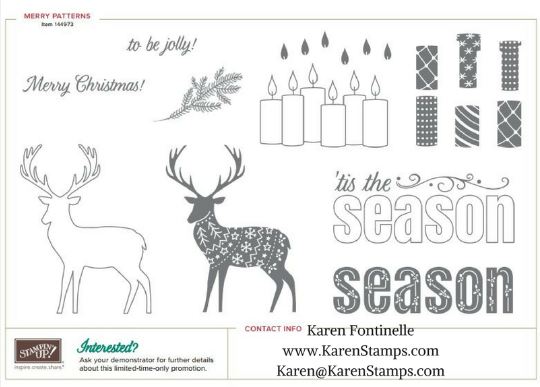 Go ahead! Start enjoying the new Stampin’ Up! Holiday Catalog! Ordering begins today, September 1st. Get your favorites right away before they are backordered!
Shop Stampin’ Up! HERE!
Buy Stampin’ Up! During Your State Sales Tax Holiday!
It’s State Sales Tax Holiday Time for Back-to-School!
And You Can Get Stampin’ Up! Supplies Tax-Free!
There are 13 US states having state sales tax holidays for school supplies. What does that mean
for you? Stampin’ Up! products that fall under that category will be tax-free for a limited time! If
you live in one of the lucky states, make sure to take advantage of the holiday!
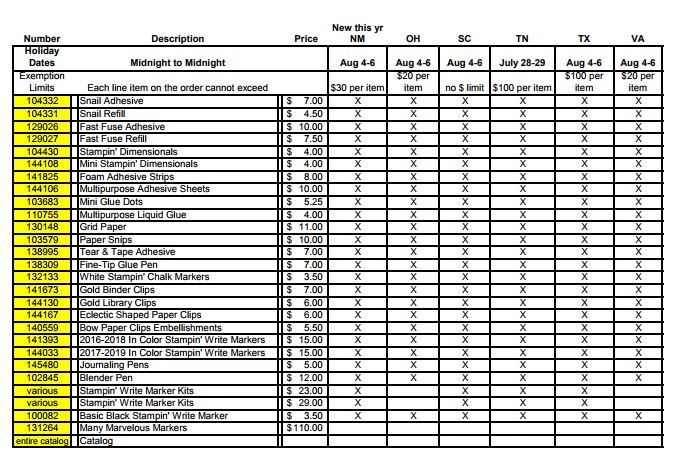
Click on each chart below to enlarge it.
Click HERE to see the full Sales Tax Holiday Chart (there are two parts).
Double-check with your state to make sure these dates are correct. I believe the Texas dates are wrong….I’m seeing next weekend August 11-13 advertised as our Sales Tax Holiday, not this weekend as shown on this chart. Put some tax free items on your order and make sure you are not being charged sales tax!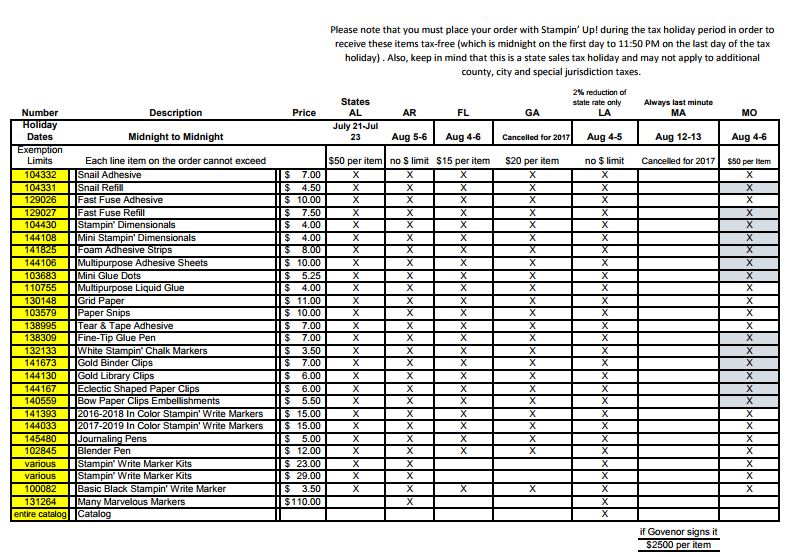
You must place your order with Stampin’ Up! during the tax holiday period in order to receive these items tax-free (midnight on the first day to 11:59 PM on the last day of the tax holiday).
Keep in mind that this is a state sales tax holiday and may not apply to additional county, city, and special jurisdiction taxes.
Happy Shopping! Be sure to check the dates!
Shop Stampin’ Up! HERE!
Buy Stampin’ Up! During Your State Sales Tax Holiday!
It’s State Sales Tax Holiday Time for Back-to-School!
And You Can Get Stampin’ Up! Supplies Tax-Free!
There are 13 US states having state sales tax holidays for school supplies. What does that mean
for you? Stampin’ Up! products that fall under that category will be tax-free for a limited time! If
you live in one of the lucky states, make sure to take advantage of the holiday!
Click on each chart below to enlarge it.
Click HERE to see the full Sales Tax Holiday Chart (there are two parts).
You must place your order with Stampin’ Up! during the tax holiday period in order to receive these items tax-free (midnight on the first day to 11:59 PM on the last day of the tax holiday).
Keep in mind that this is a state sales tax holiday and may not apply to additional county, city, and special jurisdiction taxes.

